My favorite time of year is finally here!
Craftmas: A Craft Festive Round-Up is my official start to the holiday season.
I just love filling my home with handmade decorations.
There’s something so cozy about it, don’t you think?
This year, I’m feeling extra inspired to make all sorts of things.
I’m talking about everything from tree ornaments to special gifts for friends.
Making things by hand feels so much more personal than buying them.
It’s like putting a little piece of your heart into each item.
So, grab your scissors and glue, because we’re about to make this holiday magical.
I can’t wait to share some of my favorite ideas with you.
Let’s get our creative hats on and begin this festive adventure!
Why I Love Making Things for the Holidays
The holiday season just has a special kind of magic.
The air gets crisp, and everything sparkles with lights.
For me, a big part of that magic comes from creating.
Making decorations and gifts by hand is my favorite tradition.
It started when I was a kid, making paper snowflakes with my mom.
We’d spend hours cutting up paper at the kitchen table.
Then we’d hang our creations in all the windows.
It made our house feel so festive and unique.
Now, I carry on that tradition every single year.
It just doesn’t feel like the holidays without a few DIY projects.
Plus, handmade gifts are always a huge hit with my friends and family.
They know I spent time thinking just about them.
It’s a feeling you just can’t get from a store-bought present.
Making things is also a great way to relax during a busy time.
I can put on some holiday music and just focus on my project.
It’s my little escape from all the hustle and bustle.
Getting Your Supplies Ready
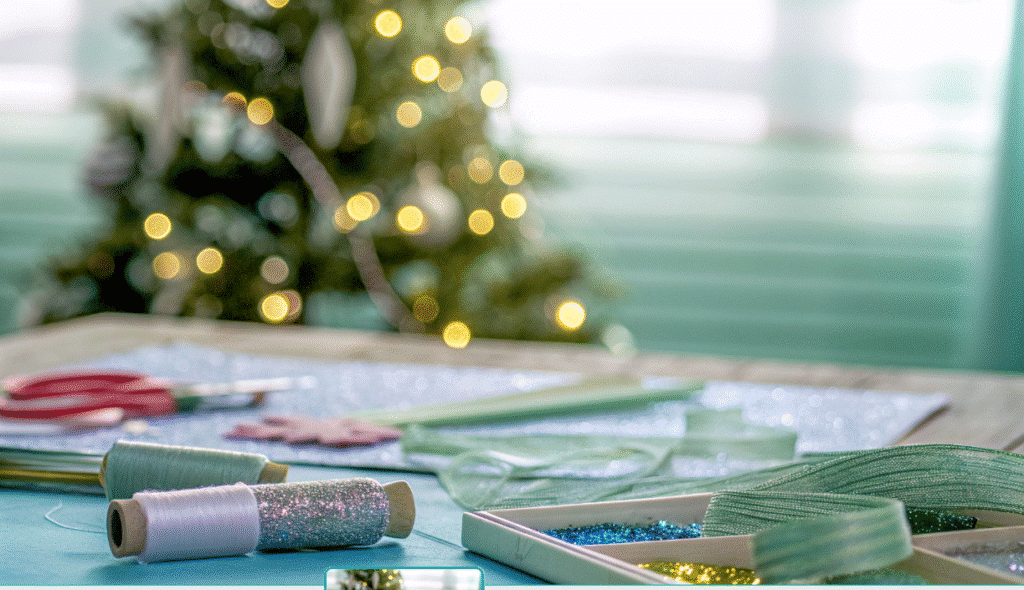
Before we jump into the fun stuff, let’s talk about supplies.
You don’t need a ton of fancy materials to get started.
In fact, I bet you have a lot of this stuff at home already!
A good stash of basics will get you through most projects.
I always try to keep my supplies organized.
I learned that the hard way after losing my favorite glitter one year. What a disaster!
Now, I use clear bins so I can see everything I have.
It makes finding what I need so much easier.
My Must-Have Paper Supplies
Paper is the star of the show for many of my projects.
Here are the types I always keep on hand:
- Cardstock: It’s sturdy and great for cards, gift tags, and ornaments. I like to have a mix of colors, especially red, green, and white.
- Scrapbook Paper: The patterns are just so fun! You can find paper with snowflakes, reindeer, or anything you can imagine.
- Glitter Paper: Because everything is better with a little sparkle, right? It’s perfect for adding a pop of glam.
- Tissue Paper: I use this for making pom-poms and for delicate gift wrapping.
Other Essential Tools
Besides paper, you’ll need a few other things.
- Good Scissors: A sharp pair makes cutting so much cleaner.
- Glue: I have a glue stick for paper and a stronger glue gun for bigger projects.
- Ribbon and Twine: These are perfect for hanging ornaments and tying up gifts.
- Markers and Pens: For writing sweet messages on cards and tags.
- A Ruler: Helps make sure all your cuts are straight.
Easy Paper Projects for Everyone
Ready to start creating?
These ideas are simple enough for anyone to try.
You don’t need to be an expert to make beautiful things.
I love these because they are quick and look so impressive.
They are perfect for a cozy afternoon of making.
Cheerful Paper Ornaments
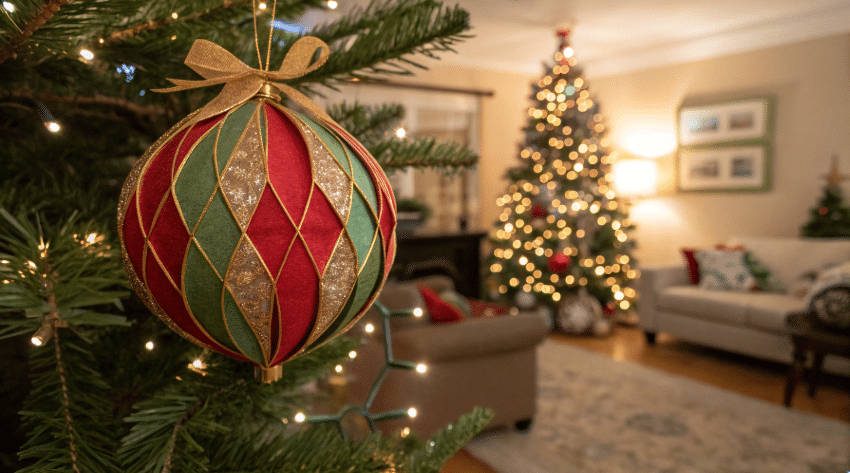
Making your own ornaments is so rewarding.
Every year when I decorate my tree, I love seeing the ones I made.
It’s like a little trip down memory lane.
These are super easy to make with just a few supplies.
What You’ll Need:
- Colorful cardstock or scrapbook paper
- Scissors or a circle punch
- A glue stick
- String or ribbon for hanging
How to Make Them:
- Cut out several circles from your paper. I usually use about 10-12 circles per ornament.
- Fold each circle in half with the pretty side facing in.
- Take one folded circle and put glue on one of the outside halves.
- Stick another folded circle right on top of it.
- Keep doing this until you’ve glued all your circles together in a stack.
- Before you glue the last two halves together, place your string in the middle.
- Glue the final two sides to close the circle and form a ball.
- Gently fan out the folded papers to create a 3D ornament.
Voila! You have a beautiful, homemade ornament.
Adorable Handmade Gift Tags
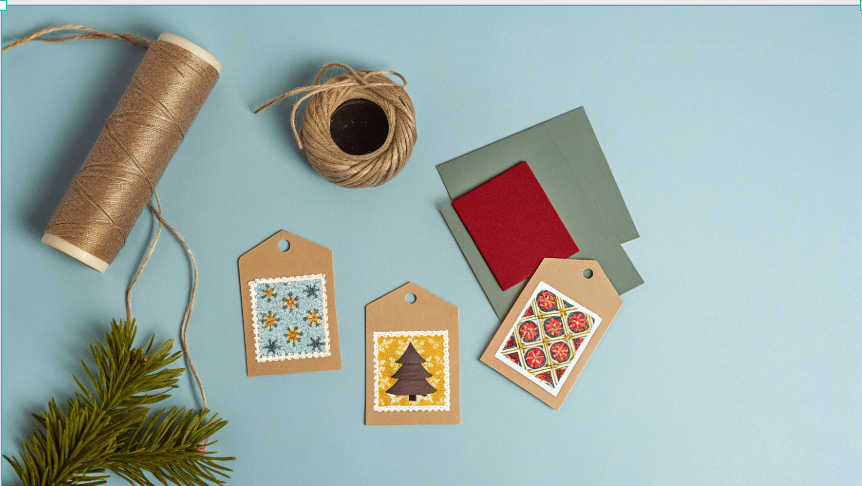
Why use boring store-bought tags when you can make your own?
Handmade tags add such a sweet, personal touch to any gift.
I made a whole batch of these last year, and they were so fun.
One friend even saved the tag because she loved it so much!
What You’ll Need:
- White or brown cardstock
- Holiday-themed stamps and ink
- A hole punch
- Twine or thin ribbon
How to Make Them:
- Cut your cardstock into tag shapes. You can make them rectangular, or use a punch for a fancier shape.
- Use your stamps to add a festive design. I love using little trees or snowflake stamps.
- Let the ink dry completely so it doesn’t smudge.
- Punch a hole at the top of each tag.
- Thread a piece of twine through the hole and tie a loop.
- Write the name on the tag, and you’re all set!
This is a great project to do while watching a holiday movie. It’s a highlight of my annual Craftmas: A Craft Festive Round-Up.
Gifts from the Heart
Making gifts is my absolute favorite part of the holiday season.
A handmade present shows you really care.
It says, “I spent time making this just for you.”
Here are a couple of ideas that are always big winners.
Personalized Photo Coasters
I made these for my parents last year, and they use them every day.
They are a lovely way to show off favorite family photos.
This project is surprisingly simple, too!
What You’ll Need:
- Plain ceramic tiles (you can find these at a hardware store)
- Photos printed on regular paper, cut to size
- Mod Podge or another decoupage glue
- A foam brush
- Clear sealant spray
- Small felt pads for the bottom
How to Make Them:
- Make sure your tiles are clean and dry.
- Use the foam brush to apply a thin layer of Mod Podge to the tile.
- Carefully place your photo on the tile, smoothing out any bubbles.
- Let it dry for about 20 minutes.
- Apply another thin layer of Mod Podge over the top of the photo.
- Let it dry completely, and then add one more coat.
- Once everything is totally dry, spray it with a clear sealant to make it waterproof.
- Stick the felt pads on the bottom corners to protect furniture.
You’ve just created a beautiful and useful gift! It’s a standout idea for any Craftmas: A Craft Festive Round-Up.
Cozy No-Sew Fleece Blankets

Who doesn’t love a soft, cozy blanket?
This is the perfect gift for that person who is always cold.
The best part? You don’t even need a sewing machine.
I once made one of these for a friend’s new baby, and it was the perfect present.
What You’ll Need:
- Two pieces of fleece fabric, about 1.5 yards each. Pick two coordinating patterns!
- A sharp pair of fabric scissors
- A ruler
How to Make It:
- Lay your two pieces of fleece on the floor, one on top of the other. Make sure the edges line up.
- Cut a 4×4 inch square from each of the four corners.
- Next, cut 4-inch long slits all the way around the fabric. Make the slits about 1 inch apart.
- Now for the fun part! Take one top strip and one bottom strip and tie them together in a simple knot.
- Continue tying all the strips together around the entire blanket.
- That’s it! You have a super soft, double-layered blanket.
This is another great project that brings the holiday spirit home. I hope you’ve enjoyed this year’s Craftmas: A Craft Festive Round-Up.
