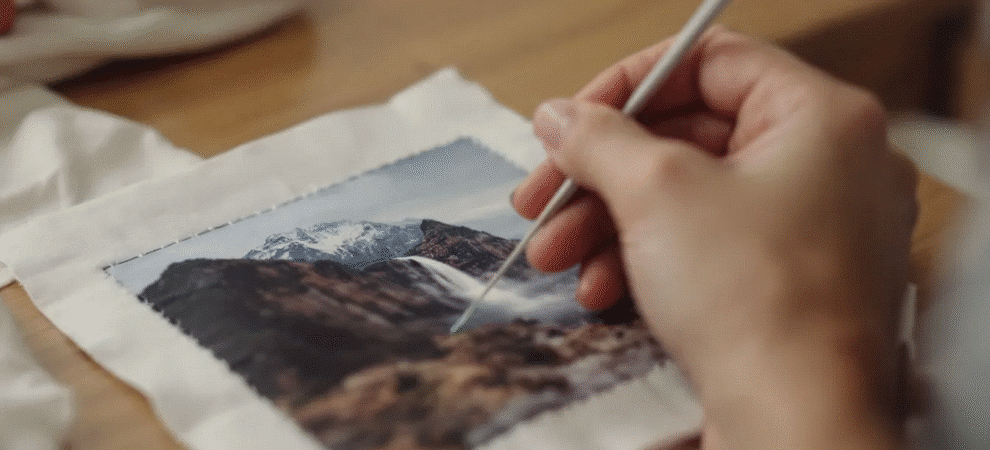
Looking to turn a photo into an appliqué? This guide breaks down the process step-by-step. You’ll learn how to pick the perfect photo, transform it into a fabric-friendly design, and assemble your appliqué. Let’s get started on creating beautiful, personalized fabric art.
Key Takeaways
- Select a clear, high-contrast photo for your appliqué to ensure better fabric translation.
- Use proper stitching techniques and secure loose threads to maintain the durability and appearance of your appliqué.
- Incorporate embellishments like embroidery, beads, and sequins for added texture and visual interest.
Choosing the Right Photo
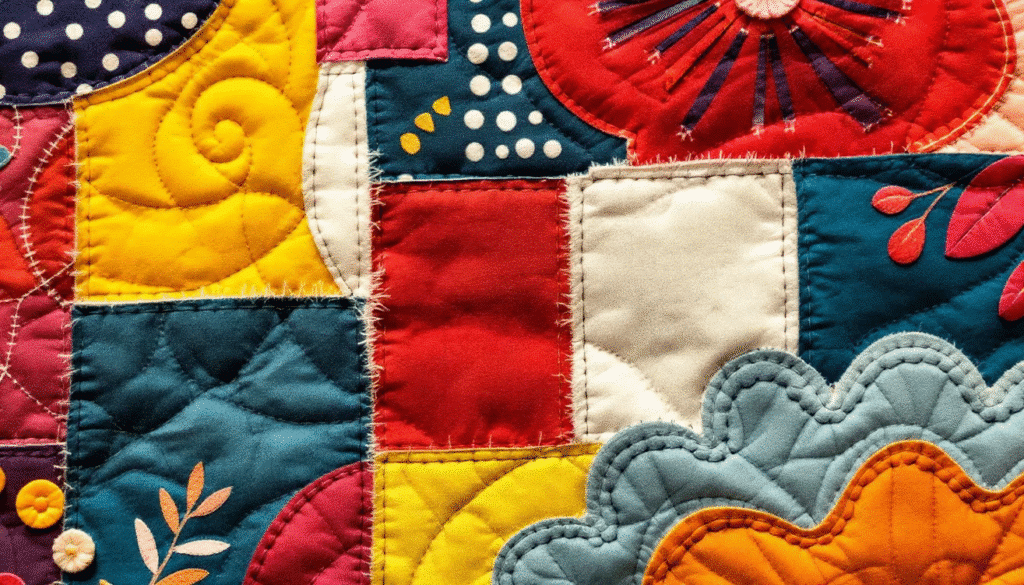
Selecting the right photo is the first crucial step in creating an appliqué masterpiece. Look for images that emphasize clear shapes and high contrast, as these elements will translate more effectively into fabric. A clean image with minimal background distractions will also make the process easier and the final product more visually appealing.
If you’re unsure, use sophisticated smartphone apps to convert your photos into line drawings, offering a clearer template for your project.
Preparing Your Photo for Appliqué
Once you have your photo, the next step is to prepare it for appliqué. Using software to simplify the image into clear shapes and outlines can make the process smoother. This preparation is key to creating a manageable and visually striking appliqué pattern.
Next, we’ll explore creating an outline and simplifying details.
Creating an Outline
Creating a precise outline is essential for a successful appliqué. Start by:
- Tracing the main elements of your photo onto paper.
- Using tracing paper or a light box to help achieve precise lines.
- Using mobile apps that convert photos into line drawings, which can also be incredibly useful.
Start with the topmost elements and ensure all lines connect smoothly for a cohesive design.
Simplifying Details
Simplifying the details of your picture is another critical step. Complex images can be overwhelming, so focus on reducing them to key elements. Edit photo editing software can enhance contrast and simplify details, making your pattern clearer and easier to work with. Pictures can also help illustrate these concepts effectively.
Apps like Photo Director can convert your photos into sketches, offering an excellent starting point for your appliqué.
Selecting Fabrics and Materials
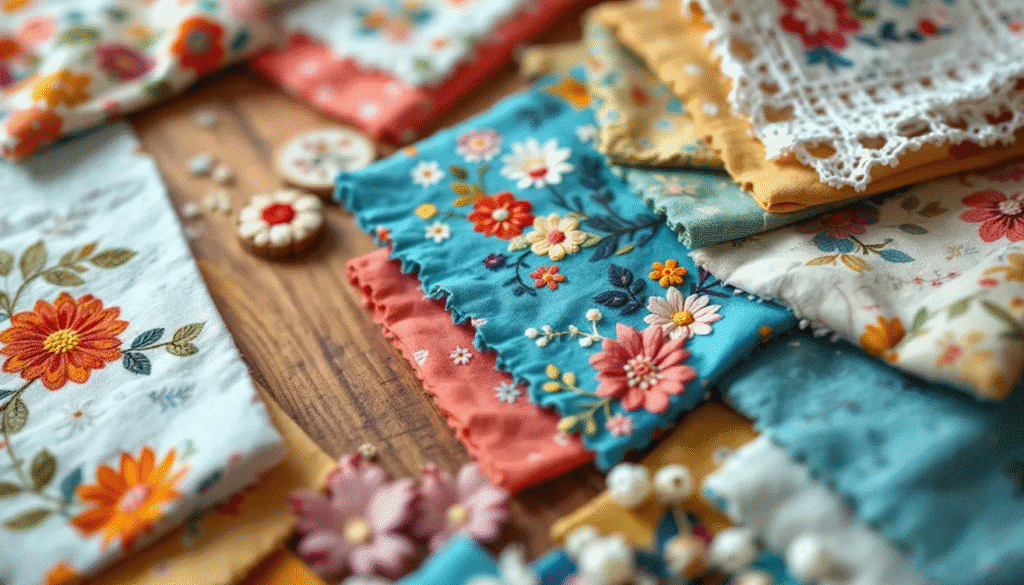
Choosing the right fabrics and materials will significantly impact the visual appeal and durability of your appliqué. The background fabric is particularly important; 100% cotton, especially quilting cotton, is highly recommended for its firm weave and durability.
Next, we’ll explore how to match colour and choose textures to enhance your design.
Matching Colors
Color harmony is crucial for a cohesive appliqué. Select shades that complement the colors in your photo. Batiks are an excellent choice due to their tightly woven nature and rich, varied colors, which can effectively match and enhance your design.
Reducing intricate features into basic geometric shapes simplifies the sewing process and strengthens the overall visual impact.
Choosing Textures
Incorporating various textures can add depth and interest to your appliqué. Using different fabrics like felt, flannel, and faux leather can create a dynamic and visually appealing piece. The value of the fabric, referring to its lightness or darkness, also plays a crucial role in creating contrast and enhancing the overall design.
Cutting and Assembling Pieces
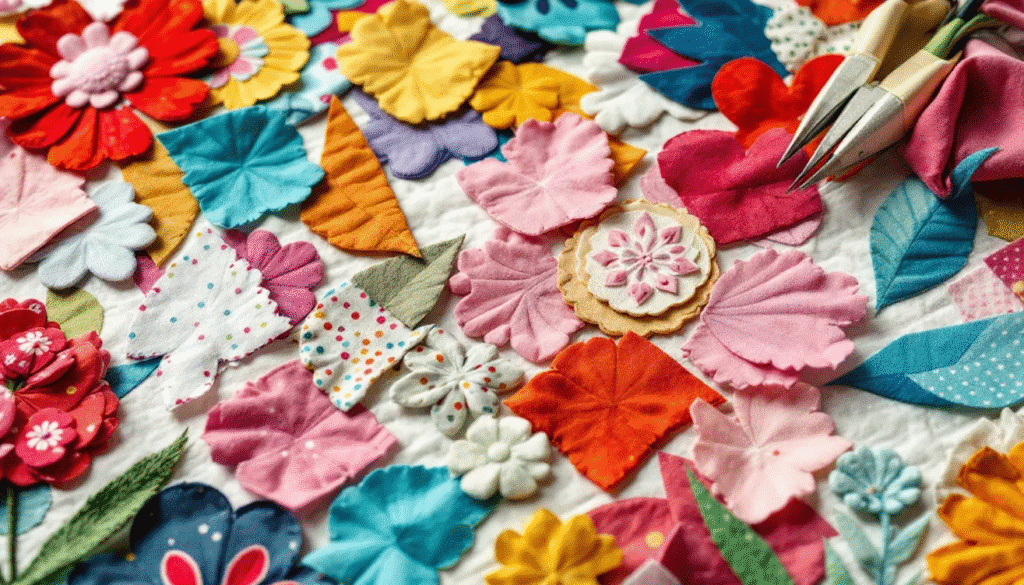
Precision is key when cutting and assembling the pieces of your appliqué. Sharp scissors are essential for cutting out fabric shapes accurately. Ensure all pieces align with the overall design to maintain a cohesive look.
We’ll discuss using templates and arranging pieces in more detail next.
Using Templates
Start by selecting a fusible web material to help adhere the fabric pieces, fusing the fabric together. Trace templates with a sharp pencil for precise lines, especially on darker materials. Transfer notch markings from templates to fabric to aid in accurate alignment during assembly.
Using iron-on adhesive can temporarily hold pieces in place, making hand glue stitching easier.
Arranging Pieces
Start by listing some forbidden forms of the keyword “screen” according to the rule 5. Before securing the cut pieces, lay them out on the background fabric to visualize the composition on the screen. This allows for adjustments in positioning and ensures proper overlap and alignment.
Temporarily securing pieces with pins helps in repositioning and ensures they cover any underlying transfer markings before stitching.
Stitching Techniques for Appliqué
Stitching techniques are essential for both securing fabric pieces and enhancing the overall design of your appliqué. There are two main categories: hand stitching and machine stitched. Each offers distinct advantages and creative possibilities.
Next, we’ll explore these technique techniques.
Hand Stitching
Hand stitching allows for meticulous and artistic fabric attachment. Popular methods include the blanket stitch and whip stitch, which provide both decorative and functional benefits. The blanket stitch creates a loop with the thread to secure the fabric edge, while the whip stitch wraps around the edges for a nearly invisible finish.
These techniques enhance both the durability and aesthetic of your appliqué.
Machine Stitching
Machine stitching offers efficiency and versatility. Common stitch types include:
- Zigzag stitches: allow for secure attachment and decorative effects.
- Straight stitches: provide a clean, minimalistic finish but may lead to fraying if not applied carefully along the edges.
- Using a stabilizer: prevents distortion and ensures even stitching.
In machine appliqué, the blanket stitch involves a straight stitch followed by a perpendicular bite into the appliqué shape.
Adding Embellishments
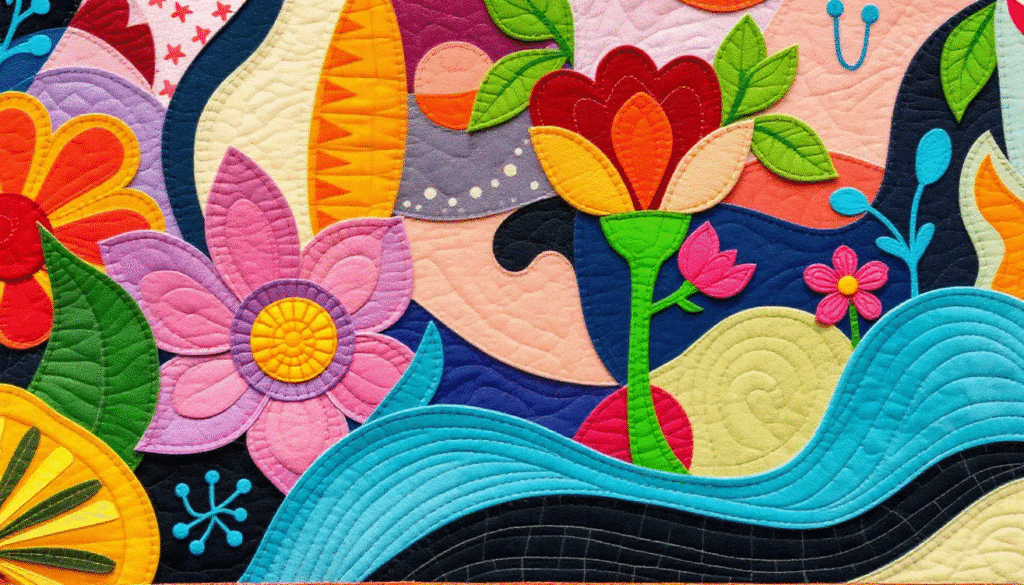
Embellishments can significantly enhance the visual appeal of your decoration appliqué. Incorporating elements like embroidery, beads, and sequins adds unique textures and dimensions.
Next, we’ll delve into embroidery details and the use of beads and sequins.
Embroidery Details
Embroidery techniques can transform a simple appliqué into a dynamic artwork. Adding intricate stitches and textures makes the appliqued image of flowers more lively and detailed.
Fine embroidery enhances the texture and depth of the design, complementing the chosen fabric.
Beads and Sequins
Adding beads and sequins introduces sparkle and dimension to your appliqué. These elements create a three-dimensional effect, making your design more eye-catching and dynamic.
Materials like glitter vinyl can also enhance your designs with sparkle and structure.
Finishing Touches
Finishing touches are crucial for an accomplished polished final look. This includes trimming edges, securing threads with a needle, and caring for the finished appliqué patches that are attached.
Next, we’ll covered these aspects in detail.
Trimming Edges
Neatly trimming the edges of your appliqué pieces is essential for a professional finish. Use sharp scissors to achieve clean, even cuts without fraying. Leave a small border when trimming to ensure a precise cut.
Specialized scissors can assist in achieving clean and precise edges with the right tools.
Securing Threads
Securing loose threads is important to prevent unraveling and ensure the longevity of your appliqué. Tie off or secure loose threads after finishing the stitching.
Techniques like back-stitching at the beginning and end of your sewing or using a fray check solution can prevent sewn threads from unraveling.
Washing and Care
Proper washing and care will maintain the quality and appearance of your appliqué. Use gentle washing methods like hand washing or professional dry cleaning. Avoid harsh washing methods and high temperatures to prevent damage to the fabrics and stitching.
Using cold water and a gentle wash cycle preserves the fabric’s integrity.
Displaying Your Appliqué Art
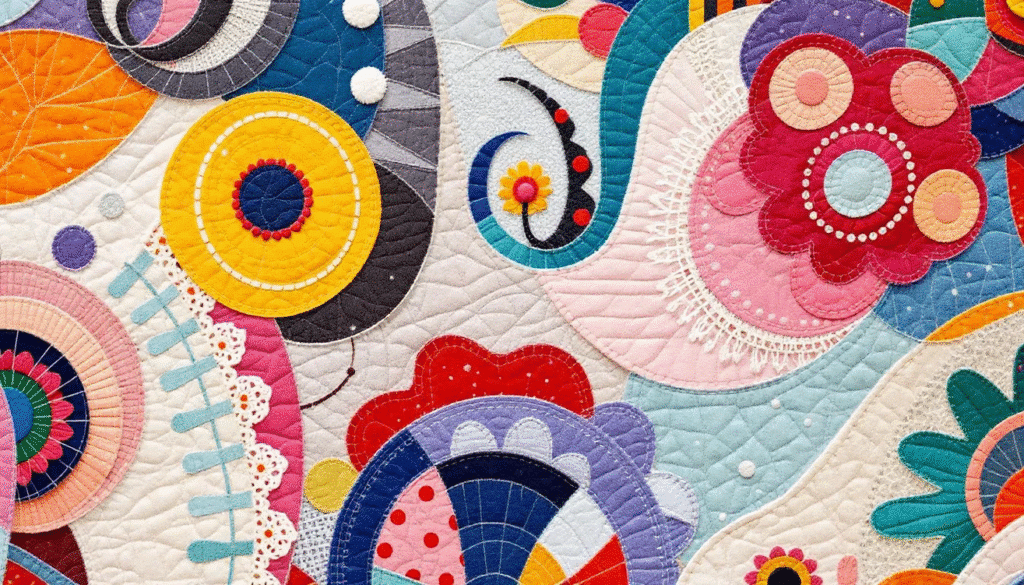
Displaying your appliqué art enhances its visual appeal and allows you to showcase your creative efforts. Consider framing, incorporating into quilts, or sewing onto clothing.
Next, we’ll explore these methods in more detail.
Framing
Choosing the right frame is crucial for showcasing your appliqué art effectively. Using deep frames ensures that multiple layers of fabric fit comfortably without distortion. Secure the appliqué within the frame to prevent any shifting, which could distort the design.
Consider how the framed appliqué will be hung or displayed on the wall to ensure it is easily visible and showcases the artwork effectively.
Quilting
Incorporating appliqué into quilts can elevate their design by adding layers of texture and intricate applique patterns that tell a story. Strategically placing appliqué pieces within the overall quilt design ensures they blend harmoniously and create a unique focal point.
This approach enhances the quilt’s artistic value, making it a more personalized and engaging piece.
Clothing
Adding appliqué to clothing is a fantastic way to create unique, personalized garments. Proper stitching techniques, such as using a stabilizer to prevent fabric distortion and securing edges with a straight or zigzag stitch, are essential for durability and a professional finish.
This method transforms everyday clothing into wearable art, adding a touch of creativity and fun, lol, to your dress wardrobe that was created through this unique cloth creation.
Summary
Turning a photo into an appliqué is a beautiful way to preserve memories and create unique art pieces. From choosing the right photo and preparing it, to selecting fabrics, cutting, assembling, stitching, and adding embellishments, every step is an opportunity to infuse your personal touch into the project. The meticulous process of securing threads and caring for the finished piece ensures that your art will stand the test of time.
Whether framed, incorporated into quilts, or sewn onto clothing, your appliqué art can be showcased in various creative ways. This guide provides all the knowledge you need to embark on this rewarding journey. So, gather your photos, fabrics, and tools, and let your creativity soar as you transform cherished images into stunning appliqué masterpieces.
Frequently Asked Questions
What types of photos are best for appliqué?
Clear, high-contrast photos with simple shapes are ideal for appliqué, as they translate better to fabric. Steer clear of busy backgrounds to make your project easier!
How can I create an outline from my photo?
You can create an outline from your photo by tracing it with tracing paper or a light box. Alternatively, consider using mobile apps designed to convert photos into line drawings for a quick and easy option.
What fabrics are ideal for appliqué?
Quilting cotton is your best bet for appliqué because of its firm weave and durability, and batiks are fantastic for matching colors with their rich, varied hues.
What are some popular stitching techniques for appliqué?
Popular stitching techniques for appliqué include hand stitching methods like blanket and whip stitch, along with machine stitching options like zigzag and straight stitch. These techniques help create beautiful and lasting designs!
How should I care for my finished appliqué piece?
To care for your finished appliqué piece, stick to gentle washing methods like hand washing or professional dry cleaning, and steer clear of harsh methods and high temperatures. This will help maintain the integrity of your fabric and stitching!
