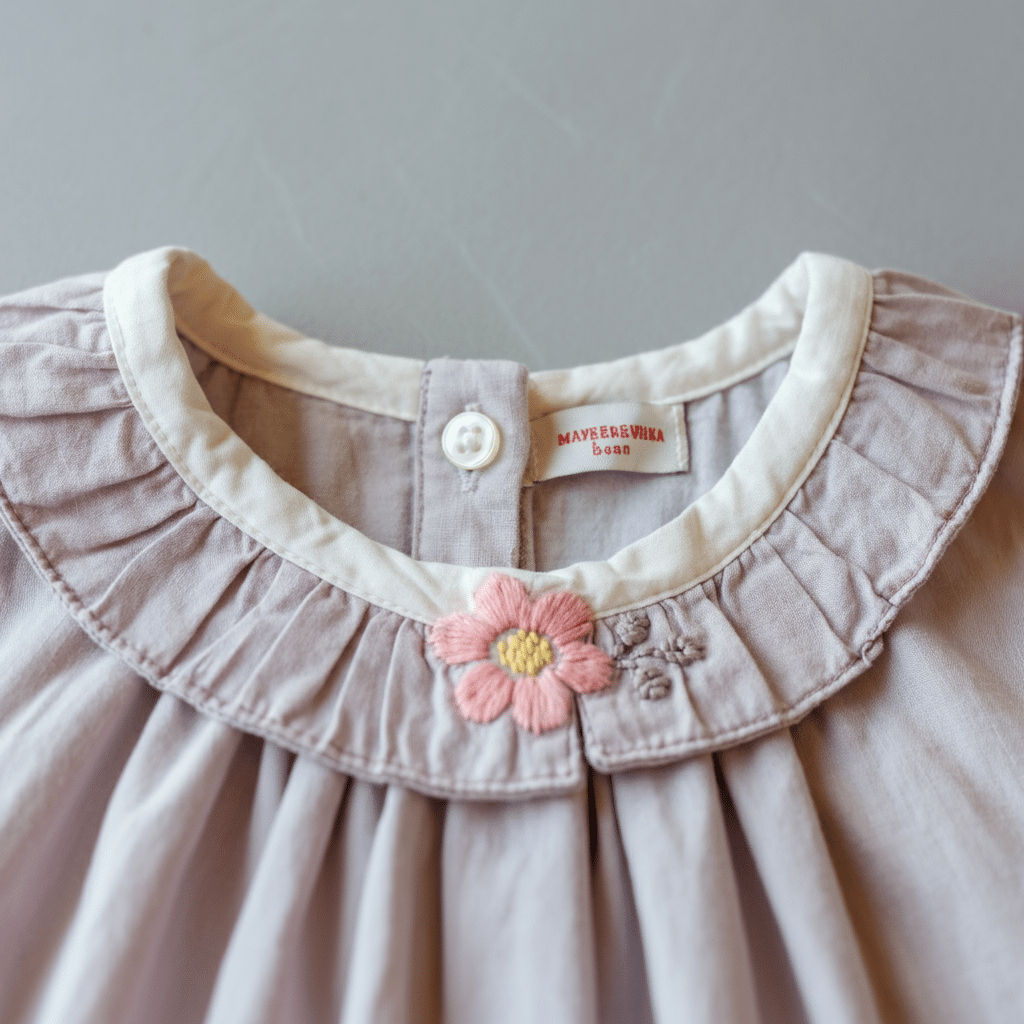
Creating a little girls dress from shirt is a wonderful way to upcycle an old button-down. I love taking something that is no longer worn and giving it a completely new life. This project is perfect for anyone with basic sewing skills. You can transform a men’s dress shirt into a cute and stylish dress for a special little one in your life. It’s a simple, rewarding project that saves fabric and money. Plus, the final product is a one-of-a-kind piece with a personal touch. This guide will walk you through every step, from picking the right shirt to adding the final, charming details. Let’s get started on this fun sewing adventure!
Why Upcycle a Shirt into a Dress?
Turning an old shirt into a dress is more than just a craft project. It’s a smart and creative choice for many reasons.
It’s Good for the Planet
Fast fashion creates a lot of waste. When we upcycle clothes, we keep them out of landfills. Making a dress from an old shirt gives that fabric a second chance. It’s a small step that helps reduce our environmental footprint. Every time I finish a project like this, I feel good knowing I’ve made a sustainable choice.
It Saves You Money
Kids grow so fast. Buying new clothes for every growth spurt can get expensive. Using a shirt you already have, or one you find at a thrift store, is a very budget-friendly option. You can create a beautiful, “new” dress for next to nothing. This lets you save your money for other things, like fun outings or more craft supplies!
Create Something Unique
Store-bought dresses are fine, but they can be a bit generic. When you make a dress yourself, you create something truly special. You can choose the shirt, the style, and the embellishments. The final dress will be as unique as the child who wears it. People will ask where you bought it, and you can proudly say, “I made it!”
Choosing the Perfect Shirt
The first step is finding the right shirt. Not all shirts are created equal for this project. Here’s what I look for.
Fabric is Key
The type of fabric will affect the look and feel of the dress.
- Cotton: This is my top choice. Men’s dress shirts are often made from high-quality cotton. It’s soft, breathable, and easy to sew. It holds its shape well and is comfortable for a child to wear.
- Linen: Linen blends are another great option. They are lightweight and perfect for summer dresses. Linen can wrinkle easily, but that’s part of its charm.
- Flannel: A soft flannel shirt makes a cozy dress for cooler weather. Imagine a cute plaid dress for autumn! It’s warm and comfortable.
I usually avoid fabrics with a lot of stretch, like jersey knit. They can be tricky to work with and may not hold the dress’s shape as well as woven fabrics.
Size Matters
A larger shirt gives you more fabric to work with. I always recommend using a men’s large or extra-large shirt. This ensures you have enough material for the dress body and any extra details like ruffles or sashes. A bigger shirt provides a larger canvas for your creativity.
Pattern and Color
This is the fun part! Look for patterns and colors you love.
- Classic Stripes: Pinstripes or wider stripes look very smart and classic.
- Plaid: Plaid shirts create a timeless, rustic look.
- Solid Colors: A solid-colored shirt is a blank slate. You can add fun appliqué, embroidery, or contrasting fabric details.
- Small Prints: Tiny floral or geometric prints can also be very sweet for a little girl’s dress.
Think about the personality of the child who will wear the dress. Choose a shirt that you think they will love to wear.
What You Will Need: Gathering Your Supplies
Before you start cutting, make sure you have all your tools ready. This makes the whole process smoother.
Essential Sewing Tools
- Sewing Machine: While you can sew this by hand, a machine makes it much faster and gives you stronger seams.
- Fabric Scissors: A sharp pair of scissors dedicated to fabric is a must. They will give you clean, precise cuts.
- Pins or Clips: To hold your fabric pieces together while you sew.
- Seam Ripper: For those inevitable “oops” moments. Don’t worry, every sewer needs one!
- Measuring Tape: For accurate measurements.
- Thread: Choose a thread that matches your shirt.
- Iron and Ironing Board: Pressing your seams as you go is the secret to a professional-looking finish.
Dress Pattern or Guide
You will need a guide for the shape of your dress.
- Existing Dress: The easiest method is to use a dress that currently fits the child. You can trace around it to get the right size and shape for the bodice and armholes.
- Paper Pattern: You can also buy a simple A-line or peasant dress pattern. Look for one designed for woven fabrics. You can often find free patterns online, too.
Optional Embellishments
This is where you can get really creative.
- Elastic: For creating a gathered waist or neckline. I like using 1/4-inch or 1/2-inch elastic.
- Buttons: You might reuse the shirt’s buttons or add some fun, colorful new ones.
- Ribbon or Lace: To add trim to the hem, sleeves, or neckline.
- Bias Tape: For finishing necklines and armholes neatly. You can buy it or make your own from contrasting fabric.
Step-by-Step Instructions: Making the Dress

Ready to start sewing? Let’s break it down into simple steps. I’ll be using an existing dress as a pattern guide for this tutorial.
Step 1: Prepare the Shirt
First, wash and iron the shirt. This preshrinks the fabric and makes it easier to cut accurately. Then, lay the shirt flat on your work surface. Button it up completely. Smooth out any wrinkles.
Step 2: Cut Out the Dress Pieces
This is the most important cutting step. Take your time to get it right.
- Lay Out Your Guide Dress: Fold the existing dress in half lengthwise and place it on top of the buttoned shirt.
- Align the Bodice: Line up the shoulder of the guide dress with the shoulder seam of the shirt. Make sure the center front of the guide dress is aligned with the button placket of the shirt. The shirt’s buttons will become the front or back closure of your new dress. I personally love having the buttons on the back.
- Trace and Cut: Carefully trace around the neckline, shoulder, and armhole of the guide dress, adding about a 1/2-inch seam allowance. For the side seams, trace along the side of the guide dress, flaring out towards the bottom hem to create an A-line shape. The length is up to you! Cut along your traced lines through both layers of the shirt. You will now have a front and back piece for your dress.
Pro-Tip: The original hem of the shirt can be used as the hem of your dress. This saves you a step later! Just align the hem of your guide dress with the hem of the shirt when you are tracing.
Step 3: Sew the Shoulders and Sides
Place the front and back dress pieces with the right sides of the fabric facing each other.
- Pin the Shoulders: Line up the shoulder seams and pin them in place.
- Sew the Shoulders: Sew the shoulder seams using your sewing machine with a 1/2-inch seam allowance.
- Pin the Sides: Now, line up the side seams from the armhole down to the hem. Pin them securely.
- Sew the Sides: Sew both side seams.
- Finish the Seams: To prevent fraying, finish the raw edges of your shoulder and side seams. You can use a zigzag stitch on your machine or a serger if you have one.
After sewing, press the seams open with your iron. This gives a crisp, clean look.
Step 4: Finishing the Neckline and Armholes

There are a few ways to finish the neckline and armholes. My favorite method for a clean finish is using bias tape.
Using Bias Tape
- Open the Bias Tape: Unfold one side of your double-fold bias tape.
- Pin to the Raw Edge: With right sides together, pin the raw edge of the bias tape to the raw edge of the neckline.
- Sew in the Crease: Stitch along the first crease of the bias tape.
- Fold and Topstitch: Fold the bias tape over the raw edge to the inside of the dress. Press it flat with your iron. Topstitch it in place from the right side of the dress, close to the edge of the tape.
Repeat this process for both armholes. This technique gives a very neat and durable finish. It looks professional and feels comfortable against the skin.
Step 5: Hemming the Dress (If Needed)
If you didn’t use the shirt’s original hem, you will need to create a new one.
- Fold and Press: Fold the bottom raw edge up by 1/4 inch and press.
- Fold and Press Again: Fold it up again by about 1/2 inch or 1 inch, depending on your preference. Press it again.
- Stitch the Hem: Sew along the top edge of the fold to secure the hem.
Customizing Your Little Girl’s Dress
Now that the basic dress is complete, you can add your own personal touches. This is what makes a handmade item so special.
Add a Gathered Waist
A simple elastic waist can give the dress more shape.
- Mark the Waistline: Have the child try on the dress (or use your guide dress) to mark where the waist should be.
- Create a Casing: You can sew a casing on the inside of the dress using a strip of fabric or wide ribbon. Leave openings at both ends to thread the elastic through.
- Sew Elastic Directly: A quicker way is to mark the waistline and then sew the elastic directly to the inside of the dress. Use a zigzag stitch, stretching the elastic as you sew. The fabric will gather up nicely when the elastic relaxes.
Fun Sleeve Options
The armholes you finished with bias tape create a cute sleeveless look. But you can also add sleeves if you have enough leftover fabric from the shirt’s sleeves.
- Simple Cap Sleeves: Cut small, curved pieces of fabric and sew them into the armholes before finishing with bias tape.
- Ruffle Sleeves: Cut long strips of fabric, gather one edge, and sew the gathered edge into the armhole for a sweet, fluttery look.
Pockets Are Always a Good Idea
What little one doesn’t love pockets for storing treasures?
- Patch Pockets: Cut two squares or rectangles from the leftover shirt fabric. Hem the top edge of each pocket. Then, fold the other three sides under, press, and topstitch the pockets onto the front of the dress.
- In-Seam Pockets: This is a more advanced technique, but it creates hidden pockets in the side seams. You’ll need a pattern piece for the pocket bags.
Add Some Extra Flair
Small details can make a big impact.
- Contrasting Collar: If you’re feeling adventurous, you can use the original shirt collar to add a Peter Pan collar to the dress.
- Sash or Belt: Use a long strip of leftover fabric or a pretty ribbon to create a sash that ties at the waist.
- Embroidery: A small hand-embroidered flower or initial adds a beautiful, personal touch.
This project is all about being creative and resourceful. There is no single right way to do it. Have fun experimenting with different ideas. The result will be a charming and unique piece of clothing made with love. I find so much joy in seeing a simple shirt transformed into an adorable and practical little girls dress from shirt.


