Want to make a cardboard sword? This guide offers easy, step-by-step instructions with materials you already have. Great for a quick, fun project.
Key Takeaways
- Gather simple materials like cardboard, foil, and markers to create a cardboard sword.
- Follow step-by-step instructions to shape, cut, and assemble your sword, ensuring safety throughout the process.
- Personalize your sword with decorations and crafts to enhance creativity and make it uniquely yours.
Materials You Will Need

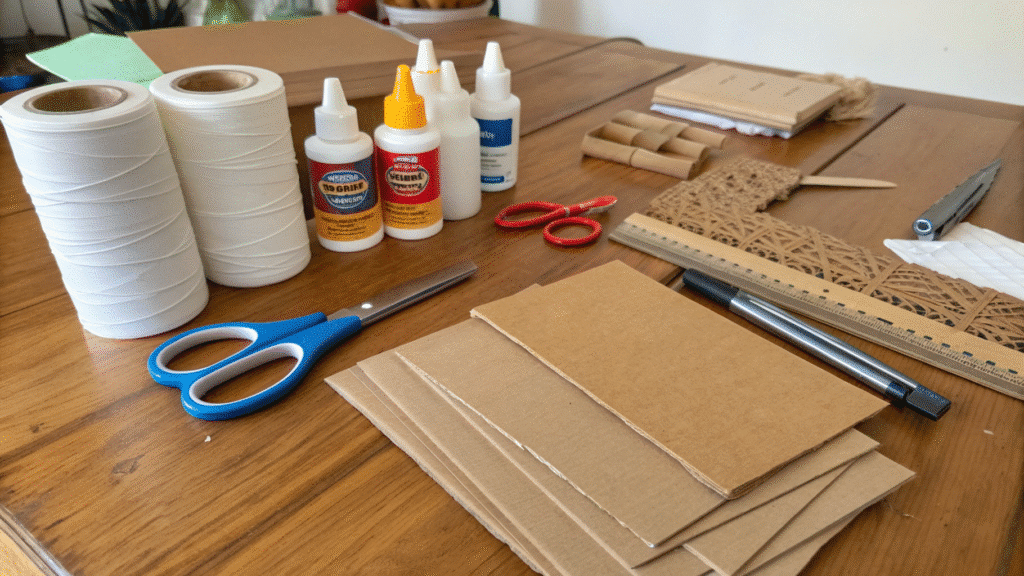
To start the crafting fun, gather some basic materials. Most of these items are likely already at hand or readily available in a craft kit:
- Cardboard (two large boxes and one cereal box work great)
- Kitchen foil for a shiny blade
- Markers
- Tape
- Scissors
- String
These materials can usually be found around the home or quickly sourced from a nearby store, depending on availability. You can also find this optional information content with easy to follow instructions at various online retailers.
For decoration, use black paint, gold or silver marker pens, and string to add some flair to your color sword. These additional items will personalize your creation, making it uniquely yours.
With all your materials ready, proceed to continue drawing your sword shape to build.
Draw Your Sword Shape
The first step in creating your sword is to draw its shape on the cardboard. Follow the grain of the cardboard for strength and easier cutting. Tools like a ruler and a compass can help achieve precise measurements, giving your sword a professional look.
Draw the blade with a pointy end made of identical triangles and a hilt end with a rounded pommel. These details ensure your sword looks great and has the right balance and structure. Once satisfied with your design, cut it out.
Cut Out Your Sword
Cutting out your sword shape is where the fun truly begins. Follow these steps:
- Trace around any existing folds or creases in the cardboard to maintain its structural integrity.
- Always cut away from your body.
- Supervise children to prevent accidental injuries.
Cut slowly and carefully to avoid mistakes. This step is crucial as it lays the foundation for your entire project. Once you’ve successfully cut out your sword shape, you’re one step closer to wielding your cardboard masterpiece.
Create the Blade
Create the shining blade of your sword by placing a piece of kitchen foil along the center of one side of the blade. Wrap the foil around, securing it properly to prevent it from coming loose.
At the pointed end of the blade, fold the edges down neatly for a clean finish. Fold the corners down and glue or tape them in place for added security. This ensures your blade looks sharp and stays intact during all your epic battles.
Making the Hilt

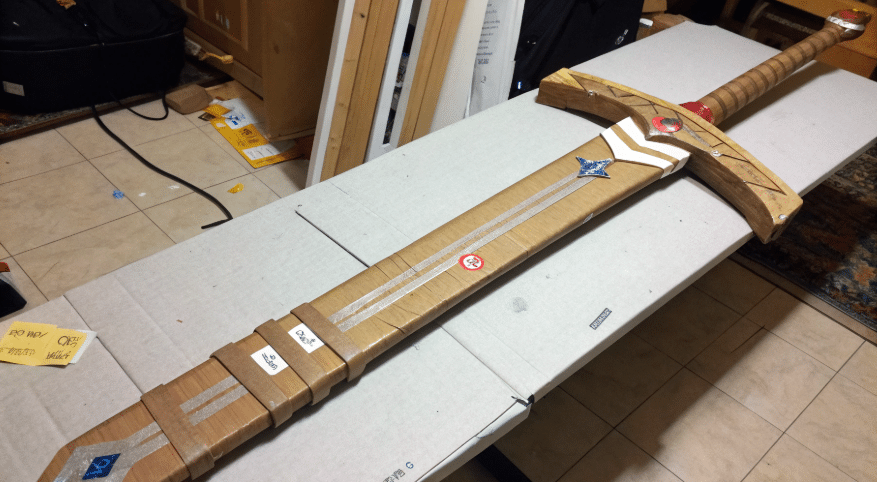
Cut a hole in the center of a cardboard tube large enough for the blade to pass through to make the hilt. Slide the hilt onto the blade and secure it with tape. For added strength, stuff the hilt with additional cardboard before securing it.
Wrap the hilt with colored tape or string to enhance its appearance and hide its imperfections. This adds aesthetic appeal and provides a better grip.
With your sword taking shape, it’s time to craft the cross guard.
Crafting the Cross Guard
The cross guard provides both functionality and style. Recommended dimensions are 6cm in width and 10cm in length. To locate the center accurately, draw straight lines between each corner and the midpoint of each side to measure for a long-lasting design in the middle.
After cutting, slide the cross guard down the blade and tape it to the hilt underneath. Exercise caution while cutting to ensure safety and precision. With the cross guard in place, your sword is nearly complete and ready for assembly.
Assemble Your Sword

Assembling your sword is a critical step. Follow these guidelines:
- Attach the components securely with adhesives like school glue or hot glue.
- Use masking tape to hold pieces in place while the glue dries.
- Ensure the hilt is tightly wrapped around the bottom edge of the blade and cross-guard.
For a stronger bond, use a hot glue gun. Tape the hilt to the pommel-end and fold it around the blade for added durability.
Decorate your sword with various types of paint and glitter glue for a shimmering effect. Your sword is now ready for personalization.
Personalize Your Sword
Encourage kids to personalize their swords by:
- Naming their swords to reflect their personalities.
- Using various colors to paint or decorate the sword, making it uniquely theirs.
- Adding personal symbols or designs to enhance the uniqueness of each creation.
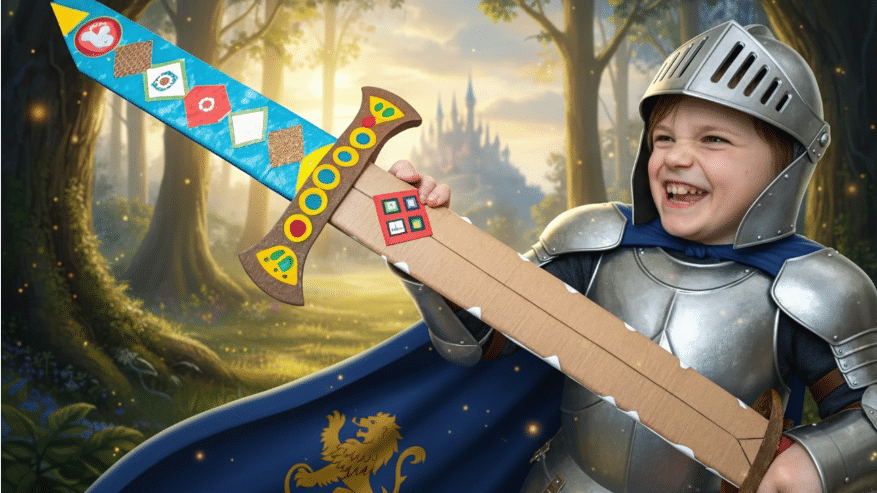
For a final touch, paint the handle brown or black and use gold or silver markers for patterns. Consider making a matching shield with a heraldic symbol to complete the set. Your personalized sword is now ready for adventure!
Additional Craft Activities

Complement your sword with a shield featuring a significant heraldic symbol for an enhanced crafting experience. Choose this option for a more personalized touch.
For themed playdates, kids can create fun dinosaur feet using craft foam, scissors, glue, paint, and a date. These additional projects spark creativity and imagination.
Tips for Safe Crafting
Safety first! Using the right tool minimizes the risk of injury. Inspect all tools before use, as dull blades require more force and increase the chance of accidents and error. Protective gear, such as safety glasses and cut-resistant gloves, is recommended while crafting.
Store sharp tools securely when not in use to avoid accidental injuries. To protect against enhanced safety, use rounded tips on children’s cardboard swords. Stay safe and enjoy crafting!
Benefits of Crafting with Kids

Crafting offers numerous benefits for kids, including:
- Allowing them to express their individuality and creativity by personalizing their projects.
- Enhancing fine motor skills through tasks like cutting, drawing, and assembling components.
- Improving hand-eye coordination, which is essential for every child.
Engaging in crafting together provides the whole family with a chance to bond over shared creativity and collaborative projects in the arts. It’s a fun and educational activity for kids of all ages, fostering a loved for crafts and creativity that has always been enjoyed.
Summary
In summary, crafting a cardboard sword is a fun and rewarding activity. From gathering materials to personalizing your creation, this project offers endless opportunities for creativity and bonding. It’s an easy and enjoyable way to spend time with family and friends.
So, what are you waiting for? Grab your craft kit and start your crafting adventure today. Let your imagination run wild and enjoy the process. Happy crafting!
Frequently Asked Questions
What materials do I need to make a cardboard sword?
To make a cardboard sword, you’ll need cardboard, foil, tape, scissors, and markers. Feel free to add some paint for extra flair!
How do I draw the sword shape?
To draw a sword shape, make sure to create a pointy blade with symmetrical triangles, and remember to round off the pommel at the hilt for that classic look. Using tools like a ruler and compass will help keep everything precise and strong.
How do I make the blade shiny?
To make the blade shiny, wrap kitchen foil around it snugly and secure the edges with glue or tape. This simple trick will help restore its shine!
Are there any safety tips for crafting?
Absolutely! Always use the right tools and wear protective gear, like safety glasses and gloves. Additionally, make sure to store sharp tools securely to avoid accidents.
What are the benefits of crafting with kids?
Crafting with kids is a fantastic way to boost their creativity while improving their fine motor skills and hand-eye coordination. Plus, it creates wonderful bonding moments for the entire family!


