Looking to create a pinwheel hairclip craft for kids? Follow our easy step-by-step guide to make fun, durable hairclips your kids will love.
Key Takeaways
- Gather eco-friendly felt and basic supplies like scissors, glue, and clips before starting your pinwheel hair clip project.
- Follow the step-by-step tutorial to cut, fold, and assemble your pinwheel, adding personal touches with unique fabrics and embellishments.
- Encourage creativity by trying different fabric sizes and themed decorations, and share your completed creations with friends or on social media.
Supplies You’ll Need
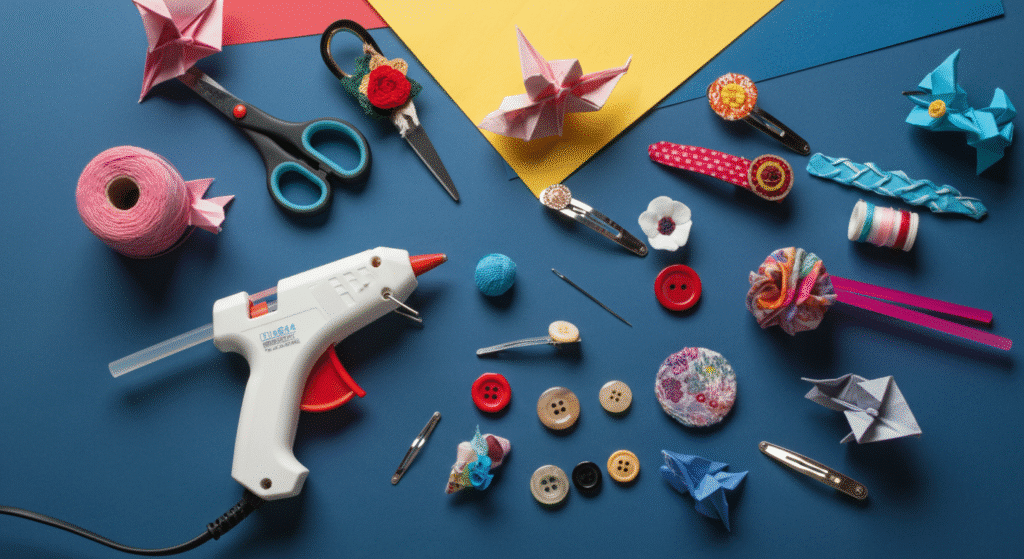
Gather all the supplies before starting. You’ll need two sheets of eco-friendly felt in different colors, which is ideal as it’s easy to cut and doesn’t fray. Also, have various fabric squares, typically ranging from 3 to 5 inches, to create the layers of your pinwheel.
Other supplies to have on hand are:
- scissors
- a hot glue gun
- needle and thread
- buttons for embellishment
- the hair clips themselves
Preparing everything in advance will make the planning and crafting process smooth and excited.
Step-by-Step Pinwheel Hair Clip Tutorial
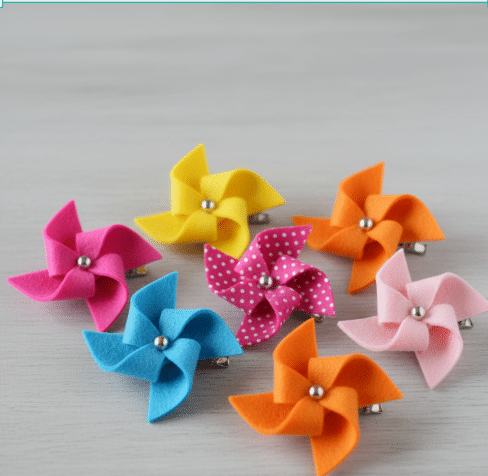
Now that you have all your supplies ready, it’s time to start crafting! This great tutorial will guide you through each step of making a pinwheel hair clip, ensuring that you can follow along easily and create beautiful, durable hair clips that your kids will love to wear.
Let’s dive into the video details at the end. Thanks.
Cutting and Preparing the Fabric
Begin by cutting the fabric into squares, ensuring the edges are clean to prevent fraying. Neatly cut edges are essential for a tidy finish and will simplify the upcoming steps.
Fold each fabric square in half twice to create smaller squares. Trim a rounded curve from one corner to achieve a circular shape when unfolded, forming the base of your pinwheel.
Cut from the corners towards the center without going all the way through. This allows the fabric to fold correctly, giving your pinwheel its iconic shape.
Folding and Shaping the Pinwheel
With the fabric squares ready, fold each square in half twice to create smaller squares, just as in the preparation stage. This helps in accurately shaping the pinwheel.
Take one corner of the folded square and bring it towards the center. Repeat for all four corners to form the pinwheel shape. This step can be tricky, but practice will help.
After folding all the corners, stack the pinwheel layers on top of each other to add depth and dimension. Secure the layers with a button by stitching through the center to keep everything in place.
Assembling the Pinwheel Hair Clip
Now, assemble your pinwheel hair clip. Use hot glue to secure the pinwheel points to the center, ensuring a strong bond for durability.
Attach the pinwheel to the hair clip using glue or stitching, depending on your preference. Stitching offers added security, while glue is quicker and easier, especially with kids.
Once the pinwheel is securely attached to the hair clip, your project is complete! You’ve crafted a beautiful, durable pinwheel hair clip that your kids will enjoy wearing.
Adding Personal Touches
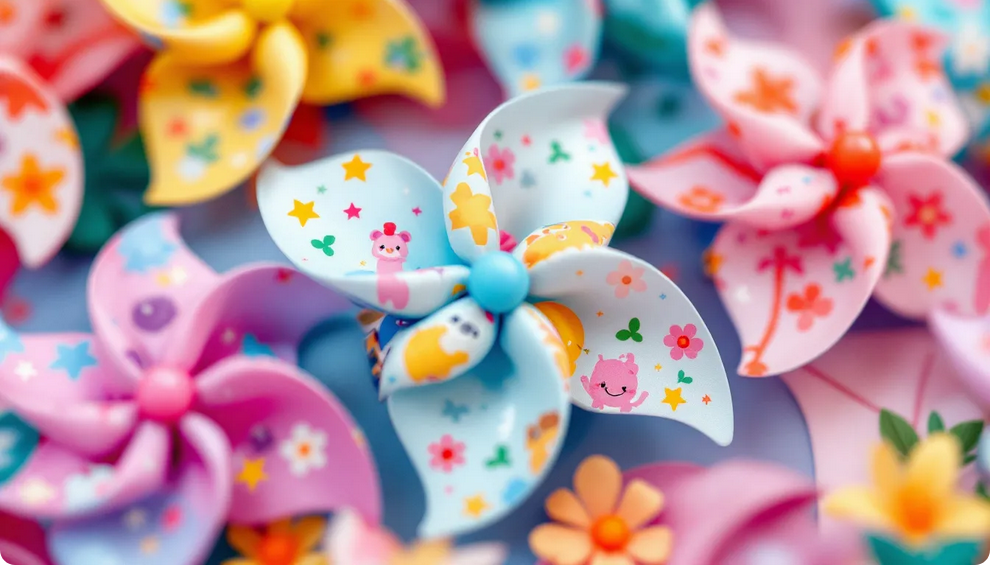
Adding personal touches is one of the best parts of crafting. Use different fabrics to enhance the visual appeal of your pinwheel hair clips. Combine fabrics with unique patterns and colors to match various outfits and occasions.
Embellishments like:
- buttons
- beads
- glitter
- sequins can add a fun sparkle that kids will love. Painting or using fabric markers on the pinwheel allows for unique artistic expression, making each clip one-of-a-kind.
Layer multiple color colors for a vibrant, multi-dimensional effect. Mini pinwheel clips can be a cute piece, manageable option for younger children, perfect for any variety of occasion.
Fun Variations for Kids
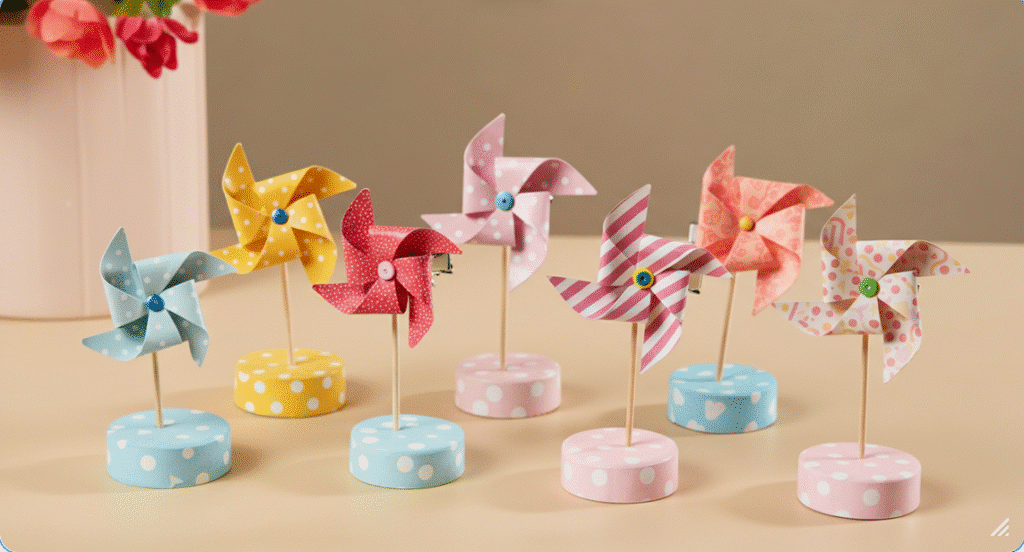
Creating variations of your pinwheel hair clips can make crafting even more fun for kids. Cut fabric squares into different sizes, such as 3, 4, and 5 inches, to create layered pinwheels with a unique look.
Themed decorations like flowers, stars, or favorite characters can personalize the hair clips for special occasions, such as kid’s birthday party or summer events. These themes add excitement and make the hair clips even more special.
Combining two pinwheels of different red colors creates a striking design that stands out. Encourage your kids to experiment with different combinations to find their favorites.
Tips for a Successful Crafting Session
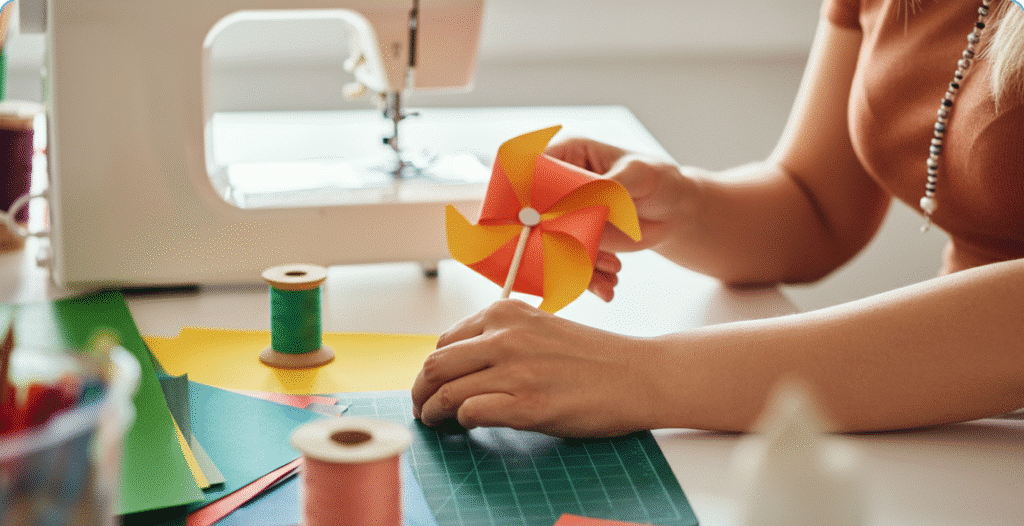
For a successful crafting session, consider using a sew machine to expedite the process, especially if making multiple pinwheels. This saves time and makes crafting more enjoyable.
If you love crafting, designate portions of the project for yourself. This helps manage the process and fosters a relaxed crafting environment. Remember, it’s okay to discard some crafts. The joy and learning from creating are often more valuable than the finished product in a DIY context.
Sharing Your Creations
After crafting your beautiful pinwheel hair clips, you can:
- Share them with friends and family.
- Use social media platforms like Instagram to showcase your colorful pinwheels.
- Find inspiration from other crafters on these platforms.
Engage with the crafting community by comment on blog post and sharing photos of your completed projects. This spreads joy and inspires others to get creative and start their own crafting journeys.
Summary
In summary, making DIY pinwheel hair clips is a fun and easy craft that you can enjoy with your kids. From gathering supplies and cutting fabric to adding personal touches and sharing your creations, this project offers endless possibilities for creativity and fun.
So why wait? Gather your supplies and start crafting today. Your kids will love the colorful and whimsical hair clips, and you’ll cherish the memories of creating something special together.
Frequently Asked Questions
What type of fabric is best for making pinwheel hair clips?
Felt and fabric squares in sizes of 3 to 5 inches are your best bets for making cute pinwheel hair clips. They’re eco-friendly and super easy to work with!
How do I prevent the fabric from fraying?
To prevent fabric from fraying, make clean cuts and consider using materials like felt that don’t fray at all. Simple steps like these can save you from future headaches!
Can I use something other than a button to secure the pinwheel?
Absolutely, you can use beads or other small decorative items instead of buttons to secure your pinwheel! Get creative with it!
How can I make the pinwheel hair clips more durable?
To make your pinwheel hair clips more durable, use hot glue or stitch them to the hair clip for a stronger hold. It’ll keep them looking great for longer!
What are some fun variations I can try for a kid’s birthday party?
Get creative with themed decorations by using seasonal motifs or favorite characters on things like hair clips. It’ll add a fun touch to the party that kids will love!
