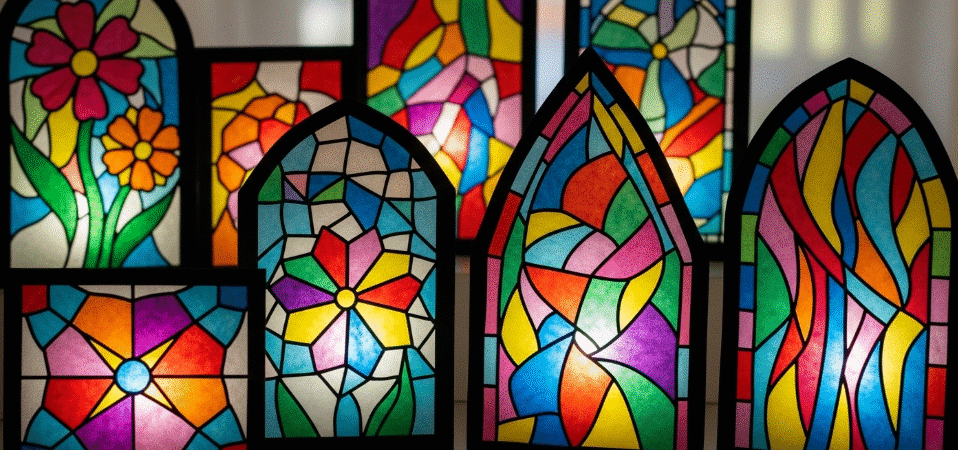
Tissue paper stained glass crafts are easy and fun projects that anyone can do. This guide will show you how to make beautiful stained glass art using simple materials like tissue paper, contact paper, and black construction paper. Follow along to create your own colorful designs.
Key Takeaways
- You’ll need see-through tissue paper, black construction paper, and clear contact paper to create vibrant stained glass art.
- The crafting process involves cutting, arranging, and sealing tissue paper, promoting creativity while developing fine motor skills in kids.
- For display, hang your creations in windows or make a mobile to catch the light, enhancing the beauty of your tissue paper art.
- Materials Needed for Tissue Paper Stained Glass Crafts
- Preparing the Tissue Paper and Contact Paper
- Creating Your Stained Glass Design
- Sealing and Displaying Your Artwork
- Using Wax Paper and Liquid Starch
- Double-Sided Tissue Paper Stained Glass
- Variations with Construction Paper Frames
- Making Stained Glass Shamrocks
- Tips for Mess-Free Crafting
- Benefits for Fine Motor Skills Development
- Display Ideas for Your Finished Art
- Summary
- Frequently Asked Questions
Materials Needed for Tissue Paper Stained Glass Crafts
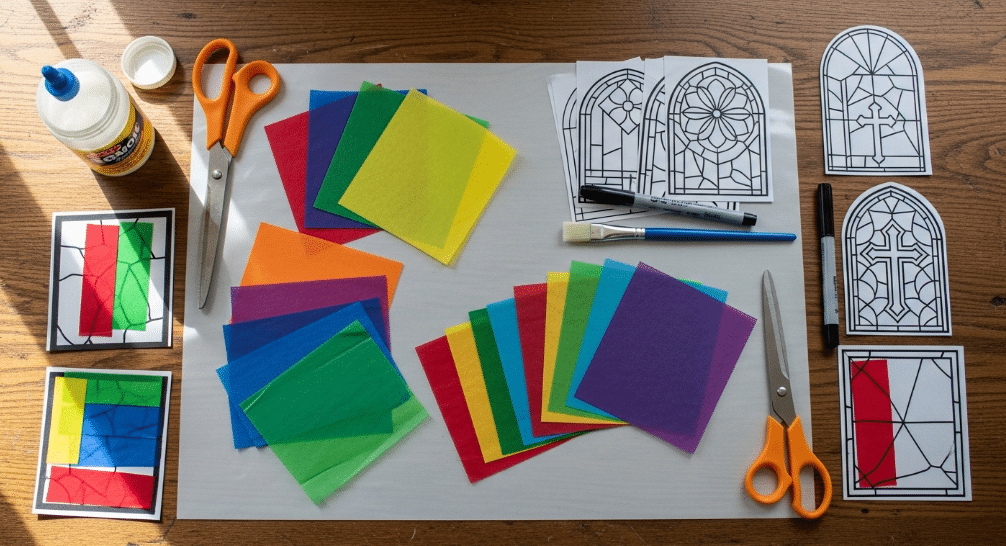
To begin your tissue paper stained glass project, gather the following materials:
- See-through tissue paper in various colors, which will add vibrancy and beauty to your artwork
- High-quality black construction paper, such as Tru-ray, to frame your stained glass art
- Clear contact paper to adhere the tissue paper to your design, making the process seamless and mess-free
With these materials, you’re ready to start your creative journey. The colored tissue paper and black construction paper create a striking contrast, making your designs pop. The contact paper holds everything together and gives your stained glass craft a polished look. Additionally, using black paper can enhance your designs even further.
Now that you have all the steps and the necessary step supplies, let’s move on to preparing them for crafting.
Preparing the Tissue Paper and Contact Paper
Before creating your tissue paper stained glass masterpiece, prepare your materials by:
- Cutting the tissue paper into various shapes and sizes.
- Using scissors, an X-acto knife, or a paper cutter for precise shaping.
- Pre-cutting the tissue paper to streamline the process and make it easier for children to select their preferred pieces.
Set up your contact paper by taping it down with the sticky side facing up, ensuring it’s secure and ready for the tissue paper shapes. This setup allows children to easily place the tissue paper directly onto the sticky contact paper without additional adhesives.
With your materials prepped and ready, you’re all set to start creating your stained glass design.
Creating Your Stained Glass Design
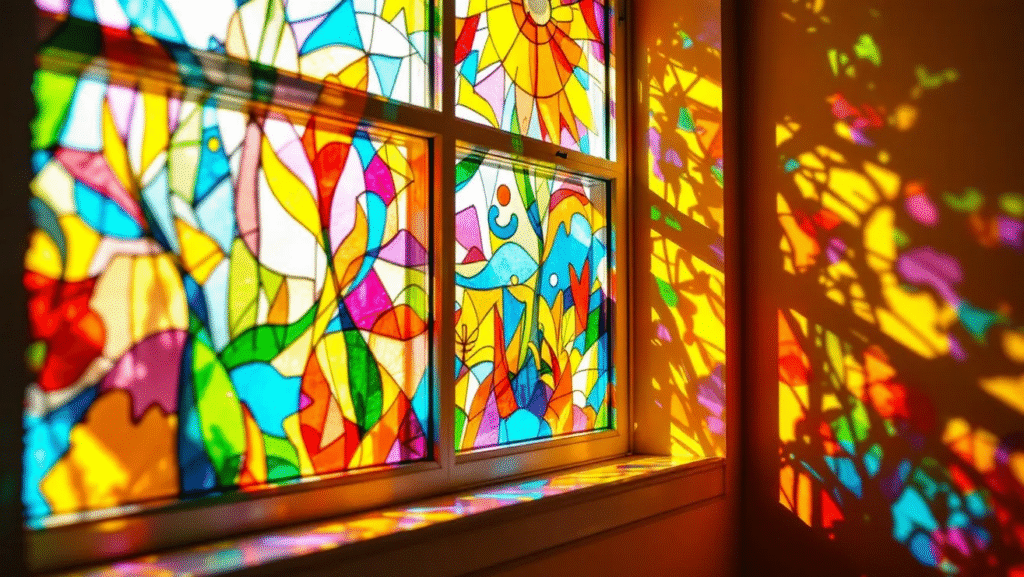
Start creating your stained glass design by organizing your different tissue paper shapes in baskets. This makes it easier for kids to select their preferred pieces and encourages creativity. Contact paper simplifies the process, allowing the tissue paper shapes to adhere easily without additional adhesives.
Encourage children to cut their own geometric shapes from tissue paper, promoting a creative activity and engagement. The process includes:
- Arranging and layering different colors and shapes on the contact paper
- Experimenting with various designs and combinations
- Once the design is complete, sealing and displaying the artwork
Sealing and Displaying Your Artwork
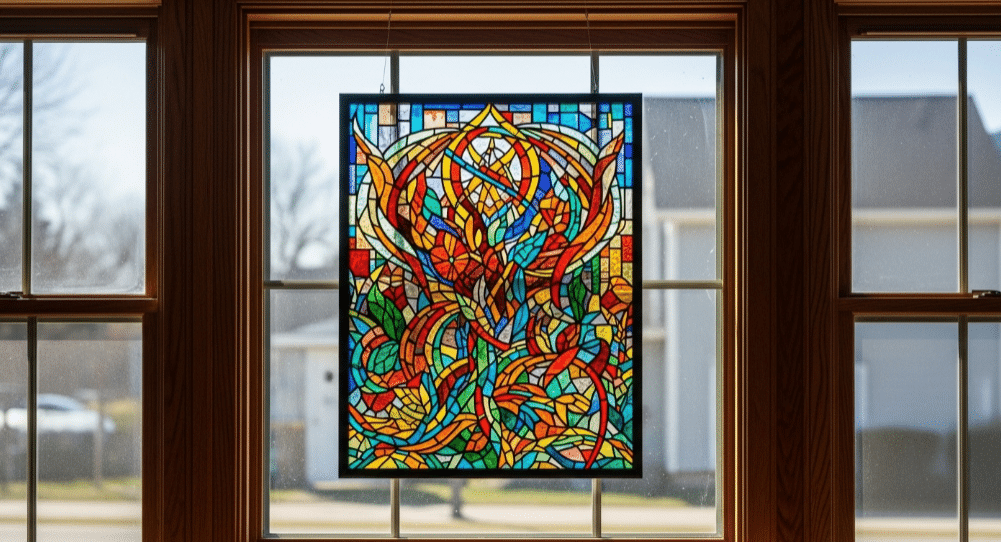
After filling in your design with tissue paper, seal it properly to ensure it stays intact. Fold the extra contact paper over to cover the back of your design, then trim the excess, leaving about a 1/4 inch around the edges. This technique secures the tissue paper and gives your stained glass craft a neat, finished look.
When it comes to displaying your artwork, the possibilities are endless. You can use clear tape to attach your stained glass creation to a sunny window or glass door, where the light can shine through and enhance the colors. Alternatively, punch a hole in the top and tie a string to hang it as a sun catcher.
However you choose to display it, your stained glass art is sure to brighten up any space, with a light shining through the vibrant colors.
Using Wax Paper and Liquid Starch
For those looking to try a different technique, using wax paper and liquid starch is a great alternative. Here’s how it works:
- Liquid starch acts as an adhesive for tissue paper shapes on wax paper.
- This allows you to create a translucent effect similar to traditional stained glass.
- Simply paint the liquid starch over the tissue paper to secure it in place.
- The liquid starch also gives the piece a glossy finish.
This method offers a unique creative process:
- Start with a large piece of wax paper.
- Let children place their own tissue paper shapes on it.
- Paint the liquid starch over the whole thing, ensuring all the shapes are sticking adhered.
This technique not only adds a gorgeous glossy finish but also provides a different way to enjoy tissue paper stained glass crafting.
Double-Sided Tissue Paper Stained Glass
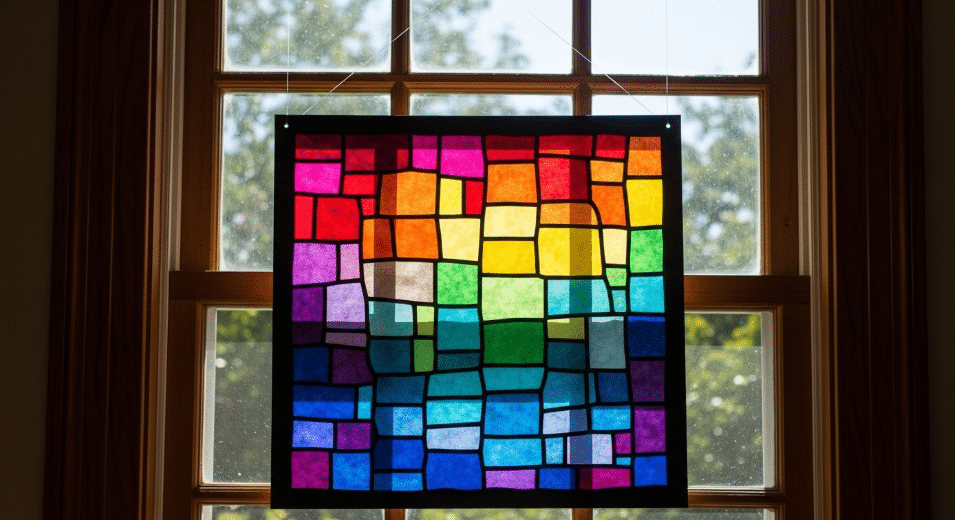
Creating double-sided tissue paper stained glass crafts can add an extra layer of beauty to your designs. Here are the steps to create a sturdy frame:
- Use black construction paper to create a sturdy frame, which helps save on costs while still providing a strong base for your design.
- To enhance visibility, use an additional cardstock outline.
- Glue the cardstock outline down to prevent it from shifting during crafting.
Using thicker black strips helps create a defined border that enhances the stained glass effect. Once your frame is ready, follow the same steps as before, placing tissue paper shapes that are covered and sealing them with contact paper on a sheet, ensuring to pay attention to the overlapping parts in western europe.
This double-sided approach allows your stained glass art to be appreciated from both sides, making it perfect for hanging in middle half windows or as a room divider with an edge.
Variations with Construction Paper Frames
Adding construction paper frames to your tissue paper stained glass crafts opens up a world of creative possibilities. Using sturdy black cardstock frames allows children to create colorful stained glass art by layering materials within the open spaces. Encourage kids to use their imagination and storytelling skills to create themed scenes, whether it’s a holiday display or a favorite story.
Different colors of construction paper can be combined with tissue paper to create layered effects, adding depth and complexity to the intricate nature of the artwork. Incorporating stained glass pieces into seasonal decor makes them a versatile addition to any holiday display. These variations not only make the crafting process more exciting but also result in beautiful, unique pieces of art.
Making Stained Glass Shamrocks
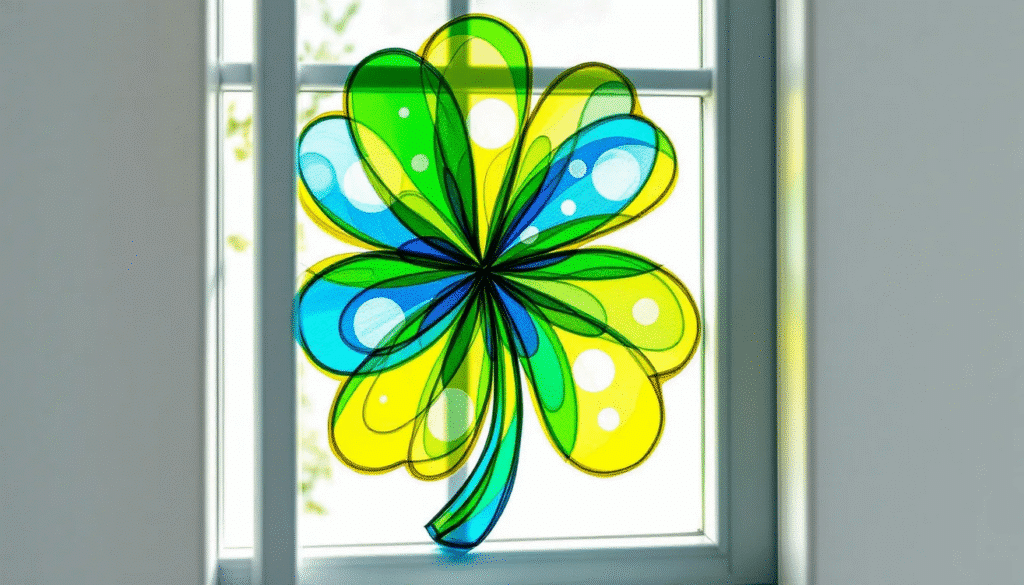
For a fun and festive St. Patrick’s Day craft, make stained glass shamrocks by following these steps:
- Create a black cardboard template as the silhouette of the shamrock.
- Use colorful coffee filters to fill in the silhouette.
- Paint the coffee filters and let them dry.
- Glue the painted coffee filters behind the black cardboard template to create the stained glass effect.
Once the coffee filter is glued in place, you’ll have a beautiful shamrock sun catcher ready to hang in a sunny window. This simple yet delightful craft is perfect for kids and adds a touch of festive cheer to your home or classroom.
Tips for Mess-Free Crafting
Crafting doesn’t have to be a no mess craft. Choose projects that don’t involve spillable materials to significantly reduce cleanup. Using products like Color Wonder markers by Crayola, which only color on specific paper, can prevent marks on walls or clothing, giving you hope for a cleaner crafting experience.
These tips make crafting simpler for younger children and ensure a hassle-free experience for parents and teachers alike.
Benefits for Fine Motor Skills Development
Tissue paper stained glass activities are not just fun; they also provide significant developmental benefits. Engaging in these crafts enhances grip strength and dexterity in children, helping them develop fine motor skills. Activities like tearing, crumpling, and arranging tissue paper squares improve hand strength and coordination, crucial for tasks like writing.
Kids won’t even realize they’re developing these skills because they’re having so much fun creating their designs. Tools like liquid watercolors and pipettes further enhance these skills while adding a splash of color to the crafting process. It’s a win-win for both fun and fine motor development.
Display Ideas for Your Finished Art
Once your stained glass art is complete, it’s time to show it off. Displaying the finished projects in windows is a great idea, as the sunlight passing through enhances the colors and brings the designs to life. Use painter’s tape to attach the artwork to windows for easy visibility.
For a more dynamic display, hang the stained glass pieces from strings so they can catch the light and move with the air. Creating a themed gallery wall with various stained glass pieces can add a colorful focal point to any room.
Alternatively, use a photo frame without the glass to showcase your creation or craft a mobile to display multiple pieces. These display ideas ensure your artwork gets the attention it deserves.
Summary
In summary, tissue paper stained glass crafts are a wonderful way to express creativity while developing fine motor skills. From gathering materials to creating, sealing, and displaying your artwork, each step is simple and fun. Whether you’re making double-sided pieces, using wax paper and liquid starch, or creating themed designs with construction paper frames, the possibilities are endless. So grab your materials, get crafting, and enjoy the beautiful results!
Frequently Asked Questions
What materials do I need for tissue paper stained glass crafts?
For your tissue paper stained glass crafts, grab some colorful see-through tissue paper, black construction paper, and clear contact paper. Those materials will make your project pop!
How do I prepare the tissue paper and contact paper for crafting?
Start by cutting your tissue paper into fun shapes, then lay the contact paper sticky side up and secure it with tape. This makes it super easy to apply your designs!
How can I seal and display my stained glass artwork?
To seal and display your stained glass artwork, just fold the extra contact paper over the back, trim the edges, and use clear tape or string to hang it in a sunny spot. It’ll look beautiful shining through the light!
What are the benefits of tissue paper stained glass crafts for children?
Tissue paper stained glass crafts are awesome because they boost kids’ fine motor skills and grip strength while letting them unleash their creativity. It’s a win-win for fun and development!
How can I keep the crafting process mess-free?
To keep the crafting process mess-free, choose projects without spillable materials and use tools like Color Wonder markers. Keeping your setup simple will also help minimize cleanup!

