

Key Takeaways
- Kids can make easy tissue paper flowers in under 20 minutes with simple supplies: tissue paper, scissors, and a pipe cleaner.
- The beginner method uses an accordion fold and rounded petal shape, making it perfect for preschoolers with help.
- These paper flowers work well for kids activities like mother’s day, cinco de mayo, birthdays, rainy days, and classroom crafts.
- You’ll also find more flower crafts, display ideas, and simple ways to decorate with finished tissue paper flowers.
- This flower craft is low-mess, budget-friendly, and forgiving when children crumple, fold, or smash the paper.
Introduction: Easy Tissue Paper Flowers Kids Will Love
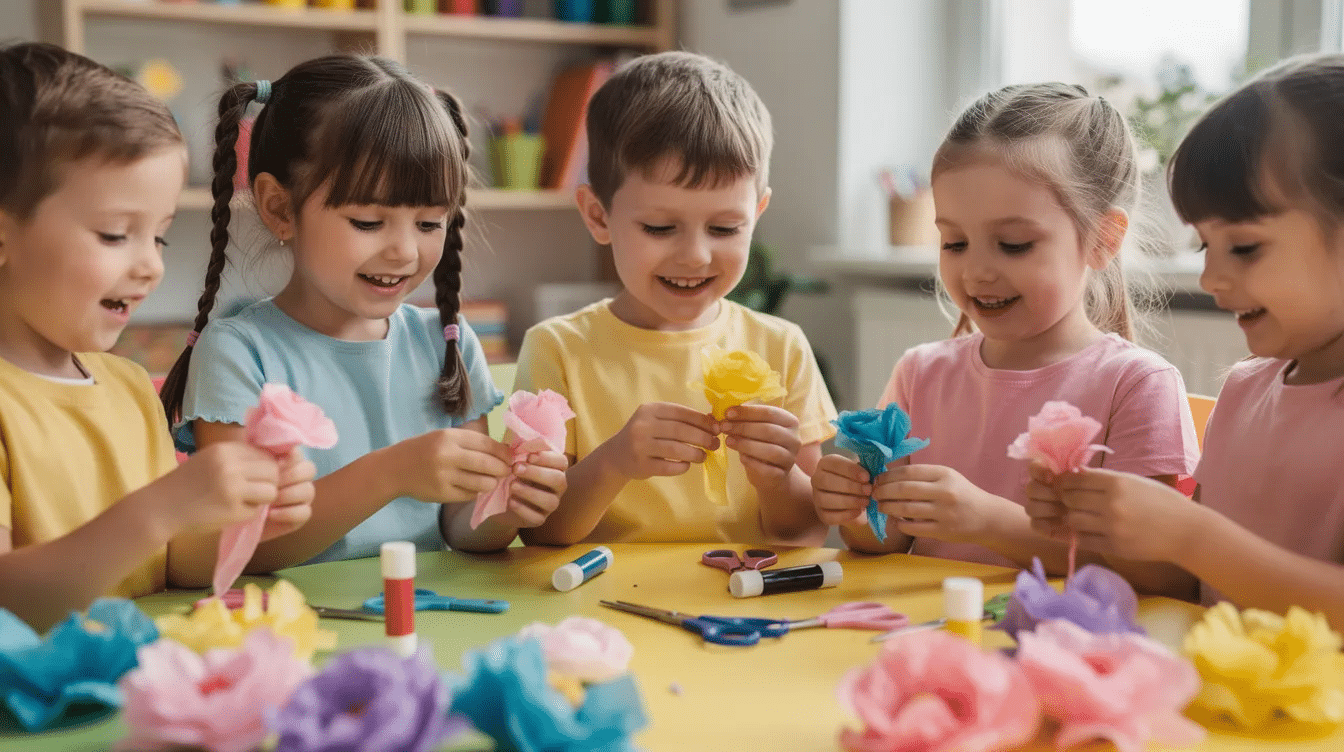
Making tissue paper flowers is one of those classic crafts that still works in 2026 because it is cheap, bright, quick, and satisfying. Children can watch flat sheets turn into fluffy flowers, and the process encourages creativity and practices fine motor skills.
These easy tissue paper flowers are designed for kids ages 3–10, with adult help for cutting, stapling, or twisting. They are great for spring decorating, Mother’s Day on May 10, Cinco de Mayo on May 5, classroom flower crafts, or cute bedroom decorations.
This tutorial shows one simple flower craft using an accordion fold, then adds quick ideas for petals, colors, and different sizes.
- Supplies You’ll Need to Make Tissue Paper Flowers
- Step-by-Step: How to Make Easy Tissue Paper Flowers
- Simple Variations: Sizes, Colors, and Petal Styles
- Holiday and Party Ideas: Mother’s Day, Cinco de Mayo, and More
- Tips for Crafting with Kids of Different Ages
- More Flower Crafts and Paper Projects for Kids
- FAQs: Easy Tissue Paper Flowers with Kids
Supplies You’ll Need to Make Tissue Paper Flowers
You only need a few basic supplies, most of which you may already have at home.
- tissue paper sheets, such as 20 x 26 inch party-pack sheets
- 4 to 8 sheets of tissue paper, depending on the desired fullness of the flower
- tissue paper, scissors, and a pipe cleaner
- optional stapler, tape, ribbon, or craft stick
- green tissue paper for leaves or green pipe cleaners for flower stems
Use bright yellow, red, blue, green, pink, and white for party or cinco de mayo decorations. Use softer pastels for a mother’s day gift. Napkins, facial tissues, or recycled gift tissue paper also work as an easy diy tissue paper option, though thicker tissue may need fewer layers.
For younger kids, pre-cut rectangles before starting. It keeps the fun project frustration-free.
Step-by-Step: How to Make Easy Tissue Paper Flowers
This is the core guide to make tissue paper flowers with kids in about 10–15 minutes. The main method uses an accordion fold and a rounded petal shape, so uneven folds still become beautiful tissue paper flowers.
Adults can make the first flower slowly, then let kids take over more steps. A pipe cleaner secures the center and becomes the stem; more flower crafts and variations come later.
Step 1: Prepare Your Tissue Paper Rectangles
Each flower starts with a stack of rectangles, all the same size. Tissue paper flowers can be made in various sizes by adjusting the dimensions of the tissue paper used; for example, a smaller flower can be made with 3×5 inch pieces, while larger flowers can be made with 6×10 inch pieces.
Stack 6–8 tissue paper rectangles for an easy starter bloom, or alternate colors for colorful tissue paper flowers. To create tissue paper flowers with extra fullness, stack 10-12 layers of tissue paper and fold them accordion-style with ½ to 1 inch folds.
Adults can hold the stack while kids count the tissue paper layers aloud. Try lighter colors on top for the flower center, or add a green rectangle at the bottom for leaves.
Step 2: Make the Accordion Fold
An accordion fold means folding back and forth, like a paper fan. Start at one end, fold the short side up about 1 inch, flip the stack, and repeat until the whole stack is folded tissue paper.
Say “fold, flip, fold, flip” to help younger children keep rhythm. Older kids can measure each inch with a ruler.
The folds do not need to be perfect. Wobbly accordion folds still create fluffy paper flowers full of life.
Step 3: Secure the Center with a Pipe Cleaner
Fold the long accordion strip in half to find the middle. Place a pipe cleaner across the center line, then twist it tightly once or twice.
A pipe cleaner serves as a perfect stem for tissue paper flowers, making it easy for children to hold or place in a vase. A green pipe cleaner stem looks realistic, while glittery ones make fun decorations.
To create a tissue paper flower, stack 10-12 layers of tissue paper, accordion fold them, and then twist a pipe cleaner around the center to secure the flower before fluffing the layers out to form petals. For wire-free classrooms, staple or tape the center and glue the resulting flower to cardstock.
After folding the tissue paper, cut notches on each side at the center point to make fluffing the flower easier.
Step 4: Cut the Petal Shape
This step creates the petal shape, so adults may want to help preschoolers. Use scissors to round both edges of the folded strip for soft flower petals.
Another easy option is to cut pointed ends for a daisy-like form. Keep shapes large and simple; tiny details tear more easily.
Brush scraps away right after you cut so little hands have a tidy workspace.
Step 5: Fluff the Tissue Paper Flower
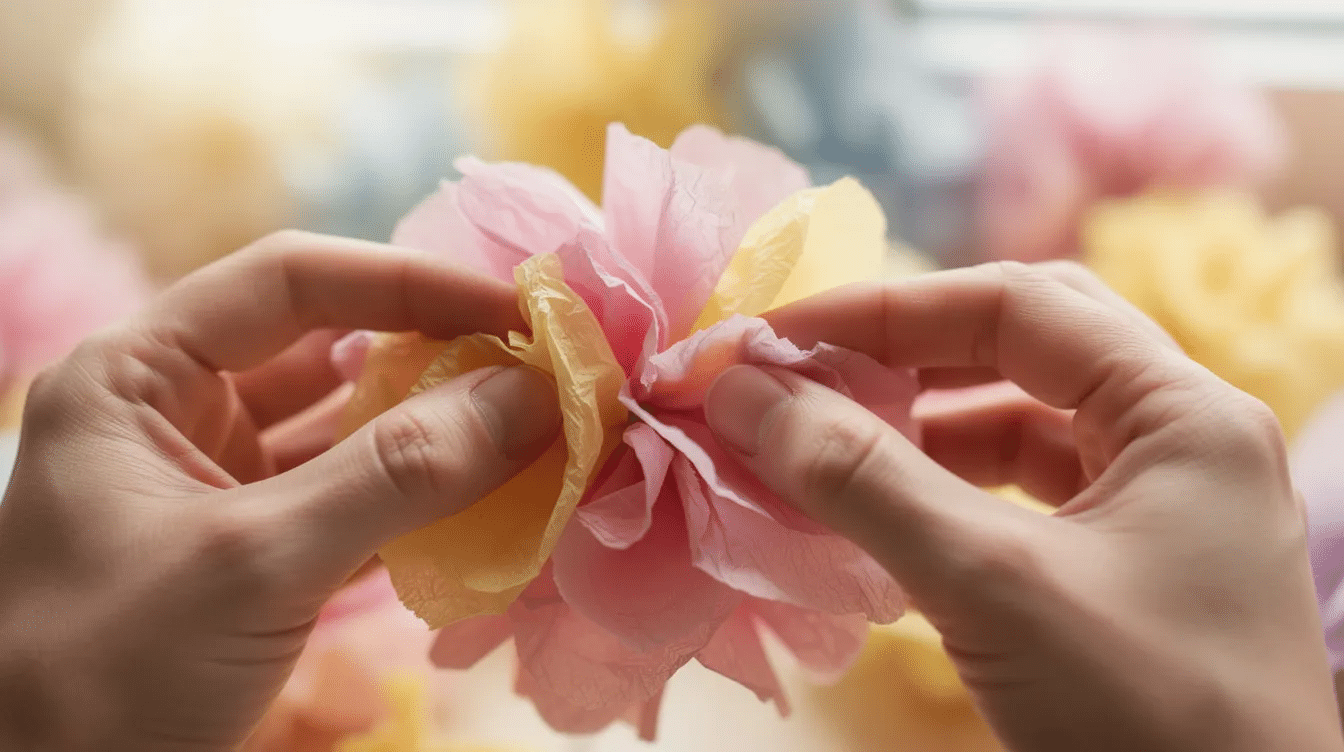
This is the magic step, when the flat stack becomes a 3-D flower. To form the flower, gently pull each layer of tissue paper upwards towards the center, fluffing the flower into shape, just like you would when making simple tissue paper stained glass crafts.
Fan out the accordion, then pull the top layer toward the center on one side. Repeat with the next layer, then do the other side until all the layers are spread into petals.
Kids may crumple or smash the tissue, but the finished easy tissue paper flowers still look charming. Let them push petals in or out until they like the look.
Simple Variations: Sizes, Colors, and Petal Styles
Once kids master the basic flower, they can create flowers in so many different ways. Adjust the size of your tissue paper flowers by varying the dimensions of the tissue paper rectangles; smaller rectangles create mini flowers while larger ones create oversized blooms.
Using smaller squares of tissue paper creates smaller flowers, which are often easier for younger children to handle. The size of the tissue paper sheets can vary; for example, smaller flowers can be made with 3×5 inch sheets, while larger flowers may use 6×10 inch sheets.
Try rounded petals, pointed petals, or fringe-cut centers to mimic real flowers like daisies, carnations, or peonies. You can customize tissue paper flowers for different occasions by changing the colors of the tissue paper, such as using red and green for Christmas or vibrant colors for Cinco de Mayo, or include them in a larger collection of festive holiday craft projects.
Ideas for Petal and Center Details
Cut short snips into a narrow strip near the middle to create a fringe center. Layer a small yellow rectangle on top to imitate pollen.
Using multiple shades of the same color or a rainbow selection of colors can add depth and visual interest to your tissue paper flowers, allowing for unique customization. Kids can also gently crumple and uncrumple a layer for peony-style volume.
Add one or two green layers at the bottom, then bend the pipe cleaner outward to suggest leaves.
Holiday and Party Ideas: Mother’s Day, Cinco de Mayo, and More
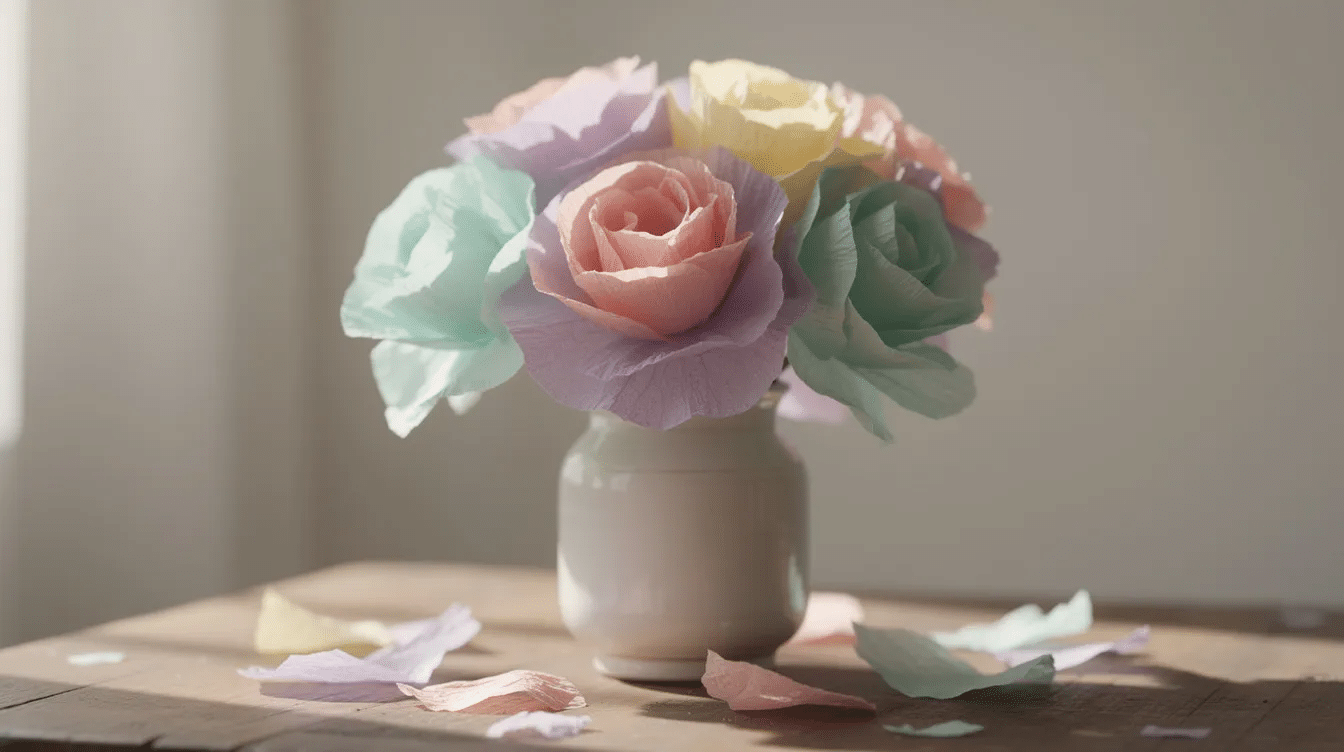
Easy tissue paper flowers are perfect for a special occasion because they are quick, colorful, and inexpensive, especially when paired with creative birthday balloon decorations at home. They work as bouquets, garland pieces, centerpieces, card toppers, or classroom decorations.
- Mother’s Day: use pink, purple, and white paper flowers, then attach handwritten notes or drawings to each stem, or pair them with easy DIY heart crafts for kids.
- Cinco de Mayo: use red, white, and green, or bright yellow, orange, and blue to echo Mexican paper flower traditions.
- Birthdays: use rainbow tissue paper sheets and group the flowers in jars for cheerful centerpieces, or combine them with wax paper crafts like suncatchers and lanterns for extra sparkle.
Everyday uses are just as fun: decorate a bedroom shelf, classroom reading corner, homeschool board, or family table.
Fun Ways for Kids to Display Their Paper Flowers
Place several easy tissue paper flowers in a jar, cup, or recycled tin can wrapped in paper as a vase. Tape or tie flowers to string to make a garland for doors, windows, or mantels.
Tape a single flower to a folded card for a flat-ish gift that can fit in an envelope for grandparents. Kids can group flowers by color for rainbow bunches or light-to-dark ombré effects.
They can also open a pretend flower shop, decorate stuffed animals’ parties, or make a quick video showing the whole family how to fluff the petals.
Tips for Crafting with Kids of Different Ages
The same project works for toddlers, preschoolers, and older kids when you adjust the steps.
For ages 3–4, adults can pre-fold and pre-cut the tissue. Younger children, such as preschoolers, may need assistance with cutting and folding when making tissue paper flowers, but they can participate in fluffing and shaping the flowers, which they will take pride in as their own craft.
For ages 5–7, let children practice the accordion fold and rounded cutting with supervision. For ages 8–10, let kids measure, design new shapes, print name tags, and help younger classmates.
Safety matters: supervise scissors, avoid sharp adult scissors, and keep pipe cleaners away from eyes.
More Flower Crafts and Paper Projects for Kids
Once your kids can make tissue paper flowers, keep the theme going with more flower crafts or branch out into colorful craft ideas for a fun weekend. Try construction paper circles folded into quarters and glued around a center circle.
Another simple option is a collage: draw a flower outline on cardstock, then fill it with tiny tissue paper squares scrunched into balls. You can also explore other fun tissue paper crafts for kids. DIY tissue paper pom-poms use a similar accordion technique, but stay round instead of becoming a stemmed flower.
You can turn these crafts into a short unit: read flower books, go on a nature walk, then create homemade paper flowers together.
FAQs: Easy Tissue Paper Flowers with Kids
How many layers of tissue paper should I use for kids’ flowers?
Use 6–8 layers for most easy tissue paper flowers with kids. That gives enough fluff without making the tissue paper hard to cut or pull apart.
Fewer layers, like 4–5, are easier for very young children. For fuller blooms, older kids can use 10–12 layers. Napkins and facial tissues are thicker, so 4 layers may be enough when making tissue paper flowers from those materials.
How long does it take to make one tissue paper flower?
Once supplies are prepped, one paper flower usually takes 10–15 minutes for a child and adult working together. The first flower may take longer while kids learn the accordion fold and petal shape.
Plan 30–40 minutes if children want to create several flowers without rushing. Pre-cutting rectangles before kids sit down can cut craft time almost in half.
Can preschoolers really make these flowers mostly on their own?
Preschoolers can choose colors, stack sheets, try basic folding, and fluff petals with supervision. Adults should handle most cutting and the tight pipe cleaner twist for safety.
Even if folds are crooked, the finished flowers still look festive. Focus on the process, color play, and fine motor practice rather than perfect results.
How do I store tissue paper flowers so they don’t get crushed?
Place finished tissue paper flowers upright in a box or vase so petals are not pressed flat. If they get squashed, gently re-fluff the layers by pulling tissue back toward the center.
Keep them away from moisture and direct sun. Making fresh flowers can also be part of the fun for each new season.
What if I don’t have pipe cleaners at home?
You can still make easy tissue paper flowers with string, thin ribbon, or twist ties around the center of the accordion fold. If you do not need a standing stem, glue the flower to cardstock, a crown, or a gift bag.
A wooden craft stick or pencil can also become a stem when taped to the back. This is a flexible diy tissue paper project, so use what you have and let kids create.


