

Key Takeaways
- Turn 3–5 recycled boxes into a sturdy indoor cardboard castle in one afternoon.
- Adults handle the cutting; kids help draw, tape, paint, and decorate.
- A drawbridge, tower, windows, doors, and turrets make the project feel magical.
- Use duct tape, reinforced edges, and extra cardboard to make the castle last longer.
- Keep it dry, away from heat, and recycle the cardboard when play is sadly over.
Introduction: Why a Cardboard Box Castle Is the Perfect Kids’ Craft
A rainy Saturday in 2026, a busy child, and a pile of delivery boxes can become an awesome cardboard box castle kids craft. Instead of buying new cardboard toys, you create a low-cost, screen-free space for imaginative play.
A cardboard box castle kids craft is simply a play-sized castle made from recycled cardboard boxes, tape, and basic crafts supplies. Half the fun is the construction; the other half is watching kids turn it into a throne room, dragon cave, post office, or secret hideout.
This tutorial shows you how to build a basic diy cardboard castle, then customize your new castle with rooms, towers, a working drawbridge, and cute details.
Gathering Supplies: What You Need Before You Start
Cardboard boxes are the primary material needed for constructing a cardboard castle, with various sizes being useful for different parts of the castle. A fridge box is ideal, but smaller boxes from your stash work well too.
You will need:
- 3–6 large cardboard boxes
- Smaller boxes for tower tops, rooms, and corner details
- Paper towel rolls for turrets
- Strong packing tape, masking tape, and duct tape
- An industrial tape dispenser is recommended for securing the cardboard pieces together during construction
- Scissors, utility knives, ruler, pencil, and optional hot glue gun
- Acrylic paint, markers, crayons, stickers, glitter, fabric scraps, colored paper, and construction paper
Additional materials such as scissors, utility knives, and duct tape are essential for cutting and assembling the cardboard pieces into a castle structure.
You can often find free boxes at appliance stores, grocery stores, or family community groups. Prepare the floor with an old sheet so paint, tape, and random stuff do not take over the room.
Planning Your DIY Cardboard Castle Layout
Before you cut anything, sketch the castle from above. Planning helps you save space and avoid a crazy build that will not fit through the entrance to the play room.
A simple layout could include:
Area | Good for |
|---|---|
Main Hall | Reading, toys, royal meetings |
Tower | Lookout games and flags |
Side room | Dragon stable or art corner |
Tunnel | Crawl-through fun |
For ages 3–5, make low doors and wide openings. For ages 6–10, you can add taller windows, a larger drawbridge, and more detailed walls. |
Let kids choose features: dungeon, royal bedroom, slide-through passage, or “math tower,” and consider adding matching props like a DIY cardboard sword for brave knights. When children help draw the plan, it builds creativity and problem-solving before the build even starts.
Step‑by‑Step: Building the Cardboard Box Castle Structure
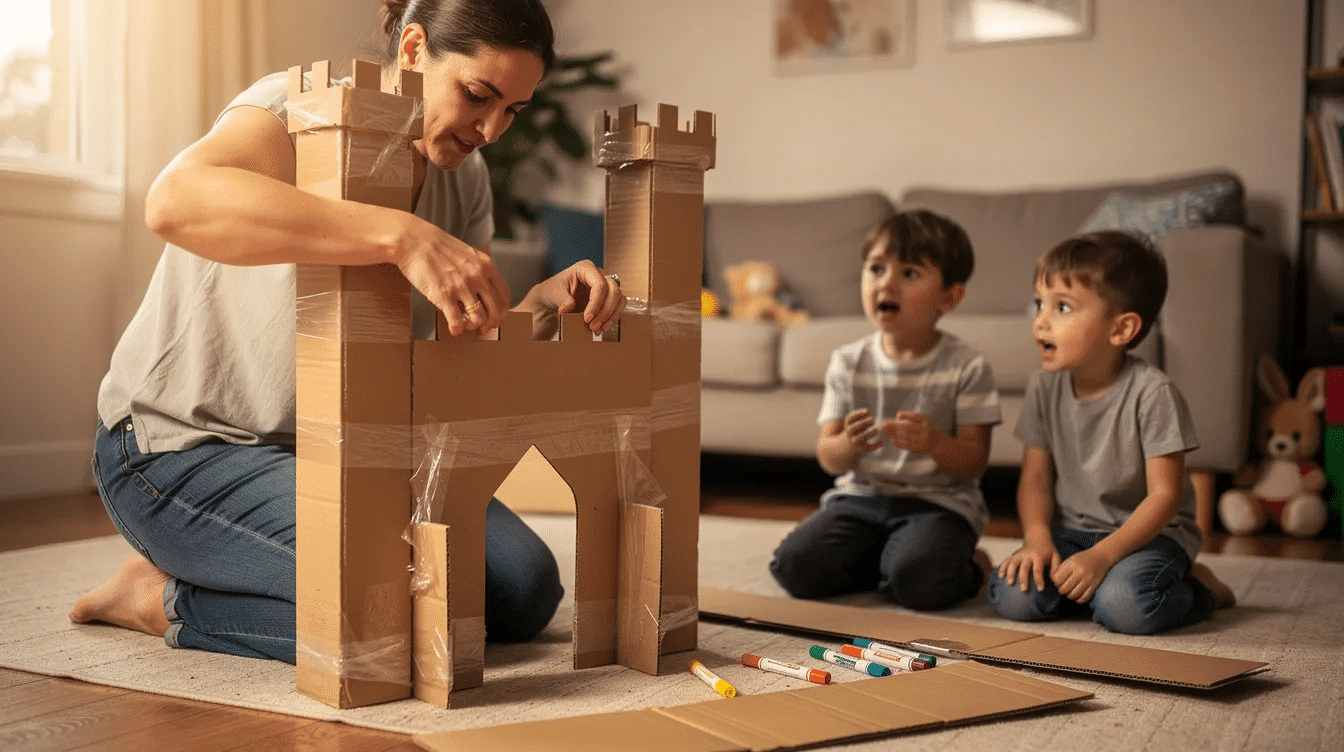
To create the base of your cardboard castle, start with a large rectangular box and attach smaller boxes on top to form towers and turrets.
- Open the main cardboard box and stand it on its side.
- Carefully cut one panel away to make the inside more accessible.
- Join extra boxes with tape to form longer walls.
- Reinforce every corner from the inside with extra strips of cardboard.
- Cut out windows and doors in the cardboard boxes to allow kids to climb in and out, ensuring safety by using adult supervision for cutting.
For the drawbridge, draw a tall arched door on the front wall. Cut three sides only, leaving the bottom edge attached. For a functioning drawbridge, tape several pieces of cardboard together for strength, and use tent pegs to secure it at the bottom to create a hinge. Indoors, heavy books can help hold the base while the bridge folds.
Add paper towel rolls or narrow boxes to each corner. Cut square notches along the top for battlements, then slide the turrets onto the walls and secure them with tape.
According to the U.S. Consumer Product Safety Commission, craft knives, hot glue, and small parts need adult supervision. Parents should cut away from the body, keep blades out of reach, and watch for sharp edges.
Decorating Time: Turning Plain Cardboard into a Castle Kingdom
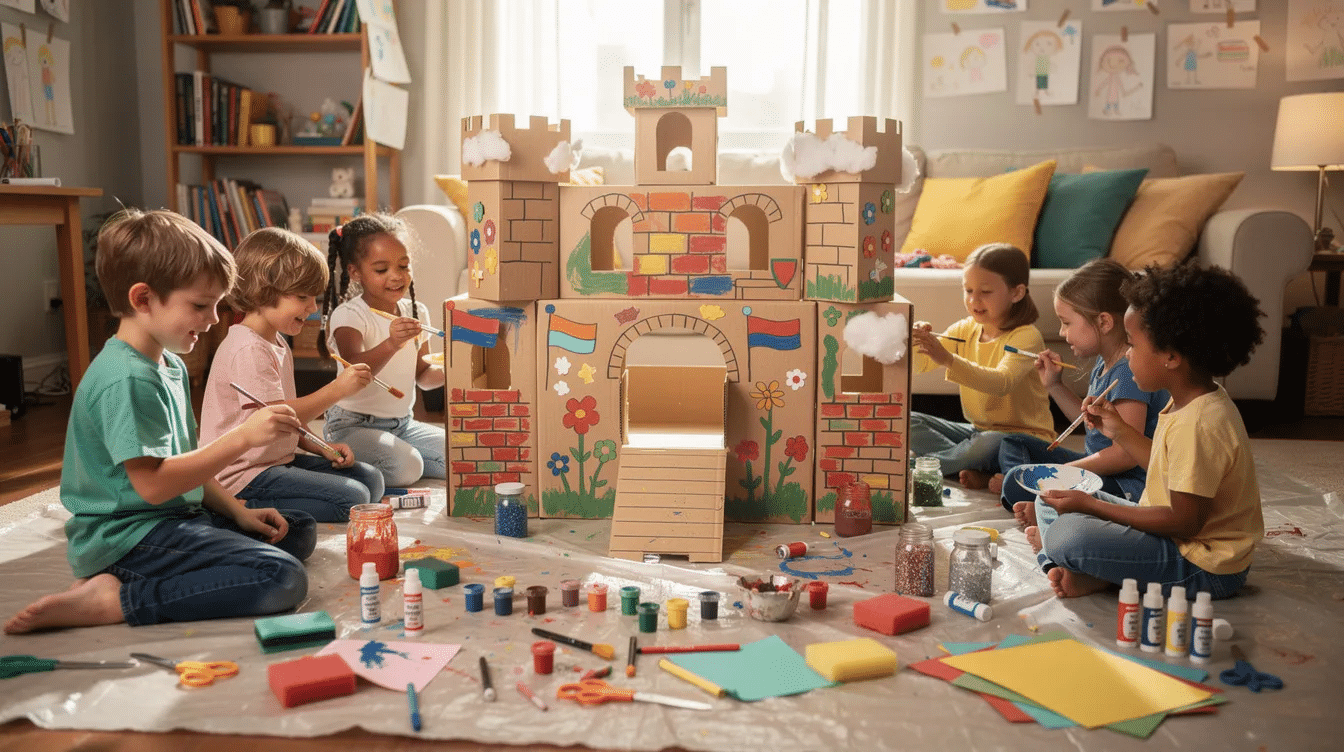
Now kids can lead. Using acrylic paint allows kids to choose their favorite colors to decorate their cardboard castle, making it a fun and personalized project. Gray, beige, pink, blue, or icy white all work, and you can draw inspiration from colorful craft ideas for a fun weekend to pick a palette.
Try these decorating ideas:
- Paint stone blocks with a sponge.
- Use markers to add vines, torches, shields, and bricks.
- Add a sign above the main entrance.
- Create a family coat of arms with paper and markers.
- Make a small cardboard throne inside.
- Add a royal mailbox for letters.
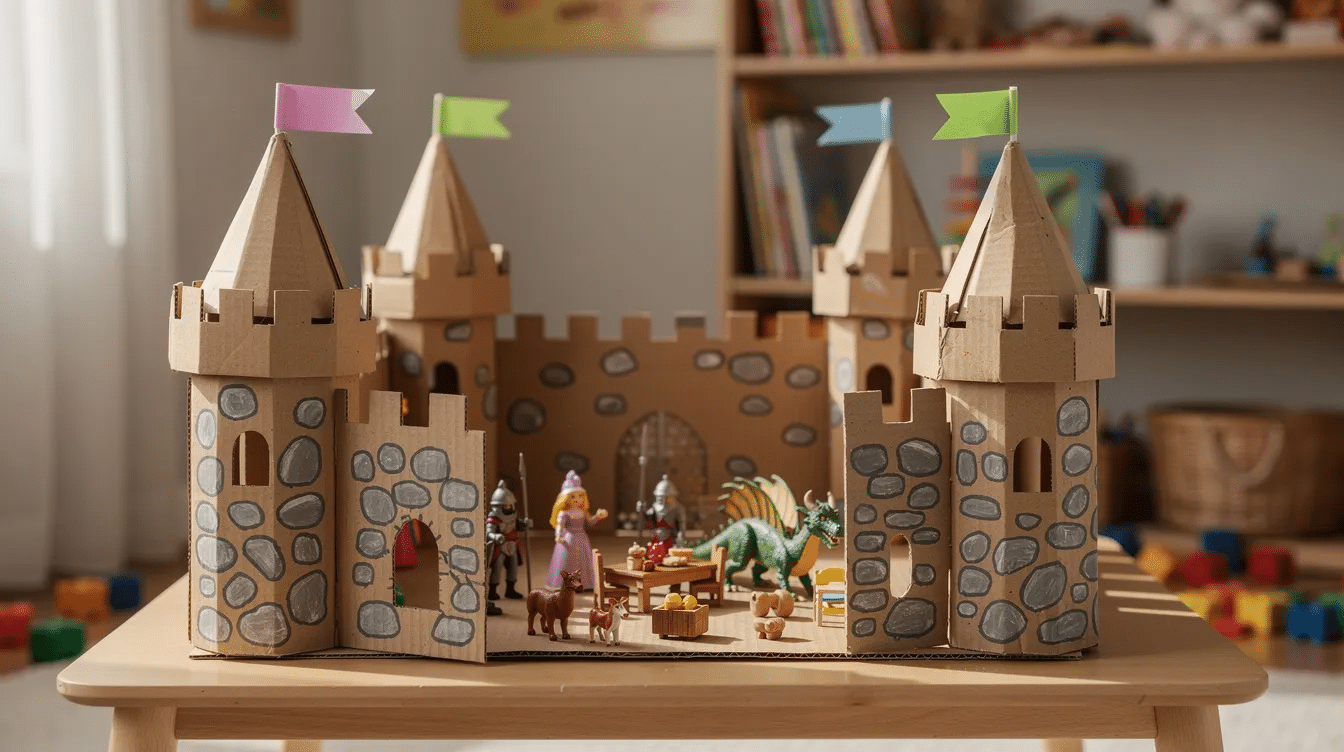
Adding decorations like stickers, glitter, and fabric scraps can enhance the visual appeal of a cardboard castle and encourage creativity. Creating flags from construction paper to fly from the turrets is a simple yet effective way to add character to a cardboard castle.
If you share pictures later, tag the project name so friends can find it. You could even film a quick walkthrough for a youtube channel, or make simple printables like crowns, shields, and tickets.
Play Ideas and Variations for Different Spaces
The same cardboard castle can fit a tiny apartment or a big backyard.
For an indoor mini-castle, use 1–2 medium boxes, one crawl door, and one tower. This is great for toddlers, girls and boys who like peekaboo games, or any child who wants a cozy reading nook.
For a backyard fortress, use refrigerator or wardrobe boxes, longer tunnels, and a bigger drawbridge. Keep it under shade and bring it inside after play. Cardboard is sensitive to moisture; packaging research shows strength can drop sharply at high humidity, especially near 70% relative humidity, according to Absortech.
You can also change the theme:
- Pirate fort with a DIY treasure chest craft
- Space station or even a cardboard time machine
- Winter ice palace with a balloon castle party backdrop
- Fairy castle
- Knight school
Use the castle for story time, birthday parties, learning games, or pretend shop play, or pair it with DIY kits for creative projects to build extra props. Battery-powered lights can look magical, but never use candles.
Safety, Cleanup, and Storage Tips
Adults should handle all knife work. Kids can use safety scissors, draw cut lines, hold paper decorations, and help tape seams.
A few practical rules:
- Do not let kids climb on the walls or tower tops.
- Cover rough edges with tape.
- Keep the castle away from heaters, fireplaces, candles, and sprinklers.
- Wait until paint is dry before play.
- Keep small gems or loose decorations away from children under 3.
For cleanup, set a 10-minute timer at the end. Gather markers, paint cups, paper scraps, and the tape dispenser before anything gets lost, and consider saving favorite drawings for preschool family crafts and keepsakes.
To store it, gently fold flat sections so they can slip behind a sofa, under a bed, or into a closet. If the castle gets too battered after a week or many hours of play, cut it flat and recycle it where cardboard recycling is available.
If this is a blog post in a craft series, add “post navigation similar posts” below it so readers can hear about more diy crafts and creative family projects, from festive holiday craft round‑ups to simple fabric kite tutorials and recycled Christmas wreaths.
FAQ
How long does a DIY cardboard castle usually last?
With indoor use, reinforced tape on doors and corners, and no climbing, a diy cardboard castle can last several weeks to a few months. Outdoor play, humidity, and rough handling shorten its life.
Can I build a cardboard castle in a small apartment?
Yes. Use one or two medium boxes to create a single-room castle with a doorway, two windows, and one small tower. Design it to fold flat so it can slide behind a door after play.
What age is best for a cardboard box castle kids craft?
Toddlers around 2–3 enjoy crawling and pretend play. Kids ages 4–10 can help measure, decorate, draw bricks, and invent stories. Adults must supervise cutting for every age.
How can I make the cardboard castle more durable?
Use strong tape on all seams, duct tape on door edges, extra cardboard braces inside corners, and doubled panels around the drawbridge. Avoid damp spaces and do not let kids sit on the walls.
Do I need to paint the cardboard castle?
No. Plain cardboard still makes a great castle. Paint adds color, but markers, stickers, fabric scraps, and paper flags are faster if you want less mess and less wait time.


