Want to know how to build a cardboard time machine? In this guide, you’ll learn how to turn simple materials like a cardboard box, paint, and glue into a fun time-traveling craft. Let’s get started and bring your time machine to life!
Key Takeaways
- Gather basic supplies like a cardboard box, paper towel roll, and paint to start your time machine project.
- Follow clear steps for cutting, assembling, and decorating your time machine, ensuring safe use of tools and adhesives.
- Enhance your time machine with interactive elements like a control panel and lights for more engaging playtime adventures.
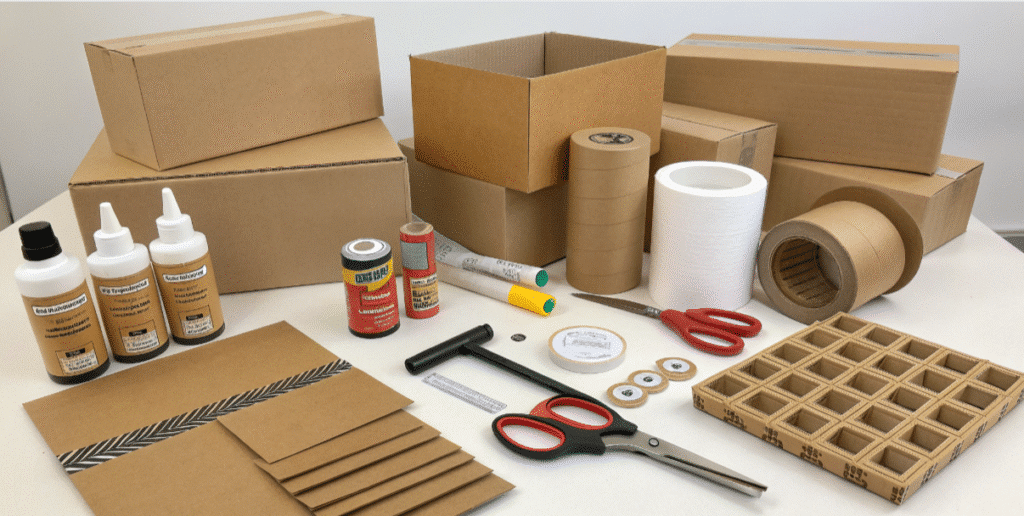
Materials Needed for Your Cardboard Time Machine

Gathering all the necessary materials before starting your black cardboard time machine is essential to hold an array of close, smooth, and enjoyable hand craft processes with metal string. Join the fun and creativity as you embark on this project post thing piece.
Here’s what you’ll need:
- A large cardboard box: serves as the main structure of your time machine
- A paper towel roll: can be used for additional features like levers or pipes
- Paint
- Paintbrushes
- Markers
- A glue gun: necessary for securely attaching various components during assembly
Paint and paintbrushes add color and personal touches to your time machine. Other useful tools include:
- A box cutter, needed for creating large openings
- Scissors, which help in cutting construction paper and other materials
- Markers, which can be used for labeling and decoration
Remember, planning your design and gathering all necessary materials before starting the project is key to a successful and enjoyable crafting experience.
Step-by-Step Instructions for Building the Time Machine

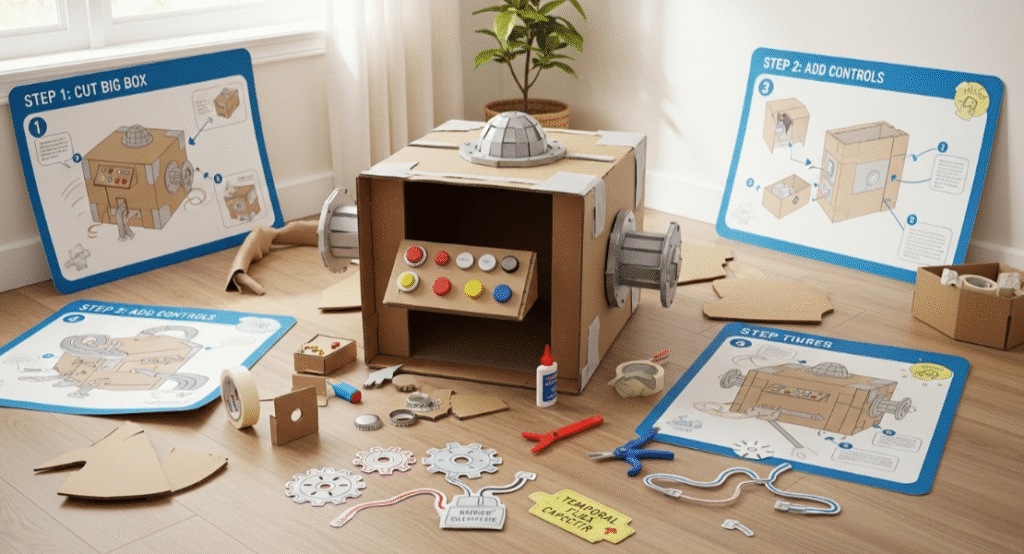
With all your materials ready, you can start building your time machine. Follow these essential steps to cut, assemble, and decorate your time-traveling marvel.
Following these manageable steps will make it easy to create a great fantastic time machine for endless adventures in a minute.
Cutting the Box
Start by cutting the cardboard box carefully with scissors or a box cutter. Here are some recommendations for clean and safe cutting:
- Use a sharp utility knife for clean cuts.
- Always cut on a stable surface to avoid accidents.
- Use a straight edge to guide precise cuts, ensuring a sturdy structure.
Mark the door dimensions on the cardboard box and use a box cutter to create a large opening. Ensure the door is big enough for easy entry and exit. Cut out additional pieces for windows or panels as needed.
Remember to save these extra pieces of cardboard, as they can be used for other parts of the time machine. Once all the cuts are made, you are ready to move on to the assembly phase.
Assembling the Time Machine
Assembling the time machine brings your creation to life. Hot glue is ideal for its strong bond and quick drying time. Use the glue gun cautiously, placing it on a heat-resistant surface and keeping it away from children. Apply hot glue to the edges of the cardboard pieces and press them together firmly.
For some components, consider the following adhesive tips:
- Use white glue, which provides a good bond once dry but takes longer than hot glue.
- Use masking tape for temporary holds during assembly, reinforcing later with permanent adhesives.
- Ensure surfaces are clean and dry before applying any adhesive.
Clamp pieces together after applying adhesive to ensure a tight bond as the glue sets. Let the time machine sit undisturbed for at least an hour to ensure everything holds securely. Inspect all joints and seams to ensure there are no loose parts before moving on to decorating.
Painting and Decorating
Painting your time machine makes it visually appealing and stimulates kids’ imaginations. Here are some tips to enhance its look:
- Use vibrant colors.
- Apply multiple coats.
- Add doors, dials, and other fun elements using additional cardboard and decorations for a realistic and engaging appearance.
Bold paint combined with various decorative elements can bring your cardboard time machine to life, making playtime more enjoyable. Use paintbrushes to add details, and let each coat dry completely before adding the next for a smooth finish.
Once the painting is done, you’re ready to add interactive elements that will make your time machine truly unique.
Adding Interactive Elements
To take your cardboard time machine to the next level, consider adding interactive elements. These features can significantly enhance engagement, making the time machine not just a static plaything but a dynamic game for imaginative adventures.
The next sections will cover creating a control panel and adding lights and sounds, both of which will add a touch of realism and excitement to your time-traveling escapades.
Creating a Control Panel
Creating a control panel for your cardboard time machine is both fun and easy. Use materials like:
- Cardboard
- Buttons
- Joysticks Buttons and levers can be made using household items, and construction paper is perfect for creating buttons and decorations.
To enhance the visual appeal of the control panel:
- Use acrylic paint for vibrant colors.
- Add elements like buttons or stickers.
- Use bright colors and stickers to make it more exciting.
- Encourage kids to label the buttons with destinations like “Past” and “Future” for immersive time travel adventures.
Adding Lights and Sounds
Adding lights and sounds can make the cardboard time machine experience more immersive and exciting. Consider the following:
- Use LED strips, fairy lights, or small battery-operated lamps for lights.
- Use sound modules for effects.
- Securely attach the lights to prevent them from falling or getting damaged during play.
Use sound modules to incorporate effects like time travel noises or futuristic sounds, making the time machine come to life. Imagine the thrill of hearing these sounds as the lights flicker and kids embark on their next adventure!
Imaginative Play with Your Time Machine

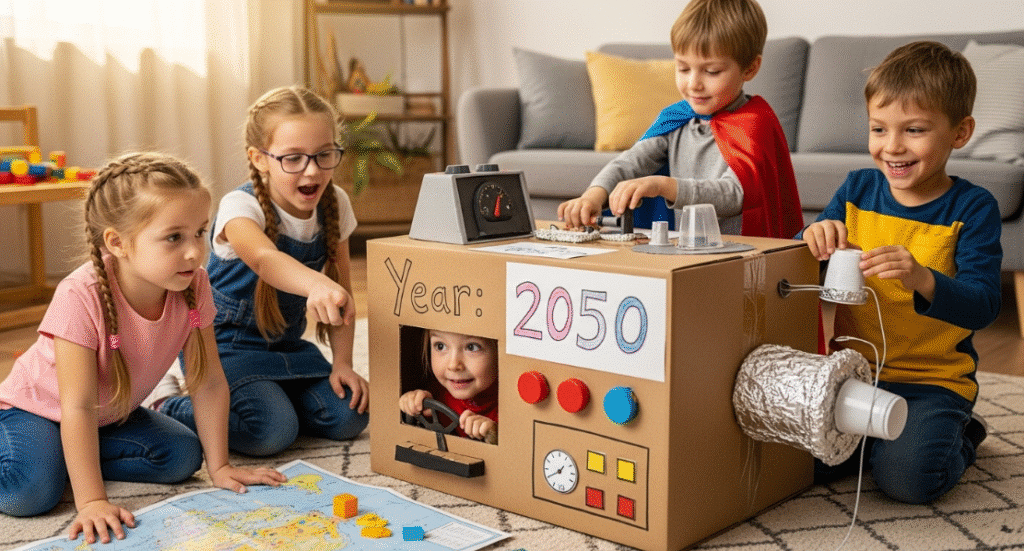
With your fully assembled and decorated time machine, it’s time to dive inside imaginative play each day. The possibilities are endless, from exploring ancient civilizations to venturing into the future and leave your mark on history.
The following sections will provide ideas for time travel adventures and tips for dress-up and role-play notes, ensuring that the love fun never stops.
Time Travel Adventures
Time travel adventures are the essence of imaginative play with your cardboard time machine. Materials and features that create an effective control panel and enhance the experience include:
- Cardboard
- Buttons and levers
- Buttons labeled “Past” and “Future” made from construction paper to add interactivity
- Lights and sounds for more excitement
To create an engaging time travel experience:
- Integrate LED lights and sound effects to simulate time travel and create an engaging atmosphere.
- Simulate sound effects while shaking the time machine box for an immersive experience.
- Encourage kids to create and enact their own time travel stories, exploring historical events and futuristic scenarios.
Imagine the thrill of traveling back to the age of dinosaurs, exploring medieval castles, or zooming into a futuristic world. Kids can watch their adventures unfold in the video as they turn the control panel dials and embark on new journeys. This dynamic action play entertains and educates, allowing children to learn about different time periods and cultures.
Dress-Up and Role-Play
Dress-up and role-play add extra fun to time travel adventures. Costumes related to various time periods enhance the role-playing experience, making it more engaging as children transform into characters from their adventures. Outfits resembling different eras, like Victorian dresses or futuristic attire, add depth to the scenarios.
Costumes don’t need to be historically accurate; any imaginative clothing items can enhance role-play. Encourage kids to use their creativity to represent different time periods and characters. Whether they are knights, astronauts, or ancient Egyptians, the possibilities are endless and fun is guaranteed.
Tips for Storing and Maintaining Your Time Machine

To properly store and maintain your cardboard time machine:
- Store it in a cool, dry place away from direct sunlight to prevent damage.
- Use a large plastic bag or wrap to protect it from dust and moisture when not in use.
- Regularly inspect for wear and tear, and make necessary repairs to keep it usable for future play.
When not in use, consider disassembling parts of the time machine to save space and reduce damage risk. Use acid-free storage containers to protect it from dust and pests. Following these tips will ensure your time machine remains a cherished plaything for a long time.
Summary
Building a cardboard time machine is a fun and educational craft that provides endless opportunities for imaginative play. From gathering materials and constructing the time machine to adding interactive elements and engaging in role-play, this project is sure to delight kids and adults alike. So, gather your materials, unleash your creativity, and embark on countless time-traveling adventures. The past and future await!
Frequently Asked Questions
What materials do I need to build a cardboard time machine?
To build your cardboard time machine, grab a large cardboard box, a paper towel roll, some paint, paintbrushes, markers, a glue gun, scissors, and a box cutter. You’ve got all the essentials to get creative and start building!
How do I ensure safety while cutting the cardboard box?
To stay safe while cutting a cardboard box, always use scissors or a box cutter on a stable surface, and make sure to use a straight edge for clean cuts. This will help you avoid accidents and make the process easier!
What are some tips for painting and decorating the time machine?
For your time machine, go for vibrant colors and make sure to apply multiple coats, letting each one dry fully before moving on. Adding fun details like doors and dials with cardboard will really amp up the look!
How can I add interactive elements to the time machine?
You can jazz up your time machine by building a control panel with cardboard, buttons, and levers, plus throw in some LED lights and sound effects for that immersive feel! It’s all about making it fun and engaging!
How should I store and maintain the cardboard time machine?
Store your cardboard time machine in a cool, dry spot, and keep it out of sunlight. Don’t forget to check on it occasionally for any damage and fix it up as needed!

