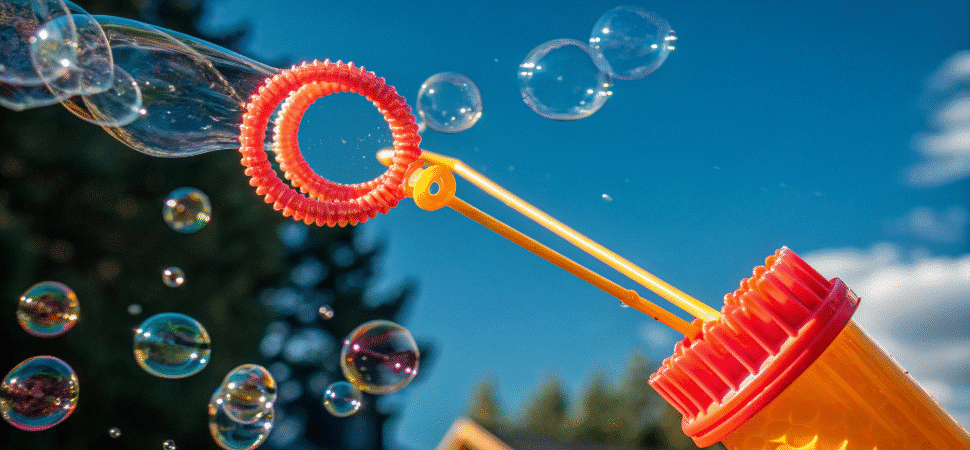
If you want to know how to make a bubble wand with straws, you’re in the right place. I decided to make my own bubble wand with straws instead of buying one, and it turned out to be a fun and creative project. Making your own bubble wand is a simple and fun way to enjoy big, beautiful bubbles without spending much money. Plus, it’s a great activity to do with kids or just to relax outside. I’ll walk you through everything you need to get started, how to put it all together, and some tips to make your bubbles really stand out.
- Introduction to DIY Projects
- What You'll Need
- Step 1: Taming Your Straws
- Step 2: Threading The Needle
- Step 3: Shaping Up Your Bubble Wand
- Step 4: Whipping Up Your Own Bubble Solution
- Step 5: Turning Your Wand into Reality
- Tips for Making Big Bubbles
- Other Bubble Wand Ideas
- DIY Projects for Kids
- Safety First
- Share The Fun
- That's It!
Introduction to DIY Projects
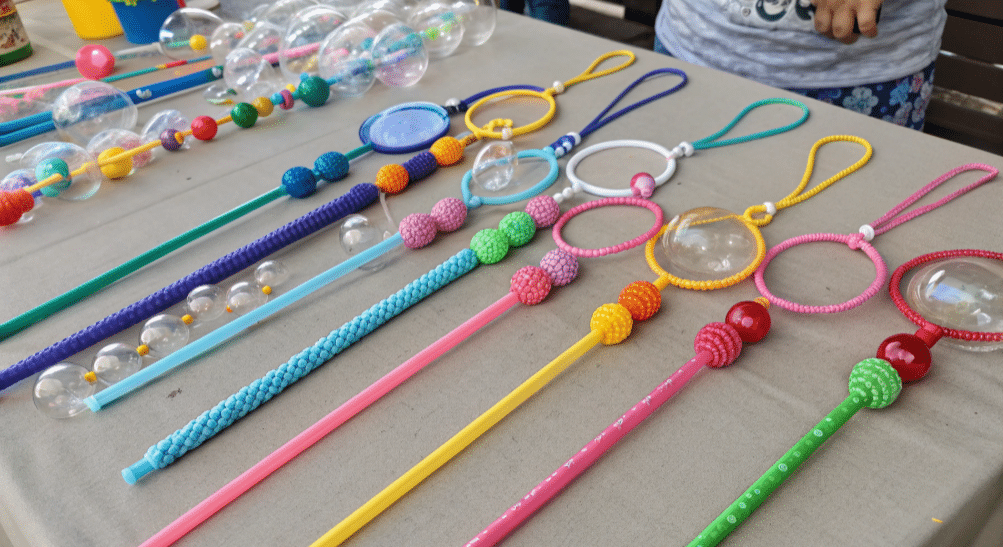
Theres something dead brilliant about getting stuck in with a proper DIY project, especially when its all about knocking up your own bubble wand. Whether youre planning a kids party, after a fun activity for family get-togethers, or just fancy adding a bit of extra joy to your day, making bubble wands is a cracking way to spark creativity and enjoy some brilliant bubbling together. With just a few basic bits—like a couple of straws, some cotton string, and a handful of beads—you can design a bubble wand thats as unique as you are. Pipe cleaners are another top option for shaping your own wands, letting you have a go with all sorts of fun designs and sizes. The best bit? DIY bubble wands are dead simple to make, cost next to nothing, and can be customised for any occasion. So gather round your supplies, get the kids involved, and get ready to create big, beautiful bubbles that will bring smiles to everyones faces. With a bit of creativity and a few basic materials, youll find that making your own bubble wands is the perfect way to turn any day into a proper celebration of fun.
What You’ll Need
Before we get started here’s a quick rundown of what you’ll need to get your hands on:
- Two straws (any kind will do but make sure they’re sturdy enough to handle the bubble action)
- Cotton string or twine (about 3 feet worth should do the trick)
- Some scissors
- Beads (optional, they can help out with tying the string in place and give it a bit of weight)
- Bubble solution (either buy it in a store or make your own—there are many recipes for homemade bubble solution, and we’ll share one later. Dawn or Joy brands of dish soap are particularly recommended for the best results.)
- A container to keep your bubble solution in
Step 1: Taming Your Straws
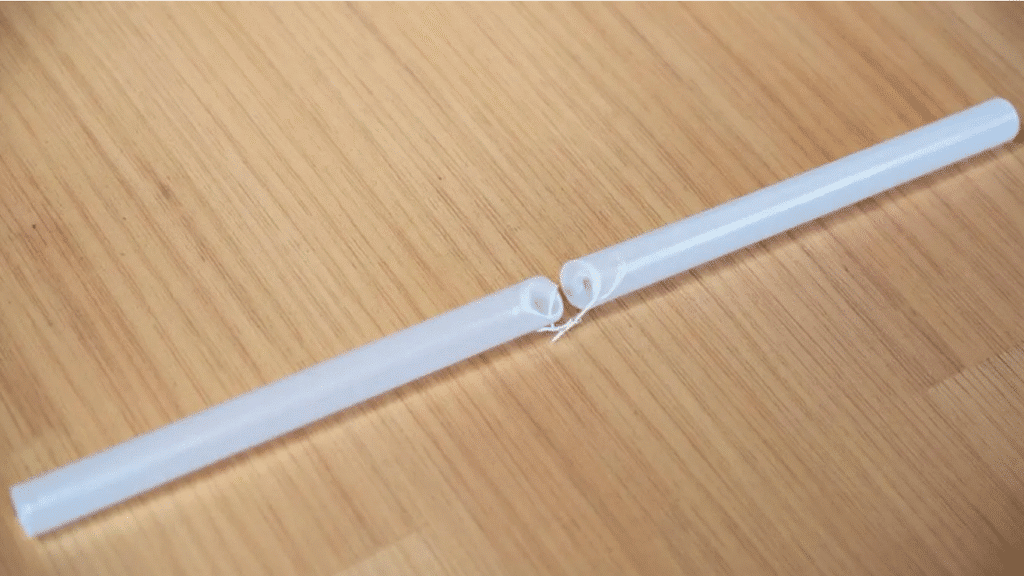
First things first, grab your two straws and cut them down to size. Six to nine inches is a good starting point. Then take a small pin and carefully prick a hole in the ends of each straw—be gentle, as the hole only needs to be big enough to thread your string through.
Step 2: Threading The Needle
Next up, take your cotton string and thread it through both of the holes in the straws. You’ll want to pull it tight enough to create a loop in the middle, this is what’ll hold your bubble solution and help create all those gorgeous bubbles. Once you’ve got the loop in place tie a knot at one end of the string to stop it from slipping back through the hole. If you like you can add a bead to the end of the string before you tie the knot to give it a bit of weight and make it easier to handle. You can also pinch the string loop to make a smaller opening, which helps control the size of the bubbles you create.
Step 3: Shaping Up Your Bubble Wand
Now take your two straws and hold them parallel to each other with the string loop stretched out between them. For the best bubble results, shape the loop into a circle, as this helps create bubbles more easily. You can adjust the size of the loop by tugging gently on the string—the bigger the circle, the bigger the bubbles you can make. Just be careful not to make it too big or too loose, or the bubble film might break too easily. Remember, the string must be at least 4 times the length of one straw to produce giant bubbles.
Step 4: Whipping Up Your Own Bubble Solution
If you dont want to splash out on bubble solution you can whip up your own using just a few simple ingredients. Here’s a basic recipe:
- 6 cups of water
- 1 cup of dish soap (the gentle kind is best)
- 1 tablespoon of glycerin or 1/4 cup of corn syrup
- Alternatively, you can use a mixture of 6 cups of water, ½ cup dish soap, ½ cup cornstarch, and 1 tablespoon of glycerin or 2 tablespoons of corn syrup for a slightly different bubble solution.
Just gently mix all these ingredients together in a container, try not to get too much foam or bubbles going on while you stir. Letting the cornstarch dissolve in water before adding other ingredients can help in achieving more durable bubbles. The glycerin or corn syrup will help the bubbles last a bit longer and get stronger.
This recipe should work well for making big, strong bubbles.
Step 5: Turning Your Wand into Reality
Dip the string loop into the bubble solution making sure it’s fully coated, then lift the wand up slowly and hold the two ends of the straws apart to stretch the string loop out. You can either blow gently through the loop or just let the breeze carry your bubbles along. When you want to pop a bubble just bring the straws together and close the loop gently.
Tips for Making Big Bubbles
- Keep it gentle with the wind, too much breeze can break the bubbles too easily. A light breeze is ideal for creating large bubbles.
- Dip your wand in gently, don’t go swishing it around in the solution
- If it’s a dry day outside the bubbles might pop quicker, try on a nice humid day instead
- Keep your bubble solution covered when not in use to keep it nice and fresh
- Play around with different shapes using pipe cleaners or other materials for some fun variations
- Try experimenting with different conditions and materials to better understand how to make the biggest and longest-lasting bubbles.
Other Bubble Wand Ideas
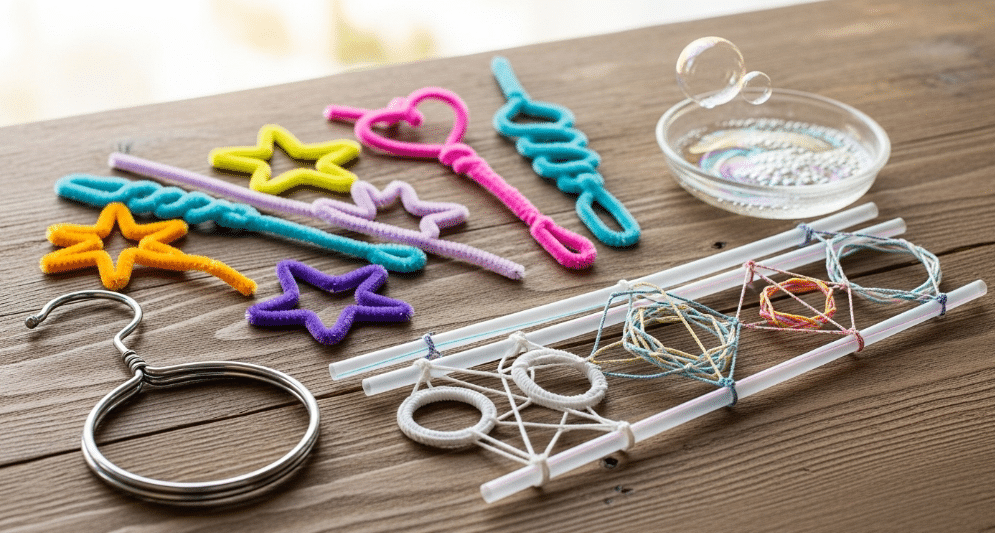
If you want to try something different you can use pipe cleaners to make bubble wands, just twist them into different shapes and you’re away. Or try using a coat hanger and shaping it into a loop, string with straws is still my top pick for big bubbles but experimenting is half the fun. You can also try different types of strings—such as cotton, nylon, or yarn—to see how the string’s length and material affect the size and shape of your bubbles.
DIY Projects for Kids
DIY projects for the little ones are all about letting their creativity run wild, and knocking up some bubble wands is a dead-simple example of hands-on fun that everyone can get stuck into. With just two straws, a bit of cotton string, and some colourful beads, kids can whip up their very own bubble wand in no time flat. Get going by chopping a length of string and threading it through the straws, then tie a knot at one end to sort out a proper loop. This loop is the magic bit—just dip it into a container of bubble solution, gently pull it out, and blow through the straw to watch massive, shimmering bubbles float off into the air. Kids can have a go at different shapes and sizes for their bubble wands, using pipe cleaners to twist and bend into cracking designs or popping on some beads for a personal touch. Whether you’re hosting a party, planning a family do, or just after an easy way to have a laugh at home, making bubble wands is a dead-simple DIY project that brings loads of giggles and happy bubbling. Get the kids to try new ideas, mess about with different materials, and see what sorts of bubbles they can knock up—there’s no limit to the fun you can have together with your mates!
Safety First
Keep an eye out for any spills with the bubble solution, it can be pretty slippery. It’s a good idea to play outside or on a surface that’s easy to clean up. When you’re done give the wands a good rinse and get those sticky fingers washed too.
Share The Fun
Making bubbles is a great way to bring some smiles and laughter. Share your bubble wand creations and tips with your mates or on social media, use hashtags like #bubblewand or #diybubblewands to connect with other bubble lovers. Don’t forget to post your creations on Instagram and tag our account so we can see and share your work. We also welcome guest post submissions about unique bubble wand techniques or events—reach out if you’d like to contribute a post. For more bubble-making ideas and tutorials, check out our other posts. It’s amazing how something so simple can bring so much joy.
That’s It!
Now you know how to make a bubble wand with straws, grab your materials and get creative. It’s easy, it’s cheap and it’s a great excuse to get outside. Whether you’re making bubbles with the kids or just for your own amusement, the joy is in the blowing and watching those shiny orbs just float away.
For even more inspiration, visit a local park or event to see giant bubbles in action and get new ideas for your own bubble wand creations. Happy bubbling!
