

Key Takeaways
- Leaf rubbing art for kids is a fast 5–10 minute activity: place a leaf under paper, rub with crayons, and watch the veins and edges appear like magic.
- It works well for ages 3–10, especially with fall leaves from September–November, when kids can explore many leaf shapes, sizes, and colors.
- You only need blank paper, white paper or copy paper, crayons, leaves, masking tape, and cardboard or a clipboard.
- Kids can create leaf rubbings, bark rubbings, a matching game, journals, cards, and other crafts while building fine motor, nature, and observation skills.
- What Is Leaf Rubbing Art?
- Materials You’ll Need
- Step-by-Step: Basic Leaf Rubbing Activity
- Outdoor to Indoor Fun: Turning Leaf Hunts into Art
- Leaf Rubbing Magic: Tips for Clear, Colorful Prints
- Make It a Matching Game: Turning Art into Learning
- Try Bark Rubbings Too
- Creative Extensions and Variations
- Safety, Clean-Up, and Display Ideas
- FAQ
What Is Leaf Rubbing Art?
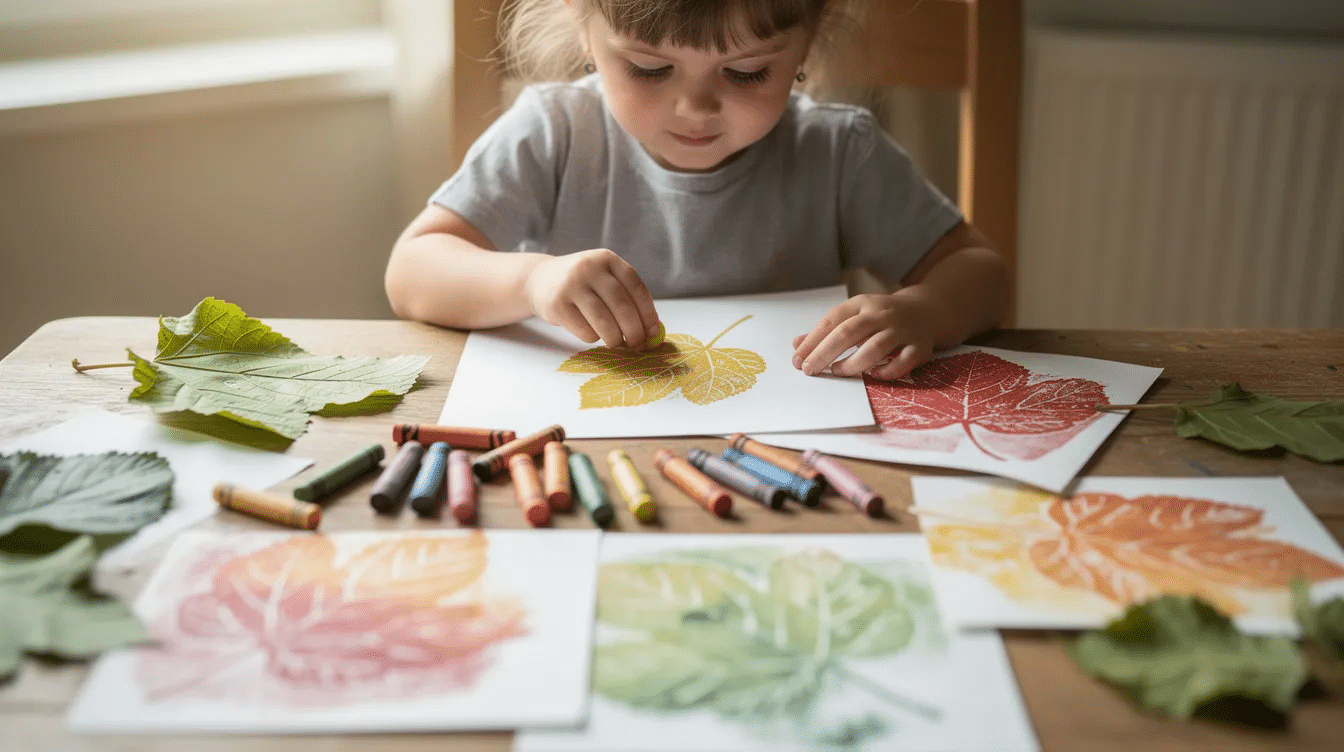
Leaf rubbing is simple: place a leaf under a piece of paper and rub a crayon over the paper to reveal the leaf’s texture and details. The raised veins leave an imprint, so children notice pattern, shape, and detail from real plants.
Leaf rubbings capture nature in a way that feels cool and surprising for little ones. Bark rubbings use the same process on trees, but show rough trunk texture instead of delicate veins. This classic classroom and home activity is especially fun in fall, though it works any week of the year.
Materials You’ll Need
To prepare for leaf rubbing activities, gather materials such as plain white paper, crayons with labels removed, and a clipboard or cardboard to hold the paper steady.
- Regular white printer or copy paper is recommended for leaf rubbing as thicker paper blocks the texture.
- Crayons with labels removed let kids turn the crayon sideways and use the broad flat side.
- Using masking tape can help secure the paper to the table or craft mat, preventing it from slipping during the rubbing process.
- A basket, tray, or paper bag keeps materials clear and ready.
Optional extras: colored pencils, oil pastels, charcoal sticks, construction paper, press ’n seal wrap, watercolor paint, and watercolors. Using oil pastels or charcoal sticks as alternatives to crayons can give leaf rubbings a more sophisticated look, especially when paired with the best art supplies for young artists that are age-appropriate and easy to grip.
Step-by-Step: Basic Leaf Rubbing Activity
- Go outside and collect a variety of leaves from different trees to create unique rubbings, ensuring to have two of each type for matching games later.
- Choose leaves that are slightly stiff and fresh rather than old and dry for optimal leaf rubbing.
- Broad, bumpy leaves like oak, maple, or sycamore produce the best textured veins for leaf rubbing.
- Fresh leaves with raised, bumpy veins on the underside work best for leaf rubbing.
- Lay one leaf on cardboard with the veins facing up, then place the leaves underneath the paper.
- Hold one side with a hand or tape.
- Using the broad flat side of a crayon is advised for leaf rubbing to lightly rub across the paper.
- Darker, highly pigmented crayons work best to clearly pick up the raised veins during leaf rubbing.
For younger children, it can be helpful to demonstrate how to hold the paper and crayon while making a leaf rubbing to guide them through the process.
Outdoor to Indoor Fun: Turning Leaf Hunts into Art
Start with a walk in the yard, playground, or park. Encourage kids to find pointed, round, smooth, jagged, big, and tiny leaves. Collecting two of each leaf helps kids compare the real leaf with the art later.
Leaf rubbing can be used as a tool for teaching children about the environment, encouraging them to observe and appreciate the diversity of plant life around them. It also feels like the outdoor learning families may recognize from pbs kids nature activities, similar to other nature stick crafts for kids that use simple materials from outside.
Leaf Rubbing Magic: Tips for Clear, Colorful Prints
Small changes make crayon leaf rubbings stronger. Flip the leaf so the bumpy veins face up, start lightly, then add pressure where the outline is weak.
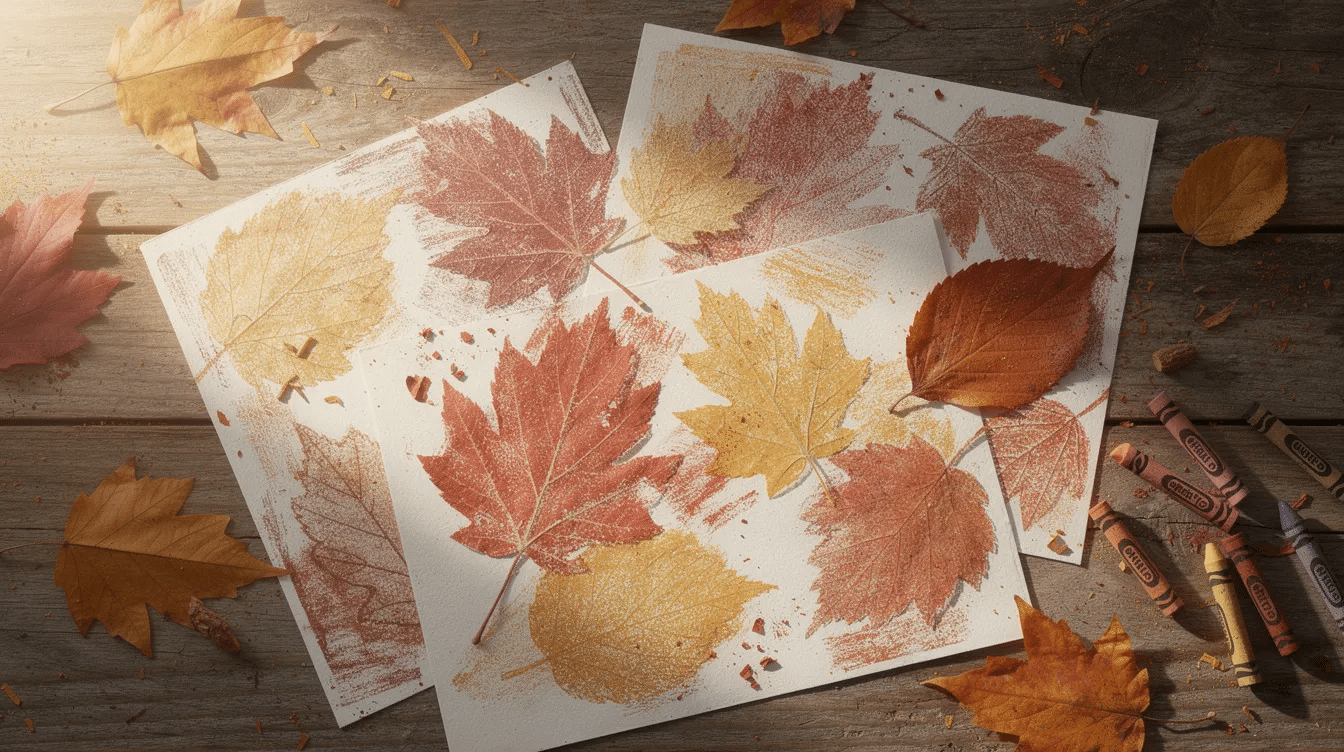
Using different colors of crayons and overlapping rubbings can enhance the visual appeal of the artwork created from leaf rubbings. Layering multiple colors on a single leaf can create a rainbow effect in leaf rubbing art, and may inspire kids to try other rainbow crafts for kids with paint, paper, or recycled materials. Using watercolor to outline leaf rubbings can create a resistant effect when applied over crayon, because the wax resists the paint.
Make It a Matching Game: Turning Art into Learning
Lay finished leaf rubbings on the table. Put the second set of real leaves in a pile. Invite each child to match the real leaf to the rubbing by comparing shapes, sizes, edges, and veins.
Ask: “Which two look almost the same?” or “Which one was easy to match?” Leaf rubbing activities help children identify different leaf types and their unique features, enhancing their observational skills and knowledge of nature and offering many of the same art and craft benefits for child development as painting or clay work. Add labels, dates, and locations to save the page in a nature journal.
Try Bark Rubbings Too
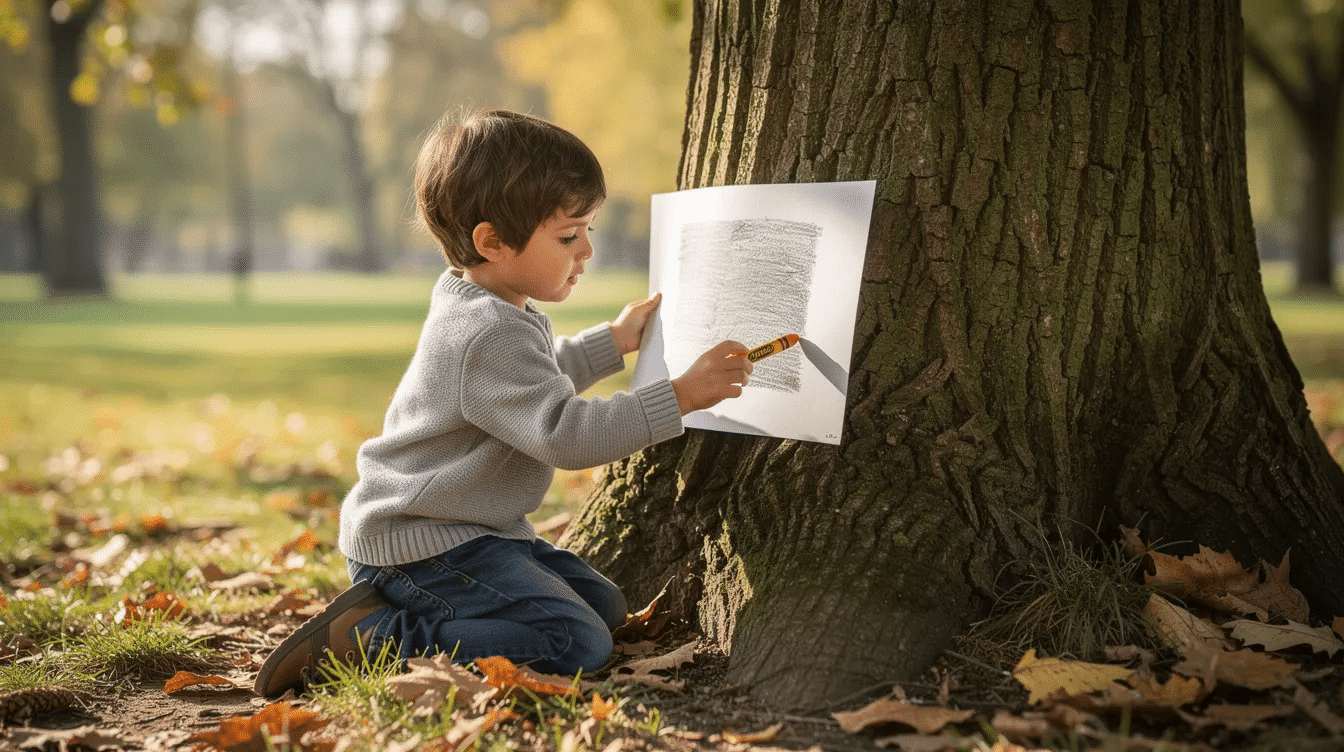
For bark rubbings, tape paper to a tree trunk at child height. Rub gently with the side of a crayon and notice rough, smooth, or cracked texture. Encourage kids to compare two or three trees, then play a simple match game between leaf and bark patterns.
Encouraging kids to make rubbings of various objects, such as coins or tree bark, can broaden their understanding of textures and surfaces beyond just leaves while also supporting fine motor skills in children through repetitive crayon movements and careful hand control.
Creative Extensions and Variations
Once kids know the process, add more artistic ideas, or shift to simple tissue paper stained glass crafts that also play with light, color, and overlapping shapes:
- Create a leaf rainbow with red, orange, yellow, green, blue, and purple.
- To extend the leaf rubbing activity, children can explore color mixing by layering different colored rubbings on top of each other to see what new colors are created.
- Children can create geometric patterns by making repeated leaf rubbings while sliding the leaf slightly between each rubbing to form a design.
- Engaging in leaf rubbings allows children to explore textures and shapes, fostering their tactile and visual learning experiences.
- Cutting out leaf rubbings to create a collage can produce a nature-inspired mosaic or forest scene.
For inspiration, parents can fill a poster with overlapping shapes, cut each rubbing, and create a forest scene kids will love, then switch gears with a crab paper plate craft for kids for an easy ocean-theme project.
Safety, Clean-Up, and Display Ideas
Supervise collecting so kids avoid thorny plants, poison ivy, and busy roads. Covering the table with newspaper keeps cleanup easy. Remember to collect broken crayons, recycle scrap paper, and press finished art under a book.
Display the art on construction paper, make a fall wall, or take photos to save each post-worthy piece before real leaves become brittle. You might also rotate in seasonal projects, using DIY craft kits for creative projects or a collection of owl crafts for kids to keep your art display fresh.
FAQ
What age is leaf rubbing art best for?
Toddlers around age 3 can play with lots of help. Preschoolers ages 4–5 and early elementary kids ages 6–8 can usually do most of the rubbing on their own.
Can we do leaf rubbings if it’s not fall?
Yes. Use evergreen leaves, houseplants, or pressed spring and summer leaves. Fall is popular because leaf shapes and colors are easier to find.
What kind of paper works best for leaf and bark rubbings?
Use regular printer paper or light drawing paper. Very thin paper may tear, while very thick paper can hide fine texture.
How can I connect leaf rubbings to school subjects?
Use leaf rubbing art for kids to teach science, art, early math, and language. Sort by sizes, compare shapes, add labels, and write observations, or tie it into winter units with simple polar bear craft ideas that extend the theme into habitats and seasons.
Are there digital resources that pair well with this activity?
Yes. Pair hands-on art with kid-friendly videos about forests, seasons, and trees, such as PBS KIDS outdoor exploration content or simple nature guides from the National Park Service.


