

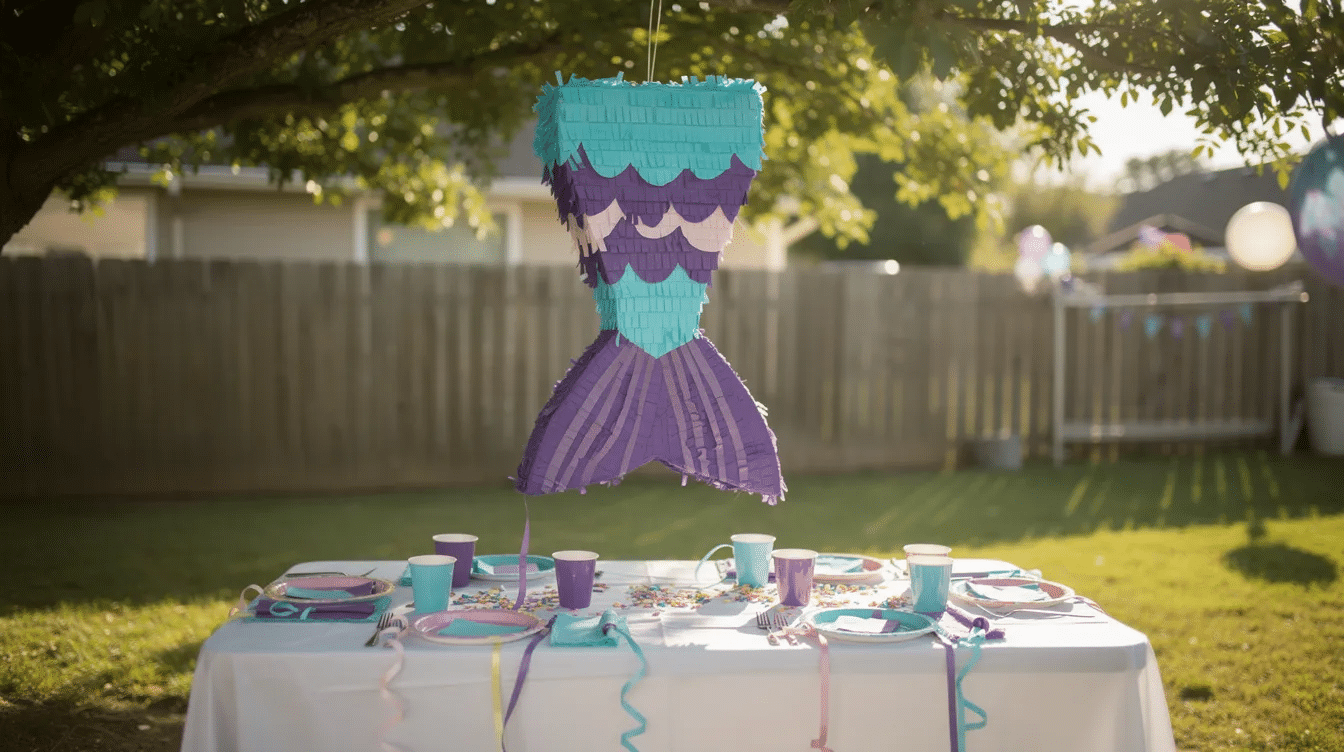
There’s something about a shimmering mermaid tail piñata swinging above a party table that makes every kid’s eyes go wide. Whether your little one is turning three or six, this step-by-step DIY tutorial from Little Button Diaries will walk you through building one from scratch – no fancy supplies required.
Mermaid Tail Piñata: Quick Overview for Busy Parents
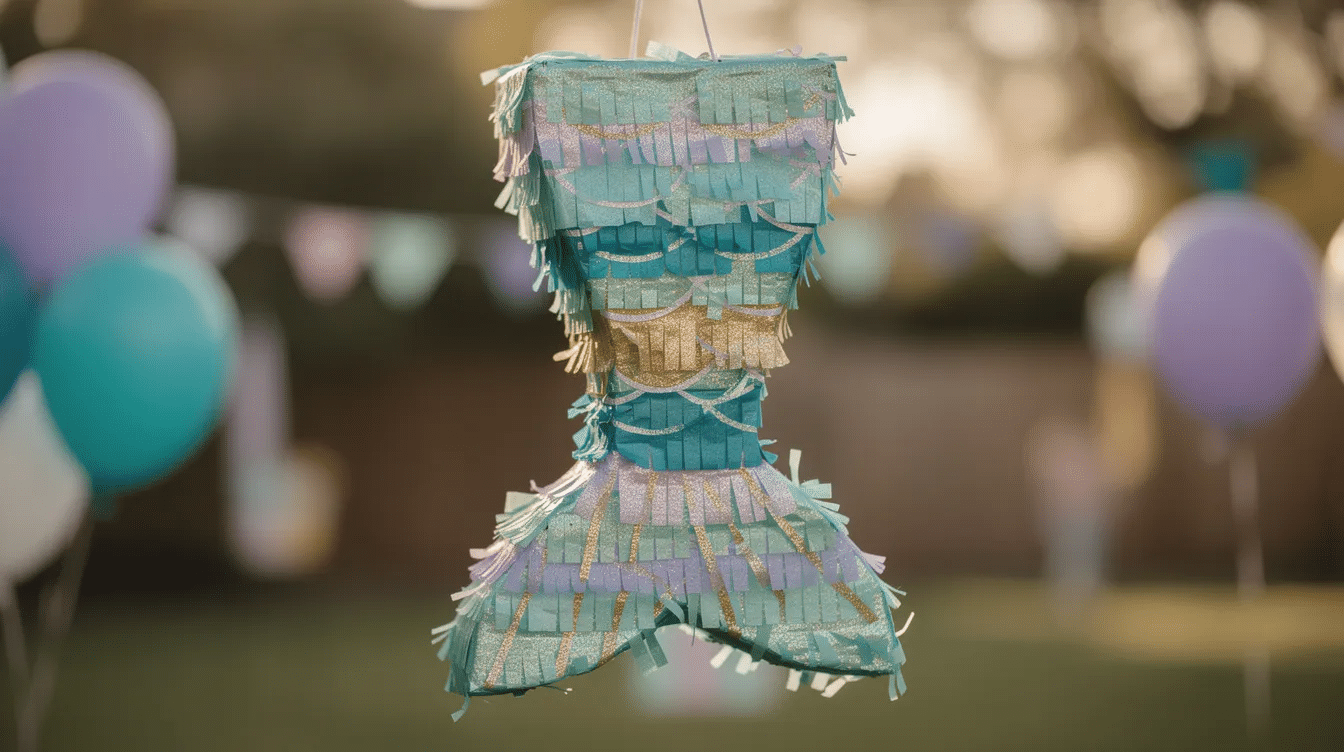
A mermaid tail piñata is exactly what it sounds like: a hollow, 3D party prop shaped like the fluke end of a mermaid’s tail, decorated with overlapping tissue-paper scales in ocean-inspired hues, and packed with treats that tumble out during game time. It doubles as vibrant under-the-sea party decor before anyone even takes a swing at it, and mermaid tail piñatas can also serve as stunning 3D wall decorations if you want to display one in your child’s bedroom afterward.
Mermaid themes remain wildly popular for kids’ birthday parties across America in 2026, especially for the preschool crowd. The tail shape is instantly recognizable, the color palette (think aqua, teal, lilac, coral, gold) is forgiving for beginner crafters, and the whole project can be finished in an afternoon with materials you likely already have at home.
So why not just order one? You absolutely can. Here’s how a few popular store-bought options stack up:
Product | Size | What’s Included |
|---|---|---|
Fun Express Mermaid Tail Sparkle Pinata | 20 × 15.7 × 4 inches | Piñata only (~$39.56) |
JUGAAD LIFE Mermaid Pinata | 15.8 × 11.8 × 3.5 inches | Piñata only |
The Little Mermaid Pinata | 21.5 × 20 inches | Piñata only |
4-in-1 Mermaid Party Pinata | Varies | Includes stick, confetti, and blindfold |
A DIY version of comparable size can cost under $10–$15 using recycled cardboard and basic craft supplies – and you get to customize every detail. This tutorial covers:
- Materials you need (most are already in your craft cupboard)
- Template and construction for a sturdy, lightweight mermaid tail base
- Decorating ideas from pastel ombré to bold ocean blues
- Safe play options including a pull-string method for toddlers
- Filling, hanging, and display tips so the whole thing goes smoothly on party day
Supplies for a DIY Mermaid Tail Piñata
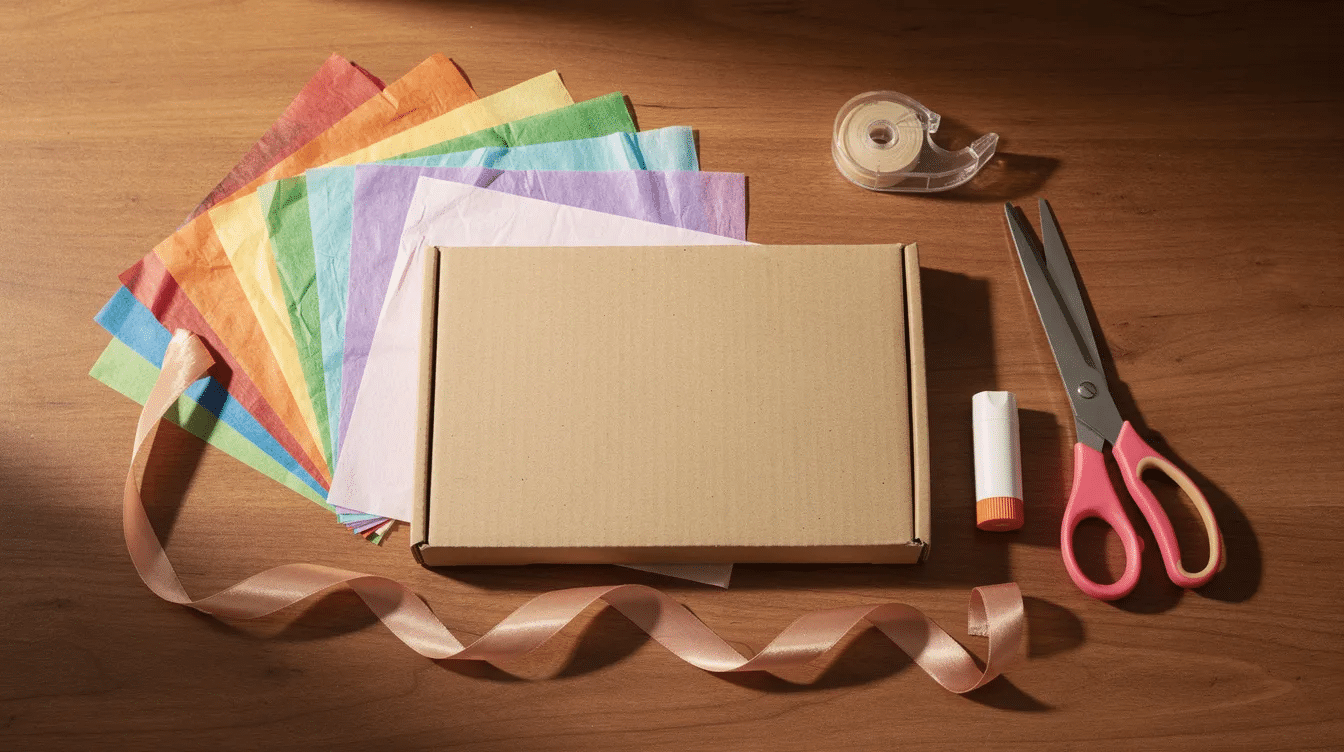
Most of what you need is sitting in a craft drawer or can be tossed into your cart at the dollar store. Here’s the full list with approximate quantities for a 20-inch-tall mermaid pinata:
Structural supplies:
- 1 large cardboard box (recycled moving or appliance box works best – you need two panels at least 20″ × 15″ each, plus strips for the sides)
- Masking tape (1 roll) and packing tape (1 roll for reinforcement)
- Scissors and a craft knife or utility knife (adults only – keep these well out of reach of little hands)
Decorating supplies:
- Tissue paper or crepe paper in 3–5 mermaid colors: aqua, teal, lilac, pink, metallic silver (roughly 8–12 sheets total)
- White PVA glue or school glue (one bottle) and a glue stick for lighter pieces
- Optional: metallic cardstock, sequins, or holographic paper for fin tips
Hanging and play supplies:
- Strong ribbon or string (about 3–4 feet for hanging)
- For a pull-string version: 8–12 lengths of ribbon (each about 10 inches), plus extra tape for the trap-door flap
- A lightweight foam bat or buster stick if you’re doing the traditional smash style
Fillings:
- Wrapped sweets, mini bubble tubes, stickers, erasers, small seaside-themed toys
- Confetti (paper, not plastic, if you’re cleaning up a garden)
- For allergy-friendly parties: mini crayons, stampers, playdough pots
Safety note: Items smaller than 1.25 inches are choking hazards for children under 3. The Crayola Consumer Safety Guide also warns that string-like materials over 12 inches can pose risks to toddlers – keep pull-string ribbons shorter.
Eco-friendly swaps: Old cereal boxes work for smaller piñatas, leftover gift tissue is perfect for scales, and paper tape can replace plastic packing tape. These small changes align with a frugal, upcycling mindset and keep waste low.
Fast-track option: If time is tight, you can find a plain, inexpensive store-bought piñata in a basic shape and transform it into a mermaid tail with paint, paper scales, and a few fin cut-outs taped to the sides. Same magic, half the effort.
How to Make the Mermaid Tail Piñata Shape
This is where your mermaid tail goes from flat cardboard to a proper 3D party centerpiece. The goal is a base that’s strong enough to hang loaded with goodies but lightweight enough that kids can actually break it open.
Step 1: Draw and cut the template
Sketch a simple mermaid tail silhouette on a large sheet of paper first. Aim for about 20 inches tall and 12–15 inches across the fins at the widest point – this is close in size to the Fun Express Mermaid Tail Sparkle Pinata and gives you a satisfying level of detail without being unwieldy.
Trace the template onto your cardboard twice (one for the front panel, one for the back). Cut both pieces out with a craft knife on a safe surface. This is strictly an adult job.
Step 2: Cut the side strips
Cut several cardboard strips about 3–4 inches wide and long enough to wrap around the curved edges of your tail. You’ll tape these between the front and back panels to create depth. A 4-inch depth is similar to most commercial mermaid tail piñatas and gives you plenty of room inside for candy and trinkets.
Step 3: Assemble the 3D shape
Tape the side strips between the front and back pieces using masking tape on the inside and packing tape on the outside for strength. Work slowly around curves, making small cuts (relief cuts) in the strip so it bends without buckling.
Leave a flap or opening at the top – this is where you’ll fill the pinata through a U-shaped opening later. Don’t seal it yet.
Step 4: Add internal bracing
If you plan to load the piñata with heavier candy (up to 4–5 pounds for a dozen preschoolers), tape a cross-brace of cardboard across the inside at the widest point. This distributes weight and stops the panels from bowing outward when you hang it.
Step 5: Create the hanging point
Pierce two small holes near the top of the tail, about 2 inches apart. Cut a piece of reinforcement cardboard and tape it behind those holes on the inside so the string doesn’t tear through. Thread strong ribbon or string through both holes, knot it securely inside, and leave a loop on top for hanging. For outdoor use, double the string or loop it over a sturdy tree branch.
Troubleshooting tips:
- If cardboard bends at stress points, double-layer it with a second piece taped behind.
- Too much tape on the front face makes the piñata harder for kids to break – keep reinforcement on the inside and at seams only.
- If the tail ends curl, press them under heavy books overnight before decorating.
For a more detailed look at basic cardboard piñata construction, check out our Homemade Piñata From Cardboard Box (Step-by-Step DIY Guide).
Decorating Your Mermaid Tail: Scales, Sparkles and Styles
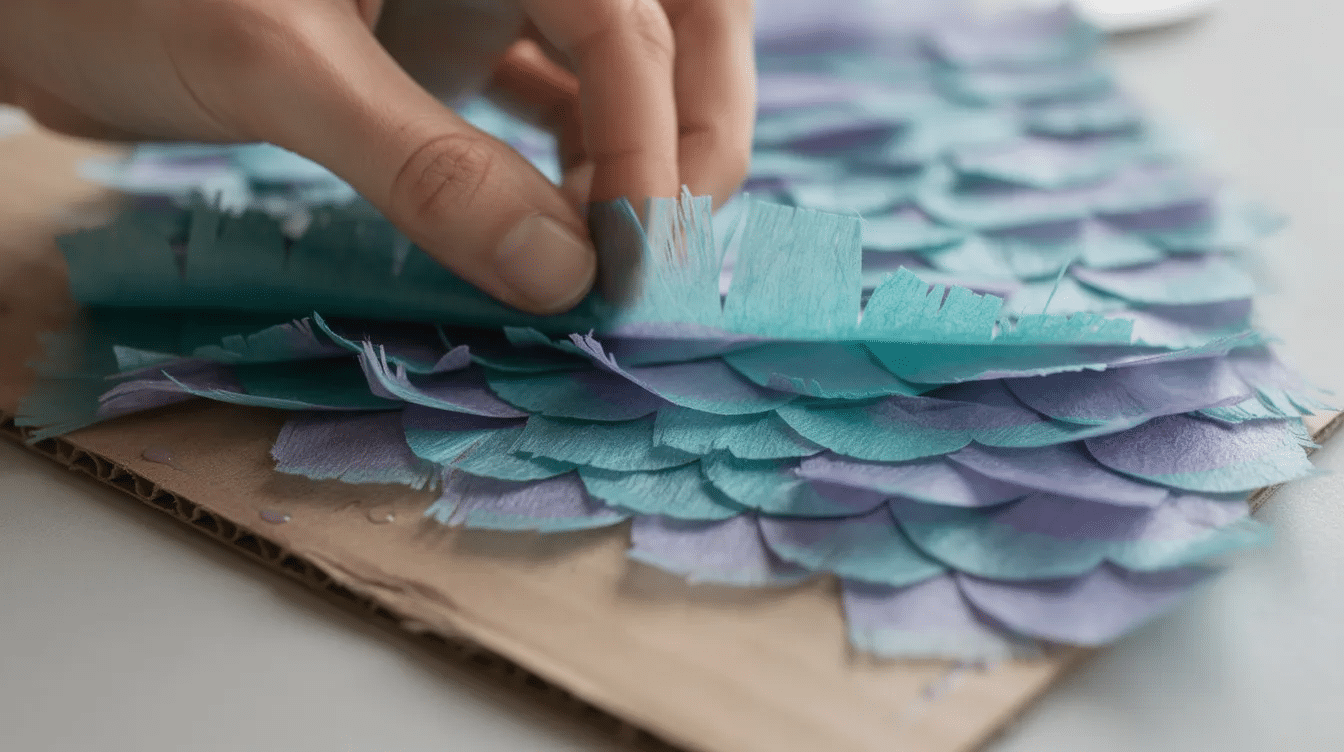
This is the fun part – and it’s where little helpers can get involved. The classic scaly mermaid tail look comes from layered strips of tissue paper, and even a two-year-old can help stick pre-cut pieces onto a gluey surface. The finished effect is surprisingly impressive for something so simple.
The basic scale technique
- Cut tissue or crepe paper into strips about 2–3 inches wide.
- Snip each strip into fringes, scallops, or circles along one edge to create a “scale” effect.
- Starting at the bottom of the tail, glue one strip across the width with the fringed edge hanging down.
- Work your way upward, adding each new row so it overlaps the top edge of the previous one.
- Use a glue stick or diluted PVA (roughly 2 parts glue to 1 part water) so the cardboard doesn’t warp from excess moisture.
Design variations for inspiration
Pick the look that suits your party palette – or mix and match:
- Pastel ombré tail: Gradient from mint at the base through aqua and lilac to soft pink at the top. This style is inspired by popular commercial mermaid pinatas like the Mermaid Tail Sparkle Pinata and looks gorgeous in photos.
- Bold ocean blues and purples: Deep jewel tones with metallic silver or holographic card glued at the fin tips for a dramatic flash.
- “Under the sea” tail: Layer your scales as normal, then glue on tiny seahorse, starfish, and shell cut-outs made from cardstock. Adding a few 3D elements like small pom-poms or felt shapes gives the tail real texture.
- Glitter-free version: Perfect for classrooms and glitter-free homes. Use colors and patterns only – metallic cardstock at the fin tips gives shimmer without the mess.
Personalizing for your child
- Write the child’s name and age on the tail (“Lily is 5”) using contrasting paper letters or sticker letters.
- Coordinate your colors with common 2026 mermaid party palettes: teal, coral, lilac, and gold are everywhere right now, so matching napkins, plates, and balloons is easy.
Pull-string vs. traditional hit style
You don’t have to choose just one. You can convert a traditional smash-style piñata into a pull-string version for safety by adding a trap-door panel:
- Cut a small square flap in the bottom of the tail. Tape it loosely so it stays closed but can swing open.
- Attach 8–12 ribbon “seaweed” strands to the base. Only one ribbon is taped to the trap-door flap – pull it and the goodies rain down.
- A pull-string piñata is safe for younger children (ages 2–3) and means the mermaid tail stays intact for pretend play or bedroom décor after the party.
For older kids (ages 5–6), the classic hit-with-a-bat approach is still a crowd-pleaser. Using multiple approaches – pull-string for the little ones first, then letting older kids take swings – can enhance the excitement of the piñata experience for everyone.
Filling, Hanging and Playing Safely with Your Mermaid Pinata
Plan to fill your mermaid tail piñata the day before the party so the glue and decorations have fully set and the structure holds its shape. If you’re using a store-bought piñata with a sticker seal, press the sticker to open the piñata for filling. For DIY versions, simply open the flap you left at the top.
What to put inside
A mermaid pinata for parties can hold candy and favors – the key is matching the fillers to the age group and the theme. Themed surprises fitting an ocean aesthetic work beautifully inside piñatas:
- Wrapped sweets, saltwater taffy, pearl-like candies and ocean trinkets
- Mini bubble tubes, mermaid stickers, shell-shaped erasers
- Tiny plastic sea creatures, mini kaleidoscopes, temporary tattoos
For allergy-friendly parties: Swap candy for mini crayons, stampers, playdough pots, or sticker sheets. Every child still gets a handful of goodies without any ingredient worries.
How much to fill: A good rule of thumb is roughly 0.25–0.5 lb of candy per guest. For 12 preschoolers, that’s about 4–5 lbs of treats total, plus a dozen or so non-candy items. Check that the total weight doesn’t exceed what your hanging point can support – if the string feels strained, remove some filler.
Closing the opening
Once filled, tape the flap lightly with masking tape, then cover it with one final layer of tissue-paper scales so it blends into the design. Don’t over-reinforce – you want kids to be able to break through it.
Where and how to hang
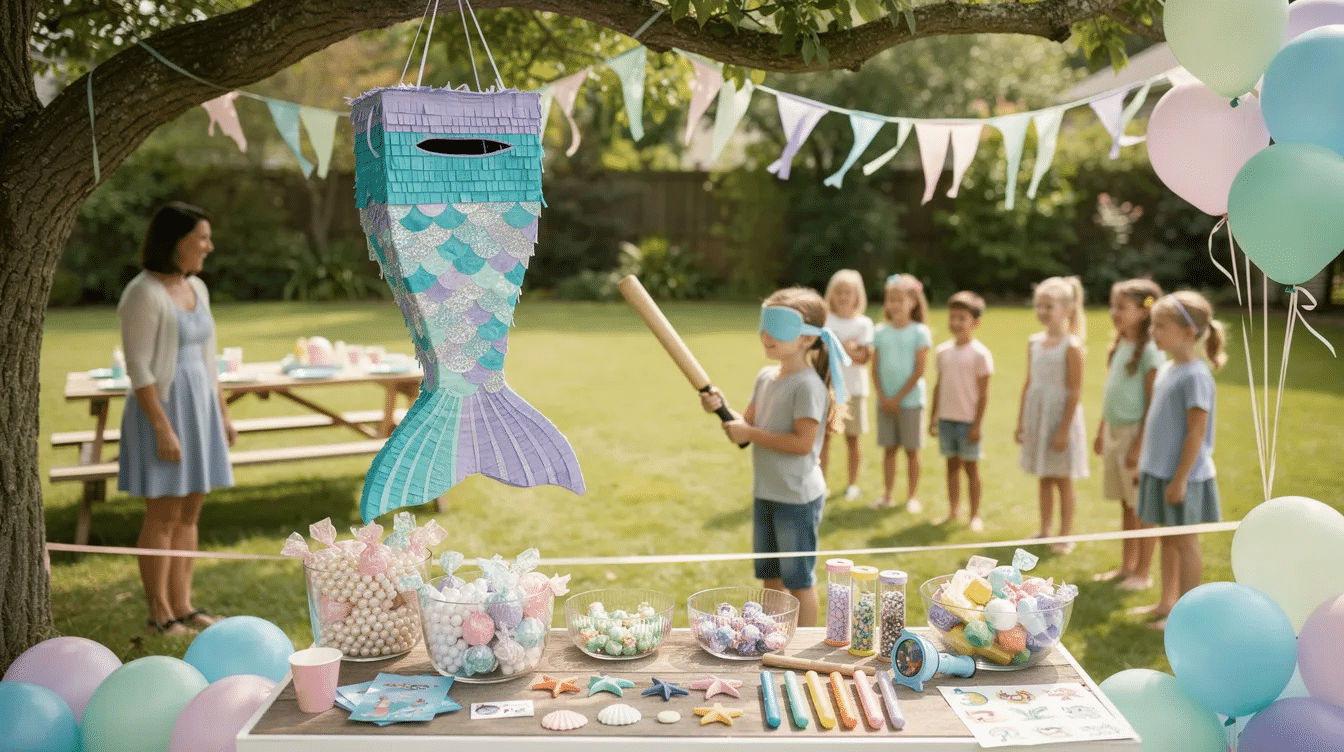
- Outdoors: A sturdy tree branch, pergola beam, or clothesline post. Hang the pinata at least 15 feet away from waiting players so nobody catches a stray swing.
- Indoors: A ceiling hook, door-frame pull-up bar, or wall-mounted bracket. Make sure you have clearance on all sides.
- Height: For children aged 3–6, hang the tail so the bottom fin sits about 18–24 inches above their heads. They should be able to reach it with a bat or pull the string ribbons without an adult lifting them.
Safety rules for game time
This is the part that matters most. A clear set of rules keeps the fun level high and the tears at zero:
- Use a buster stick or lightweight foam bat to break the pinata – never a broomstick or anything heavy.
- Blindfold the first player before hitting the pinata (ages 5+ only, and with an adult right beside them). For younger kids, skip the blindfold entirely.
- Each child should hit the pinata at least twice before passing the bat to the next player.
- Keep waiting children behind a chalk line or rope, well outside swing distance, with an adult supervising at all times.
- For toddlers and nursery groups, use the pull-string method described above instead of hitting.
- Have your phone ready – not just for photos, but to play ocean-themed music during the game to build excitement.
After the game
- If the tail fins or top section are still intact, save them as a bedroom decoration or craft-corner display piece.
- Flatten the remaining cardboard for recycling, and compost any plain tissue paper that’s beyond reuse.
Mermaid Party Ideas to Match Your Mermaid Tail Piñata
A handmade mermaid tail piñata deserves a full under-the-sea celebration around it. The good news is that most of these coordinating ideas are just as frugal and hands-on – exactly the kind of projects we love at Little Button Diaries.
Simple, budget-friendly décor
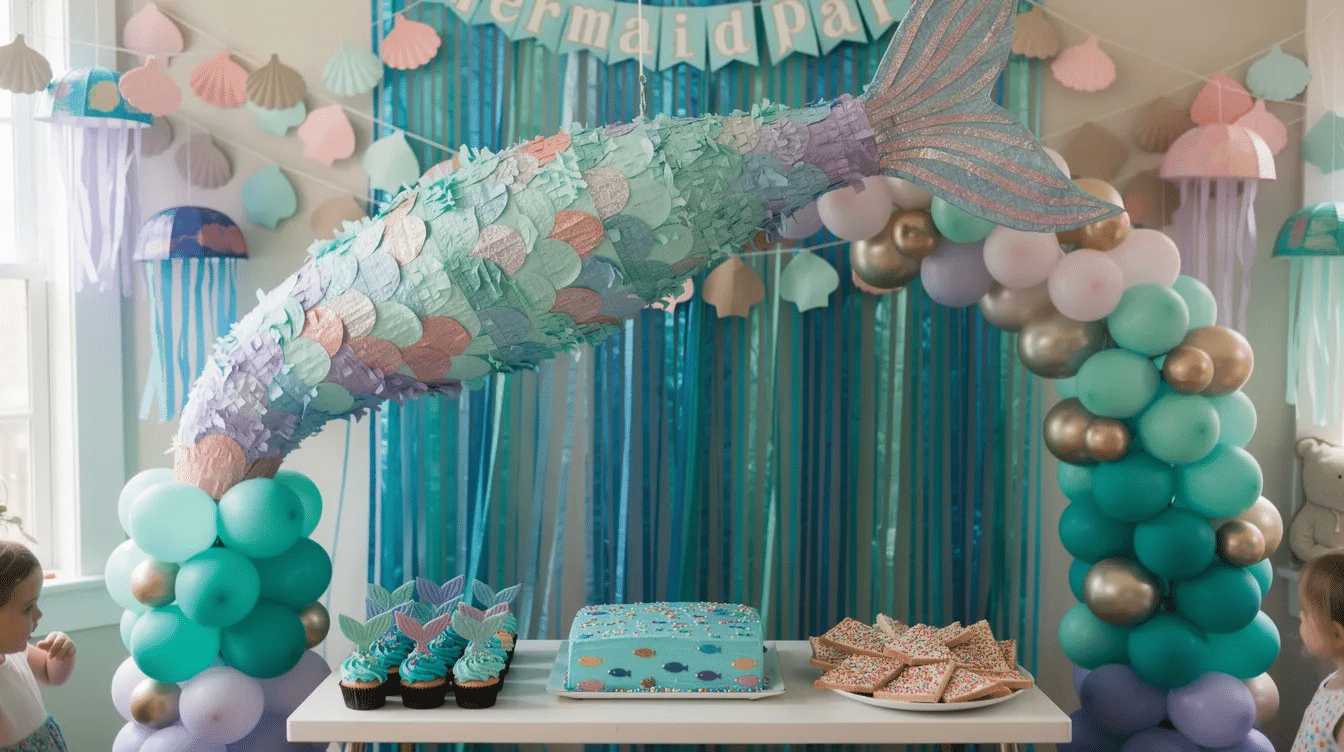
- Paper seashell garlands strung across the party area (cut shell shapes from card, punch holes, thread onto string)
- Jellyfish lanterns made from upside-down paper bowls with crepe-paper streamers dangling beneath – hang them alongside your piñata for maximum wow
- A mermaid balloons arch in coordinating colors frames the party table beautifully, or try a full under the sea balloon arch for a bigger splash
- Piñatas can be part of pre-game activities as photo booth props – set up the mermaid tail piñata near a backdrop of blue streamers and let families snap pictures before the action starts
Party food
- Mermaid tail cupcakes: swirl blue and green frosting, add a fondant or cardstock tail topper
- A simple “ocean” traybake with blue-tinted cream cheese frosting and fish-shaped sprinkles
- For a crowd-pleaser from the other side of the world, our Fairy Bread Recipe Australia is a hit with kids everywhere
A loose party schedule
Parents can incorporate creative activities while using a piñata as the main event for children’s parties. Here’s a simple flow:
- Arrival craft table – Decorate foam seashells, paint cardboard fish, or try a crab paper plate craft
- Active games – Musical “rock pools” (like musical chairs but with blue towels as pools), a seashell treasure hunt in the garden
- Dance party – Ocean-themed music can be played during a dance party as part of the piñata event to get everyone moving before the big moment
- Piñata time – The main event! Pull strings for little ones, then the bat for older kids
- Calm wind-down – Under-the-sea storytime, coloring sheets, or a short mermaid cartoon on a tablet while parents pack up
For more hands-on projects, browse our craft activities for kids or our roundup of easy craft ideas for dozens of low-cost, low-mess activities.
One last thing
The basic mermaid tail piñata method you’ve just learned works for almost any “tail” theme. Swap the colors and you’ve got a unicorn party tail, a dragon tail, or even a dinosaur tail – same cardboard skeleton, totally different vibe. Whether your next party lands in aug or mid-winter, the technique stays the same.
A homemade mermaid tail piñata is one of those projects that looks far more difficult than it actually is. An afternoon of cutting and gluing ends with a showstopper that your child will talk about long after the last piece of candy is gone. So grab that cardboard box, pick your colors, and get crafting – then come back and share a photo with us. We’d love to see what you make.


