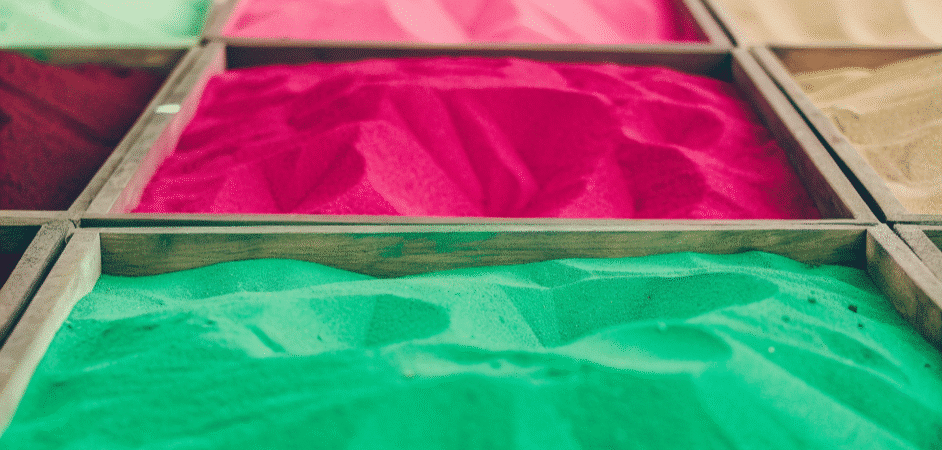
I’ve always found sand for art projects to be a pretty cool way to add some extra texture and colour to things. Its not just about something you’d find at the beach, I reckon its a pretty simple and fun material that can really liven up things like craft projects and home decor. Whether your making a kids craft kit or decorating a space, sand can make something super unique and eye catching.
If you’re looking for inspiration or want to practice before starting a new project, there are plenty of apps available that let you experiment with digital sand art. Many sand art apps offer helpful support, allow you to customize your profile, and provide a user-friendly experience. Downloading an app can enhance your sand art journey and make it even more interactive.
- Introduction to Art Mediums
- Getting Started with Sand Art
- Tools and Techniques
- Fun Projects to Try
- Displaying and Keeping Your Sand Art for Home Decor
- Tips for Choosing the Right Sand
- Avoiding Common Mistakes
- Using Technology to Inspire Your Sand Art
- Wrapping Up
Introduction to Art Mediums
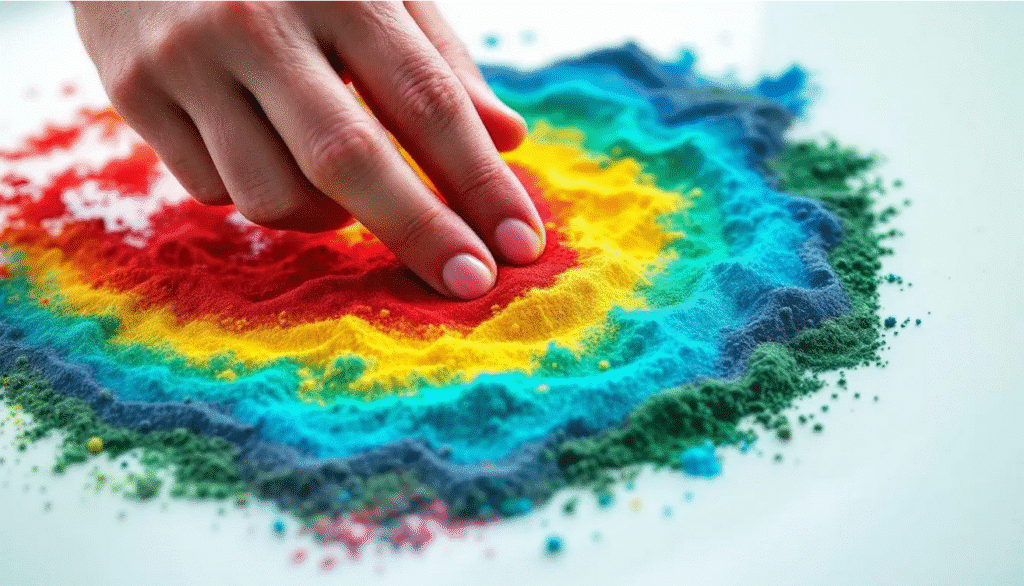
Having a go at different art mediums is a cracking way to discover new ways to get your creative juices flowing. From paints and clay to textiles and digital tools, each material brings its own dead-simple qualities to a piece of art. Sand art, in particular, has become a right popular choice for those looking to add texture, colour, and a bit of fun to their projects. Unlike some other mediums, sand offers a proper tactile experience and a brilliant palette that can really make your crafts stand out.
When you’re having a crack at creating with sand, its important to focus on the overall texture and colour variations you can knock up, rather than getting caught up in the tiny details of each grain. This approach helps you avoid the common mistake of overworking your design and lets the natural beauty of the sand shine through. A good crafts kit can be a top way to get started, especially for kids or anyone new to sand art. These kits usually come with a selection of coloured sand, simple tools, and easy-to-follow instructions, making it dead easy to dive right in and start creating. For a fun twist, you can even make kinetic sand by mixing play sand with cornstarch and oil, which adds a unique, moldable quality to your projects.
Sand art isn’t just for kids’ crafts—its also a stylish way to spruce up your home decor. You can create a striking picture or decoration by mixing sand with other materials, like green plants or yellow flowers, to add a personal touch to any room. The choice of colours is key: whether you go for a bold red accent or a calming white background, the colours you choose will set the mood for your piece. Mixing and matching different hues lets you have a proper experiment and find the perfect combination for your home. Colored sand can also be used for DIY wedding decorations and vase fillers, adding a touch of elegance to special occasions.
Paying attention to the details, like how the sand’s texture catches the light or how different colours blend together, can take your art to the next level. Don’t be afraid to keep having a go with new techniques and materials—sometimes the most brilliant results come from trying something unexpected. Sand art is a wonderful way for both kids and adults to enjoy crafts and create unique decorations that reflect their personality.
If you’re after inspiration or want to practice before starting a new project, there are loads of apps available that let you experiment with digital sand art. These apps often feature touch controls and a wide range of colours, making it dead simple to try out new ideas and learn new techniques. With the right tools, a bit of creativity, and a willingness to explore, anyone can knock up stunning sand art pieces that add a special touch to their home.
Getting Started with Sand Art
If you are new to this sort of thing, then first things first: the type of sand you choose really does make a big difference. You want sand that’s nice and clean and fine enough to work with but still has enough grit to it to hold its shape. Coloured sand is great because its just so easy to make things pop. Silica sand is another excellent option as it is inexpensive, easy to dye, and often sold in home improvement stores. You can find all sorts of colours, like green, yellow, red – the list goes on.
One easy way to get started is by layering all the different colours up. Think of it like painting – but with grains of sand. You pour on one colour, then add another on top, and so on. It creates these really cool patterns that look detailed and nice. Its like painting but in a 3D sort of way.
Tools and Techniques
You dont need loads of fancy equipment to work with sand. A simple tray or a flat surface is all you need. You can use spoons, funnels or even your fingers to get the sand where you want it. If you want to get a bit more detailed then try using a small brush or a toothpick to move the sand around. For a relaxing and decorative project, consider creating a mini Zen garden by filling a shallow box with fine sand and adding decorative elements like small stones or figurines.
If you want to add some texture to things, try sprinkling sand lightly over glue or paint. Its a great way to give things a bit of a sandy feel thats perfect for making beaches or deserts in your art. Just take your time and dont rush it.
Fun Projects to Try
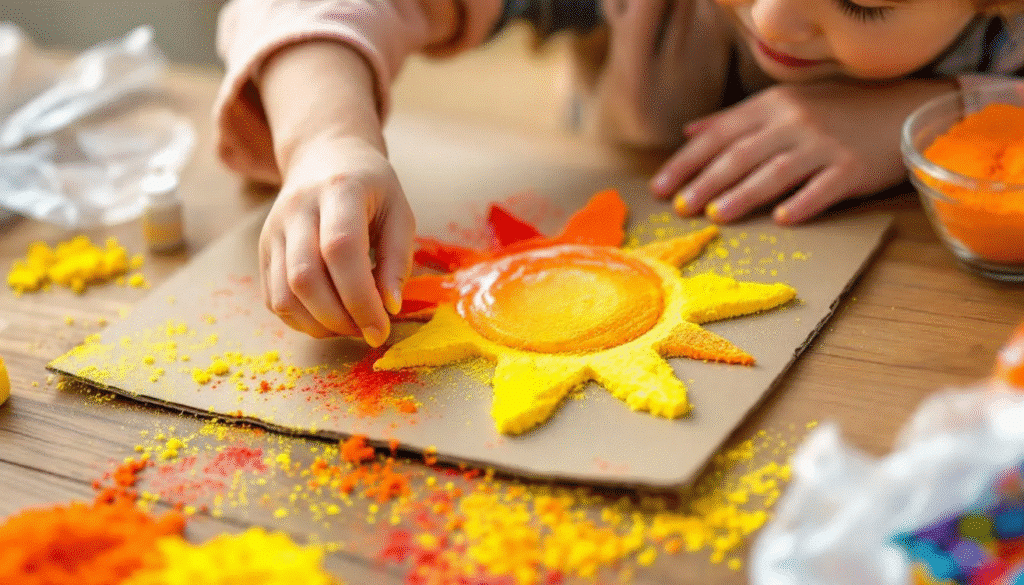
There are loads of ways you can use sand in your art. One of my favourites is making sand pictures. You just draw a simple shape on a bit of paper, cover it in glue, and sprinkle some coloured sand on top. When you shake off the excess sand you get this bright, textured design that looks really neat.
Kids love making sand bottles too – just layer up all the different colours in a clear bottle or jar. Its easy to do, its colourful and its a great way to teach the kids about colours and patterns.
If you want to get a bit more advanced then try making a sand mandala. These are these circular designs that you make by carefully placing the sand in patterns. Its a bit of work but the end result is pretty stunning and looks great in a home. Another creative idea is to make sand dough by combining sand with flour, salt, and water. This mixture can be baked into decorative items, offering a durable and artistic way to showcase your sand art.
Displaying and Keeping Your Sand Art for Home Decor
Once your sand art is all done you’ll need to figure out how to display it and keep it safe. If its on paper then just framing it behind glass is a good idea – it keeps the sand from falling off. If its in a sand bottle then just keep the lid on tight and place it somewhere it wont get knocked over.
If you want to keep sand art that’s glued to a surface then consider spraying it with a clear sealant. Its a good way to keep the sand in place and make your design look fresh for longer. Just test the sealant on a small bit first to make sure it dont mess with the colour.
Tips for Choosing the Right Sand
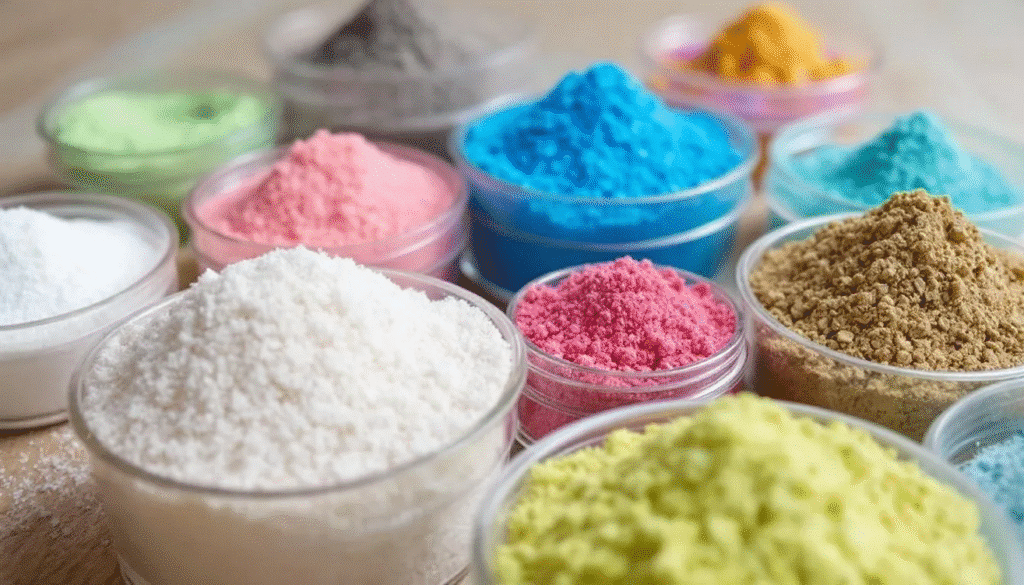
Picking the right sand is a bit of a choice, but here are some things to keep in mind. White sand is great for a clean, bright look – and it also works well if you want to paint over it or add other decorations.
Coloured sand is perfect when you want your art to really stand out. Just make sure you choose a non-toxic option, especially if the kids are involved. The texture of the sand itself is pretty important too – fine sand is easier to work with for detailed art, while coarser sand adds a bit more texture.
Avoiding Common Mistakes
One mistake I see a lot is people using wet sand. It tends to clump and doesn’t layer well. Use dry sand for best results. Another thing is not planning your design out first – its a good idea to sketch your idea out so you know where each colour goes. This saves time and keeps your artwork looking neat.
Also, dont rush when layering up the colours. Let each layer settle before adding the next. This stops the colours from mixing and keeps your patterns clear.
Using Technology to Inspire Your Sand Art
If you want some help with ideas then there are loads of apps out there that let you make digital sand art. They can give you a feel for what colours and patterns look like before you even start with real sand. Its a great way to practice and get some inspiration.
Wrapping Up
Sand in art projects is just a great combination – its simple to work with but it offers loads of creative options. Whether youre making a kids craft kit or decorating a space, its a material that’s easy to get on with and offers loads of ways to make things a bit more interesting. Just pick the right sand, plan your design, and get on with making something you’ll be really proud of.
