Sand sculpture is a fun way to get creative outdoors. Whether you’re at the beach or in a sandbox, shaping sand into cool designs is something anyone can enjoy. Sand carving is the professional and artistic process of sculpting intricate designs and structures out of sand. I’ve spent plenty of hours building castles, animals, and all kinds of shapes, and I’m here to share what I’ve learned so you can make your own sand masterpieces.
- Introduction to Creating Sand Sculptures
- Picking the perfect spot to dig in
- Gathering the essentials
- Building a solid foundation
- Building up layers and packing the sand
- Bringing your design to life
- Adding texture and interest
- Some tips to keep in mind
- Learning from experienced sand sculptors
- Refining your craft
- Having a good time and staying safe
- Preserving your masterpiece
- Checking out the bigger picture
- Wrapping up
Introduction to Creating Sand Sculptures

Knocking up sand sculptures is a cracking way to let your imagination go completely mad while you’re having a blast outdoors. Whether you’re shaping a classic sand castle or dreaming up your own dead-simple sculpture, sand sculpting is all about turning wet sand into proper art. All you need to get going is a bucket, a shovel, and a bit of water—plus a sandy beach with the right sort of compact, wet sand thats perfect for the job. The whole process of creating sand sculptures is both dead relaxing and rewarding, as you sit back and watch your ideas take shape right before your very eyes. Around the world, sand sculpture festivals are a brilliant way to celebrate this creative medium, bringing together artists and enthusiasts to show off some incredible sculptures and get everyone fired up with new ideas. No matter what your age or skill level, sand sculpting is a top way to create, have a proper explore, and bring a bit more art into your life.
Picking the perfect spot to dig in
Finding just the right spot is important. You want to choose a site with good sand that is wet enough to stick together but not so soggy that it falls apart. The quality of the sand is crucial for successful sculpting, as higher quality sand with the right grain size and moisture content will pack well and keep its shape. Wet sand adheres better than dry sand due to the formation of water bridges between sand grains. Before you start building, check the ground conditions and prepare the ground to ensure a stable foundation for your sculpture. Look for a site near the sea or a water source where you can easily get more water if you need it.
Avoid places with dry or loose sand – it just won’t hold up. You’ll also want to consider the tide and waves – the last thing you want is for your sculpture to get washed away before you’ve even finished. A site with a bit of shade or wind protection to keep it safe is always a bonus.
Gathering the essentials
You don’t need a lot of specialist gear to get started. A simple spade and buckets will do most of what you need. Buckets are great for hauling water and shaping the sand, and if you want to get a bit more detailed, you can always try using small tools like trowels or even plastic knives to carve out finer details. Building forms can be made from wood or flexible materials to help create specific shapes in sand. Having the right tools can make a big difference in achieving professional results with your sand sculpting.
Don’t forget to grab a spray bottle to keep your sculpture damp. Keeping the surface of the sand moist will help it stick together and stop it falling apart as you work.
Building a solid foundation
The first thing to do is create a strong base. Scoop up the wet sand and pack it down tightly into a pile—this is the starting point for your sculpture. The first form you create serves as the foundation for your entire structure, so make sure it is firm enough to hold the weight of the layers on top.
If you’re using buckets or molds, start by filling them with wet sand and pressing it down firmly. Then, flip the bucket upside down to create shapes like towers or walls. This is a great simple way to get some basic shapes going.
Building up layers and packing the sand
Now it’s time to start adding more sand in each layer, packing each layer down tightly before adding the next. It’s the mix of sand and water that keeps the sculpture solid, so you want to get the balance just right—too much water and the sand will sink in; too little and it won’t hold together. The first layer of sand-filled forms should be about 6 inches thick before adding water. Be sure to add water as you build each layer to achieve proper compaction and stability.
Use your feet or hands to stomp on the sand and get rid of any air pockets that form. Compacting sand is critical; it involves removing air bubbles to achieve a solid structure. It takes a bit of elbow grease and building a large sculpture can easily take more than an hour, but trust me—it makes all the difference in the world.
Bringing your design to life

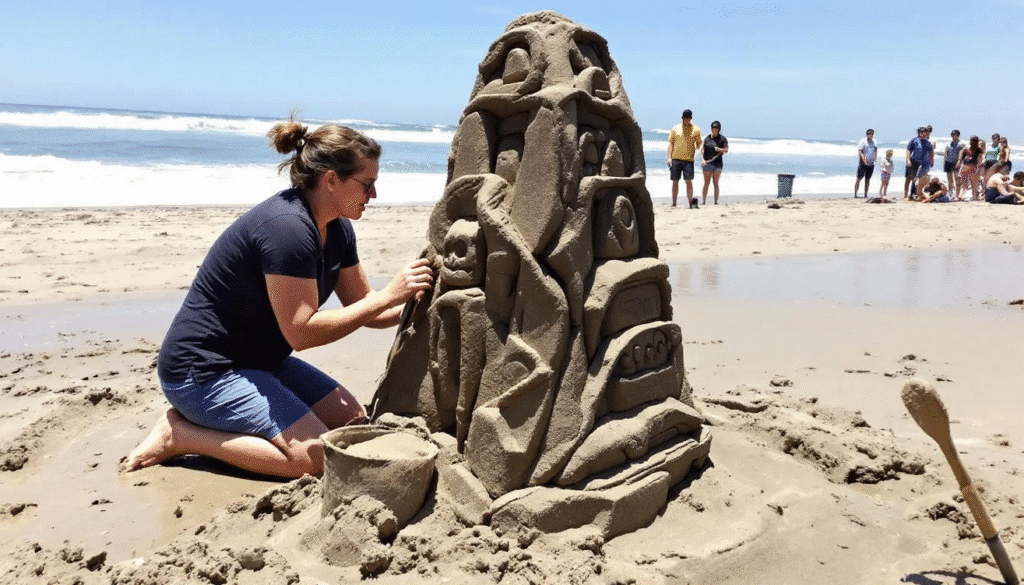
Once you’ve got a solid base, it’s time to start sculpting and carving out the details. Start with the big shapes, then work your way down to the smaller, carved details. Use your tools to chip away or smooth out surfaces and remember to keep misting the surface to keep it damp as you go. Sand sculptures often require misting with water to keep the surface wet after carving. To add detail and enhance the clarity and storytelling of your sculpture, focus on fine touches that make the piece look polished. Using reference photos can help guide your design and ensure you accurately capture the intended look and details.
Think about what story you want your sculpture to tell— even simple shapes can be fun if they have a clear theme. Sand sculpting can also be a form of performance art, engaging spectators as they watch your creation come to life. Often, spectators will be fascinated by the progress and the story your sculpture conveys.
Adding texture and interest
If you want to make your sand sculptures proper stand out, try chucking in some texture and interest with a few dead-simple techniques. Carving is a cracking way to bring out the details—just grab a stick or a small tool and etch in some patterns, lines, or even tiny windows and doors into your sand castle or sculpture. You can also knock up different surfaces by molding and shaping the sand, from smooth walls to rough, rocky textures that look the business. Dont be afraid to get creative with whatever bits and bobs you find on the beach, like shells, pebbles, or driftwood, to pop on some unique touches and patterns. By having a go with different ways of creating details, youll find that your sand sculptures become proper engaging and a right treat to look at. Whether youre building a simple sand castle or an elaborate sculpture, adding those extra details will make your creation truly one-of-a-kind and something to be dead chuffed about.
Some tips to keep in mind
- Keep the sand at the right consistency – not too wet and not too dry.
- Work from the top down so any falling sand doesn’t mess up finished parts.
- Use forms or molds to help keep your shapes neat and tidy.
- Take a break if the sand starts to dry out – just spray it with some water and pack it down again.
- Embrace the challenge of sand sculpting—each attempt is a chance to learn new skills and improve your creativity.
- If you have a limited time to finish your sculpture, plan your design and work efficiently to make the most of every minute.
- Remember to play and have fun with your creations—enjoy the artistic and playful side of working with sand.
- Don’t be afraid of a mistake – just add more sand or smooth out any rough spots.
Learning from experienced sand sculptors
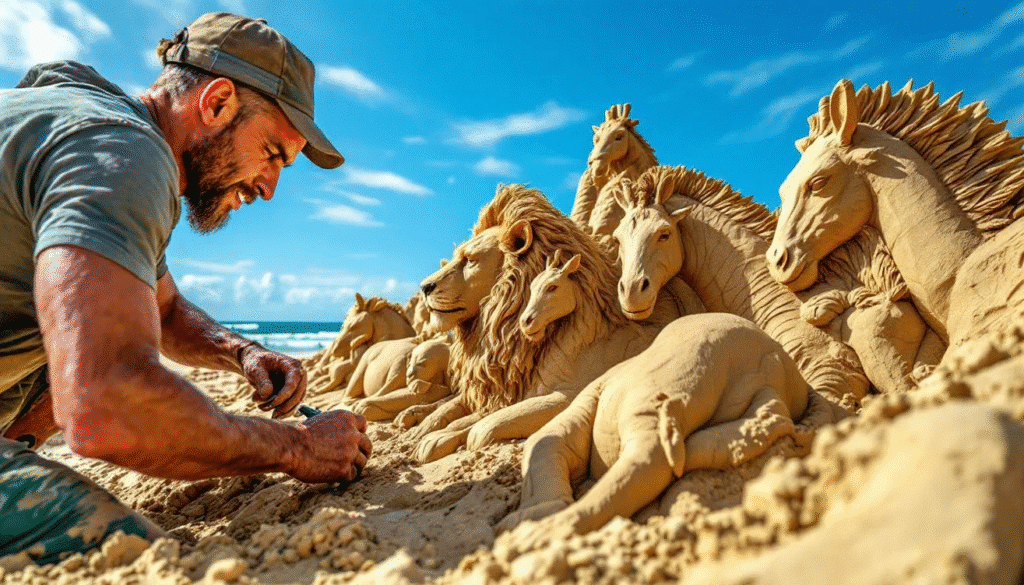
One of the dead-simple ways to get your sand sculpting skills up to scratch is to learn from the pros who’ve been doing this for ages. Loads of experienced sand sculptors are more than happy to share their tricks and ideas through online tutorials, social media, and even cracking live demonstrations at sand sculpture festivals. Hundreds of annual sand sculpture competitions are held all over the world. Having a good look at how others tackle the whole process can give you some brilliant new ideas for your own sculptures and help you dodge those common slip-ups that catch everyone out. You can also get yourself into online communities where sand sculptors show off their work, give each other feedback, and have a good chat about different sculpting methods. If you’re after some proper hands-on experience, then signing up for a workshop or class with a professional sand sculptor is a top pick. By getting in with others who share your passion for sand sculptures, you’ll pick up some cracking tips and tricks that’ll help you knock up even more impressive sculptures that are sure to turn heads.
Refining your craft
Once you’ve got a bit of confidence under your belt with sand sculpting, its time to start having a proper go at polishing up your skills by trying out some cracking new techniques and materials. Have a bash with really wet sand for lovely smooth, flowing shapes, or use drier sand to knock up rougher textures and effects that really pop. Switching up your kit—like using different buckets, spades, or even some proper specialized sand sculpting tools—can help you get exactly the shapes and details you’re after. Keep a close eye on the proportions and textures of your sculptures, and don’t be scared to chuck in more detail or have a go at some fresh ideas. Creating a sand castle with a proper story, or a sculpture that spins a good tale, can make your work dead engaging. The more you practice and have a play around, the more your sand sculptures will stand out as proper crackers for their creativity and craftsmanship.
Having a good time and staying safe
Sand sculpting is a great way to spend time outdoors, especially with children, who are often the most enthusiastic participants. Enjoying sand sculpting with friends can make the experience even more fun and collaborative. Just be careful digging tunnels or deep holes—sand can collapse easily and cause an accident. Never bury anyone in sand up to their neck, as this can be very dangerous. Always keep an eye on little ones and stay clear of the tide line.
Preserving your masterpiece

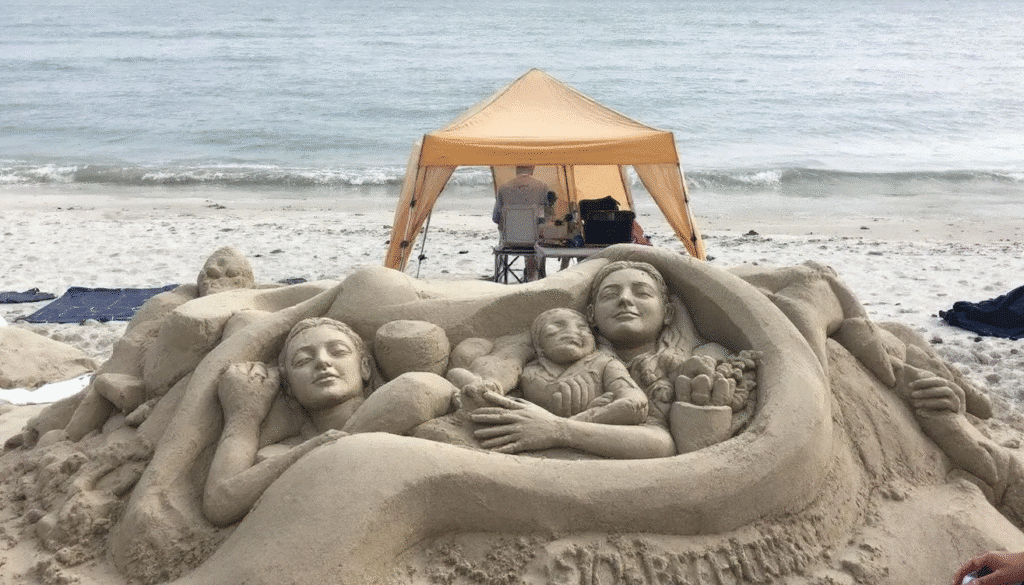
After you’ve put in the effort to knock up your sand sculpture, its only natural to want the thing to last as long as possible. To help preserve your masterpiece, you can use a fixative like hair spray or a dead-simple sand sculpting sealant to protect it from wind and water – works a treat! Choosing a spot thats sheltered from the elements, such as under a tent or in the shade, can also help your sculpture stay intact for hours or even days. Don’t forget to take plenty of photos or videos so you can remember your creation long after the waves have washed it away – cracking way to keep the memories alive! If you want to have a go at more durable sculptures, try mixing sand with a bit of clay for added strength, or design your sculpture with a sturdy foundation and weather-resistant features. With a few dead-simple steps, you can enjoy your sand sculpting achievements for even longer.
Checking out the bigger picture
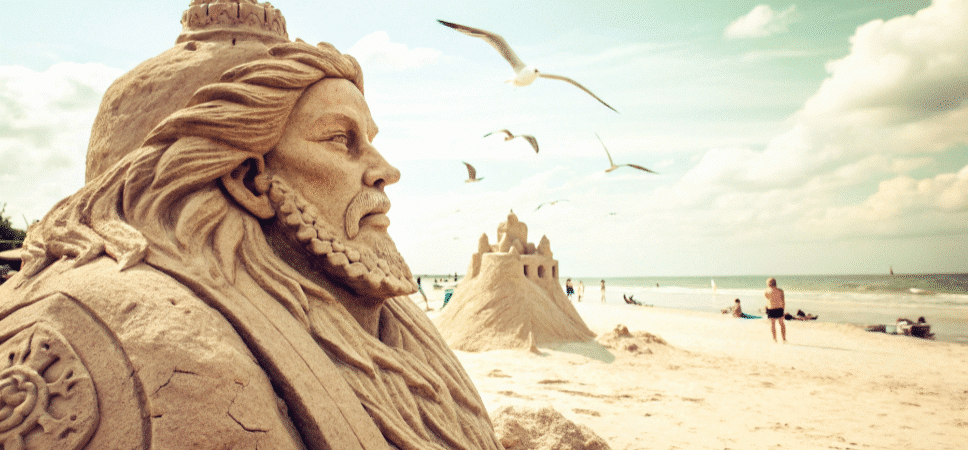
If you want to see what the pros do, check out some sand sculpture events, such as festivals, competitions, and even world championships. These events bring together artists who build these amazing huge sculptures in no time at all. Atlantic City, for example, is famous for its historic sand sculpture events along its boardwalk, where early sand artists first gained recognition. The largest sand sculpture event in the nation is the International Sandsculpting Championship in Virginia Beach. Watching these events is a real inspiration and can teach you new skills.
Some festivals even offer workshops where you can get hands-on experience and meet other people who love sand sculpting.
Wrapping up
Sand sculpting is all about having fun and getting a bit messy. With a bit of practice, patience, and the right mix of sand and water, you can create anything from simple castles to intricate figures. Grab that spade, find a good spot and start shaping your sandy creations – I promise you’ll have a blast


