

Making a paper bag puppet is a classic, simple craft that requires only a few basic materials to create a wide variety of characters. This tutorial shows kids, parents, and teachers how to turn a lunch-size paper bag into a cute character for pretend play, short stories, or a full puppet show.
Key Takeaways
- A paper bag puppet is a simple puppet made from a lunch-size paper bag, craft supplies, and creative facial features.
- You can finish a basic person or animal puppet in about 20–30 minutes, or 40–45 minutes for detailed designs.
- Common materials needed to create paper bag puppets include paper bags, crayons, markers, glue, construction paper, yarn, and scissors, many of which are part of the best art supplies for young artists.
- This project can become a family, a group of animals, or characters for a puppet show.
- This activity builds fine motor skills through art and encourages creative play.
What Is a Paper Bag Puppet?
A paper bag puppet is a puppet made from a brown or white paper bag decorated as a person, animal, monster, or seasonal character. The bottom flap becomes the head and mouth, while the rest of the bag becomes the body and clothes.
Kids slide a hand inside the bag to make the puppet talk. Compared with sock puppets or a stick puppet, this option is faster, lower-mess, and easier for preschool, kindergarten, and early elementary ages. No special skills are needed-just simple supplies, imagination, and a little wait time for glue to dry.
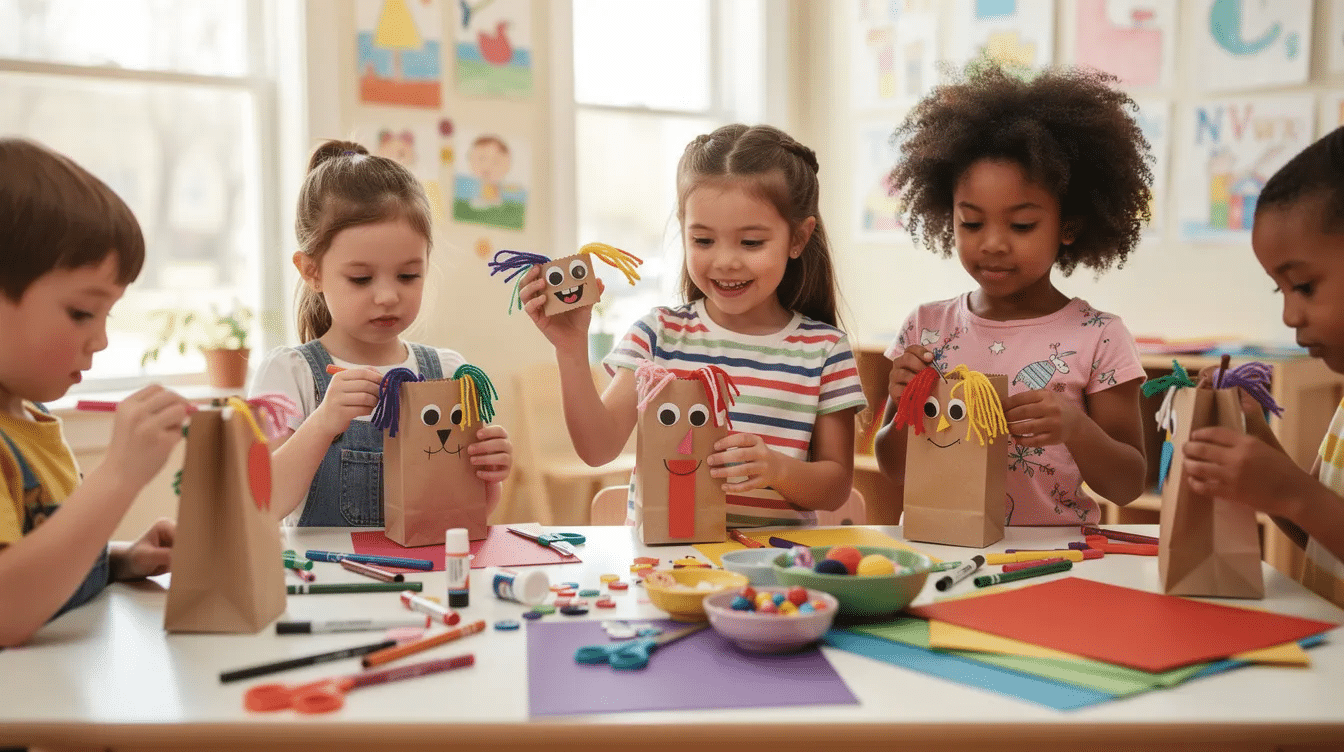
Materials You’ll Need for a Simple Puppet
Most simple materials are common household or classroom items. Standard brown lunch bags, typically measuring approximately 5 inches by 10.5 inches, are commonly used as the base for making paper bag puppets.
You’ll need:
- Brown or white paper bags
- Construction paper and colored paper
- Crayons, markers, or colored pencils as coloring supplies to add details
- Child-safe scissors
- Glue stick, white glue, or tacky glue
- Yarn for hair
- Optional decorations: googly eyes, pipe cleaners, buttons, pom-poms, stickers, ribbon, or fabric scraps
A glue stick is generally best for securing lightweight items, while white glue or tacky glue works well for heavier items like buttons. Scissors are used for cutting out shapes, and various colors of construction paper can be used to create facial features, ears, clothes, and arms.
For setup, cover the table, place craft supplies in bowls, and keep one bowl for scraps. Recycled paper, wrapping paper, and card offcuts are great resources for an eco-conscious project, and colorful tissue paper can be used for simple tissue paper stained glass crafts alongside puppets.
Step‑By‑Step: How To Make a Classic Paper Bag Puppet
Place the paper bag flat with the bottom flap facing up. That flap is the puppet’s face and moving jaw. The long flat section underneath becomes the clothing and body.
Decorating the puppet’s face can involve using markers, construction paper, and googly eyes, allowing children to express their creativity and make unique characters. Using googly eyes is a popular choice for adding facial features to paper bag puppets, as they enhance the character and appeal of the puppet.
Step 1: Plan Your Character
Decide whether you want to create a person, animal, monster, or holiday character. Is your puppet happy, shy, loud, silly, or serious? That choice helps you draw the eyes, nose, mouth, eyebrows, and other details.
Sketch a quick picture on scrap paper first. Adults can ask, “What does your puppet like to do?” or “Who are its friends?” These questions inspire creativity and give the puppet a little life before the making begins, much like other engaging activities for imagination that spark pretend play.
Step 2: Decorate the Face and Facial Features
Work on the bottom flap first. Put eyes near the top, the nose in the middle, and the mouth near the crease so it opens when the puppet can talk.
Try drawn circles, layered paper eyes, or googly eyes. Make smiles, frowns, surprised mouths, freckles, glasses, or mustaches with markers and cut paper. Be careful not to glue thick pieces across the crease, or the mouth may not move well.
Step 3: Add Hair, Ears, and Other Details
Glue yarn, string, or paper strips along the top of the bag for hair. Kids can use yarn to create different hairstyles for their paper bag puppets, such as pigtails or spiked hair, adding a fun and personalized touch to their creations. Straight paper strips also work well for simple hair.
Add ears on the sides or top: round bear ears, pointy cat ears, or long bunny ears. You can add bows, crowns, hats, or a ribbon headband. Keep small pieces larger for young children to reduce choking risks.
Step 4: Design Clothes and the Puppet’s Body
Now decorate the long part of the paper bag. Glue on a shirt, dress, jacket, cape, or costume made from one rectangle of colored paper. Add clothing details like pockets, collars, belts, buttons, or ties.
Moveable arms can be created by cutting them from paper and attaching them with brass fasteners (brads). Trim extra paper carefully so the bag still opens freely for hand movement.
Step 5: Finish, Dry, and Play
Check every glued piece, especially near the mouth flap. Let the puppet dry flat for 10–20 minutes, or longer if you used white glue.
To play, put four fingers in the front and your thumb in the back. Open and close the mouth, give your puppet a name, and try a funny voice. You’ll be glad you let the glue dry before starting the show.
Fun Theme Ideas for Paper Bag Puppets
Once kids learn how to make a paper bag puppet, the possibilities grow quickly. Creating multiple puppets can be used to make a family, a group of animals, or characters for a puppet show.
Try a theme collection: farm animals, zoo animals, ocean creatures, woodland animals, friendly monsters, community helpers, or storybook characters. Seasonal themes for paper bag puppets can include designs for Christmas, featuring characters like reindeer and Santa, as well as fall themes with pumpkins and friendly monsters, and can pair nicely with a playful recycled Christmas wreath for holiday décor.
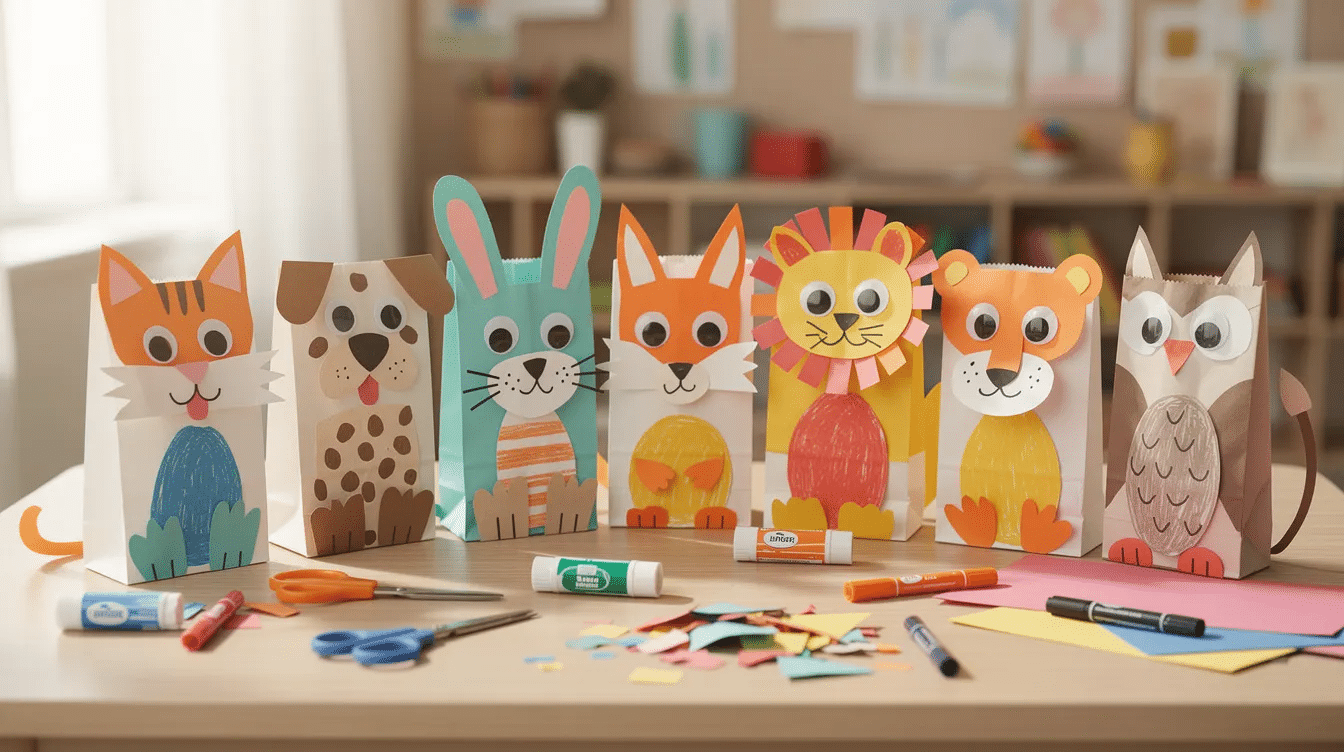
Animal Paper Bag Puppet Ideas
Using brown lunch bags as the base, children can create a variety of animal characters, including farm animals, zoo animals, and ocean creatures, each with its own personality.
Farm animal paper bag puppets can be created using brown lunch bags to represent familiar barnyard animals like cows, pigs, and chickens, making them ideal for farm-themed activities. Zoo animal paper bag puppets can include popular wild animals such as lions and monkeys, providing a fun way for kids to explore animal themes from around the world.
Other ideas include a brown bear with round ears, a lion with paper-strip mane, an owl with big eyes, a dog with floppy ears, or a fish with wings-like fins, or you can take the crafting outside with creative nature stick crafts for kids. Textured feathers or scales can be cut from construction paper and glued in layers to create birds or reptiles.
People and Family Paper Bag Puppets
Make a paper bag puppet person for each family member. Personalize hair, clothes, favorite colors, and accessories like a tiny book, phone, backpack, or toys.
These puppets support empathy and pretend play. Kids can act out sharing, helping, school routines, or big feelings with friends, parents, and classmates, making them a natural fit with other engaging group activities for 5 year olds. In a classroom, this can help children hear different viewpoints in a safe, playful form and complements open-ended preschool 3D art projects that build confidence.
Holiday and Seasonal Paper Bag Puppets
Holiday puppets use the same steps with a seasonal twist. Make a fall pumpkin, a snowperson with a scarf, a spring bunny with long ears, or summer sun with bright rays.
Christmas designs can include Santa with a cotton beard, elves with pointed hats, and reindeer with paper antlers. Use these characters for short stories at family gatherings, preschool parties, or classroom events, or combine them with DIY kits for creative projects to set up a full craft-and-puppet station.
Safety, Cleanup, and Classroom Tips
Use child-safe scissors, washable markers, and non-toxic glue. The U.S. Consumer Product Safety Commission recommends checking children’s art materials for proper labeling such as ASTM D-4236. For preschool groups, pre-cut tricky shapes like tiny eyes, ears, wings, and templates.
Organize tools in labeled bins: paper, bags, glue, decorations, and scraps. Keep wipes nearby for sticky fingers. Recycle leftover paper when possible, and invite kids to join cleanup as part of the project.
Turn Your Paper Bag Puppets Into a Puppet Show
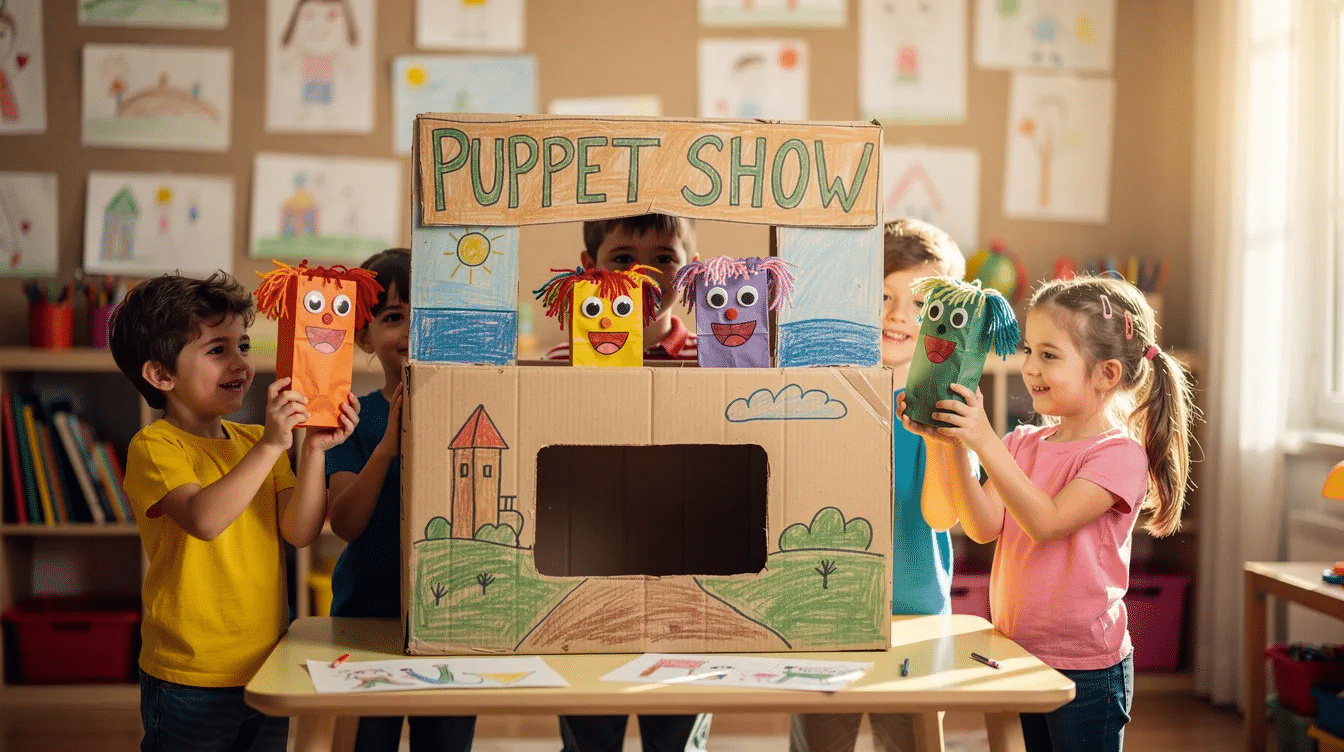
Finished puppets are ready for a mini stage. Use a cardboard box, the back of a couch, or a table covered with a blanket so performers can hide underneath.
Encourage kids to invent short stories, songs, or comments their characters might say. A puppet show can support storytelling, cooperation, confidence, and language. Research on puppetry in early childhood has linked puppet play with attention, social interaction, and language development; one recent review found benefits across cognitive, emotional, social, and physical development.
Take a video or photo as a keepsake, then explore new ideas for the next show. If you use printable templates, save the link so you can repeat favorite characters later. We hope this project brings more creativity, laughter, and fun into your home or classroom.
FAQ
How long does it take to make a paper bag puppet?
A simple paper bag puppet usually takes 20–30 minutes, plus drying time. More detailed characters with layered paper, yarn, buttons, or paint may take 40–45 minutes.
Can I reuse or recycle paper bag puppets?
Yes. Reuse puppets for several puppet shows, lessons, or storytelling sessions first. Brown paper bags are often recyclable, but heavy glue, tape, googly eyes, and mixed decorations may limit recycling.
What if I don’t have brown paper bags?
Use white paper bags, colored party bags, or folded cardstock sleeves. Kids can color white bags with crayons or markers before adding facial features and clothing.
How can I adapt this craft for toddlers or mixed-age groups?
Pre-draw or pre-cut major shapes so toddlers can focus on coloring and sticking pieces down. Pair older kids with younger children so older kids handle scissors and small details.
How do I store finished paper bag puppets so they don’t get crushed?
Stand puppets upright in a shallow box or magazine file. For long-term storage, flatten them gently and place them between sheets of cardboard to protect the decorations.


