

A tin can lantern craft kids project is a lovely way to turn tin cans from the recycling bin into glowing garden, patio, or deck decorations. With careful prep, children can draw, paint, and decorate while adults handle the sharp metal, hammer work, and any real candles.
Key Takeaways
- Kids can create simple lanterns tin projects in about 1–2 hours, plus overnight freeze time.
- Basic steps: clean cans, fill with water, freeze, punch a pattern with a hammer and nail, then add tea lights or LEDs.
- Battery-operated LED tea lights are the safest light sources for children.
- Adults should manage sharp edges, tools, and flames; kids can focus on design, paint, and fun.
- Tin can lanterns work for summer nights, christmas crafts alongside festive holiday craft projects, history units, and backyard parties.
What You’ll Need for Kids’ Tin Can Lanterns
Most materials are everyday crafts supplies or basic house items.
- 4–8 empty tin cans, such as 400 g / 15 oz soup cans, plus 1–2 larger cans
- Permanent marker, masking tape, paper templates, and a simple design
- Hammer and a nail or chisel; optionally, a drill for adult-only intricate designs
- Thick towel, light work gloves, fine sandpaper, small file, and pliers
- Water, or dry rice/sand if you cannot use a freezer
- Wire or pipe cleaners for handles
- Acrylic paint, outdoor heat-resistant paint, paintbrushes, glow-in-the-dark paint, and other age-appropriate art supplies for young artists
- Colorful tissue paper and decoupage glue for extra decoration
- Standard tea lights, battery tea lights, mini LED candles, or mini string lights
- Optional: glitter paint, ribbons to hang, beads, stickers for older kids
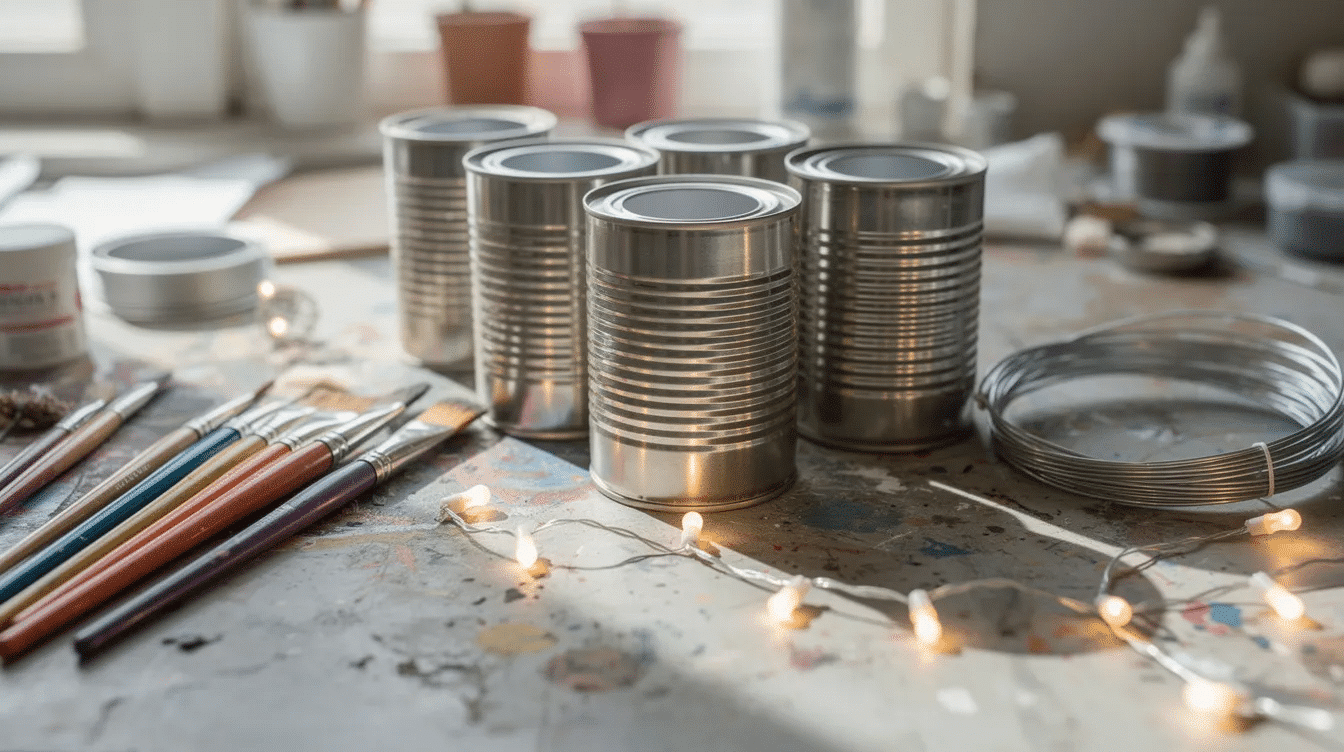
Preparing the Tin Cans
Good prep keeps cans from buckling and makes decorating easier. To create tin can lanterns, start by removing labels from the cans and thoroughly cleaning them. Soak labels in warm soapy water for 10–15 minutes, peel, then scrub glue; use hot water only if an adult is helping. Make sure each can is washed and dry.
Check rims, dents, and any sharp sign of torn metal. Adults should press down points with pliers, sand rough rims, and discard damaged cans. Cold metal is more brittle and prone to cracking during punching, so allow materials stored in unheated spaces to acclimate to warmer temperatures before working.
It is recommended to fill the tin cans with water and freeze them before punching holes to prevent the cans from buckling during the process. Fill each can with water, leaving about 1/2 inch at the top, and freeze overnight. The ice supports the tin while you punch small holes. If avoiding the freezer, pack with dry sand or rice, but expect more dents.
Designing Patterns Kids Can Actually Make
Simple shapes are best for little hands and a first time project. Flowers, stars, hearts inspired by easy DIY heart craft ideas, smiley faces, initials, and 3–7 dot constellations work well because the shape is easy to see in the dark.
Kids can draw different shapes directly on the cold tin with a marker, or tape on a paper or printed template. Space dots about a finger-width apart; too many holes close together can tear the metal. Try themed sets: leaves for autumn, snowflakes for winter, suns for summer, or “JOY” across several can lanterns, one side or one letter per can, or even add woodland themes inspired by easy owl crafts for kids.
Safe Hole-Punching with Kids
This is the loud step, so set up on a safe site outdoors if possible. Place a folded towel on a sturdy table, patio stone, or deck, then lay the frozen can on its side to reduce rolling. An adult holds the nail on each marked dot and taps with a hammer until a hole appears.
Once the water is frozen solid, use a hammer and a nail to punch holes into the can to create your desired pattern. It is recommended to use a hammer and a nail or a chisel to create holes in the tin can, ensuring that the tools are appropriate for the task to avoid slips and injuries.
Add two extra holes opposite each other below the rim for a handle. If the ice starts to melt and the can dents, pop it back in the freezer for 20–30 minutes and switch cans. If your can becomes dented during the punching process, gently tap the dented area from the inside using a rubber mallet. Children should not reach into the tin can lanterns after creating holes, as the edges can be sharp and may cause cuts.
Painting and Decorating the Lanterns
This is the most kid-friendly stage. Let the ice melt, dump the water, or empty sand/rice, then dry each can with a towel before painting.
Use acrylic craft paint for indoor lanterns. You can paint your tin can lanterns with outdoor heat-resistant paint to add color and creativity, or leave them plain for a more natural look. Apply two thin coats rather than one thick coat. Add stripes, polka dots, ombré fades, or a charming rim.
Acrylic paint, colorful tissue paper, and decoupage glue are common decoration materials for tin can lanterns, and similar materials work beautifully for simple tissue paper stained glass crafts. Glow-in-the-dark paint or creative glue paint projects can be applied on the outside of tin cans for additional effect. If paint clogs holes, adults can clear them with a thick pin. To address uneven or misaligned holes, use a small file to smooth rough edges. If holes are too small, carefully enlarge them using your punching tool. For holes that are too large, cover them with a small piece of metal tape on the inside of the can.

Adding Handles and Lights
This step turns plain cans into real lanterns. Thread soft wire or a pipe cleaner through the two top holes, twist the ends back, and curve it into a handle. Older kids can add beads, leaving enough space for fingers.
Lighting options include tea lights for supervised events, a little tea light in a glass holder, citronella candles for outdoor adults-only mosquito control, or battery LEDs. Slide the candle or tea light inside by tipping the can slightly rather than reaching deep inside. Adults should be the only ones to light real candles, and open flames must never be left unattended near paper, dry plants, or play areas.
Fun Ways for Kids to Use Tin Can Lanterns
Use lanterns to line a path for a summer barbecue, sit along a balcony rail, or glow beside a garden party at night, then head to the park with a simple fabric kite kids can fly. In the classroom, tin can lanterns connect well to colonial America lessons because punched-tin lighting has historical roots.
Try christmas star lanterns, campfire table lights, whimsical dragonfly crafts kids can make for the garden, or a whole collection for a school fair, or branch out into colorful weekend craft ideas using other recycled materials. Indoors, use battery-powered lanterns on shelves or a mantel for cozy winter evenings. If you are lucky, the project becomes a yearly tradition: date the base and build a family collection, explore preschool family-themed craft activities, or gift kids DIY craft kits for creative projects so they can explore new traditions, too.

Tips for Crafting with Different Age Groups
This project scales well when adults adjust the tricky steps, and pairs nicely with nature stick crafts that get kids outdoors or making a fuzzy felt activity board for quiet play.
- Ages 4–6: wash cans, choose colors, decorate, and make random dot patterns.
- Ages 7–9: mark designs and, if careful, tap a few holes under close supervision.
- Ages 10–12: try word designs, bead handles, and more detailed templates.
- For fine-motor challenges: use bigger patterns, sponge paint, stickers, and fewer holes, or incorporate art activities that build fine motor skills.
- Tip: split the project into two sessions-freezing and punching first, then painting, or pair this activity with other preschool-friendly 3D art projects.
Craft participation can support fine motor practice, creativity, and confidence; the National Endowment for the Arts notes links between early arts activities and social-emotional benefits, and broader research on arts and crafts benefits for child development echoes these findings.
FAQ
Can I make tin can lanterns without using a freezer?
Yes. Fill cans tightly with dry sand or rice so the tin has support while you punch. This lets you finish in one day, but the cans may dent more easily than a frozen can.
How do I keep kids safe from sharp edges on the cans?
Adults should inspect each can, press down sharp points with pliers, and sand rims with fine sandpaper. Only adults should reach inside, manage tools, or handle a tea light inside.
What kind of paint works best on tin cans?
Use standard acrylic craft paint for indoor displays and outdoor or waterproof acrylic for damp weather. Two thin coats, with 10–20 minutes between coats, dry more evenly.
Can we reuse the tin can lanterns after the season?
Yes. Store them dry indoors. After using real candles, wipe soot away and touch up chipped paint before packing them in a cardboard box or bin.
What if my child is frightened by the noise of hammering?
Do the punch work outdoors during the day and offer ear defenders or headphones. Let noise-sensitive kids focus on quiet crafts: choosing designs, painting, and arranging battery tea lights.


