

Bubble wrap printing art kids can do at home or in class is one of those rare activities that feels exciting, looks impressive, and still uses simple materials. With bubble wrap, paint, and paper, children can create textured dots, layered patterns, and bright abstract designs in just a few minutes.
This post walks you through the process, from setup to cleanup, with project ideas, safety tips, and answers to common questions.
Key Takeaways
- Bubble wrap printing is an easy, low-cost kids’ art activity that uses bubble wrap, paint, and paper to create colorful prints with dotted textures.
- Parents and teachers can set it up in under 10 minutes, and even toddlers can enjoy bubble wrap painting with close adult supervision.
- Small pieces and full sheets of bubble wrap both work well: small pieces make stamps and details, while large sheets create bold backgrounds.
- A bubble wrap print can become wrapping paper, seasonal art, mobiles, greeting cards, classroom displays, or collage paper.
- You’ll find step-by-step instructions, setup advice, safety notes, cleanup tips, and an FAQ at the end.
- What Is Bubble Wrap Printing Art for Kids?
- Materials You Need for Bubble Wrap Painting
- Bubble Wrap Painting – Simple Step‑by‑Step Process
- Working with Small Pieces of Bubble Wrap
- Printing with Large Bubble Wrap Sheets
- Bubble Wrap Printing Rollers and Stamps
- Easy Bubble Wrap Art Projects Kids Will Love
- Benefits of Bubble Wrap Art for Children
- Safety, Setup, and Cleanup Tips
- FAQ: Bubble Wrap Printing Art with Kids
What Is Bubble Wrap Printing Art for Kids?
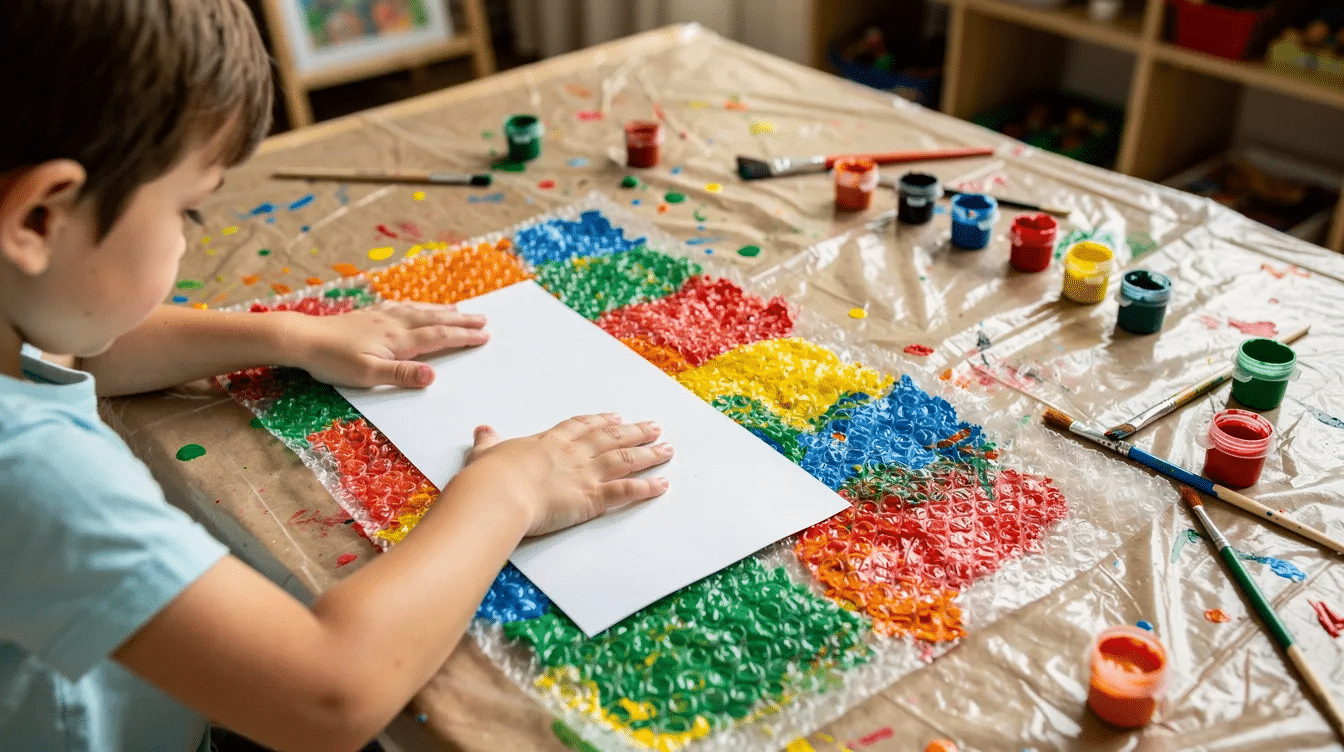
Bubble wrap printing is a form of process art where children paint on the raised bubble side of bubble wrap, then press paper on top to make bubble wrap prints. Bubble wrap painting usually means painting directly on the plastic surface, while a bubble wrap print is the image transferred onto paper.
The most popular techniques involving bubble wrap for art projects include painting the raised bubbles and pressing them onto paper to make vibrant prints. Bubble wrap painting involves painting on bubble wrap and then pressing paper onto it to create prints, allowing children to explore different textures and colors.
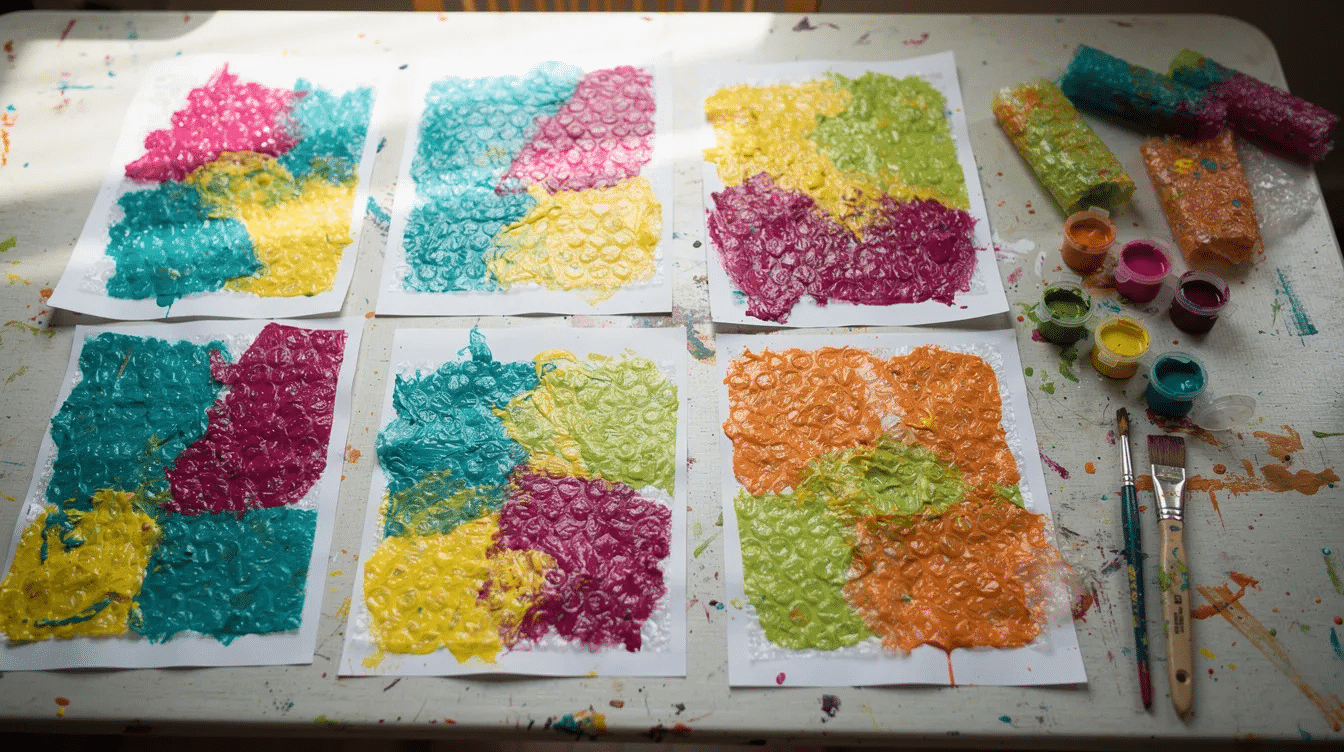
The finished print often shows rows of dots, broken circles, overlapping color, and textured areas. Some bubbles print clearly; others blur or fade. That mix of order and surprise is part of the beauty of this art activity.
Imagine a rainy afternoon in March 2026: a group of 5-year-olds gathers around a classroom table, each child pressing a painted sheet of bubble wrap onto a giant mural. One child adds blue dots for rain, another uses green for grass, and a friend presses yellow paint patterns across the sky. There is no single right result, so every child can play, experiment, and create at their own level.
Bubble wrap is an incredible tool for kids’ art projects, offering a fun sensory experience while creating unique textures. It is also a natural fit for open-ended printmaking because kids decide how much paint to use, where to press, when to lift the paper, and whether to add another layer.
This kind of process art is valuable because the focus is not on copying an adult’s example. Children explore materials, make choices, and watch what happens. Early childhood educators often connect process art with independence, confidence, and problem-solving, and organizations such as CHS California describe it as a way for children to experiment without pressure.
Materials You Need for Bubble Wrap Painting
You do not need specialist art supplies for bubble wrap printing. Most materials are already in a classroom cupboard, recycling box, or family craft drawer.
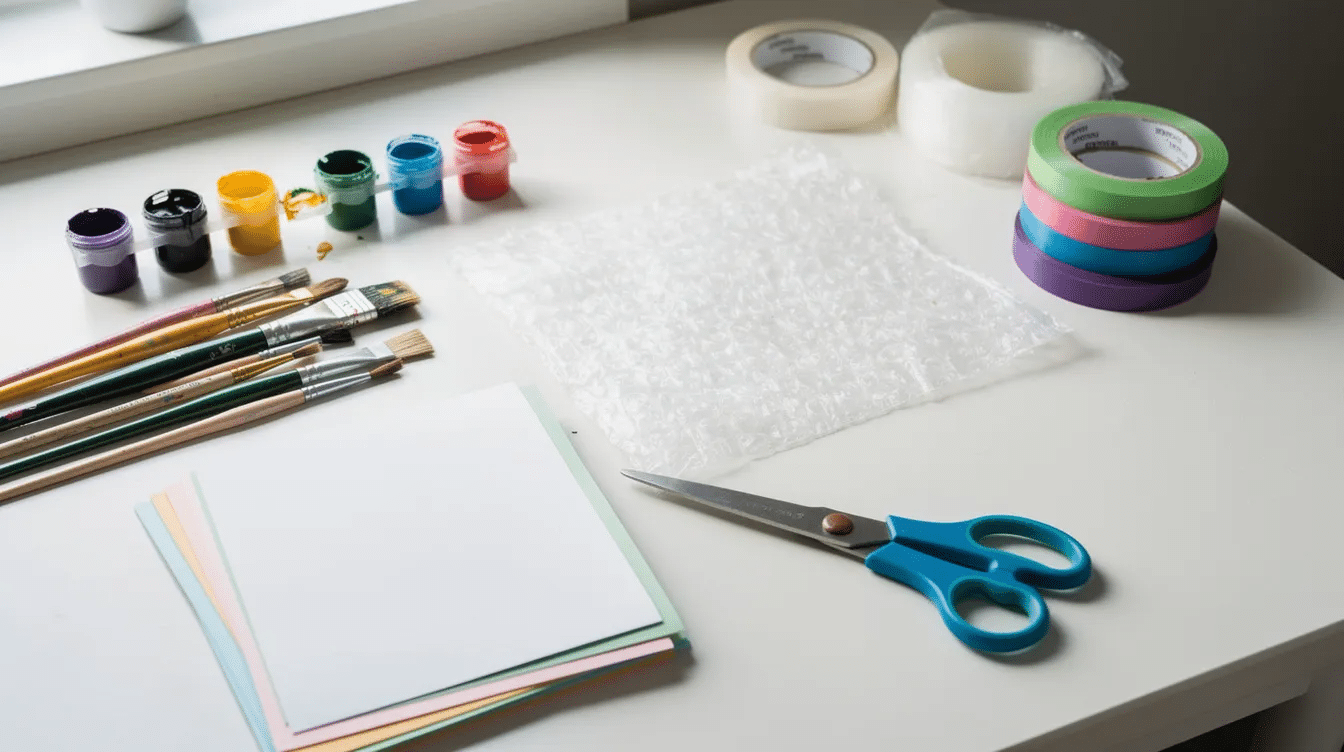
Materials commonly used for bubble wrap art projects include washable tempera paint, sturdy paper or cardstock, and scissors, all of which are part of the best art supplies for young artists.
You’ll need:
- Bubble wrap, preferably clean and dry
- Washable tempera or poster paint
- Thick paper, cardstock, A4 paper, or 9×12 inch paper
- A paint brush, foam brush, or foam roller
- Masking tape to secure the plastic
- Aprons, old T-shirts, or smocks
- A plastic table cover, newspaper, or kraft paper to protect the table
- Scissors for adults or supervised older kids
- Paper plates or trays for paint
- Wipes or a bowl of soapy water for quick cleanup
Medium-sized bubbles are usually easiest for younger kids because the circles are big enough to see and simple to press. Tiny bubbles create more delicate patterns, but they can be harder for small hands to paint evenly. Large bubbles make bold marks but fewer dots per sheet.
Small pieces of bubble wrap can be cut from old packaging delivered in 2024–2026 online orders. This is a useful way to reuse recycled packaging before it goes into storage, a drop-off film-plastic program, or the trash. If you search your home for packaging, choose pieces without tape, labels, or sharp folded edges.
For color, start with paints that pop on white paper: turquoise, magenta, lemon yellow, black, blue, and green. Black can add contrast, especially when used lightly over dry bright layers. Metallic paint is also useful for special cards, holiday prints, or DIY gift wrap.
Optional extras include:
- Cotton buds for dot details
- Stencils for shapes
- Squeeze bottles for controlled paint lines
- Cardboard scraps to make stamps
- String, hole punches, and pins for hanging finished work
- A tray or drying rack
Look for child-safe, non-toxic paints. Many school tempera paints are labeled with the AP seal and conform to ASTM D-4236, which is a common safety labeling standard for art materials.
Bubble Wrap Painting – Simple Step‑by‑Step Process
This tutorial works for a small home project, a preschool art center, or a classroom printmaking station.
- Cover the table.
Use newspaper, kraft paper, or a plastic cloth to cover the work surface. Bubble wrap printing is usually low-mess compared with splatter painting, but it can still get messy if paint reaches the edges. - Tape bubble wrap to the table.
Place the bubble side up. Use masking tape on the corners to secure the sheet so it does not slide when kids press and push on it. If you want the cleanest print, keep the bubble wrap flat. - Add small blobs of paint.
Drop paint directly onto the bubble wrap. To create bubble wrap prints, you can use tempera or poster paint, applying it to the bubble wrap before pressing paper onto it to transfer the design. Avoid dipping the wrap directly into a paint tray because the back and edges can get slippery. - Spread the paint.
Use a brush, paint brush, or roller to spread the paint over the raised bubbles. When painting with bubble wrap, it’s recommended to use a thick layer of paint for better results, and students can make multiple prints from the same painted bubble wrap. The paint should be thick enough to sit on top of the bubbles, not so watery that it runs everywhere. - Leave some white space.
If kids mix red, blue, and yellow too heavily, the colors may turn muddy brown. For best results, leave small gaps between colors or use only two or three related colors at a time. - Press the paper on top.
Place the paper gently over the painted bubble wrap. Rub the back with flat hands, moving from the center outward. Adults can remind children to press, not slide, so the image does not smear. - Lift to reveal the print.
Hold one corner and lift the paper straight up. This reveal is often the most exciting moment because the child sees the print for the first time. You can usually get 1–2 good prints from each paint application before adding more paint. - Repeat and layer.
Add new colors, turn the bubble wrap, or overlap prints after the first layer dries. Kids can fold the paper to make symmetrical designs, write letters over the print, or frame a favorite piece.
Tip: If a child wants sharper patterns, use less water and more tempera. If a child wants a softer image, lightly mist the painted wrap or use thinner paint.
Working with Small Pieces of Bubble Wrap
- Cutting bubble wrap into small pieces lets kids stamp, collage, and add details to larger art projects without needing a full sheet.
- Adults can cut rectangles, circles, rough leaf shapes, hearts, or flowers from bubble wrap before painting and stamping to create unique prints.
- A small piece of bubble wrap can become a stamp for leaves, fish scales, clouds, snow, animal wool, or decorative borders.
- Children can hold a small piece in their hand, or adults can temporarily stick it to cardboard with tape to make a sturdier bubble wrap stamp.
- Cardboard-backed stamps are easier for younger kids to grip and easier for older kids to line up when making repeating patterns.
- For a Four Seasons tree project, draw or print four bare trees. Kids can stamp green spring leaves, bright summer leaves, orange and red autumn leaves, and snowy white winter dots.
- For rainy-day city skylines, children can paint a dark skyline, then stamp blue and silver bubble marks over the sky for rain.
- For patterned fish scales, kids can cut fish from paper, then use small bubble wrap stamps to add scale patterns in blue, green, purple, or metallic paint, or extend the theme with fun and easy dragonfly crafts for kids.
- If you add close-up photos to the final article or classroom display, show the small stamps from the side so adults can see the bubble texture clearly.
Printing with Large Bubble Wrap Sheets
Larger sheets of bubble wrap are ideal when you want to cover a whole page quickly. They work especially well for backgrounds, murals, banners, and collage paper.
Tape a full sheet of bubble wrap to the table, bubble side up. A piece slightly bigger than A3 or 11×17 inch paper gives kids plenty of room to work. Use a wide brush or foam roller to spread paint quickly across the surface.
Then place a large sheet of paper on top and press with flat hands. For a group project, two children can press at the same time while an adult helps keep the paper from shifting. Lift the paper straight up to reveal a bold full-page bubble wrap print.
Large prints can become many seasonal projects and even sit alongside wintery polar bear crafts:
- Posters
- Collage paper
- Classroom displays
- Homemade book covers
- Backgrounds for drawings
- Decorative mats for a frame
- Signs for a school hallway or family celebration
A limited color palette works best for big prints. Try two analogous colors, such as blue and green, plus white. This keeps the print bright and helps avoid over-mixing.
If you plan to reuse the bubble wrap, rinse it gently and dry it flat. LDPE bubble wrap is not biodegradable and is not always accepted in curbside recycling, so reuse matters. Environmental research on LDPE bubble wrap has found that raw plastic production contributes heavily to its life-cycle impact, with fossil resource depletion reported as a major factor in one life-cycle assessment.
Bubble Wrap Printing Rollers and Stamps
Flat sheets are only one option. You can also turn bubble wrap into rollers, block stamps, and movement-based tools.
To make a bubble wrap printing roller, wrap bubble wrap around a cardboard tube from a paper towel roll or toilet paper roll. Secure it with tape. Bubble wrap can be wrapped around a rolling pin or toilet paper roll to create a roller for painting effects on paper.
Kids can brush paint onto the roller and roll it across long strips of paper. This is an easy way to make patterned wrapping paper, banners, or borders and can even complement ready-made DIY kits for creative projects. Rolling pins also work, but adults should watch closely because they can become slippery when covered in paint.
Here’s a simple roller method:
- Cut a rectangle of bubble wrap.
- Wrap it around a cardboard tube or rolling pins.
- Tape the seam securely.
- Brush on tempera or poster paint.
- Roll across kraft paper in long strokes.
- Let the first layer dry before adding another color.
Small cardboard rectangles with bubble wrap glued on one side work well as block stamps. Use them to print borders, frames, repeated dots, or patterns around a central drawing. Switch colors often and let one layer dry before rolling on another so the colorful prints stay clean.
There is also an alternative way to explore movement and texture: Children can create art by tapping bubble wrap to their feet, dipping them in paint, and letting them walk on paper for footprint designs. In practice, adults should treat this as a highly supervised outdoor or gym-floor activity. Use a large paper roll, washable paint, and a non-slip setup so children can explore safely.
If you make a video of this process for a class blog or family memory, keep the camera focused on the rolling and printing action rather than children’s faces unless you have permission, just as you might document other preschool 3D art projects safely and respectfully.
Easy Bubble Wrap Art Projects Kids Will Love
Here are great ideas that build on the basic bubble wrap printing process, similar in spirit to other colorful craft ideas for a fun weekend.
1. Puffy Spring Sheep mobile
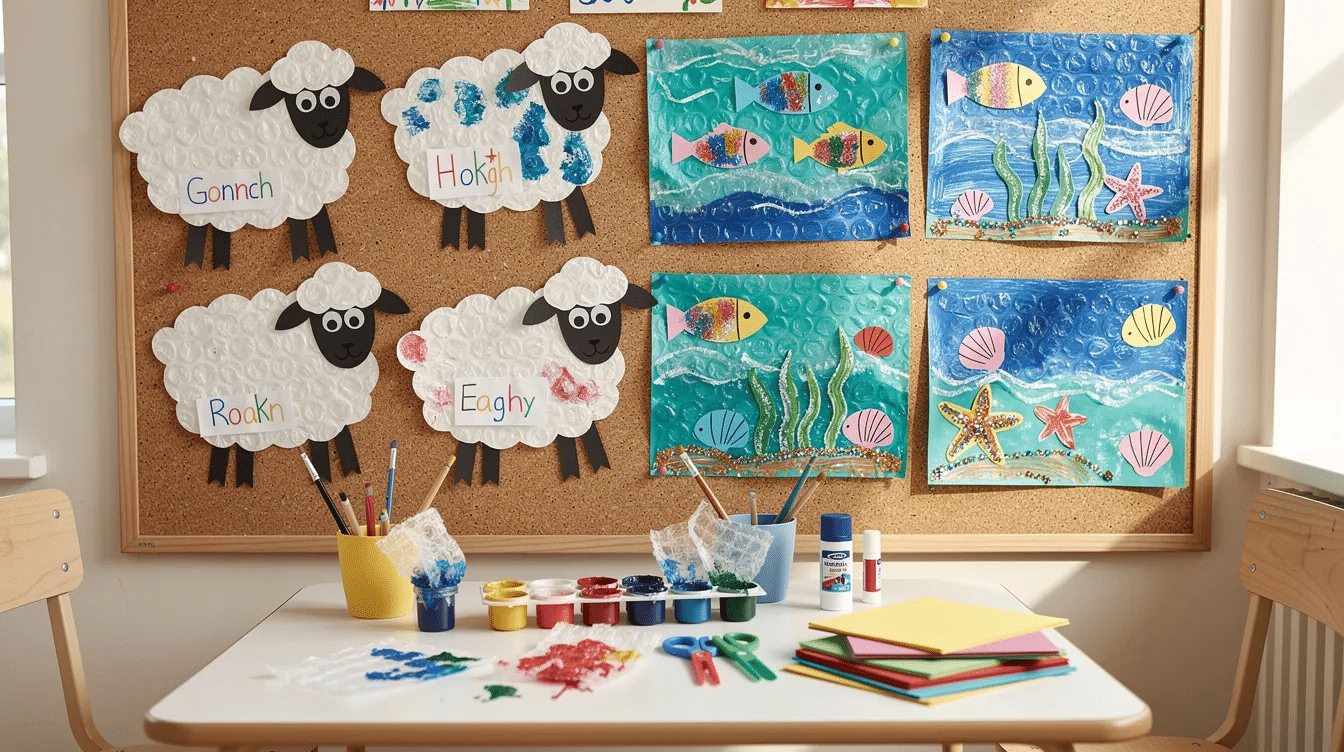
Print white bubble wrap dots onto dark paper to create wool texture. Cut cloud-like sheep bodies, sandwich two shapes with a little stuffing, then add black paper heads and legs. Punch a hole, add string, and hang several sheep together as a mobile.
2. Four Seasons Tree
Draw four tree trunks on separate sheets. Kids can print green leaves for spring and summer, orange and red leaves for autumn, and snowy white dots for winter. This project helps children connect art with the changes they see in daily life.
3. Under the Sea scene
Create blue and teal bubble wrap backgrounds first. When dry, add paper fish, jellyfish with bubble wrap bodies, and hand-drawn seaweed. Older kids can add shadows, bubbles, and labels for sea creatures.
4. DIY Gift Wrap
Roll bubble wrap printing rollers across plain brown kraft paper. Use metallic paint with bright colors for birthdays, holidays, or a handmade gift for a friend. Once dry, kids can write names, draw stars, or add letters with markers.
5. Bubble Alphabet Prints
Print a bubble wrap background, let it dry, then write large letters on top. Children can decorate the letters with smaller stamps or trace them with a contrasting color. This connects printmaking with early literacy.
6. Heart or Flower Stamp Cards
Cut bubble wrap into hearts or flowers, brush on paint, and stamp onto folded cardstock. This project works well for family cards, thank-you notes, or classroom kindness activities.
7. Bubble Wrap Footprint Path
For a high-energy outdoor version, secure large paper to the ground, tape bubble wrap around children’s feet, and let them step through shallow washable paint. Adults should supervise closely, keep the floor dry around the paper, and stop if the surface becomes slippery.
Benefits of Bubble Wrap Art for Children
Bubble wrap painting is more than just fun. Creating bubble wrap printed artwork is a low-mess activity that doubles as a sensory experience for children.
Pressing, rubbing, painting, rolling, and lifting strengthen fine motor skills. These are the same small hand movements children later need for holding pencils, using scissors, managing glue, and controlling a brush, and they fit naturally alongside other engaging art activities that build fine motor skills.
The sensory side is just as important. Kids feel the raised bubbles, hear the occasional pop, watch colors spread, and experience the surprise of each print. A child may predict one result, then discover something completely different when the paper lifts.
Art activities support children’s natural curiosity and help them explore and understand their environment, which is essential for their cognitive development, echoing the broader art and craft benefits for child development. In bubble wrap printing, kids ask practical questions without always saying them out loud: What happens if I push harder? What if I mix yellow and blue? What if I roll instead of stamp?
Engaging in art allows children to practice a wide range of skills, including aesthetic, scientific, interpersonal, and practical interactions, which are beneficial for their overall learning. They choose colors, test cause and effect, share materials, wait for turns, and solve small problems as they work.
Making and appreciating art involves emotional and mental faculties, providing children with important experiences that contribute to their emotional and social development. Because there is no “wrong” bubble wrap print, children can build confidence and take creative risks.
There is also research support for this kind of hands-on work. A 2025 study at Kindergarten Terang Bangsa 02 in Semarang, Indonesia, used bubble wrap art activities with 27 children aged 4–5. After 12 trials, the study reported an N-Gain score of about 58.48%, suggesting the activity was quite effective for improving fine motor skills. You can read the study summary through the BELIA journal.
In preschool, kindergarten, and early primary classrooms, bubble wrap printing works well as a calm art center. It gives children enough structure to stay focused but enough freedom to make personal choices.
Safety, Setup, and Cleanup Tips
A little preparation keeps bubble wrap painting safe, tidy, and stress-free for adults. The goal is to support learning without turning cleanup into the main event.
Use non-toxic, washable paints, especially for toddlers who might try to put painty bubble wrap into their mouths. Tempera and poster paint are usually better for young kids than acrylic because they wash out more easily. Acrylic can give strong color, but it may stain clothing and is better saved for older kids with aprons and close supervision.
Before starting:
- Cover the table with newspaper, kraft paper, or a plastic cloth.
- Put kids in old shirts or aprons.
- Keep wipes or soapy water nearby.
- Use large pieces with toddlers to reduce choking risks.
- Tape bubble wrap down so it does not slide.
- Keep walkways clear of plastic and wet paint.
- Watch for slippery spots if children are standing.
Cleanup is easiest when brushes and rollers are rinsed right away. Leftover paint can be used for extra prints, test sheets, bookmarks, or collage paper. If you must dispose of paint, follow local guidelines and avoid pouring large amounts down drains.
Dry bubble wrap prints flat on a rack, floor, or protected counter. Label each child’s name and date on the back, such as “April 2026 – Bubble Wrap Garden Prints.” You can also ask children to sign their work or dictate a sentence for an adult to write.
To store prints, place them in a portfolio folder. Over time, children can look back and see how their choices, control, and creative interest have grown.
FAQ: Bubble Wrap Printing Art with Kids
What age is bubble wrap painting suitable for?
Toddlers from about age 2.5 can join in with close supervision. Preschoolers ages 3–5 can fully participate, and older children up to 8–9 often enjoy creating more detailed bubble wrap prints.
Very young kids should focus on simple stamping with large pieces of bubble wrap. Older kids can handle more complex projects, such as seasonal scenes, mobiles, patterned wrapping paper, and layered printmaking.
Which paints work best for bubble wrap prints?
Washable tempera or poster paints are ideal because they are thick enough to sit on the bubble wrap and safe for children when used as directed. They also clean up more easily from hands, brushes, and tables.
Acrylic paints give strong color, but they should only be used with older kids and protective clothing because acrylic can stain fabrics. For the best results with young children, start with washable tempera.
Can I reuse the same bubble wrap for multiple art sessions?
Yes. Bubble wrap can usually be rinsed gently in lukewarm water, air-dried flat, and reused several times until too many bubbles have popped.
You can also dedicate one piece of bubble wrap to each group of colors. For example, use one piece for warm colors and another for cool colors. This keeps prints brighter and reduces muddy mixing.
How do I stop the colors from turning brown or muddy?
Use only two or three colors at a time that are close on the color wheel, such as blue and green or red and orange. Let layers dry between prints if children want to add more colors.
It also helps to leave small unpainted gaps between colors on the bubble wrap. The colors will mix visually on the paper without blending into one dark shade.
What can we do with all the finished bubble wrap prints?
Turn colorful prints into greeting cards, bookmarks, notebook covers, classroom displays, gift tags, cut-out shapes, collages, mobiles, or homemade wrapping paper, or combine them with tissue paper stained glass crafts for layered, light-catching displays.
You can also keep a dated portfolio folder. It gives children a simple way to revisit their own ideas and notice how their bubble wrap painting skills have grown over time.


