

Key Takeaways
- Easy pancake art turns a regular breakfast into a low-prep craft using pancake batter, squeeze bottles, and a little imagination.
- Children should draw their designs directly onto the griddle or pan while it is still cold to avoid burn risks; an adult should handle the heat, cook time, and flip.
- Start with simple shapes like hearts, stars, initials, and a smiley face before trying animals or characters.
- Gel food coloring gives brighter colored batter than liquid food coloring, and colors will soften slightly as the pancake cook happens.
- This works for weekends, birthdays, Shrove Tuesday, and National Pancake Day on Sept. 26.
What Is Pancake Art (Kid-Friendly Version)
Pancake art is the simple idea of using colored pancake batter to draw a shape on a pan, letting the pancake cook, then flipping it for the big reveal. The drawn side cooks first, so the design may look odd or hidden until you flip it and see the other side.
This guide focuses on easy pancake art for kids ages 4–10, not advanced pancake artist techniques. The goal is not perfect art; it is a delicious, silly, hands-on breakfast where wobbly lines still count.
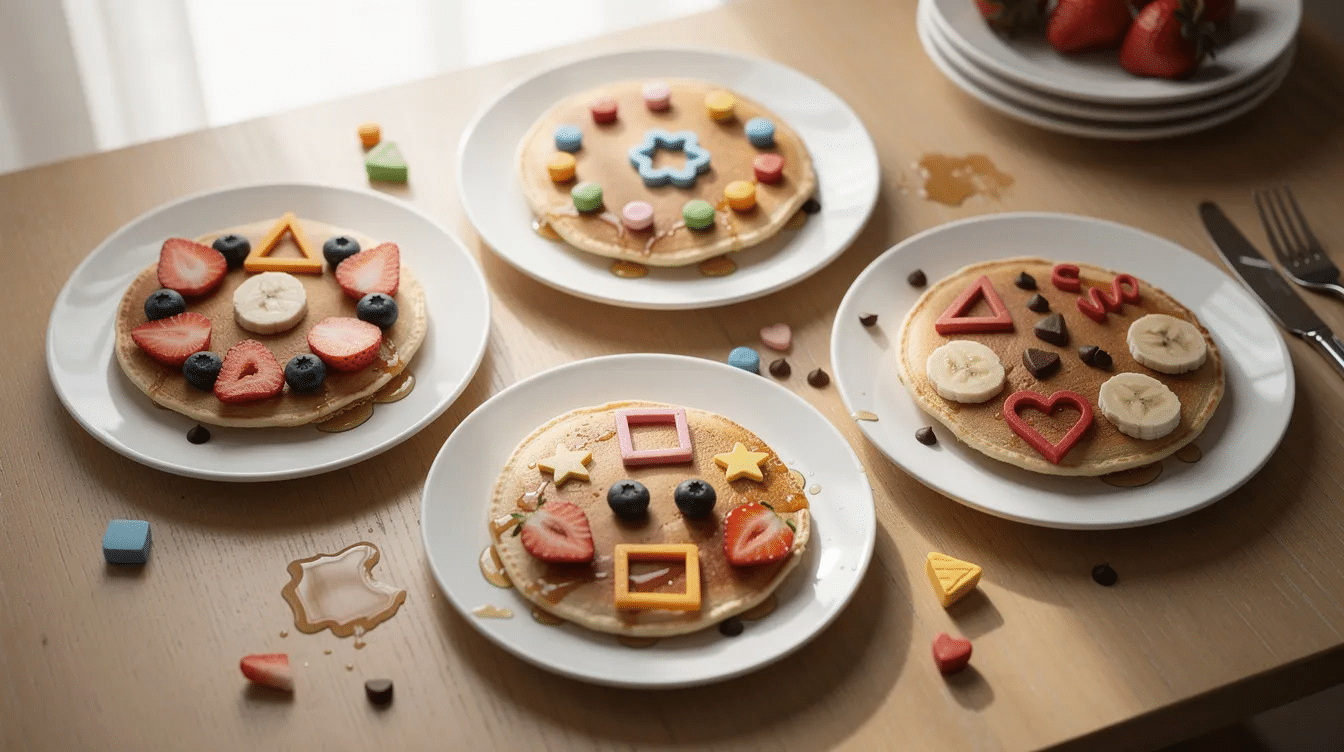
Kids can treat pancake art like a craft project, just like when they use favorite art supplies for young artists at the table. A lopsided heart, a dotty monster, or a backwards letter is still so much fun, especially when everyone gets to serve and eat their own edible art.
- Kid-Safe Tools & Ingredients
- Quick Kid-Friendly Pancake Art Recipe
- How to Set Up a Kids’ Pancake Art Station
- Step-by-Step: Easy Pancake Art for Kids
- Super Simple Pancake Art Ideas Kids Can Draw
- Tips for Stress-Free Pancake Art with Kids
- Make Pancake Art a Family Tradition
- FAQ About Easy Pancake Art for Kids
Kid-Safe Tools & Ingredients
You do not need fancy tools for easy pancake art. A basic pancake mix, a non stick pan or electric griddle, and a few squeeze bottles give kids the most control without turning the kitchen into chaos.
Ingredients checklist
- 1 cup pancake mix, or a homemade mix with flour, sugar, baking powder, and a pinch of salt
- 3/4 cup milk or water, plus up to an extra 1/4 cup milk to make it thinner
- 1 egg, if your mix calls for it
- 1 tablespoon melted butter or neutral oil
- Gel food colouring, also sold as gel food coloring, in red, blue, and yellow
- Plain uncolored batter for outlines, contrast, or backup pancakes
Tools checklist
- 2–4 squeeze bottles with caps
- A medium non-stick pan or electric griddle
- Silicone spatula
- Measuring cup
- Small mixing bowl for each color
- Whisk, paper towels, and an apron or old T-shirt
Squeeze bottles are recommended for creating pancake art as they allow for better control and precision when drawing designs on the griddle. Using squeeze bottles filled with colored batter allows for freehand drawing directly on the griddle, which is a flexible method for creating pancake art and pairs well with other preschool 3D art project ideas. If you do not have bottles, use a piping bag, a zip-top bag with a tiny corner cut off, or clean ketchup and mustard bottles.
A non-stick pan or electric griddle is necessary for cooking pancake art, as it helps prevent sticking and allows for easier flipping of the pancakes. You can lightly grease the surface with a small amount of butter or oil, but avoid puddles because they can blur the design.
Quick Kid-Friendly Pancake Art Recipe
This pancake art recipe makes a small batch that is thin enough to draw with but sturdy enough to hold its shape. Batter consistency is crucial for pancake art success; it should be smooth and pourable, similar to heavy cream, to allow for easy control and shape retention on the griddle.
- Add 1 cup pancake mix to a bowl.
- Whisk in 3/4 cup milk or water, 1 egg, and 1 tablespoon melted butter or oil.
- To achieve the right batter consistency for pancake art, it is recommended to add an extra 1/4 cup of milk to the pancake mix, making it slightly runnier than normal.
- Stir until smooth, but do not overmix; too much stirring can make pancakes less soft.
- Divide the batter into 3–4 small bowls.
- Leave one bowl as uncolored batter, then tint the rest with food coloring.
The batter should pour like runny ketchup or heavy cream. If it looks like thick muffin batter, it will clog the bottle. If it runs like water, the shape will spread too fast.
Colored gel food coloring is essential for tinting pancake batter, allowing for a variety of colors to be used in designs. For best results, use bright or neon shades of food coloring, as colors will soften or dull slightly when cooked.
How to Set Up a Kids’ Pancake Art Station
Setting up a pancake art station allows children to mix slightly thinned batter and draw on a cold griddle before cooking. It also makes the activity feel more like art and less like a rushed breakfast job.
Place a cool, unplugged griddle or cold pan on a sturdy table with a towel or tray underneath. Set out bottles of colored batter, paper towels, a small bowl for spills, and a reference photo or printed simple shapes like a circle, star, heart, and smiley face.
Pancake art can be made more engaging by setting up a pancake art station with squeeze bottles of colored batter, allowing kids to express their creativity freely. Children should draw their designs directly onto the griddle or pan while it is still cold to avoid burn risks. Then an adult moves the pan to the stove or turns on the griddle.
Before You Start
- Wash hands before touching food.
- Tie back hair and roll up sleeves.
- Keep kids away from hot surfaces.
- Let kids draw only on a cold pan or unplugged griddle.
- Keep a damp towel nearby for drips.
Step-by-Step: Easy Pancake Art for Kids
Here is the simple process from first squeeze to final flip. Adults should manage the stove, griddle temperature, and spatula work.
- Draw while cold. Let kids draw their design on the cold pan first. If writing initials or names, remember the finished pancake is a mirror image, so letters may need to be reversed.
- Outline first. To achieve good results, outline each color area before filling it in, which helps control where the batter goes and forms a containment wall. Darker batter, cocoa batter, or plain batter works well for lines.
- Fill the shapes. Using colored batter allows for a variety of designs, and kids can create their own edible art by outlining shapes and filling them in with different colors. Fill slowly so the batter does not flood over the edges.
- Cook low and slow. Turn the pan to very low heat or medium low. Low heat helps avoid burning the outline before the center sets. Watch until bubbles form and the surface looks matte.
- Flip for the reveal. Slide the spatula under the pancake and flip in one smooth motion. Cook the other side briefly, then serve warm.
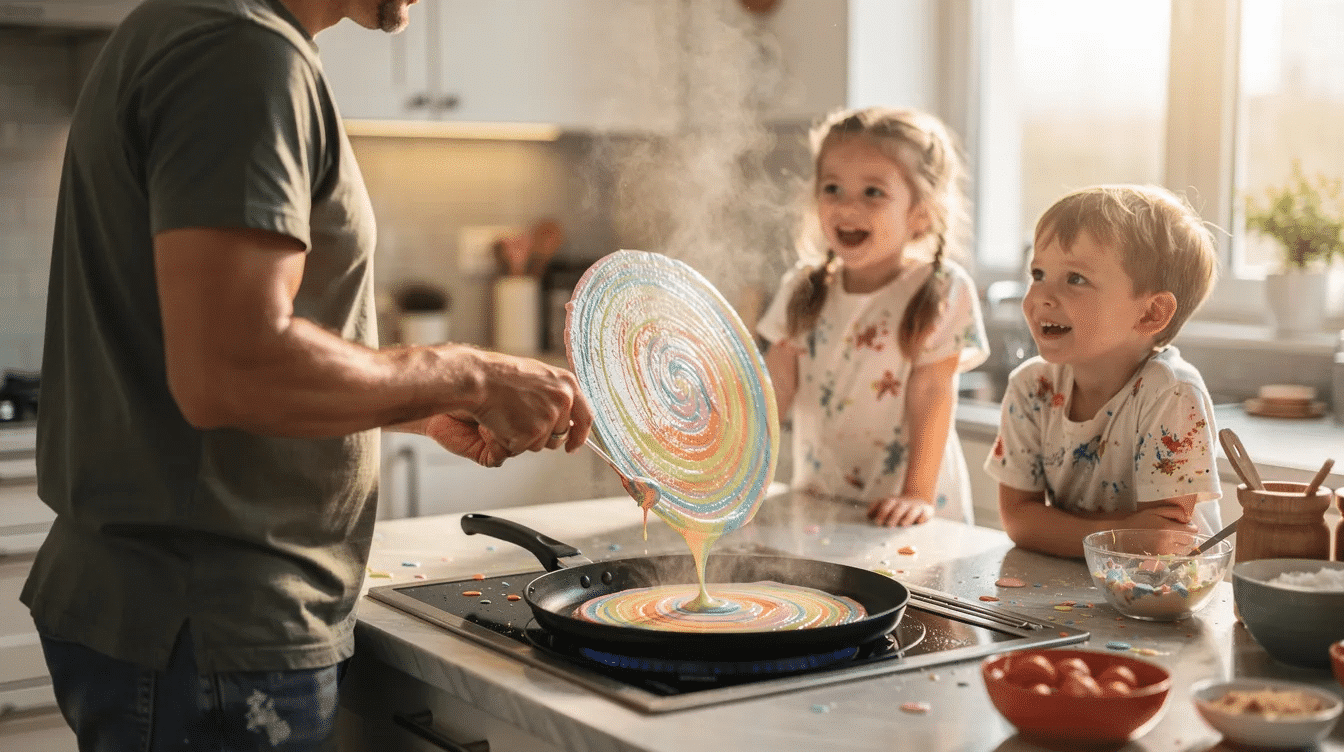
The best pancake art for beginners is small. Smaller pancakes are easier to move, easier to cook evenly, and less likely to tear.
Super Simple Pancake Art Ideas Kids Can Draw
If you need easy pancake art ideas, start with very low-skill designs. Start with simple designs like smiley faces or basic shapes, which are particularly easy and fun for kids to create.
Try these pancake art ideas by theme, or pair your breakfast with an easy crab paper plate craft for more kid-friendly art time:
- Faces: smiley face pancakes, silly monsters, sleepy eyes, round glasses
- Letters: initials, numbers for birthdays, short names, school grades
- Holiday shapes: bunny ears for Easter, spooky faces for Halloween (or a dramatic Halloween pumpkin piñata cake for dessert), stars for New Year’s, hearts for Valentine’s Day
- Nature: flowers, suns, clouds, rainbows, fish
- Celebrations: balloons, candles, party hats, sports balls
Two-tone art can be created by outlining with plain batter and filling in with colored batter for contrast. You can also use yellow batter for stars, blue for water, red for hearts, and other colors for stripes, dots, and borders.
Pancake art can be created using squeeze bottles for batter and toppings like berries or chocolate chips. Common toppings for pancake art include banana slices and blueberries for eyes, and a drizzle of syrup for smiles.
Tips for Stress-Free Pancake Art with Kids
Pancake art does not need to look perfect. Abstract pancakes still taste great, especially with syrup, berries, or whipped cream.
Make extra batter. Kids will squeeze too much, change their minds, or invent new shapes halfway through. Extra mix keeps mistakes from feeling like a problem.
Fix consistency fast. If the batter is too thick, it won’t flow easily through the squeeze bottle, while a batter that is too thin will spread too quickly, making it difficult to create defined shapes. Add 1 teaspoon milk at a time if it is thick, or stir in a spoonful of pancake mix if it is runny.
Practice on paper. Let kids draw the pancake shape once before using batter. This helps them plan where to fill and where to leave space.
Decorate after cooking. Children can personalize their pancakes with toppings to create faces, monsters, or landscapes after cooking. Chocolate chips, berries, banana slices, and whipped cream can “rescue” almost any design.
Make Pancake Art a Family Tradition
Easy pancake art can become a Sunday morning ritual or a special breakfast for National Pancake Day on Sept. 26. Cooking with children can build confidence and encourage interest in food, a benefit also highlighted by NDSU Extension.
Let each child choose a weekly theme: animals, space, sports, favorite book characters, or breakfast monsters. Older kids can try detailed art, while younger kids stick with simple shapes on the same griddle.
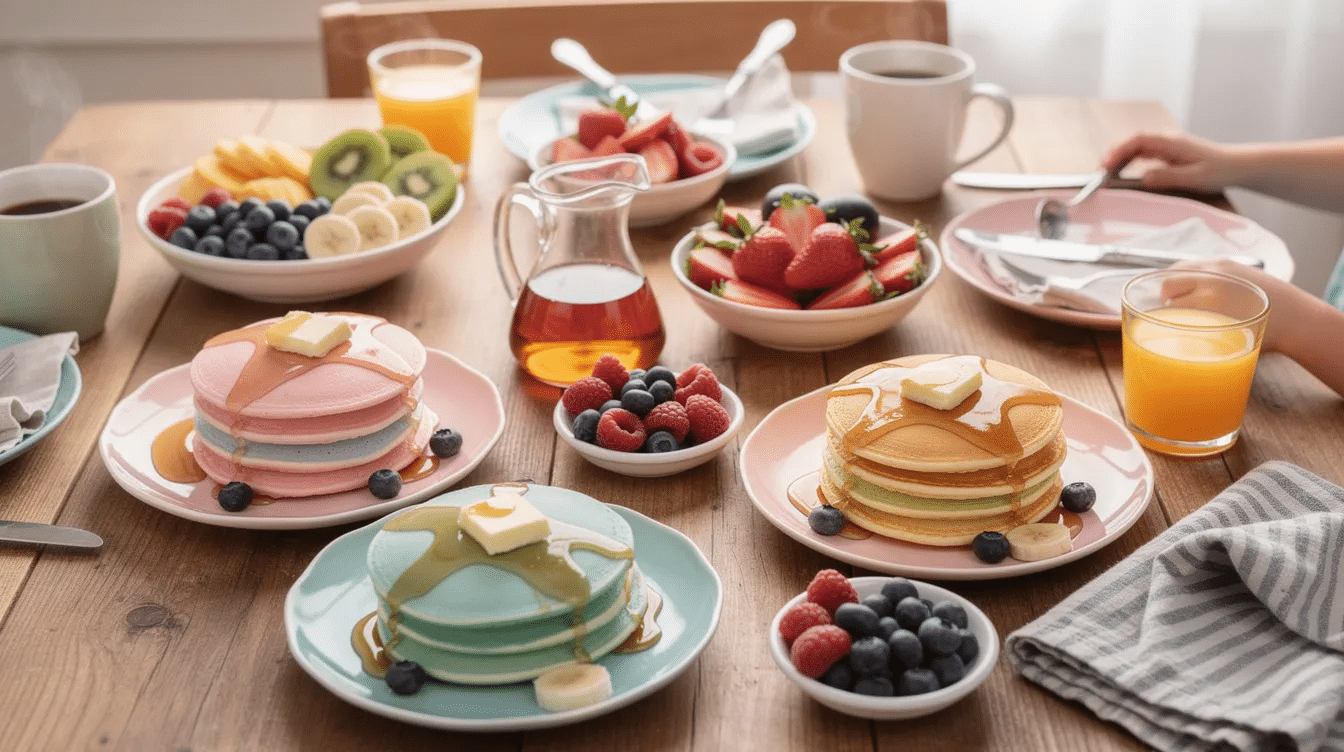
Take photos of the funniest and best pancake art, then build a small family gallery. Pick a morning this month, mix the batter, set out the bottles, and let breakfast become the craft.
FAQ About Easy Pancake Art for Kids
Can I make pancake art ahead of time for a busy morning?
Yes. Mix the batter the night before and store it in covered bowls or squeeze bottles in the fridge. Stir gently in the morning before using it.
Colored batter may thicken overnight, so add a spoonful of milk if needed. You can also cut fruit and prepare toppings the night before.
What age can kids safely help with pancake art?
Toddlers around age 3 can help squeeze batter onto a cold pan with close supervision. Adults should handle all heat and flipping.
Many kids age 6 and older can help more, but an adult should always control the stove or griddle. Good jobs include color chooser, batter squeezer, topping decorator, and plate helper.
How do I stop the colours from looking dull after cooking?
Use gel food coloring instead of liquid food coloring. Gel usually stays brighter and does not water down the batter as much.
Start with slightly stronger colors than you want in the finished pancake. Dark outlines with lighter fill colors also help the design stay clear.
Do pancake art pancakes taste the same as regular pancakes?
Mostly, yes. Pancakes made from standard pancake mix and a moderate amount of coloring taste very similar to regular pancakes.
Very thin batter or lots of coloring can make them slightly less fluffy. If adults want a classic stack, make one small batch of plain pancakes too.
Can we make allergy-friendly or gluten-free pancake art?
Yes. Gluten-free, dairy-free, and egg-free mixes can work if the batter reaches a pourable, ketchup-like consistency.
Test one mini pancake first to see if it flows from the bottle and holds its form on the pan. Also check that gel colors and toppings are safe for your family’s allergies.


