

There’s something magical about building a snowman that doesn’t melt. This step-by-step tutorial shows you how to make paper mache snowman decorations using everyday materials your kids will love getting messy with. Whether it’s a rainy weekend or you’re gearing up for christmas, this project fills a few happy afternoons and results in a keepsake your family can bring out year after year.
Key Takeaways
- This budget-friendly paper mache snowman project uses two balloons, newspaper, and simple paper mache paste that kids as young as two can help with (under supervision).
- Most supplies can be found at the dollar store or around the house – toilet paper, flour or glue, cardboard from a cereal box, and old fabric scraps for accessories.
- The tutorial walks you through every step, from blowing up balloons to painting and decorating a sturdy mache snowman that can last for several winters when properly sealed.
- Safety tips for crafting with preschoolers and a full FAQ section at the end cover common problems like cracking, sagging, and mould prevention.
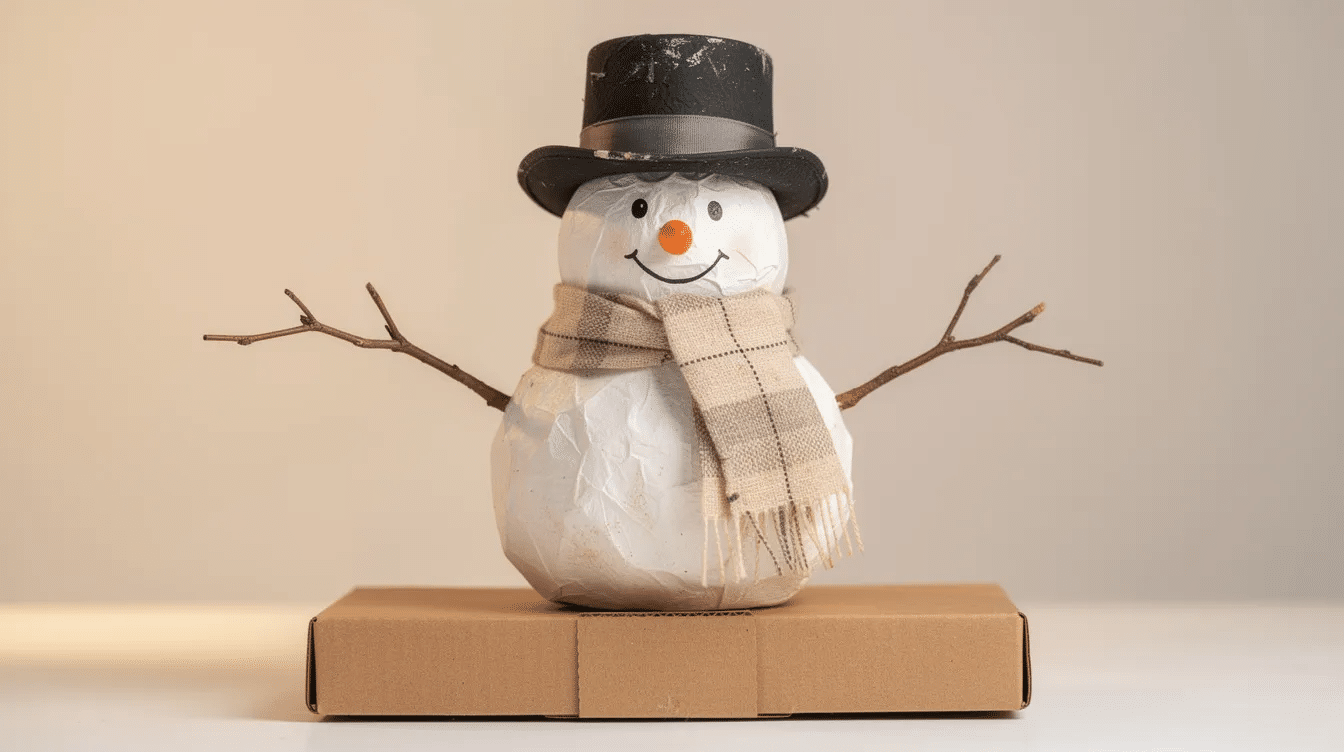
What You’ll Need to Make a Paper Mache Snowman
Here’s your full supplies checklist – skim it before you begin so everything is within arm’s reach once little hands get sticky.
Core body materials:
- Two balloons (one inflated to about 25–28 cm for the body, one to about 18–20 cm for the head)
- Plenty of newspaper torn into paper strips
- A flat piece of cardboard from a cereal or pizza box for the base
Paper mache paste options (pick one):
- Flour-and-water paste: one part flour mixed with two parts water, plus a pinch of salt to discourage mould
- Glue-and-water paper mache mix: half a cup of white PVA school glue mixed with half a cup of water – this dries harder and suits decorations you’ll reuse
Optional paper mache clay recipe:
- Half a roll of cheap toilet paper or paper towel, a small amount of white glue, a spoonful of joint compound, and a splash of water – mixed until thick and spreadable. Paper mache clay can be made at home or bought as instant paper mache for a quicker option.
Decorative extras:
- Acrylic paint (white, black, orange, red), brushes, stick-on jewels, felt scraps, yarn, ribbon, glitter, thin twigs, pipe cleaners
Tools:
- Scissors, masking tape, mixing bowls, a spoon, a bin bag or old tablecloth, apron, and optionally a hairdryer
At Little Button Diaries we test every craft activity with real preschoolers, so everything here is chosen to be family-friendly and frugal.
Prep the Balloons and Workspace
A bit of setup now means far less chaos once paste starts flying.
Blow up the larger balloon to roughly three-quarters full for the snowman body, and the smaller one to about half full for the head. Tie double knots and give each a gentle squeeze to check the seal – you don’t want air slowly escaping while layers dry. Use two balloons to create a snowman body with proportions that look right.
Cover your table with an old plastic tablecloth or bin bag and lay newspaper underneath. Keep baby wipes nearby for sticky fingers. Arrange paste, strips, and tools in shallow baking trays within easy reach of children to reduce drips.
Safety note: supervise younger children with scissors and keep any glue gun strictly for adults. Put kids in “craft clothes” – messy play is half the fun for preschoolers.
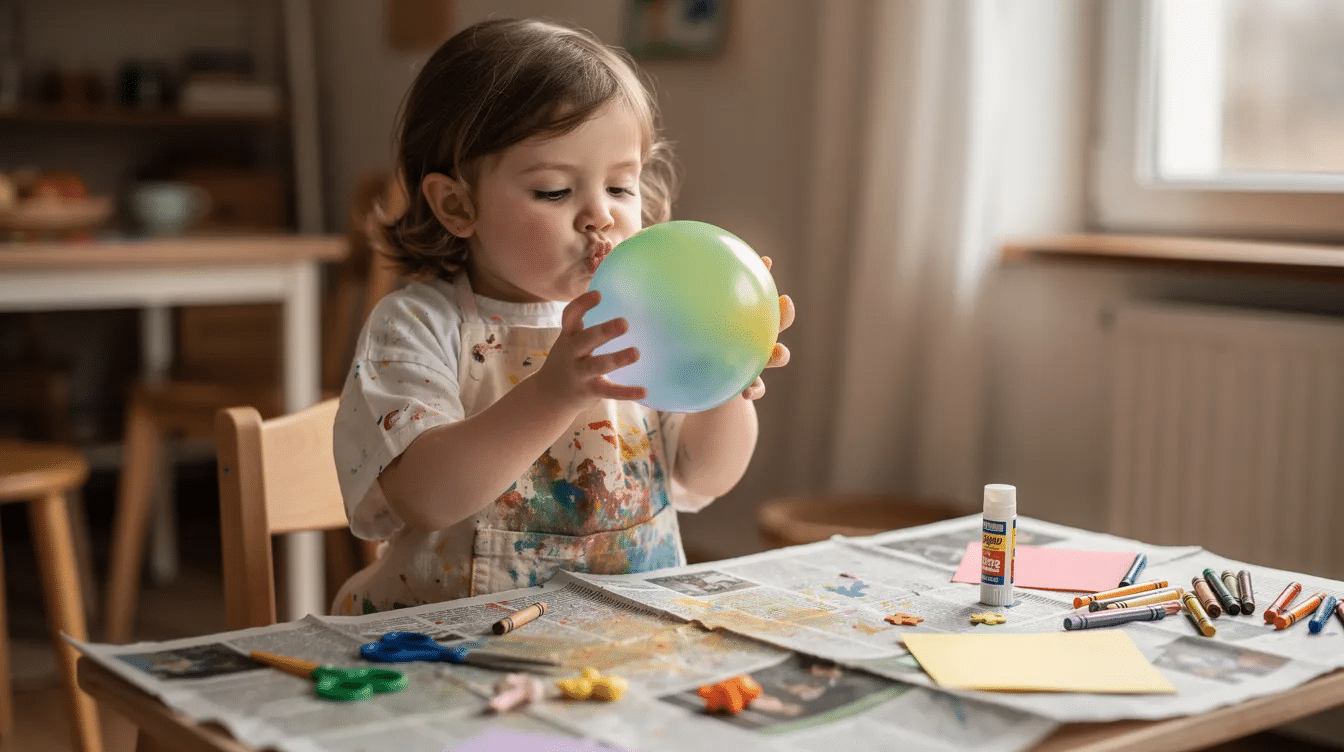
Mix Your Paper Mache Paste or Clay
Paper mache paste is the runny mixture you dip strips into; paper mache clay is a thicker, moldable form for sculpting details like a scarf or buttons. Families can use either or both.
Flour-and-water paste: Whisk one cup of plain flour into two cups of warm water a bit at a time until it’s like thin pancake batter. Stir in a pinch of salt. This is the gentlest option for younger kids.
Glue-and-water paste: Mix equal parts white school glue (such as tacky glue or PVA) and water, stirring until smooth. This sets harder – ideal for a snowman you’ll display every winter.
Paper mache clay: Soak about half a roll of toilet paper in warm water, squeeze out the excess, tear into small pieces, then fold in roughly half a cup of glue and a quarter cup of ready-mixed joint compound. Adjust texture with tiny additions of water or paper until it holds soft peaks without slumping.
The paste should lightly coat the back of a spoon. Cover bowls with a lid or cling film between layers so nothing dries out. If multiple kids are crafting, label each bowl to keep the peace.
Cover the Two Balloons with Paper Mache
This is the main “make paper mache” stage where kids get properly hands-on. Paper mache requires newspaper, flour, water, and balloons for crafting – and plenty of enthusiasm.
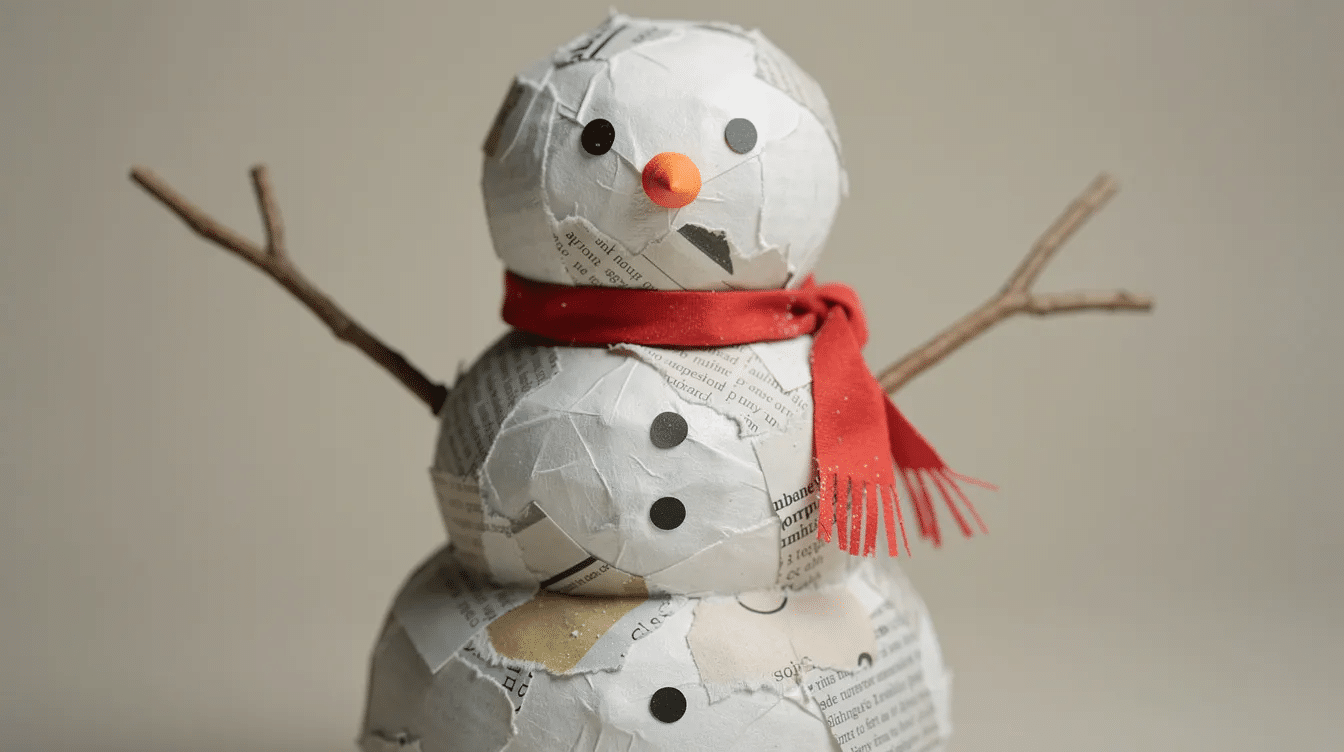
Tear newspaper into strips about 2–3 cm wide. Thin paper strips dry faster and help maintain a smooth surface. Tearing (rather than cutting) gives softer edges that blend better. White paper towels can be used for the outer layer if you want a smoother, lighter base for painting later.
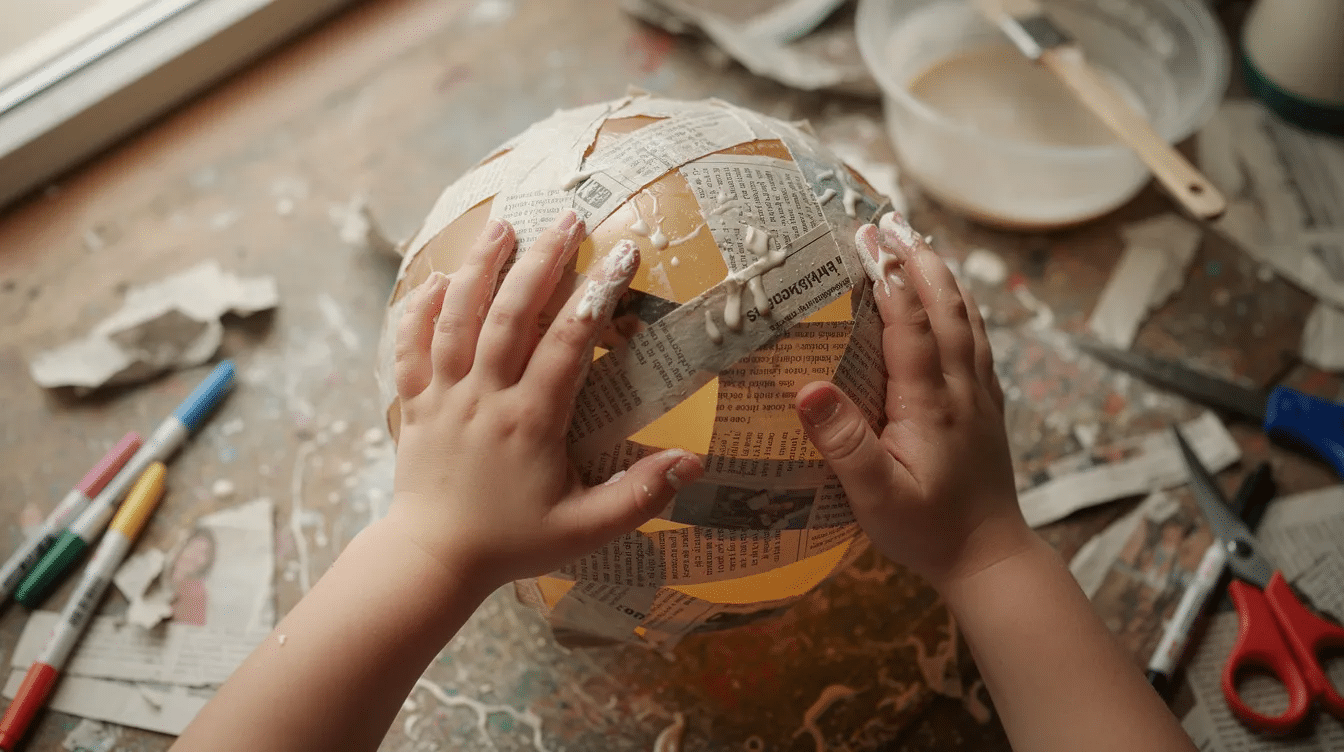
Dip each strip into the paper mache paste, scrape off the excess between two fingers, and smooth it onto the balloon, overlapping pieces slightly. Leave a small circle bare around the balloon knot – this makes popping easier later. To create a stable base for paper mache projects, secure the large balloon on a bowl while it dries so it doesn’t roll.
Apply three layers of paper mache to each balloon. Layering paper mache strips helps strengthen the structure of the project. Let each first layer dry until just tacky before adding the next – roughly 30–60 minutes with good airflow. Paper mache projects should be air dried with good ventilation to prevent cracking. Drying time for paper mache typically ranges from 24 to 48 hours for the full set of layers. Dry your paper mache snowman in a warm place for best results, but not directly on a radiator.
If attention spans run short, spread this step over two days – just like we suggest in our paper mache hot air balloon tutorial.
Build the Snowman Shape and Base
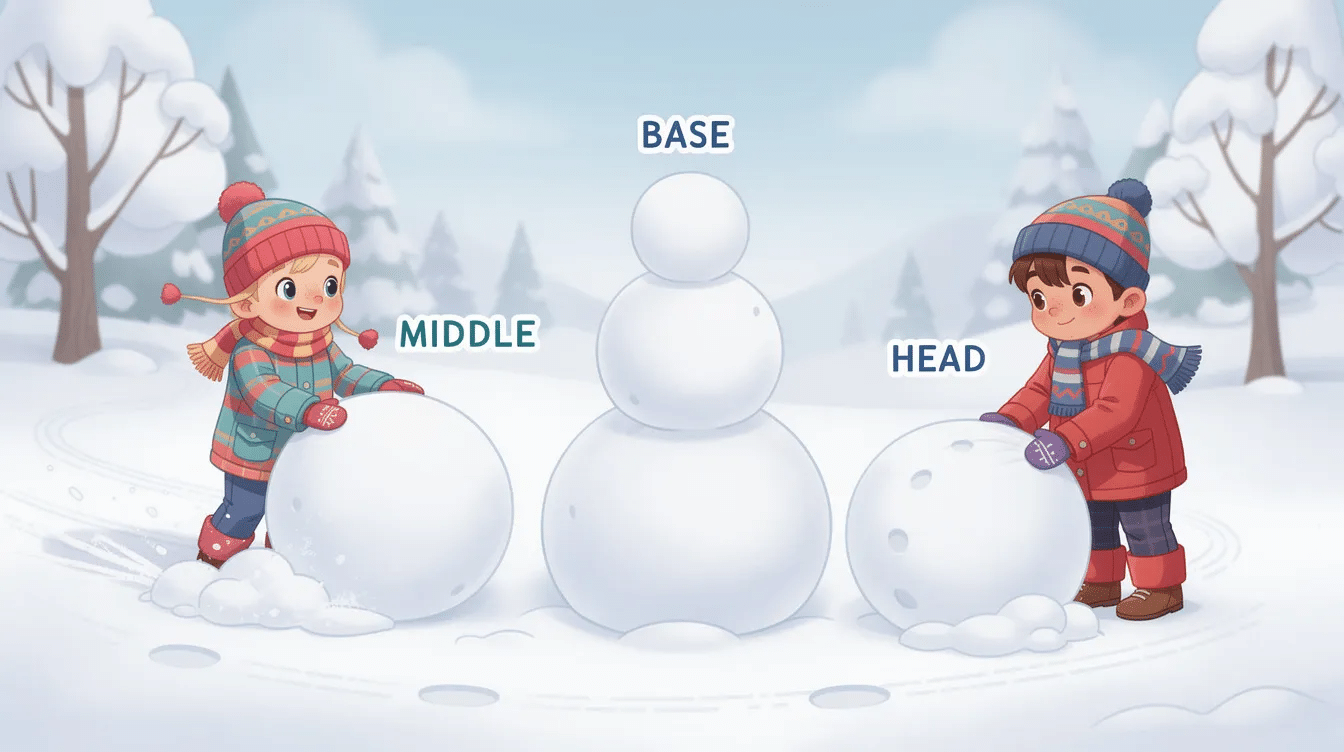
Once the paper mache shells dry completely, it’s time to pop the balloons and build your classic snowman shape.
Gently pierce each balloon through the bare knot area with a pin. Let the air escape slowly, then peel or shake the deflated balloon out. Tape any small cracks with masking tape and reinforce thin spots with a few extra strips and paste – let those dry before moving on.
Flatten a spot on the bottom of the larger ball by pressing gently. Trace this circle onto cardboard from a box, cut it out, and glue the body onto this base so the snowman can stand without wobbling. For bigger builds, glue the cardboard onto a larger platform cut from a shipping box.
To attach the head, flatten a small area on top of the body. Apply a generous ring of strong craft glue or hot glue (adult only) and hold the smaller ball in place for a minute. Cover the join between head and body – the neck area – with a band of paper mache strips or a ring of paper mache clay for a smooth transition and extra stability. Use masking tape to secure the snowman shape while the glue sets.
Paint and Decorate Your Paper Mache Snowman
This is where your kids get to create something truly their own.
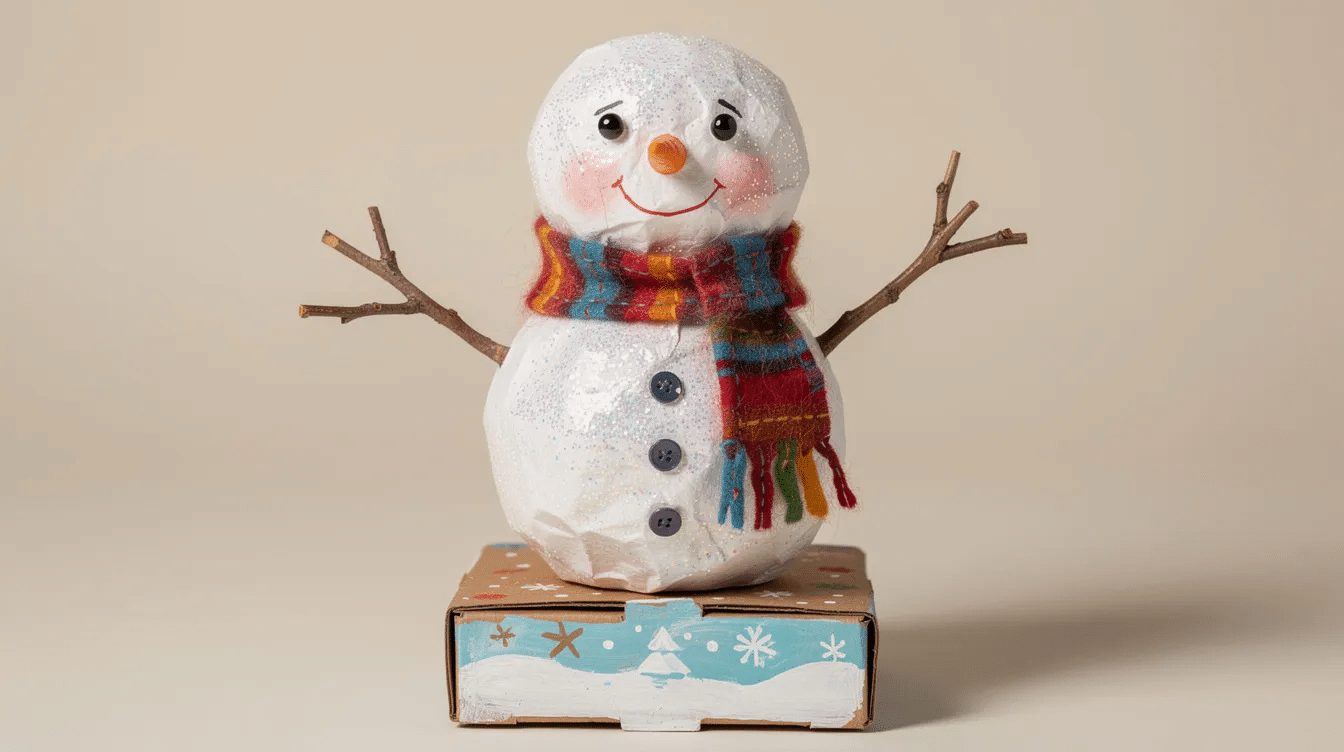
Start by applying a coat of white acrylic paint over the entire snowman with a medium brush. Use acrylic paints for their durability and good adhesion to paper mache surfaces. Let it dry fully, then add a second coat for a smoother finish. Painting the body white with a blue shadow along the edges gives an especially attractive, wintry appearance.
Face: Dot on coal-like eyes with black paint or markers. Paint a row of small circles for a smiling mouth. Add rosy cheeks with diluted pink paint if desired.
Carrot nose: Shape a small piece of orange paper into a cone, or create a snowman nose from a painted egg carton cup trimmed into a cone. A bit of paper mache clay shaped and painted orange also works. Attach with glue, holding until secure.
Clothing and arms: Tie a strip of scrap fleece or old fabric around the neck as a scarf – adding a scarf allows for seasonal redecorating of the snowman each year. Craft a simple top hat from a cardboard tube and small circles of cardboard covered in black paint. Stick real twigs into small holes on each side for arms.
Embellishments: Decorate with stick-on jewels for buttons, loose glitter on wet paint for a sparkly finish, and tiny felt shapes for mittens. Use lightweight decorations to prevent pulling away from the paper surface. Craft glue is necessary for attaching decorations – keep the glue gun for adult-only steps. You can also brush on mod podge as a final sealer and adhesive for delicate bits like string or folded ribbon.
Kid-Friendly Tips, Variations, and Upcycling Ideas
This section is optional inspiration for families who want to adapt the idea to different ages or materials.
Toddler and preschooler adaptations: Pre-cover the balloons the night before and invite children to help with just the painting and stick-on decorations. Short sessions keep the fun alive.
Older-kid extensions: Let them mix their own paper mache paste, experiment with paper mache clay snowman textures like built-in scarves or sculpted “snow,” and design characters – superhero snowman, snow princess, whatever sparks their imagination. You could even make a snowman piñata using inflated balloons and fill it with sweets for a party. For more seasonal fun, try snow paint alongside this project.
Upcycling ideas: Use a plastic grocery bag stuffed with newspapers as a base instead of balloons, or scrunch junk mail taped into balls. Old newspapers are needed for stuffing the snowman form this way. A clean glass jar wrapped in tissue paper makes a lovely snowman lantern with a battery LED candle inside.
Storage and longevity: Apply a clear protective coating after the paint is dry to seal and protect the snowman – a spray of clear acrylic sealer or a brush of mod podge works well. Store in a dry box between winters. Styrofoam balls can substitute for balloons if you prefer a solid, unbreakable form for very young kids.
Turn this into a yearly tradition – write the year on the base so your children can see their skills grow. Browse more easy craft ideas and DIY activities on Little Button Diaries for your next family project.
FAQ: Paper Mache Snowman Problems Solved
Here are quick answers to the most common issues readers run into when they make a paper mache snowman at home.
Why is my paper mache snowman cracking as it dries?
Cracks usually happen when layers are too thick, the project dries too quickly near a heater, or the balloon underneath is slowly deflating before the shell has fully hardened. Fill hairline cracks with a bit of fresh paste and tissue, let dry naturally away from direct heat, and avoid placing the project in full sun. Using 2–3 thinner layers and allowing each to dry completely greatly reduces cracking. No matter the climate, patience is your best tool here.
How long does a paper mache snowman take to dry completely?
For a two-balloon snowman, the strip layers normally take 12–24 hours to dry fully depending on room temperature and humidity. Thicker paper mache clay details may need another 24 hours. Plan the project over 2–3 days: one day for covering balloons, one for assembling, and a final day for painting. Gently tap the surface – if it feels cool or slightly flexible, it needs more time. You don’t need to bake it; air drying with a fan works perfectly.
Can I make a paper mache snowman without balloons?
Yes. You can use plastic bags stuffed with newspapers for snowman forms, or scrunch large balls of scrap paper wrapped in masking tape. Tape the paper into two rough spheres, form a neck between them with extra tape and aluminum foil for reinforcement, then cover the whole shape with paper strips exactly as you would over three balloons or two. These solid forms won’t collapse, making them especially good for very young kids who handle things roughly.
Is paper mache safe for toddlers and preschoolers?
Basic paper mache made with flour, water, and non-toxic school glue is generally safe for supervised young children, though it’s still not for eating and hands should be washed afterwards. Adults should handle hot glue guns, scissors, and any spray sealers, while little ones stick to ripping paper, brushing on paste, and adding decorations like pre-cut felt shapes. Families with wheat allergies can use a glue-and-water paste instead. The AAP recommends choosing products labelled non-toxic with the ASTM D-4236 seal.
How do I stop my paper mache snowman going mouldy in storage?
Mould appears when the inside wasn’t fully dry before painting or when the snowman is stored somewhere damp like a loft or cellar. Allow at least 24 hours of drying after the final layer and again after painting before sealing with a clear spray or mod podge. Store in a dry, ventilated cupboard or box – never in a sealed bag. Adding a small sachet of silica gel or a handful of dry rice in a breathable pouch near the snowman helps absorb moisture over the summer months.


