

Torn paper collage art for kids is one of those rare activities that is simple, inexpensive, and genuinely useful for child development. With just paper, glue, and a sturdy base, children can tear, arrange, layer, and create artwork that feels personal without needing scissors or perfect shapes.
Key Takeaways
- Torn paper collage art is an easy, low-prep activity for kids ages 2–10+ using construction paper, old magazines, scrap paper, and glue sticks.
- Tearing paper helps strengthen fine motor skills, hand–eye coordination, and pre-writing muscles in preschoolers and early elementary children.
- Torn paper collages grow with children: toddlers explore color and texture, while older kids design animals, landscapes, mosaics, and story scenes.
- No scissors are required, so torn paper art is tactile, safe, and practical for home, classroom, studio, or therapy settings.
- This guide gives step-by-step beginner instructions, age-based ideas, themed projects, and tips for setup, cleanup, and adapting activities.
- What Is Torn Paper Collage Art for Kids?
- Benefits of Torn Paper Collage for Kids
- Materials: What You Need to Start Torn Paper Collages
- Simple Step‑by‑Step Torn Paper Collage Instructions for Beginners
- Torn Paper Collage Ideas by Age and Stage
- Seasonal and Themed Torn Paper Collage Projects
- Tips for Supporting Kids During Torn Paper Art
- Extending Torn Paper Collage into Larger Learning Projects
- FAQ: Torn Paper Collage Art for Kids
- Conclusion
What Is Torn Paper Collage Art for Kids?
A torn paper collage is artwork made by gluing torn paper pieces onto a background to create designs, pictures, or abstract patterns. Kids can use construction paper, tissue paper, newspaper, magazines, wrapping paper, or any clean scraps that are safe to handle.
Traditional paper collage often uses neatly cut shapes and careful edges. Torn paper collages are different. They rely on ripped, organic edges, overlapping textures, and layers that give the finished art project a softer, more expressive feel.
Because children tear instead of cut, this type of torn paper art is accessible for toddlers, preschoolers, and grade-school children. It removes the pressure of scissors and opens the process to a wider range of ages and abilities.
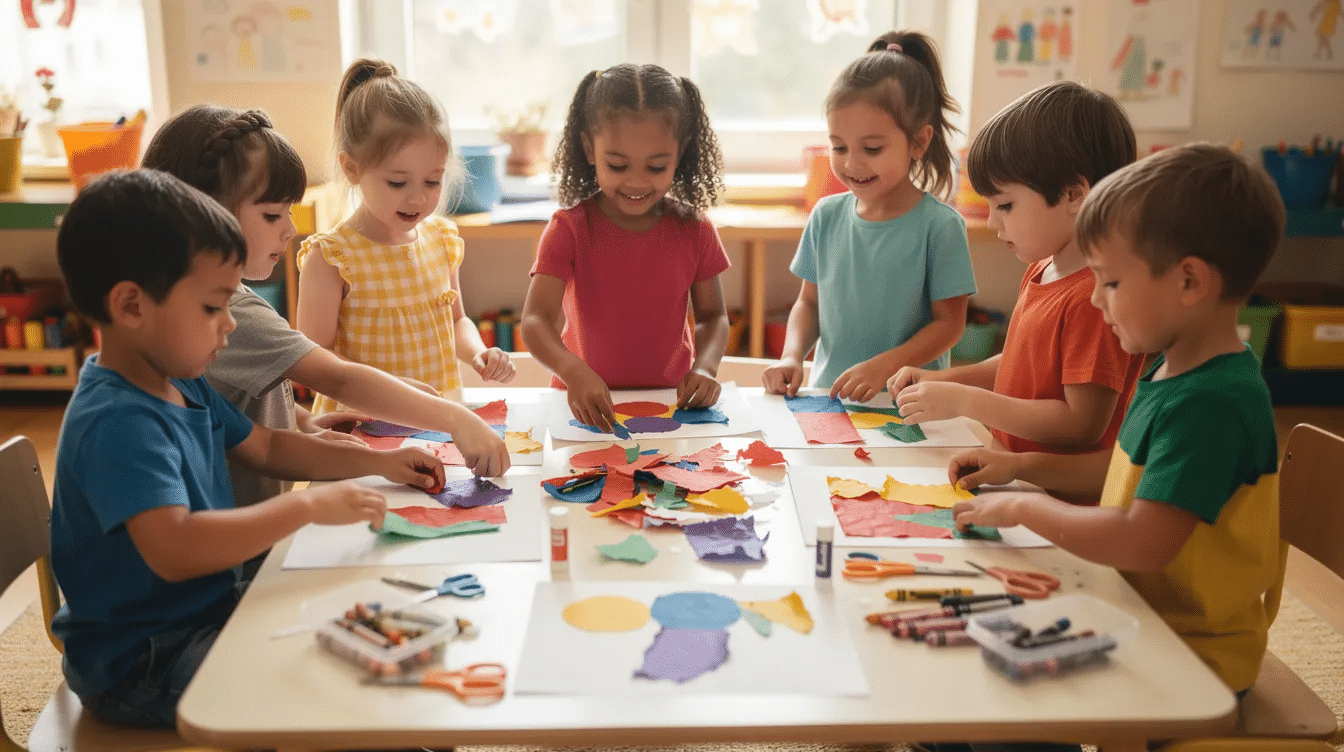
You’ll often see torn paper collages in early childhood classrooms, art studios, homeschool activities, and occupational therapy settings because they combine creativity with skill-building. Children get to make choices, work with their hands, and complete a visible product they can feel proud of.
There is also a rich artistic tradition behind this method. Japanese chigiri-e, a technique that uses torn paper images with soft, watercolor-like effects, is one beautiful source of inspiration. For kids, the focus stays simple: tear, glue, explore, and enjoy the process.
Benefits of Torn Paper Collage for Kids
Torn paper collage projects support both artistic expression and child development. They are low-cost, flexible, and easy to adapt for a group of students or one child working at the kitchen table.
Fine motor skill development
Torn paper collages help strengthen fine motor skills as children learn to tear paper into smaller pieces using their fingers. This action builds finger strength, pincer grasp, and bilateral coordination because one hand holds the paper while the other hand pulls.
These same muscles support handwriting, buttoning, zipping, feeding, and other self-care tasks. Alongside torn paper art, engaging art fine motor skill activities are often used in occupational therapy because they naturally develop hand strength, visual-motor control, and grip endurance.
One study of 5–6-year-olds found that collage using recycled paper significantly improved fine motor skill scores in the experimental group compared with the control group. That supports what many teachers already notice: paper collage activities can be playful and purposeful at the same time.
Cognitive and creative benefits
Collage-making encourages independence and decision-making as kids choose how to arrange materials and what colors to use. They decide whether to fill a shape, build a picture, overlap pieces, or make an abstract design.
Torn paper collages encourage children to think creatively and independently, as they must find ways to achieve their desired results without the use of scissors. If a child wants a round sun, a tall tree, or a tiny animal ear, the child has to problem-solve with tearing, layering, and placement.
Creating torn paper collages encourages children to think creatively and develop problem-solving skills as they figure out how to achieve their desired results without using scissors. That challenge is important because it helps kids focus on flexible thinking rather than one correct answer.
Sensory and emotional benefits
Torn paper art gives children plenty of sensory feedback. They feel the resistance of the paper, hear the ripping sound, and see the rough edges appear. For some kids, this is calming. For others, it is alerting and energizing.
Collages can provide a safe outlet for self-expression, helping children release energy and emotions constructively. A child can tear quickly, slowly, loudly, or carefully, then turn that action into something meaningful.
This is especially helpful for perfectionist kids. There is no perfect edge in torn paper designs. The irregular pieces are the point, which can help children relax and take creative risks.
Social and language benefits
When done in groups, torn paper collage activities give children opportunities to talk about their choices. Students can describe their colors, explain what is happening in the picture, answer questions, and share materials.
Good prompts include:
- “What do you want this part to be?”
- “How did you choose these colors?”
- “What does this texture remind you of?”
- “What could you add next?”
That kind of conversation builds vocabulary, confidence, and social learning.
Materials: What You Need to Start Torn Paper Collages
Most supplies for torn paper collage art for kids are inexpensive and already available in many homes or classrooms. You do not need a specialty product or a long supply list to begin.
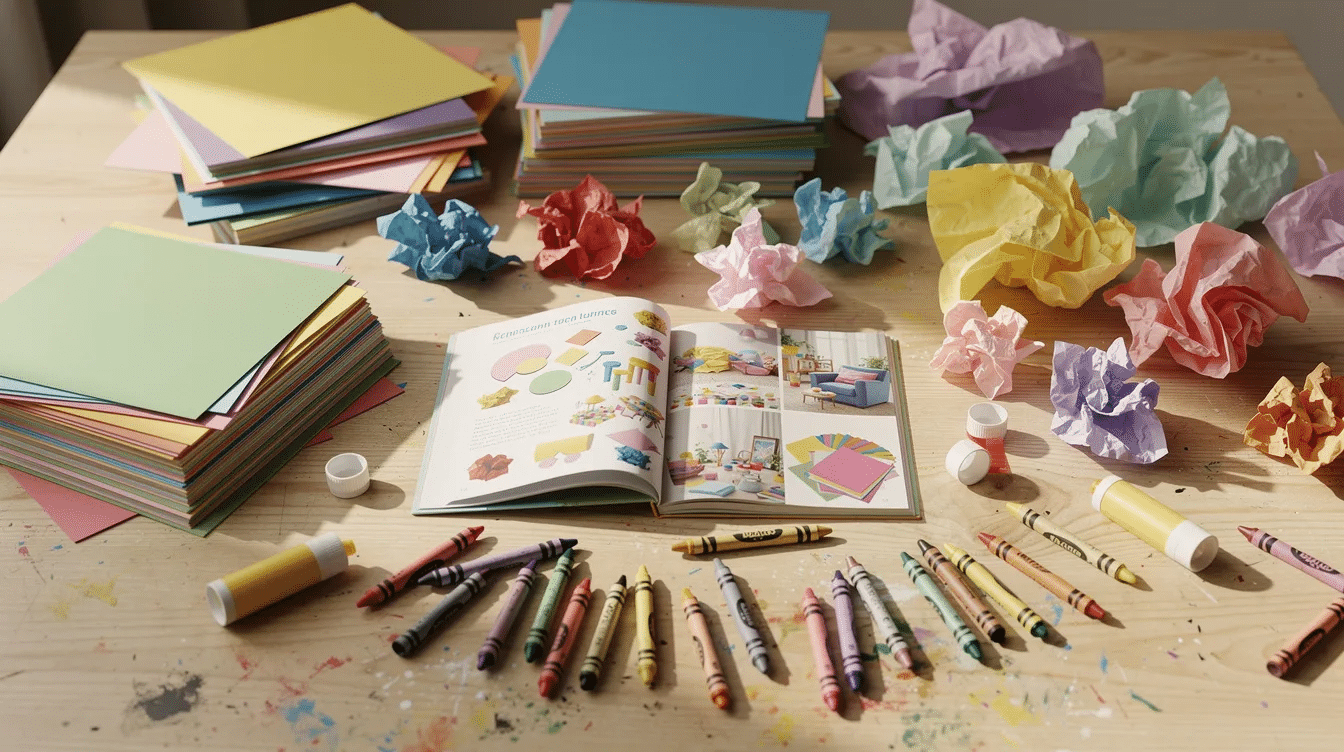
Basic supplies needed for torn paper collage projects include construction paper, scrap paper, and glue sticks. Colored construction paper is a primary material needed for creating torn paper collages because it works well as both the background and the torn pieces.
Core materials include:
Material | Why it helps |
|---|---|
Construction paper | Bright colors, easy to tear, useful for backgrounds and pieces |
Scrap paper | Great for reusing leftovers from other activities |
Glue sticks | Less messy for younger children |
White glue | Stronger hold for heavier layers or mixed materials |
Heavy drawing paper, cardstock, or cardboard | Provides a sturdy base for the collage |
Glue is essential for adhering the torn pieces of paper in a collage project. White glue works well when children are adding thick layers, while glue sticks are useful for quick, simple projects. | |
Using materials like old magazines, construction paper, and tissue paper offers varied textures in torn paper collages. You can also add colored scrap paper, wrapping paper, catalogs, kids’ art leftovers, and newspaper for more variety. |
For younger children, try putting white glue in a small container with a brush or cotton swab. This is often easier than squeezing a bottle, especially for children who are still developing hand strength.
Additional materials such as crayons or markers can be used to add details to the collage after gluing the torn pieces. Simple extras like feathers, yarn, stickers, and googly eyes can also work, and kids who love experimenting with glue will also enjoy exploring creative ways to use glue paint in craft projects.
Incorporating additional materials like feathers or googly eyes can enhance torn paper collages, adding texture and interest to the artwork without overwhelming the children.
For safety, choose non-toxic art supplies. The American Academy of Pediatrics recommends checking children’s craft supplies for safety labeling such as ASTM D4236 when available.
When you’re gathering materials, a shortlist of the best art supplies for young artists can help you choose paper, drawing tools, and paints that are age-appropriate and inspiring.
Set up the work area before you start:
- Cover the table.
- Use aprons or old shirts.
- Place a scrap bin nearby.
- Keep wipes or a damp cloth ready.
- Save reusable scraps for another project.
If you are doing this in a classroom, a defined supply area helps students stay independent while working.
Simple Step‑by‑Step Torn Paper Collage Instructions for Beginners
This first torn paper collage session uses just two sheets of construction paper and glue. It is a simple way to get started without overwhelming kids with too many choices.
1. Choose the materials
Have each child pick:
- One sheet of construction paper as the background
- One contrasting color sheet to tear into pieces
- A glue stick or small cup of white glue
- A sturdy base if the background paper is thin
For example, a blue base with yellow torn pieces creates strong contrast. A black base with bright colors can make the art feel bold and dramatic.
2. Demonstrate how to tear
Show children how to hold paper with two hands. Then model pulling gently in opposite directions.
Say something like:
“Watch how my hands work together. One hand holds the paper still, and the other hand helps tear.”
Encourage children to create both big and small torn pieces. Big pieces are easier for beginners, while smaller pieces build more finger control.
3. Tear the paper into pieces
Ask children to tear the second sheet entirely into pieces. The focus should be on the process, not making specific shapes.
The creative process for young children often begins with large, randomly torn pieces glued down without much thought, reflecting their initial exploration of the medium. That is not a problem. It is the beginning of learning.
No scissors are used. This matters because kids must explore shape and design through their hands, not a tool.
4. Add glue
Children can apply glue in two ways:
- Put glue on the back of each torn piece.
- Spread glue on one section of the background and attach several pieces at once.
For toddlers and preschoolers, spreading glue on the base first is often simpler. For older kids, gluing each piece gives more control.
5. Arrange the torn pieces
Some kids will cover the whole page. Others will cluster pieces in one corner. Both approaches are valid.
You can gently comment on what you notice:
- “You used lots of tiny pieces here.”
- “These layers make the middle look darker.”
- “You left open space around the edge.”
Avoid fixing the work. The child is the artist.
6. Talk about the choices
Pause during the project and ask open questions:
- “What colors did you choose?”
- “Do the pieces feel smooth or rough?”
- “Are you making a picture or a pattern?”
- “What do you want to add before the end?”
This keeps children engaged and helps them reflect without turning the activity into a test.
7. Let the collage dry
Set the finished torn paper collage flat to dry. Once dry, children can add details with crayons or markers.
They might draw:
- Eyes on an animal
- Stems on flowers
- Windows on a house
- Waves in an ocean scene
- Stars in a space picture
When complete, the collages can be displayed, photographed for a classroom website, or saved in a portfolio.
Torn Paper Collage Ideas by Age and Stage
Torn paper collages can scale from toddler exploration to detailed representational paper collage art. The same basic activity grows as children’s hands, attention, and planning skills develop.
Toddlers, around ages 2–3
Toddlers often need large torn paper pieces pre-torn by an adult. Use big backgrounds, bold colors, and simple gluing.
At this stage, the goal is not a recognizable picture. The goal is to explore paper, glue, texture, and cause-and-effect.
Good toddler ideas include:
- Color patches on a big page
- Sticky collage with pre-torn pieces
- One-color collage, such as all blue or all red
- Large tissue paper pieces on contact paper or glue
Keep sessions short and fun. If the child wants to stop after five minutes, that can still be a complete experience.
Preschool, ages 3–5
Preschoolers can usually tear their own paper and begin making simple images. They may enjoy rainbows, flowers, houses, trees, or filled shapes.
Creative torn paper collage projects for kids can include making mosaic animal pictures and abstract “filled shape” art. For filled shape art, draw a large heart, star, circle, or dinosaur outline and invite children to fill it with torn pieces, especially in a creative kindergarten classroom setup that encourages exploration.
Preschool ideas include:
- Rainbow strips
- Torn paper flowers
- Paper collage houses
- Simple animals with googly eyes
- Crayon outline filled with torn pieces
This is also a good age to introduce vocabulary like overlap, edge, layer, pattern, and texture.
Early elementary, grades K–2
Children in kindergarten through second grade can use smaller pieces and plan more intentionally. They may enjoy mosaics, patterned borders, and seasonal scenes, and you can begin to mix in simple preschool 3D art project ideas alongside flat collage work.
Try:
- Fall trees with red, orange, and yellow leaves
- Winter landscapes with blue and white paper
- Underwater scenes with fish and seaweed
- Torn paper name art
- Patterned frames around drawings
As children gain experience with torn paper collages, their work becomes more sophisticated, showing greater thoughtfulness in the placement of pieces and the overall composition.
Upper elementary and older kids, grades 3–5+
Older kids can use torn paper collage for more detailed representational art. They can create animals, cityscapes, portraits, landscapes, and storybook-inspired illustrations, or branch out into creative nature stick crafts that combine outdoor exploration with art.
Torn paper collages can evolve into representational art, allowing older children to create specific images like animals or landscapes by using themed colored papers, and some groups may enjoy alternating collage days with sensory projects like making fluffy slime without shaving cream.
At this stage, students can plan:
- Foreground, middle ground, and background
- Shading with darker and lighter papers
- Texture with magazines and tissue paper
- Layered skies, water, grass, or buildings
As children gain experience with torn paper collages, their ability to compose and arrange pieces thoughtfully improves, reflecting their growing understanding of art and design.
Seasonal and Themed Torn Paper Collage Projects
Torn paper projects adapt easily to yearly themes, holidays, classroom units, and home learning activities. The same technique can become a spring rainbow, a winter scene, or a science diagram.
Rainbow torn paper collage
Use strips or small pieces of colored construction paper to match each band of the rainbow. Children can glue the colors in curved rows or build a more abstract rainbow with scattered pieces, or explore other fun rainbow crafts for kids if they’re excited about the color theme.
This works well for:
- Spring themes
- Weather lessons
- Color recognition
- Pattern practice
Fall torn paper ideas
Use orange, yellow, red, brown, and tan paper for fall projects, including simple polar bear winter crafts when you want to bridge from fall into snowy themes.
Ideas include:
- Torn paper leaves
- Pumpkin patches
- Forest animals
- Acorns and trees
- Harvest baskets
Layering brown and tan papers can help children create bark, fur, soil, and other natural textures.
Winter torn paper projects
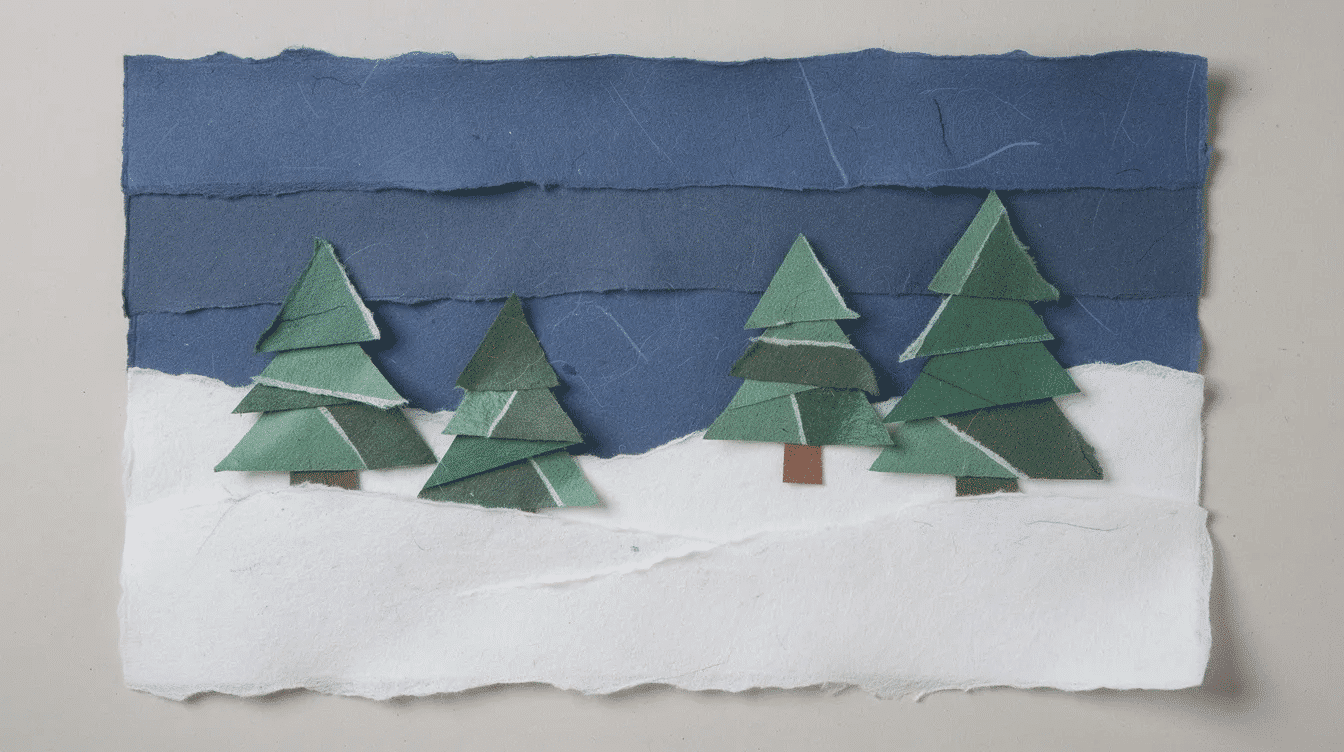
Children can create themed torn paper collages, such as winter scenes, by using colors that evoke the season, like blues, whites, and blacks.
Try:
- Snowy landscapes with torn white paper on blue backgrounds
- Evergreen trees made from green triangles or strips
- Snowmen built from torn circles or ovals
- Night skies with black paper and white snow
- Ice scenes with pale blue tissue paper
These projects are simple but visually strong, especially when displayed together.
Spring and summer themes
For spring, kids can make gardens, flowers, bugs, rain clouds, or birds. For summer, try underwater ocean scenes, beach scenes, and sunny landscapes, or mix in other colorful craft ideas for a fun weekend when kids want more bright, hands-on projects.
Good paper choices include:
- Blue and green layers for water
- Tan torn paper for sand
- Bright tissue paper for petals inspired by creative tissue paper crafts or waxy, translucent layers inspired by fun and easy wax paper crafts
- Magazine scraps for patterned fish
- Yellow construction paper for sunlight
Cross-subject themes
Torn paper collage can support more than art. It also works for science, literacy, and social studies, and can sit alongside simple projects like a crab paper plate craft for kids during an ocean or beach unit.
Examples include:
- Water cycle collages
- Space scenes with planets and stars
- Habitat layers, such as forest floor, canopy, and sky
- Life cycle diagrams
- Community maps with roads, houses, and parks
These projects give children a hands-on way to show information they are learning, much like tissue paper stained glass crafts that visually represent concepts such as light, color, or seasons.
Tips for Supporting Kids During Torn Paper Art
Adult support can keep torn paper art enjoyable, especially for children who are hesitant to tear, dislike sticky hands, or feel frustrated when the paper does not rip the way they want.
Make tearing easier
If tearing is difficult, start with narrow strips instead of full sheets. Thin paper is easier to tear than heavy construction paper.
You can also make a tiny starter rip at the top of the strip. This gives children a place to begin and reduces frustration.
Use open-ended prompts
Clear prompts help children focus without limiting creativity.
Try:
- “Fill the page with color.”
- “Can you make a picture of your favorite place?”
- “Use only warm colors.”
- “Make something that feels happy, stormy, quiet, or busy.”
Avoid drawing for the child. It is better to model on your own paper than to take over the child’s work.
Ask questions that build confidence
Open questions invite children to explain their thinking:
- “What’s happening in your picture?”
- “Which part do you love most?”
- “What was the biggest challenge?”
- “What might you try next time?”
If a child asks whether you like the collage, you can answer with a specific observation:
“I notice you used many small blue pieces to make the water look full.”
That kind of comment is more useful than simply saying, “Good job.”
Keep the focus on process
The goal is process-focused paper collage, not a perfect final product. Do not correct, rearrange, or “improve” a child’s pieces.
A page with random scraps can be just as important as a detailed animal. Both show exploration, decision-making, and working through a creative process.
Manage the mess
Torn paper art is not usually a huge mess, but glue and scraps can spread quickly.
Use this setup:
- One tray or basket for usable scraps
- One bin for trash
- Damp cloths for sticky fingers
- A drying area
- Two or three minutes at the end for shared cleanup
If you are doing the activity before snack, plan cleanup before cookies or drinks come out so paper and glue stay separate from food.
Extending Torn Paper Collage into Larger Learning Projects
Simple torn paper activities can grow into multi-day art and learning projects. This is where torn paper collage art for kids becomes especially useful in classrooms, homeschool groups, and after-school programs.
Collaborative murals
For a collaborative mural, each child creates one torn paper piece. One student might make a tree, another might make an animal, and another might make a building.
Then the class assembles the pieces into a shared landscape, city scene, ocean mural, or forest.
This type of group project builds:
- Cooperation
- Spatial planning
- Shared decision-making
- Respect for different styles
- Pride in a larger finished display
Literacy connections
Torn paper collages pair well with stories and poems. Children can create torn paper illustrations of a favorite character, setting, or scene.
You can ask students to:
- Retell a story through collage
- Make a character portrait
- Create a setting from a book
- Dictate or write a caption
- Share the artwork with the group
Older students can add an artist statement explaining their choices.
Math connections
Math can fit naturally into collage-making.
Try:
- Counting how many pieces fill one section
- Sorting paper by color or size
- Making repeating patterns
- Comparing big and small shapes
- Estimating how many pieces are needed to cover the base
These activities keep math hands-on and visual.
Science connections
Science topics work especially well because torn paper layers can show systems and structures.
Examples include:
- Forest habitat layers
- Weather patterns
- Water cycle scenes
- Plant life cycles
- Animal camouflage
- Ocean zones
Children can create a collage first, then label or explain the science afterward.
Display and celebrate the work
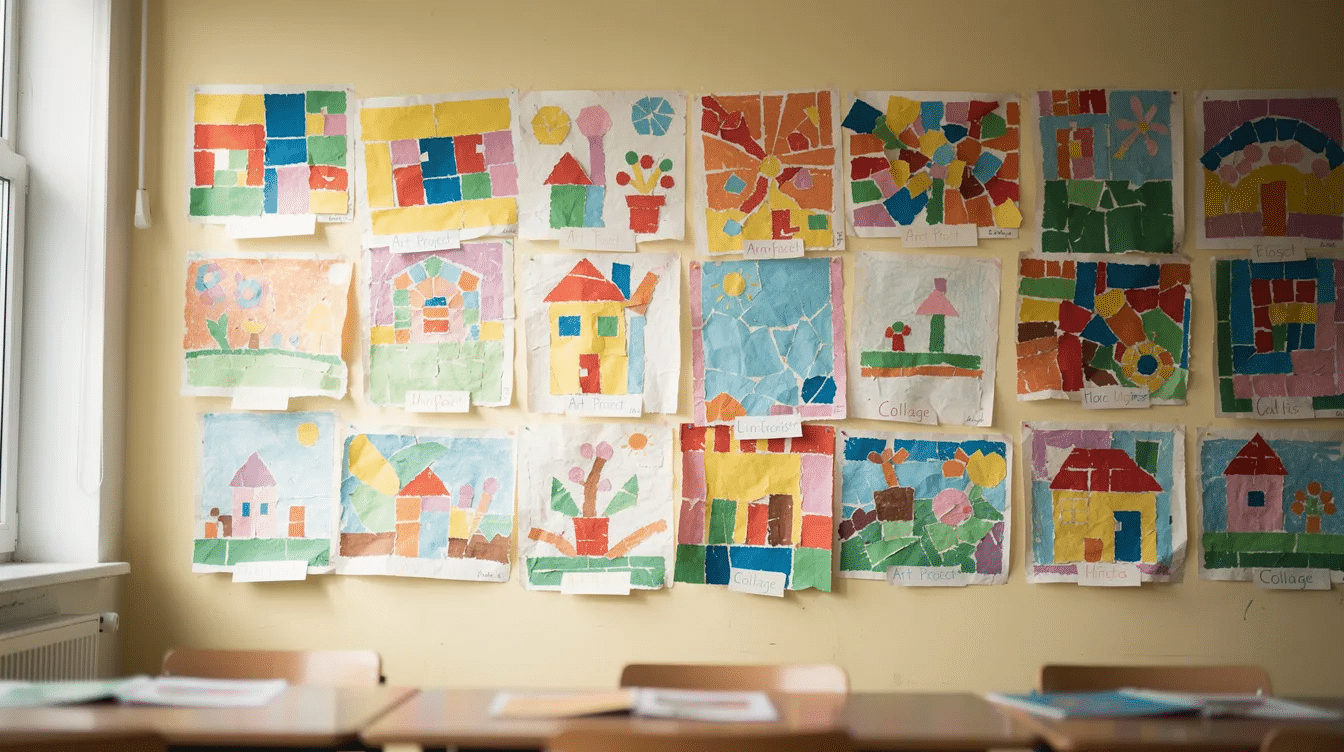
Finished paper collages can be displayed in a hallway gallery, classroom wall, library corner, or family night exhibit.
You can also photograph the masterpieces and share them in a class email or school website gallery, depending on your privacy policies.
Displaying student work matters because it shows children that effort, process, and creativity are valued.
FAQ: Torn Paper Collage Art for Kids
What age can children start torn paper collage activities?
Many toddlers can begin simple torn paper exploration around 18–24 months with adult support. At this age, adults can provide pre-torn pieces and help with glue.
Preschoolers, around ages 3–5, usually can tear their own paper and create basic designs. Older kids can handle more detailed collage projects, including animals, portraits, landscapes, and story scenes.
How do I help a child who finds tearing paper too difficult?
Start with thin paper or partially cut strips that are easier to rip than full sheets of construction paper. Tissue paper, newspaper, and narrow magazine strips can be easier for beginners.
You can also practice brief tearing warm-ups before the main project. If needed, the adult can tear some pieces while the child focuses on arranging and gluing.
How long should a torn paper collage project take?
Simple beginner collages can be completed in 10–20 minutes, which works well for short attention spans, classroom centers, or quick home activities.
More detailed representational torn paper designs may take 30–45 minutes. Older children may prefer to complete a project over two short sessions so the glue can dry before they add marker details.
Can I reuse old paper for torn paper collages?
Yes. Recycled materials like outdated magazines, junk mail, gift wrap, newspaper, catalogs, and scrap construction paper are excellent for eco-friendly paper collages.
Mixing new and recycled paper adds interesting textures and patterns, making kids’ torn paper art more visually rich. It also teaches children to see creative possibilities in everyday materials.
How do I store or display children’s torn paper collages?
Let collages dry completely. If the paper curls, place the dry collage under a heavy book for a short time to flatten it.
You can display finished work on bulletin boards, in simple frames, or in a yearly art portfolio. Portfolios are especially helpful because children can look back and see how their skills, choices, and confidence have grown.
Conclusion
Torn paper collage art for kids is simple to set up, but it offers a surprising amount of learning. Children strengthen fine motor skills, make independent choices, solve design problems, and experience the joy of turning torn pieces into meaningful art.
Start with two sheets of construction paper and glue. Keep the first project open-ended. Then, as children gain confidence, introduce new materials, themes, and challenges.
If you try one of these torn paper collage activities with your kids or students, take a moment to share the finished work, ask thoughtful questions, and celebrate the process as much as the final collage.


