

A paper chain garland is a line of linked paper loops that can turn a plain wall, mantel, doorway, classroom, or bedroom into a celebration space fast. It is one of the easiest DIY paper chains projects because the basic process is simple: cut, loop, secure, and repeat.
Paper chain garlands are popular for various celebrations, including birthdays, weddings, and holidays, due to their versatility and ease of customization. They are low-cost, beginner-friendly, and can fill a whole room with color in under an hour, which makes them ideal party decor you can make in an afternoon.
In this paper chain garland craft party decoration guide, you’ll learn what material to use, the steps for making a classic chain, how to hang it safely, and fresh ideas for a birthday party, christmas, Pride Month, weddings, and more.
- Quick Overview: Why Paper Chain Garlands Are Perfect Party Decor
- Supplies You Need for a Paper Chain Garland (Plus Smart Shortcuts)
- Step-by-Step: How to Make a Classic Paper Chain Garland
- Hanging Your Paper Chain Garland Like a Pro
- Paper Chain Garland Themes for Different Parties
- Creative Variations on Simple Paper Chains
- Tips for Crafting With Kids and Hosting a Paper Chain Party Station
- Storage, Reuse, and Eco-Friendly Ideas
- Final Thoughts and Inspiration to Get Crafting
Quick Overview: Why Paper Chain Garlands Are Perfect Party Decor
A paper chain is simply a paper strip formed into a loop, then linked with the next strip to create a longer garland. The look is playful, handmade, and easy to customize with different colors, width, size, and texture.
The biggest advantage is scale. A small pack of paper can become a long display for a party table, photo wall, or home entryway. If you want decor that kids can help make and parents will actually enjoy using, this is an easy win.
Garlands also have a long decorative history. Floral garlands were used in ancient celebrations, according to Britannica, and paper versions became especially beloved for family holidays because they were affordable and fun to make together.
Supplies You Need for a Paper Chain Garland (Plus Smart Shortcuts)
You probably already have most things at home. Start with construction paper, cardstock, tissue paper, or recycled paper; paper chain garlands can be made from different materials, including tissue paper, construction paper, and recycled paper, allowing for eco-friendly decoration options.
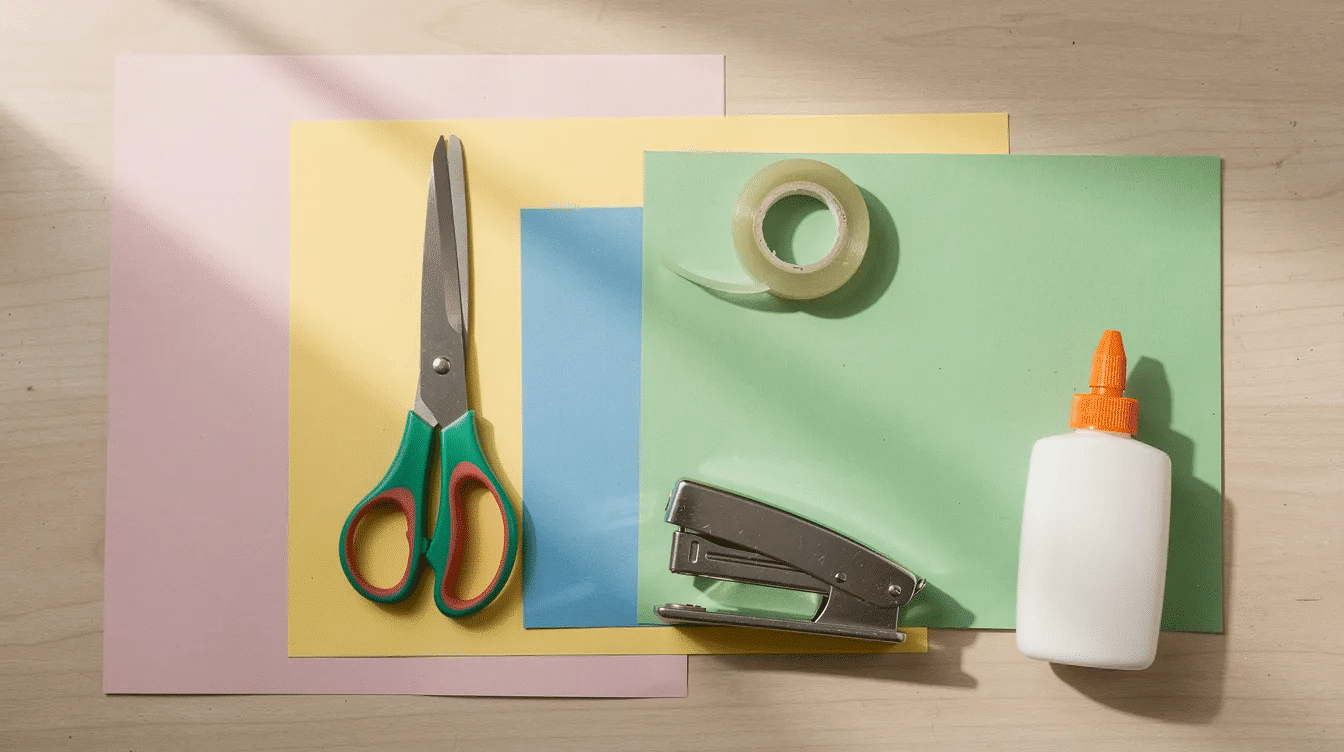
Core supplies:
Supply | Best use |
|---|---|
9” x 12” construction paper in 10–12 assorted colors | Kids’ crafts and bright party decor |
Cardstock or scrapbook paper | Sturdier garland for weddings or photo backdrops |
Scissors, paper trimmer, or guillotine | Clean, even cut strips |
Stapler, glue stick, or double-sided tape | To secure each loop |
Clear fishing line, Command hooks, or removable tape | To hang the finished chain |
Cutting tools such as a paper trimmer or guillotine are best for producing uniformly cut strips. Using sturdy materials like cardstock or scrapbook paper is recommended for a durable paper chain garland, and using heavy-weight cardstock or patterned scrapbook paper creates durable paper chain garlands for events where the decor needs to hold its shape. |
For upgrades, add patterned scrapbook paper, metallic paper, glitter paper, stickers, washi tape, or a pre-cut pack from a craft shop. Many paper chain garland products come in various lengths, with some options available up to 130 feet, making them suitable for large decorations.
For eco-friendly ideas, reuse old gift wrap, shopping bags, magazines, sheet music, or vintage paper, or explore other tissue paper craft projects that turn scraps into art. Vintage paper or old book pages can be used for a classic, charming effect in garland making, especially for libraries, weddings, or cozy christmas displays.
Step-by-Step: How to Make a Classic Paper Chain Garland
This is the simplest version and requires no advanced crafting skills. It is perfect for first-time crafters, kids, and anyone making quick decor before guests arrive, or as a warm-up before trying other colorful weekend craft ideas.
- Measure your paper. The ideal dimensions for classic paper chain links are 1.5 inches wide by 8.5 inches long. To create a paper chain garland, cut each 8.5” x 11” piece of paper into four equal strips for uniformity if you want larger, bold links.
- Cut strips evenly. Use scissors for casual making, or use a paper trimmer with a washi-tape guide to keep each strip consistent. To cut multiple identical strips simultaneously, one can use the cardboard wrap trick: wrap paper around a piece of cardboard cut to the desired width, then slice along the edges as a guide.
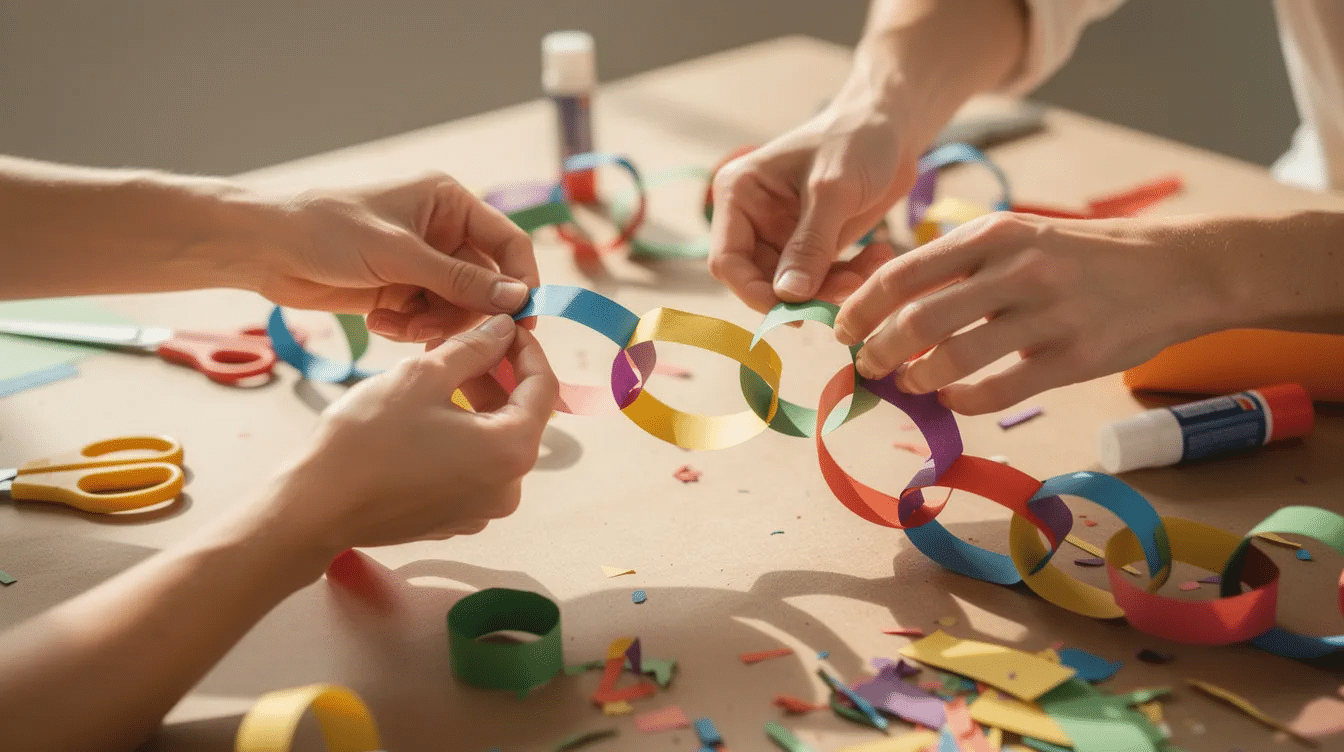
- Make the first loop. Bring the ends of one paper strip together, overlap them, and secure with staples, glue, or tape. The fastest way to assemble a paper chain garland is by using a stapler to secure each loop of paper together.
- Link the next strip. Thread the next strip through the first loop, bring the ends together, and secure. Continue the process until the chain reaches your desired length.
- Try a no-staple join. Overlapping strips and creating a dog ear allows for a no-staple joining method: fold one overlapped corner down like a small tab, then tuck and press it so the loop can hold without staples.
For a simple length estimate, assume each 8.5-inch strip adds about 6–7 inches once looped and overlapped. A 21-foot garland is 252 inches total, so you may need around 36–42 links depending on how loose your loops are. Add extra if you want deep swag curves.
Color blocking involves grouping sections of the same color before alternating. For example, make eight red loops, then eight pink loops, then eight green loops before switching again. The batch technique involves assembling a large section of loops before completing the entire garland for a consistent look.
Hanging Your Paper Chain Garland Like a Pro
Before you hang anything, choose the place: across a doorway, along a dessert table, around a christmas tree, above a birthday sign, or behind balloons for a photo backdrop.
Secure installation using Command hooks prevents damage to surfaces when hanging decorations. Command hooks can be used to safely anchor a garland to walls, mantels, or doorways without damage, which is especially useful in rentals, dorm rooms, classrooms, and party venues.
For a long chain, use support points every few feet. Using clear fishing line allows for the invisible suspension of paper chains, and when hanging a paper chain garland, using clear fishing wire through one of the paper loops can help secure it to hooks or other fixtures.
Try these layouts:
- Swag style across a wall or mantel
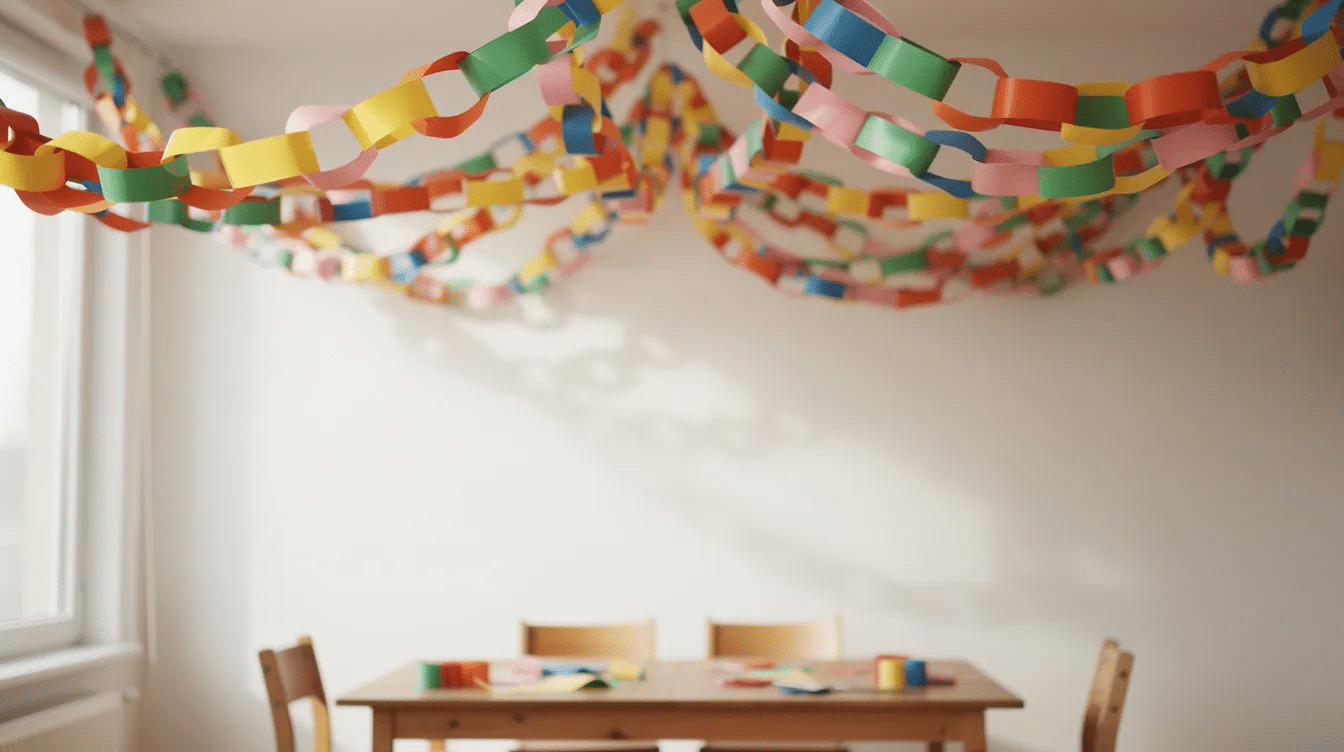
- Criss-crossing chains across the ceiling for a birthday party
- Wrapped around banisters
- Framing a bedroom doorway or mirror
- Layered behind a cake table with balloons
Keep paper away from open flames, candles, heaters, fireplaces, and wet outdoor conditions. Paper can sag, curl, or tear in moisture, so check the weather before using it outside.
Paper Chain Garland Themes for Different Parties
Simple paper chains can match almost any event theme or color palette. The easiest method is to select three to five colors, then repeat them in a pattern.
For birthday party ideas, use rainbow paper chains for kids, a one-color ombré for teens, or theme colors like Minnie-inspired pink and red, jungle green, or neon for a 13th birthday, and coordinate them with creative birthday balloon decorations at home. For a classroom or home party, leave a few blank links so guests can read messages or share wishes.
For weddings and bridal showers, use blush, nude pink, ivory, champagne, and metallic gold. Cardstock gives the garland a cleaner shape, while paper flowers can decorate every fifth loop for a soft photo wall.
For seasonal celebrations, use red and green for christmas, red-white-blue for Independence Day, orange and black with bat shapes for Halloween, and pastel colors for Easter brunch. Paper chains were a popular Victorian-style holiday craft, and that handmade look still feels warm today, especially when paired with other festive holiday craft decorations.
For special occasions, create rainbow chains for Pride Month, black and gold paper chain garlands for Class of 2026 graduation parties, and heart-pattern strips for Valentine’s Day, or add complementary easy heart crafts for all ages. If you shop online, enter the desired length, select the color palette, review the product information, and check the total before you buy.
Creative Variations on Simple Paper Chains
Once you learn the basic chain, you can continue with more texture, shape, and layering.
Patterned links are the easiest upgrade. Mix polka dots, stripes, florals, kraft paper, or old books pages with solid colors. This gives your display a store-bought feel without losing the handmade charm.
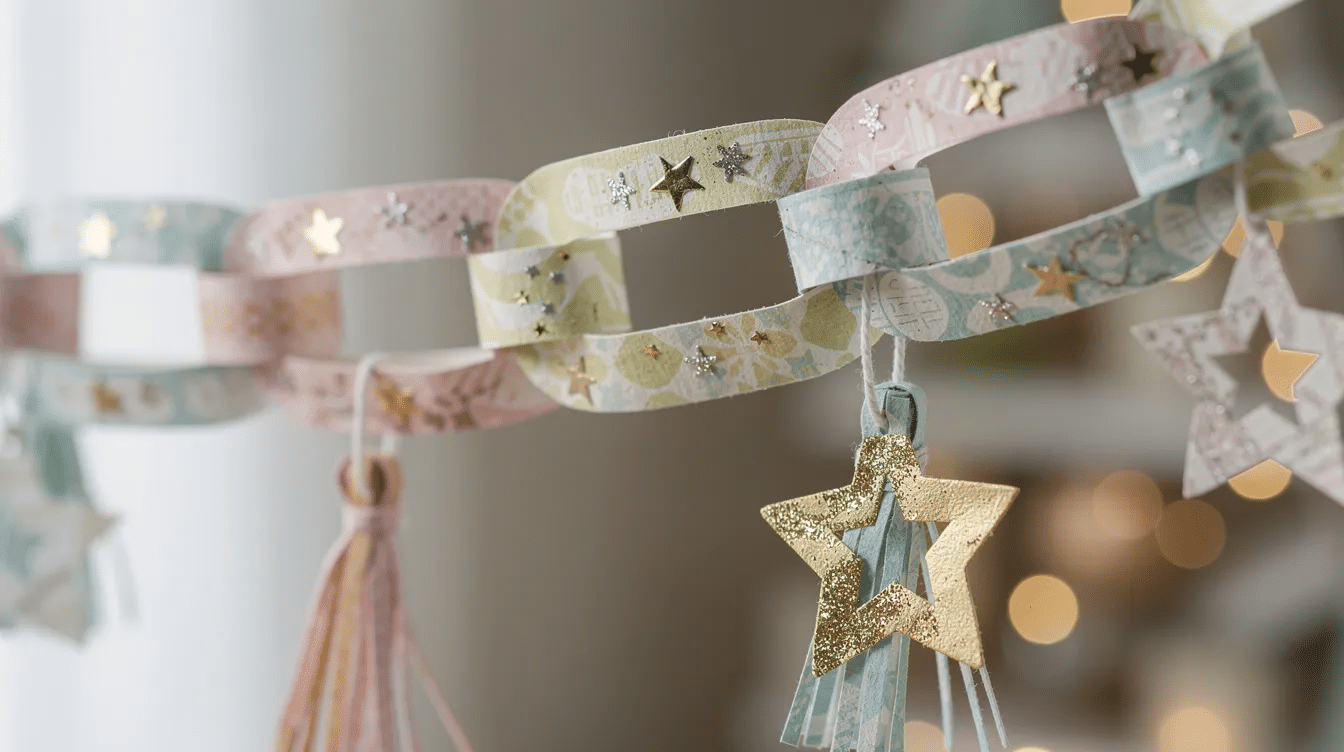
Add 3D details by taping mini tissue tassels, tiny stars, butterflies, or paper flowers to every few loops, or hang coordinating tissue paper stained glass crafts in nearby windows. For a chunky paper chain, strips can be cut to widths of 2 to 4 inches by lengths of 6 to 9 inches. Chunky links look great over a dessert table or in large rooms.
Try shaped links with scalloped edges, leaf shapes for garden parties, or star-tipped strips for space themes and graduations, and use them as a backdrop for a stunning balloon castle party decoration. You can also mix materials: using felt strips joined with hot glue creates a durable and luxurious-looking garland.
To build fuller decor, combine paper chain garlands with balloons, crepe streamers, foil fringe, honeycomb balls, or a fabric banner, or pair them with an eye-catching balloon arch display for parties. A short video of the close-up details can help guests learn the technique quickly if you are hosting a craft station.
Tips for Crafting With Kids and Hosting a Paper Chain Party Station
Paper chain making works well as an activity table for children at birthdays, school events, and holiday gatherings. It gives kids something creative to do, and the finished garland can decorate the party while it is still happening, just like building a cardboard time machine craft can become both an activity and a playful centerpiece.
For ages 4–7, pre-cut strips, offer safety scissors, stickers, and washable markers, and have adults handle the stapler. For ages 8–12, let kids measure, cut, choose colors, and follow a pattern.
Set up a station with:
- Bowls of pre-cut strips
- Glue, tape, or a stapler
- A small wastebasket
- A sample chain to copy
- A sign telling guests where to place finished links
You can also turn the project into a countdown chain. Make one link for each day until a birthday, advent, vacation, or first day of school, then remove one loop per day. For learning, use color patterns for preschoolers, simple math with link counting, or gratitude notes for Thanksgiving.
Storage, Reuse, and Eco-Friendly Ideas
Paper chain garlands can be reused if you store them carefully. Coil the garland gently, place it in a labeled flat box, and keep it away from moisture, crushing, and direct sunlight.
Neutral chains are the most reusable. Gold, silver, kraft, white, and rainbow chains can work for many things if you add fresh balloons, a banner, or seasonal table decor.
For disposal, plain paper is usually easier to recycle or compost than glittered or metallic finishes. Heavy glitter, plastic coatings, and foil laminates may not be recyclable, so choose recycled paper, avoid plastic glitter, and repurpose magazines, shopping bags, sheet music, or old gift wrap when you can. The U.S. paper recycling rate remains strong, with paper-based goods often cited around 65–69%, according to industry trend reporting from Lion Paper.
Final Thoughts and Inspiration to Get Crafting
A homemade paper chain garland is quick, affordable, and surprisingly impactful. With a few sheets of paper, scissors, glue, tape, or staples, you can create party decor that feels personal instead of generic.
Start small with a 5-foot garland for a bookshelf, mantel, or bedroom wall before making a full-room birthday display. Experiment with colors, paper type, and link size, and do not worry if every loop is not perfect.
That handmade look is part of the love. Bookmark this page, follow the steps, and share your finished paper chain garland before your next party or holidays gathering.


