

If you love handmade holidays, few projects feel as magical as pulling out a personalized appliqued christmas present sack on Christmas Eve. This tutorial walks you through making your own drawstring santa sack with bold fabric applique on the front, using simple sewing techniques any parent can handle.
Quick Answer: What Is an Appliqued Christmas Present Sack?
An appliqued christmas present sack is a reusable fabric gift bag decorated with stitched or fused fabric shapes rather than printed designs. Appliqué involves sewing or fusing pieces of fabric onto a larger base fabric, creating motifs like Santa faces, Christmas trees, stars, or your child’s initial. The tactile quality of layered fabrics gives the sack a dimensional appearance that printed bags simply can’t match.
Think of it as a soft, oversized bag that sits under the tree each December, ready to be stuffed with gifts. Picture a red cotton sack with a green Christmas tree applique and “EMMA” stitched below it in white letters. Appliqued Christmas present sacks are easy sewing projects, and personalized appliquéd sacks can add decorative touches under a Christmas tree that get better with age. Over time, appliquéd sacks can become enduring family holiday traditions your kids look forward to every year.
This Little Button Diaries project is family-friendly, designed for parents of preschoolers in the USA who enjoy crafting on a budget. You don’t need an advanced machine or expensive fabric to get started.

Supplies You’ll Need for Your Appliqued Santa Sack
Gather these materials before you begin:
- Sack fabric: 1–1.5 yards of sturdy cotton, calico, or cotton canvas in a festive color. An 8–10 oz medium-weight canvas works well without overwhelming a basic home sewing machine. Sacks are commonly made from cotton, canvas, or burlap, but cotton canvas is the easiest to sew and wash.
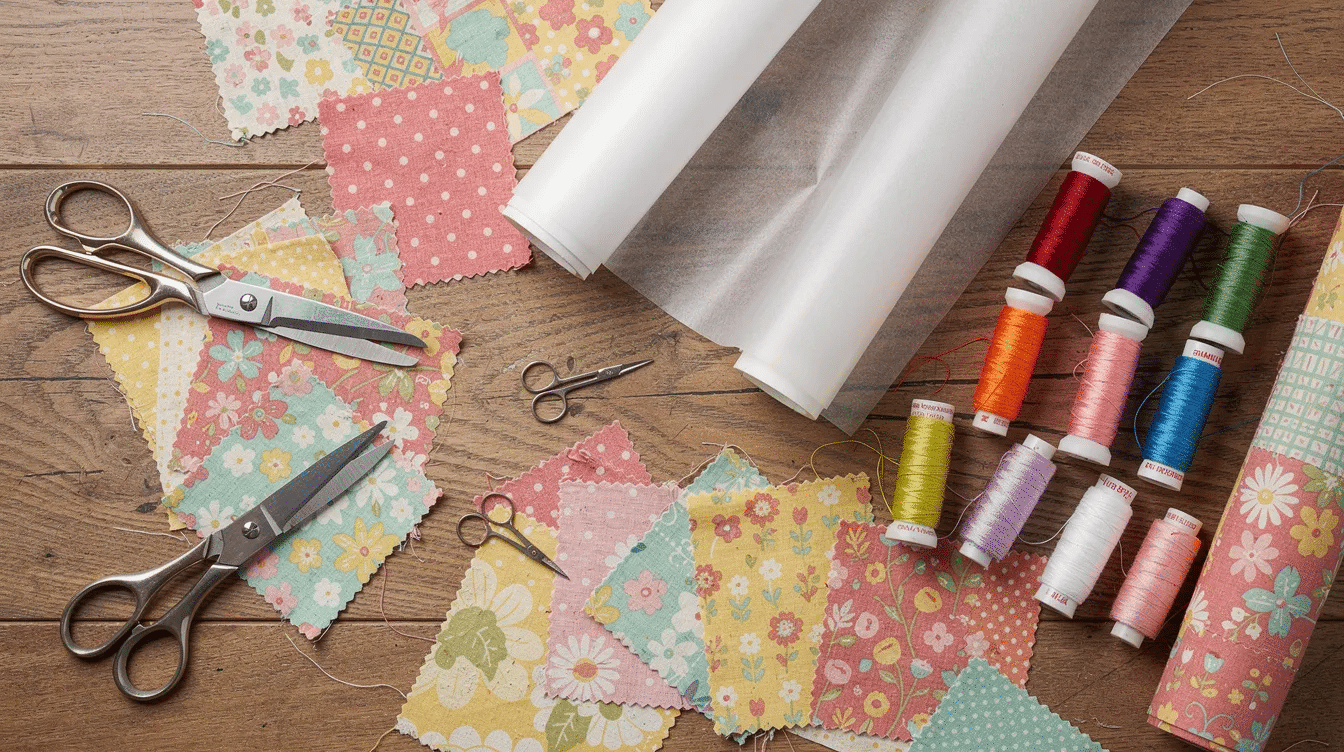
- Applique fabrics: Small scraps of quilting cotton or felt in white, black, green, gold, and red.
- Fusible web: HeatnBond Lite or Wonder-Under to bond shapes before stitching. Add lightweight fusible interfacing if your main fabric is thin.
- Notions: Matching and contrast thread, fabric scissors, paper scissors, pins or clips, safety pin for threading the drawstring, and an optional washable fabric glue stick so kids can help place shapes.
- Tools: Sewing machine with zigzag or applique stitch, iron, fabric marker or chalk, ruler, and a printer for templates.
- Drawstring: Cotton cord, twill tape, ribbon, or bias tape (about 60″), plus two small wooden beads for finished ends if you like.
A digital download pattern for Christmas present sacks is available from many sellers, and digital patterns for Christmas sacks are sold on Etsy if you’d rather skip drafting your own. Sewing patterns for sacks can be found on various platforms, so browse until you find one that suits your style.
Choosing a Design: Applique Ideas Kids Will Love
Involving your kids in choosing the design makes the santa sack feel truly magical. Sit down together, flip through Christmas sack ideas that can be found on Pinterest, or check out collections like Cute Easy Crafts: 45 Adorable DIY Ideas Anyone Can Make for inspiration. Personalized Christmas sacks can be made with appliques that reflect each child’s personality.
Here are some crowd-pleasing motifs:
- Classic Santa face: Red hat, white felt beard, pink nose, black bead-free eyes (use fabric or embroidery instead for safety).
- Christmas tree: Layered green triangles with a gold star on top. Appliqued sacks can feature designs like trees and holly for a traditional feel.
- Stack of wrapped presents: Bright rectangles with ribbon strips.
- Big initial letter: A bold “J” or “A” surrounded by tiny appliqued stars.
Primitive Christmas Appliques include 10 designs for sewing if you want a vintage, folk-art look. Sketch your layout on paper first, keep the main design centered, and leave about 6 inches from the top for the drawstring channel. Use high-contrast colors so the applique pops in Christmas morning photos.
Cutting and Sewing the Basic Present Sack
Santa sacks are easy sewing projects once you break them into steps. You’ll sew the drawstring sack first, then add applique to the front panel. These sacks can hold bulky gifts that are difficult to wrap, so size matters.
- Cut two rectangles about 24″ high × 18″ wide from your pre-washed canvas. (Pre-washing matters because untreated cotton can shrink 5–10% in the first wash.)
- Pin right sides together. Mark a 2″ gap on one side seam, about 1.5″ from the top edge, for the drawstring opening.
- Sew sides and bottom with a ½” seam allowance, skipping the marked gap. Finish raw edges with a zigzag or overcast stitch.
- Create the casing. Press the top edge down ¼”, then fold again 1¼” and press. Press the gap’s seam allowances open so cord can pass through.
- Topstitch the casing close to the lower folded edge all the way around. Backstitch at the gap for strength.
- Thread the drawstring through the casing with a safety pin, pull both ends out the gap, and knot or add wooden beads.
Turn right side out and your basic sack is set.
Creating and Attaching the Applique Motifs
Applique is best done on the front panel before sewing up the side seams, but you can also work on a finished sack by sliding a piece of cardboard inside to keep layers separate.
- Trace your shapes onto paper, then flip and trace onto the paper side of fusible web. Label each piece.
- Fuse the web to the wrong side of your applique fabrics with a medium-hot iron. Cut out each piece neatly.
- Position shapes on the sack front, centering them about 6–8 inches below the casing line. Peel the paper backing.
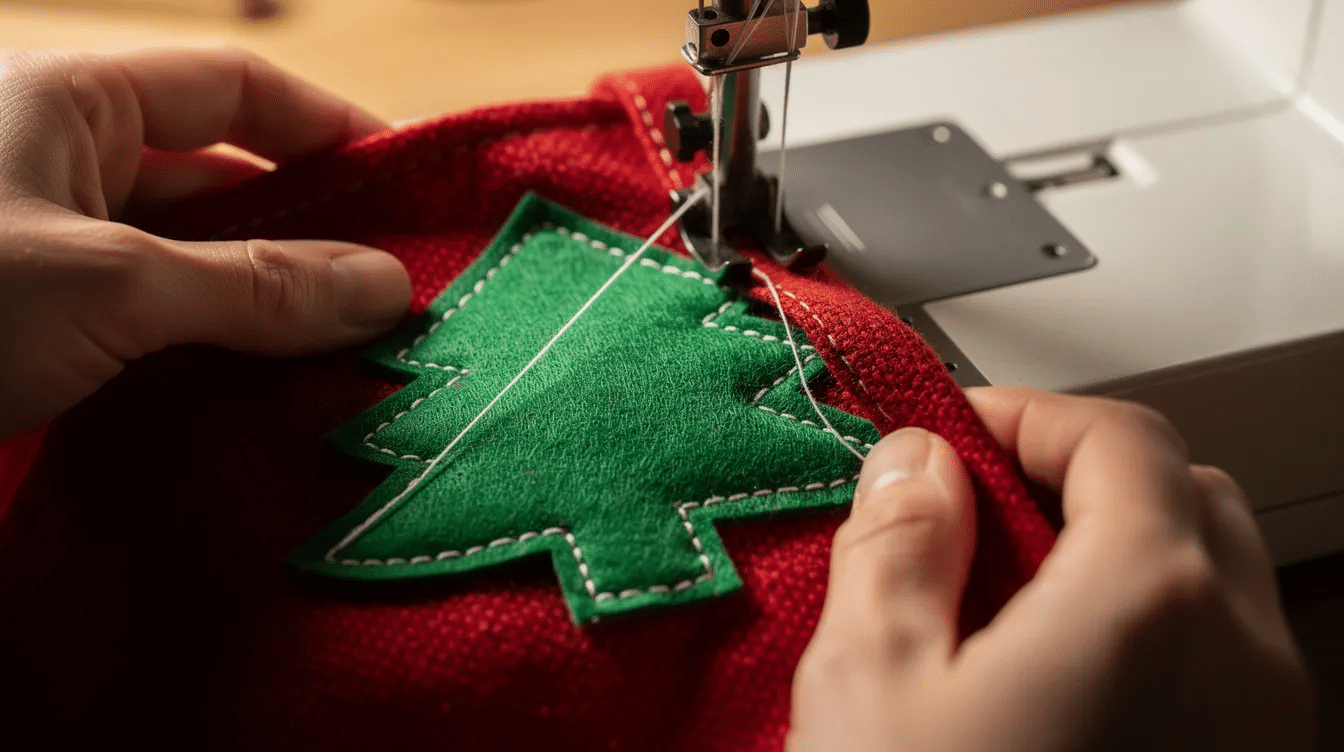
- Press to fuse, then stitch around each shape. A satin stitch (zigzag width around 2.4–3.5 mm, stitch length 0.5–0.8 mm) gives a clean, professional edge. A blanket stitch offers charm with less bulk.
- Simplify for beginners: Use felt for beards, stars, or holly leaves because felt doesn’t fray. Choose fewer, larger pieces rather than lots of tiny details.
Add facial features or small accents with a fabric pen or hand embroidery, like a backstitch smile or French-knot eyes. For more applique techniques, see How to Turn a Photo into an Appliqué: A Step-by-Step Guide.
Adding Names and Special Details
Kids light up when they find their name on “their” santa sack each December. Fabric sacks can be personalized with names for individual gifts, turning a simple item into a keepsake. Here are your options:
- Appliqued letters: Print the child’s name in a bold font at 2–3″ height, trace onto fusible web, fuse to fabric, cut, press onto the sack, and zigzag around each letter. Similar layering techniques work great for Sewing Birthday Card projects too.
- Hand embroidery: Backstitch the name in contrasting embroidery floss for a cozy, handmade look.
- Iron-on letters: A quick alternative when time is short.
Place the name in a gentle curve above the motif or in a straight line below the tree or present stack. Extra details kids enjoy include tiny appliqued stars, mini felt presents, or a “North Pole Express” label on one corner. Keep anything 3D like bells or buttons away from toddlers’ reach and stitch them on very securely. The CPSC’s small-parts guidelines are worth reviewing in any case where embellishments could detach.
Getting Kids Involved Safely in the Craft
This project shines as a family activity rather than a solo late-night sew. Here’s how to get your kids in on the fun:
- Ages 3–4: Let them choose fabrics from the scrap basket and arrange felt stars or present shapes on the sack front.
- Ages 5–6: Encourage them to draw their own simple tree or present designs on paper. Adults then turn those drawings into applique templates.
- Glue assist: Use a washable fabric glue stick so kids can “stick” shapes where they want before an adult presses and stitches.
- Safety first: Adults handle the iron, rotary cutters, and sewing machine. Kids sit beside you to pass pins from a pincushion or press the foot pedal under supervision.
Set a specific date like the first weekend of December when the family decorates sacks, bakes cookies, and talks about what might appear inside. Appliquéd sacks can also be used for storing treats in a countdown calendar, giving kids a reason to revisit their handiwork all month. For more holiday crafting with little ones, try Christmas Hand Puppets.
Using and Reusing Your Appliqued Christmas Present Sack
A fabric santa sack can become a yearly tradition and a verified keepsake that customers of craft fairs and grandparents alike ask you to make for them. Use it as the main gift sack under the tree, a “Christmas Eve” sack filled with pajamas and a book, or a toy tidy bag throughout the holidays. Large Christmas sacks are available for purchase online, but a handmade one carries the kind of party-worthy charm you can’t buy.
Reusing a fabric sack eliminates disposable packaging waste, which matters when you think about how much wrapping paper hits the bin each December. For care, turn the sack inside out and wash on a cold, gentle cycle, line dry or tumble dry low, and press from the back so the applique doesn’t scorch. At the end of the season, tuck a note inside recording what your child loved that year, then pack it with your Christmas linens.
Encourage matching sacks for siblings or cousins over time, each with a different motif. Little Button Diaries has more holiday projects like How to Make a Playful Recycled Christmas Wreath that pair beautifully with this craft.
Simple Variations and Troubleshooting Tips
Not every family has the same tools or time. Here’s how to adapt:
- No-sew option: Start with a pre-made plain canvas santa sack and add felt shapes with strong fabric glue, then secure major pieces with a few hand stitches. You can find information on the best washable fabric glues from craft supply retailers.
- Size tweaks: Make a mini version (about 12″ × 9″) as a preschooler’s classroom gift sack, or a jumbo version (30″ × 22″) for bulky toys.
- Troubleshooting: If applique edges fray, use a tighter zigzag and confirm your fusible web bonded fully. If fabric puckers, place tear-away stabilizer behind the design before stitching. If the drawstring is hard to pull, switch to smoother cord and a larger safety pin.
Don’t worry about perfect stitching. Wonky lines add charm and offer proof that the sack was truly handmade. You can also adapt fabrics you already own-old tablecloths, outgrown pajamas, or thrifted sheets-to keep the project frugal and eco-friendly. Check out Reuse Arts & Crafts: Turn Everyday Items into Sustainable Creativity for more upcycling ideas. Start gathering your scraps now so your family’s sacks are ready well before Christmas Eve.


