

Key Takeaways
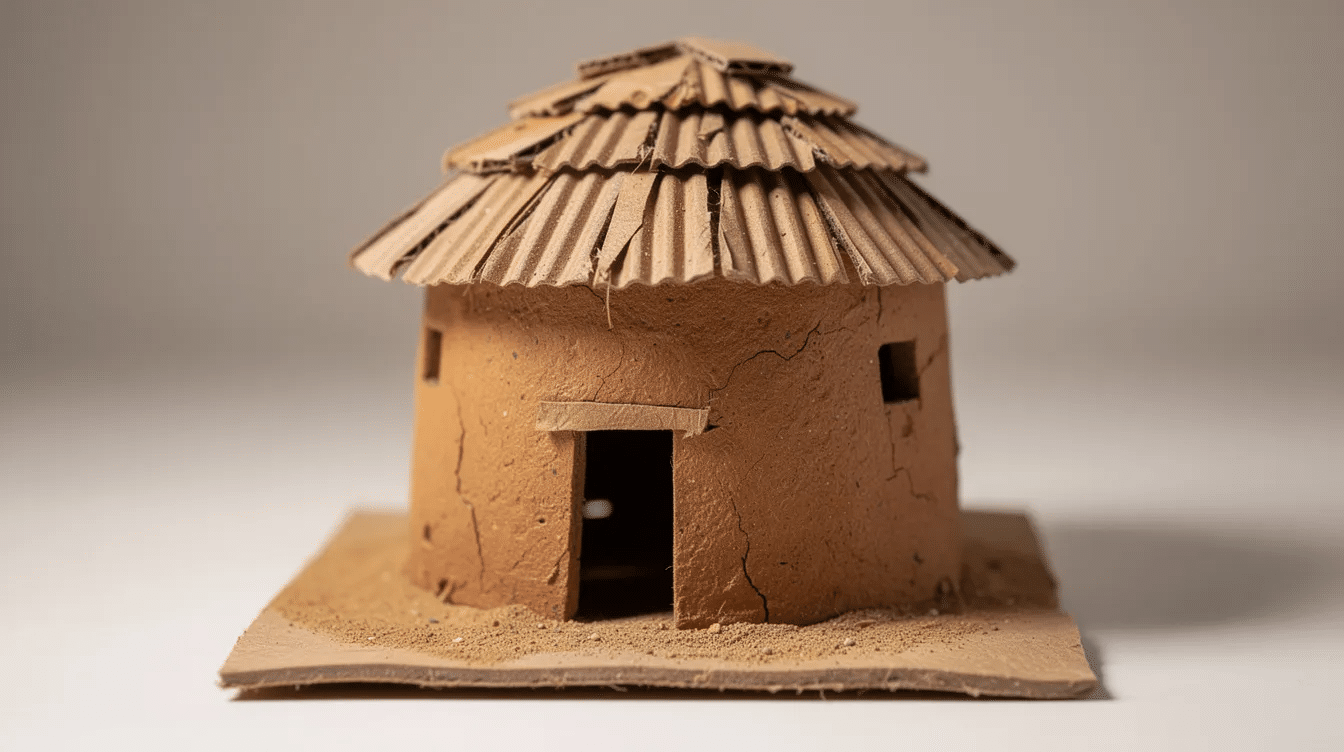
This step-by-step Little Button Diaries guide walks your family through building a miniature cardboard African mud hut using recycled cardboard and a homemade “mud” paste of flour, sand, and paint. Miniature mud huts can be made using cardboard, making this an accessible afternoon or weekend craft suitable for children aged 4–8 with adult help.
The project doubles as a gentle way to explore real mud huts found across the african continent-talking about sustainable building, local materials, and cultural respect without turning the craft into a stereotype. You will find drying tips, decoration ideas, and ways to extend the play into small-world villages or school displays.
- Budget-friendly craft using recycled materials and kitchen staples
- Teaches children about traditional architecture and different ways of living
- Adaptable for preschoolers through to primary-age classroom projects
- Includes a “mud” paste recipe, roof-thatching method, and decorating inspiration
Introduction: Cardboard Mud Huts for Curious Little Builders
If your little ones love getting their hands messy and asking “why is that house round?”, this craft is for them. At Little Button Diaries we are always hunting for projects that combine making with learning, and a miniature African mud hut ticks both boxes beautifully.
A mud hut is, in simple terms, a house built from mud or clay walls and topped with a thatched roof of grass or palm fronds. Traditional mud huts can be round, square, or rectangular, and they are still lived in across many african countries today. In this tutorial you will use cardboard for the structure and a squidgy flour-and-sand paste to mimic the look and feeling of hand-plastered mud walls-no kiln or building site required.
Expect mess (cover the table), expect pride (the finished hut looks wonderful), and expect questions. That last part matters: we approach African homes with curiosity and respect, treating them as clever, beautiful architecture rather than something to joke about.
What Is a Traditional African Mud Hut? (Kid-Friendly Context)
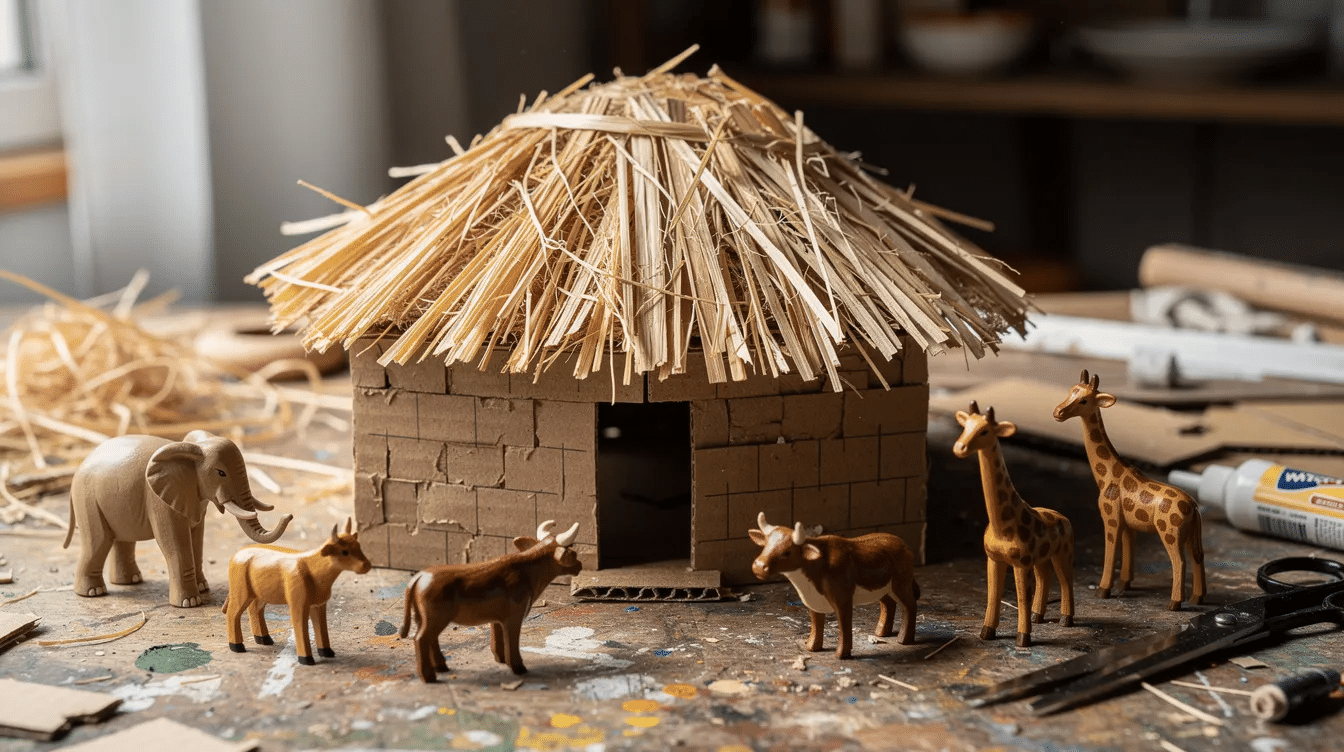
Mud huts are primarily made from mud, bamboo, and water, shaped by hand and dried naturally in the sun. Clay soil is the main material for molding mud hut walls, and the best quality mud is fresh and pure red mud, which is commonly dug from riverbanks or open spaces near a homestead. Traditional earthen homes vary widely across Africa in shape and roofing-from the tall, beehive-shaped Musgum mud huts of Cameroon to the cone-roofed rondavels of Southern Africa and the tukul huts of Ethiopia and Sudan.
Common features include thick mud or clay walls on a wooden or bamboo frame, and a roof thatched with grass or palm fronds. The construction of mud huts involves local materials and traditional techniques, and in many communities families work together to build, plaster, and maintain these homes. Thick mud walls keep the inside cool during the day and warm at night-a sign of clever climate-adapted design that most people in modern cities take for granted.
Traditional mud huts are still prevalent in rural Nigeria today, and mud huts are still being erected in many parts of Nigeria, showing that this building tradition continues. Mud huts typically last one to two years before needing rebuilding or replastering, depending on the region and rain patterns, though well-maintained structures can endure much longer.
Fun fact for kids: In Southern Africa, round huts are called rondavels. In parts of Nigeria, women paint the outside walls with beautiful geometric patterns using natural dyes.
A note for parents: Avoid framing mud huts as “poor people’s houses.” Focus instead on resourcefulness, tradition, and the idea that people living in different places build homes from what the land provides.
Supplies You’ll Need (Mostly from the Recycling Bin)
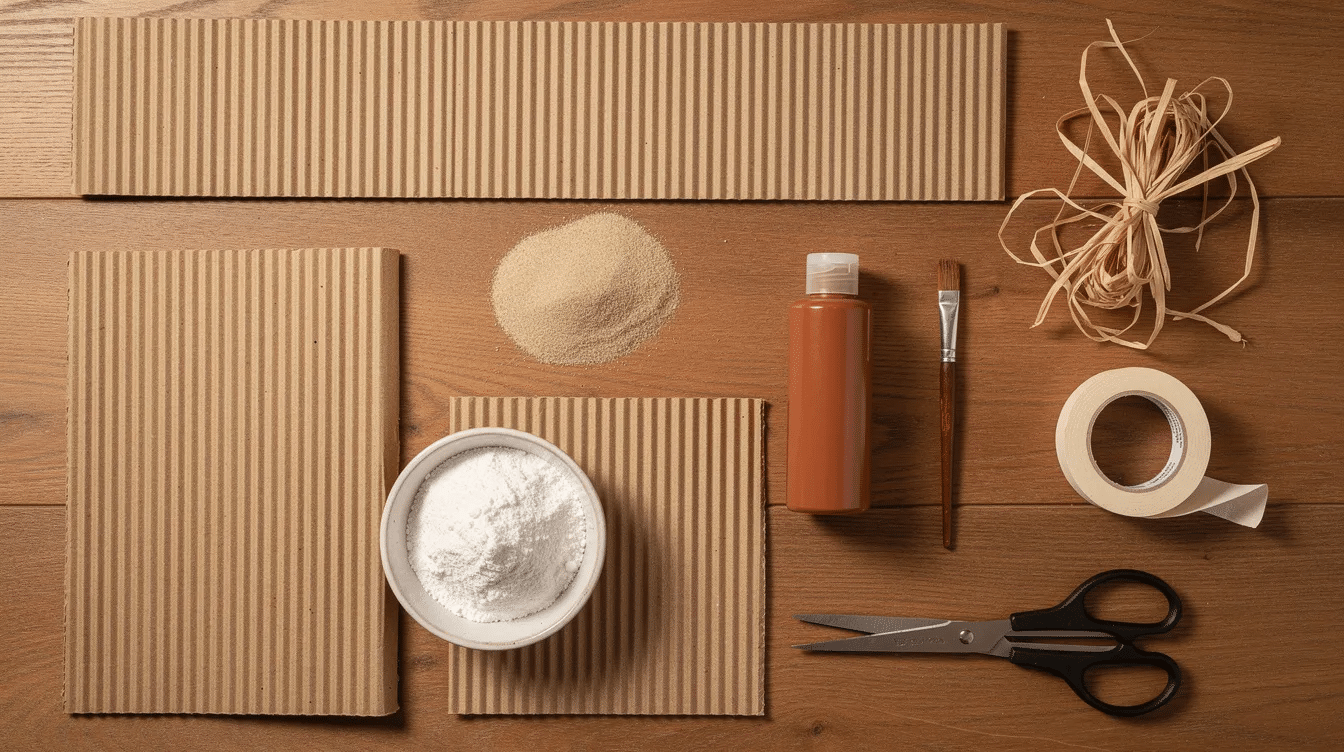
Nearly everything on this list can be collected from your recycling pile and kitchen cupboards, which is exactly the kind of reuse arts and crafts approach we love. Here is what you need for a single hut:
Structure
- Corrugated cardboard (for base and wall)
- Thin cereal-box card (for the roof cone)
- Scrap paper or newspaper
- String or natural twine
- Masking tape, PVA glue, glue stick
Tools
- Scissors, craft knife (adults only), ruler, pencil
“Mud” Paste
- 4 tablespoons plain flour
- 4 tablespoons fine sand or dry soil
- Brown acrylic or poster paint
- Water (enough to make a thick, spoonable paste)
- 1 tablespoon PVA glue (optional, for extra strength)
Optional Extras
- Small twigs for roof supports or a cardboard fence
- Dried grass, raffia, or yarn for thatch
- Paint pens for wall patterns
- Tiny pebbles, air-dry clay, small figures or toy animals
Safety note: Adults should handle all cutting tools. Use only non-toxic paints and glue. Cover tables with newspaper and pop aprons or old T-shirts on little crafters. Keep small pebbles away from children who still put things in their mouths.
Planning Your Miniature Mud Hut Design
Planning the hut’s shape first makes the building stage smoother and gives children a taste of real design thinking. Sit down with your child, grab a pencil and a piece of paper, and sketch out a quick plan together.
Mud huts can be rectangular, square, or round in shape, so let your child choose:
Hut Style | Base Shape | Roof Type | Difficulty |
|---|---|---|---|
Round hut (rondavel) | Circle, ~15 cm diameter | Cone | Medium |
Square hut | 15 × 15 cm square | Pyramid or flat | Easier |
Rectangular hut | 10 × 15 cm rectangle | Sloped or flat | Easier |
For small figures like peg dolls (7–8 cm tall), a wall height of 10–12 cm and a door hole of about 5–6 cm works well. Building techniques for miniature huts should mimic real construction methods where possible, so encourage children to think about where the door goes, whether they want a window, and what patterns they might add to the wall later.
Little Button Diaries offers a printable template (circular wall strip and cone roof) you can download and trace onto cardboard-perfect for speeding up the process in a classroom.
Building the Cardboard Structure (Walls and Base)
This stage is all about measuring, cutting, and taping. Adults handle the craft knife; children can help with scoring and taping. If you enjoy cardboard building, you might also like our cardboard time machine or homemade piñata tutorials.
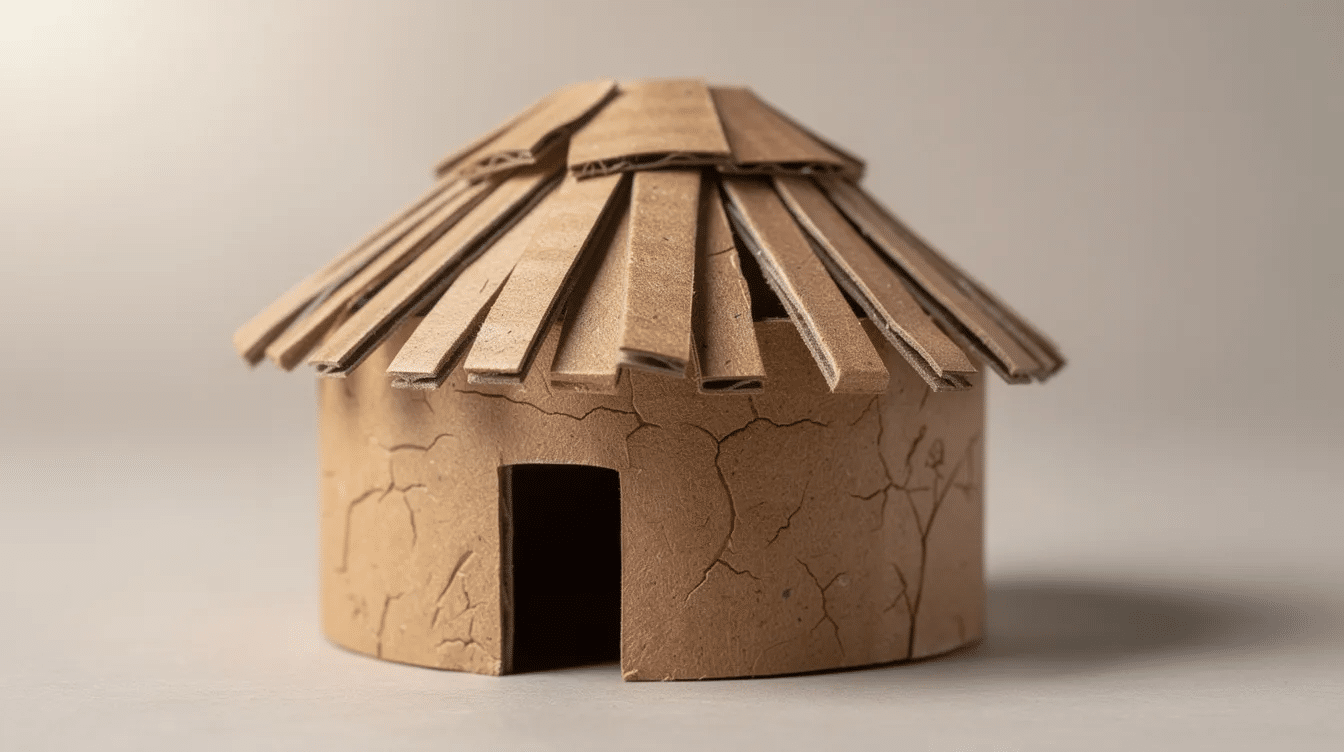
Round base: Trace around a side plate (about 18–20 cm) onto thick cardboard and cut out a circle. For a square hut, cut a 15 × 15 cm square.
Wall strip: Cut a long rectangle of corrugated cardboard, roughly 10–12 cm tall and long enough to wrap around the base with a 1–2 cm overlap. Score the inside of the corrugations lightly with a ruler line so the card curves without creasing.
Assembly:
- Bend the wall strip into a cylinder (or fold into a box shape for square huts).
- Tape or glue the overlap firmly.
- Fix the cylinder to the base with masking tape on the inside, pressing it down so it sits flat.
- Mark and cut a small arched door opening-adults use the craft knife here.
- Reinforce all joins from the inside with extra tape.
Tip: Glue 3–4 short cardboard ribs or twigs vertically inside the hut where the roof rim will sit. These give the structure strength and stop small hands from accidentally squashing the walls later.
Making and Applying the “Mud” to Your Walls
This is the most sensory, gloriously messy part of the whole process-the point where your cardboard cylinder starts to look like a real mud hut.
Recipe (for one hut):
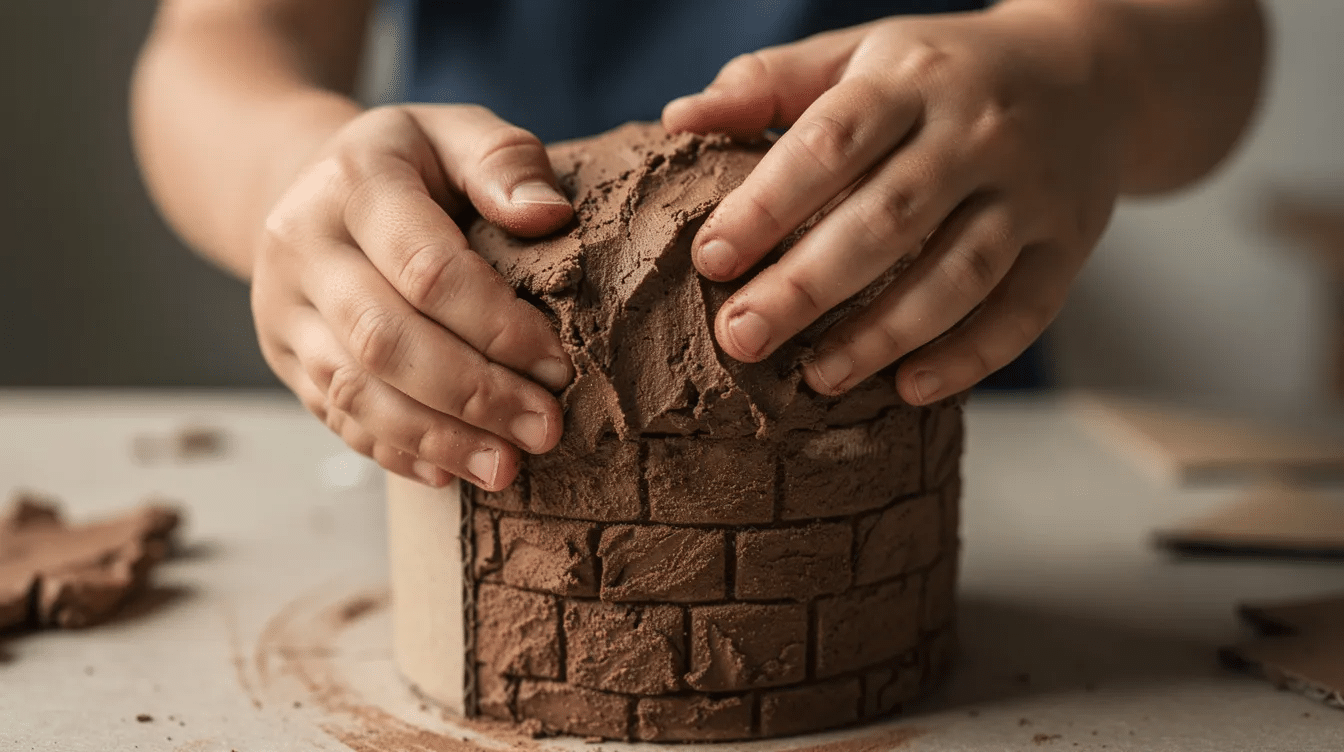
Mix roughly 4 tablespoons plain flour with 4 tablespoons fine sand or dry soil in a bowl. Add a squirt of brown paint and stir. Pour in water a little at a time until you get a thick, spoonable paste-not runny, not crumbly. Add 1 tablespoon of PVA glue for extra durability if you like. The combination should feel like thick porridge. Using lightweight joint compound or spackle is another option for older crafters who want an even more authentic finish.
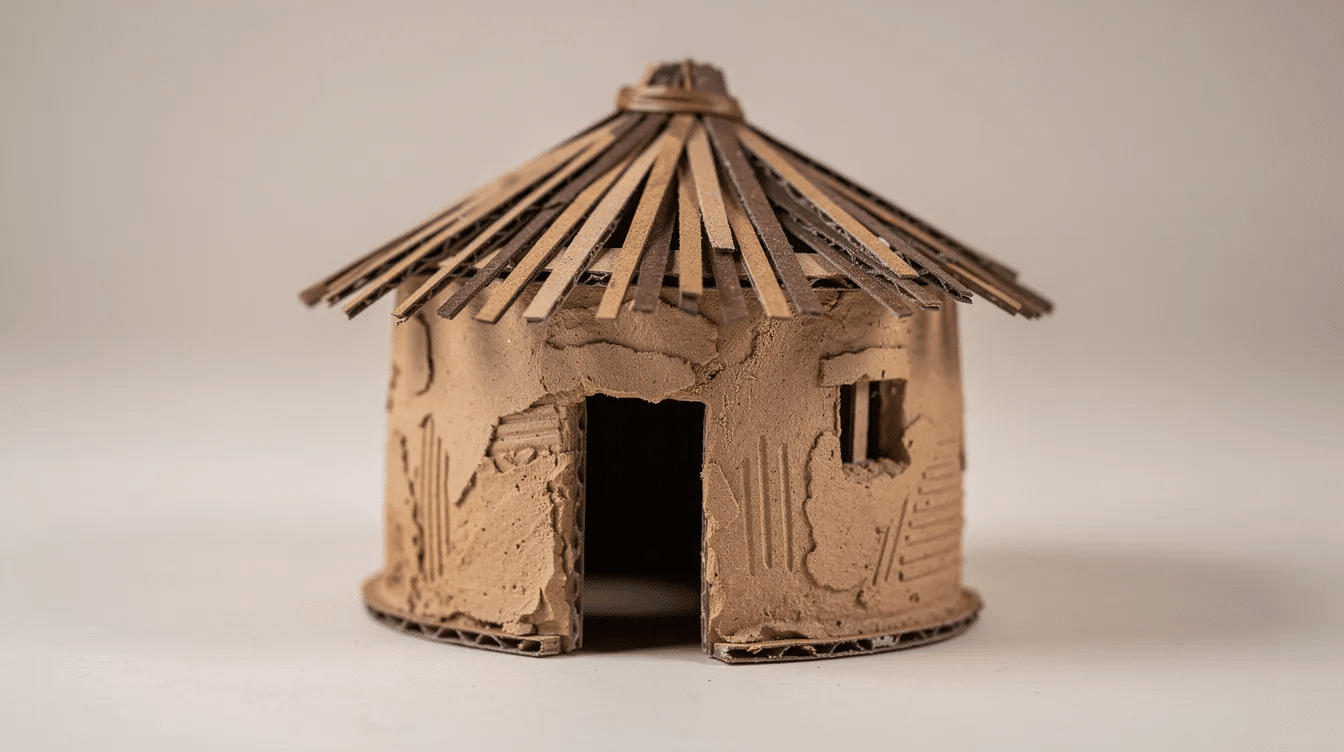
Before children enter the messy zone, protect the work surface with newspaper and dress them in aprons. Then let them use spoons, lollipop sticks, or their fingers to spread the mixed paste over the cardboard walls. Aim for a 2–3 mm layer with a slightly bumpy, uneven texture. Real mud buildings often have uneven textures and weathering patterns, so imitating those organic, hand-plastered irregularities is exactly what you want. Designing houses with slightly uneven wall thicknesses enhances authenticity.
A variety of earth tones should be used in painting mud walls for realism-try swirling a tiny bit of darker brown or ochre paint through the paste rather than blending it completely. Texture and color variation are essential for realistic modeling of mud huts.
The mud will shrink slightly as it dries, so encourage children to smooth obvious gaps, especially around the door frame. Leave the hut somewhere warm and airy for 12–24 hours, turning it occasionally so the base does not warp. A cool hairdryer on low can speed things up with adult supervision, but go gently-too much heat warps cardboard.
Crafting a Thatched Roof from Cardboard and Natural Textures
The roof gives your miniature mud hut its distinctive silhouette. Thatch and palm fronds are commonly used for roofing real mud huts, and natural materials like sisal and dried grass are used for thatching roofs across many regions of Africa. A convincing thatched roof is crucial for realistic miniature huts, so take your time here.
Cone roof (round hut):
- Draw a large circle on cereal-box card-about 22–24 cm in diameter.
- Cut the circle out, then cut away a wedge (roughly a quarter of the circle, like a big pizza slice).
- Overlap the cut edges to form a cone and tape firmly. Adjust until it sits over the walls with a slight overhang.
Pyramid roof (square hut): Cut four triangle shapes and tape them together into a pyramid. For a simpler preschool version, just use a flat piece of card to cover the top.
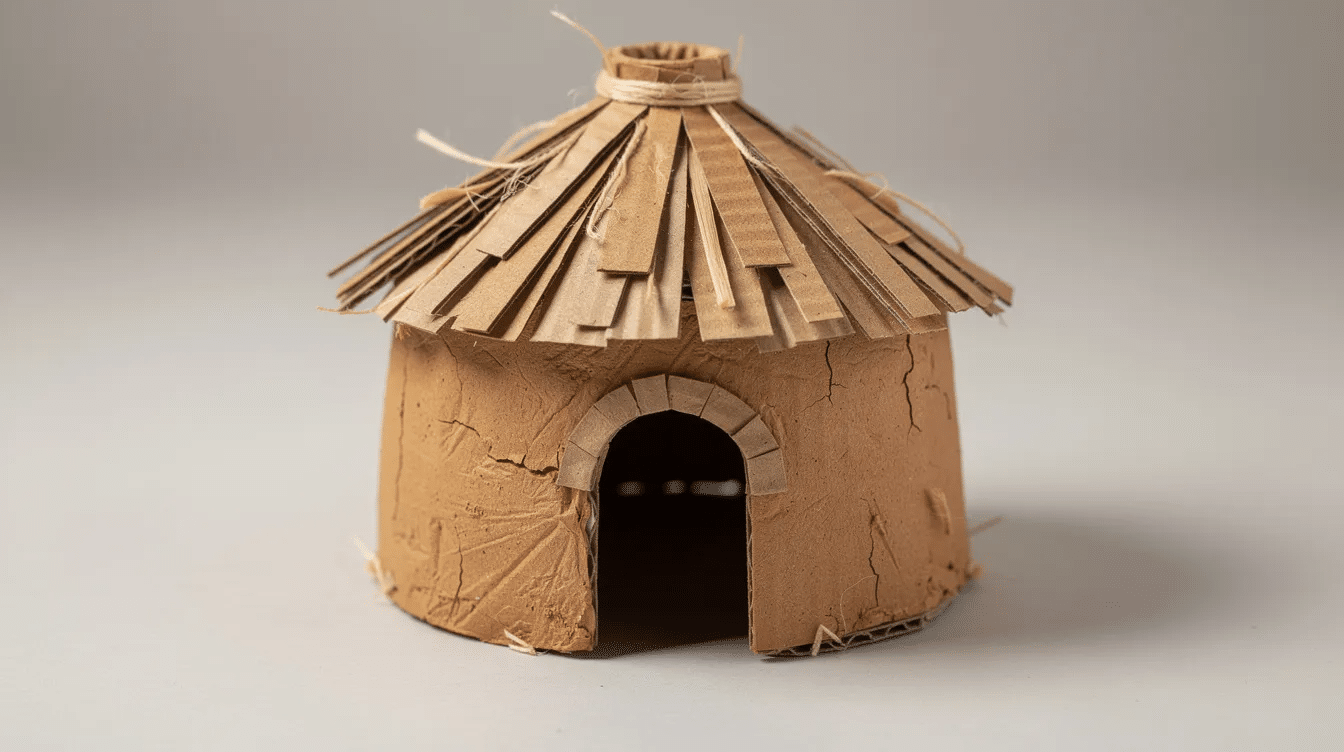
Adding the thatch: Glue strips of raffia, dried grass, yarn, or shredded brown paper from the bottom edge upwards in overlapping layers-several layers of overlapping thatch improve the realism of roofs. Leave a little overhang at the rim to look like real thatching.
Finish by pinching the top of the cone into a slightly uneven point, or tie a small ball of raffia at the apex with string to mimic a tied thatch bundle. Let all glue dry fully before children handle the roof-it is worth the wait. For more ideas using natural craft materials, try our crafts with nature roundup.
Decorating Details: Doors, Patterns, and Miniature Surroundings
This is the stage where children can make the hut their own. Some decoration ideas are inspired by real mud huts, while others can come straight from your child’s imagination. Adding small details can significantly improve the realism of miniature models.
Door: Cut a small rectangle of card or thin balsa wood, colour it dark brown, and draw simple lines to suggest wooden planks. Glue it slightly ajar so kids can peek inside the hut.
Wall patterns: Mud huts often feature intricate wall drawings and motifs. Geometric shapes are commonly used as decorative motifs on huts, and wall designs on mud huts convey spiritual and historical meanings. Women often decorate mud huts using natural dyes like uli in parts of Nigeria. Show your child photos from trusted sources and let them paint simple geometric bands, dots, zigzags, or symbols onto the dried mud walls with paint pens. Decorative arts on mud walls embody philosophy and belief systems, so remind children these are meaningful cultural designs, not random doodles.
Miniature surroundings:
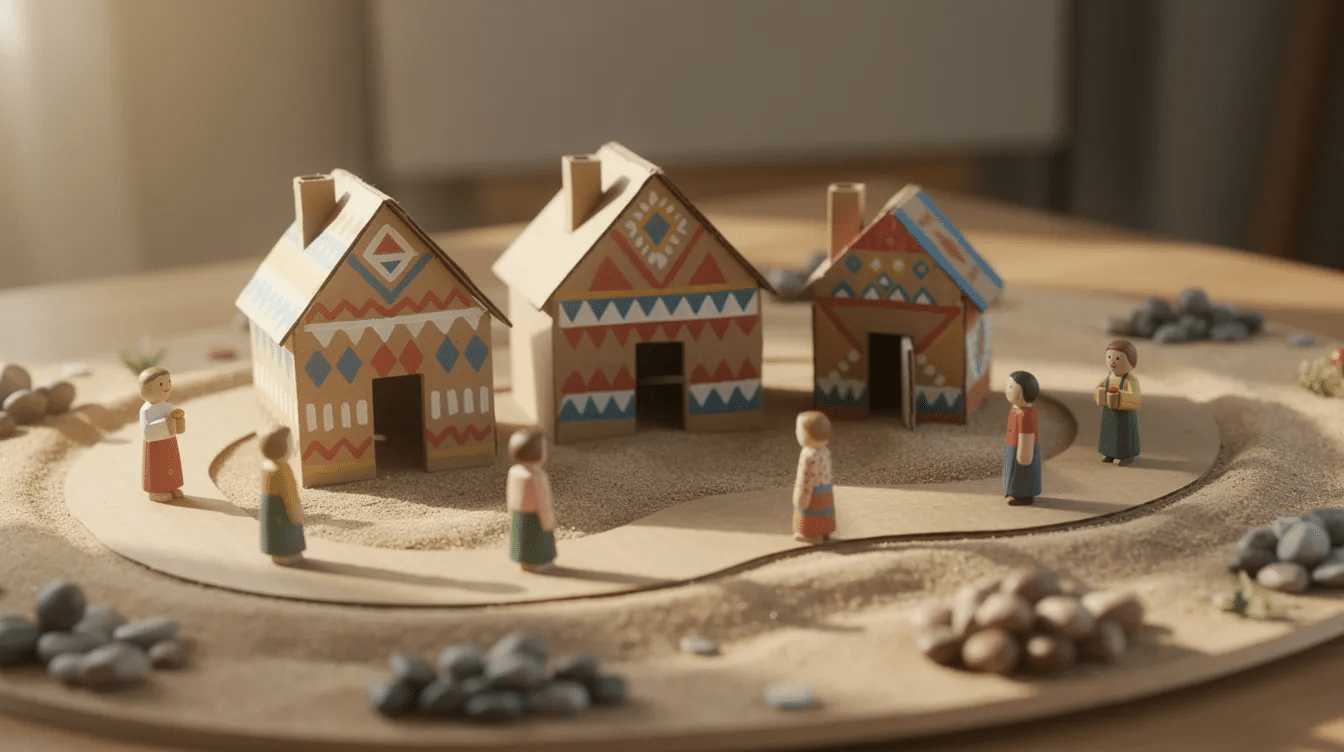
- Spread PVA around the hut and sprinkle fine sand or dirt to create a yard
- Glue a swept path of sand leading to the door
- Edge the path with tiny pebbles
- Make a miniature cooking pot from an air-dry clay bead
- Build a small fence from trimmed twigs
- Add a paper tree for imaginative small-world play
Adapting the Craft for Different Ages and Group Settings
Families, nurseries, and primary school teachers will all approach this project differently, and every step can be simplified or extended depending on the age of the children involved.
Toddlers (ages 2–3): Pre-build the cardboard shell. Let toddlers pat and texture the mud paste onto walls with their hands, and add simple paint dots once dry. Keep sessions under 15 minutes.
Preschoolers (ages 4–5): Let them help cut soft card with safety scissors, choose the hut shape, and lead on roof thatching and basic decoration. Build in breaks for drying and snacks.
Ages 6–8 / classroom projects: Encourage more detailed planning, measuring, and pattern research. Children can write mini fact cards about mud huts and sustainable building to display beside their completed model.
For teachers: Spread the work across 2–3 sessions. Set up stations (cutting, mud mixing, decorating) with pre-labelled cardboard bases. This makes the process manageable even with 30 heads to keep track of. Check out our guide to art and craft benefits for more on why hands-on making matters for child development.
Talking About Culture with Kids While You Craft
Making things with your hands creates a naturally relaxed atmosphere for talking about how people live in different places and why all homes matter. Mud huts reflect deep cultural and historical values in Africa, and they have served as communal spaces for family gatherings and rituals for thousands of years across the continent.
Conversation prompts to try:
- “What is the same about this hut and our house?”
- “Why do you think people use mud and grass instead of bricks?”
- “How would you keep cool or warm inside?”
Use specific country names rather than saying “in Africa.” For example, “In some villages in Ghana…” or “In parts of Kenya…” helps children acknowledge the diversity of the continent. Traditional mud huts are essential for cultural heritage preservation, and UNESCO emphasises the need to preserve cultural heritage structures like these. The Museum of Traditional Nigerian Architecture, for instance, preserves indigenous huts so future generations can learn from them. Mud huts in Nigeria are often maintained by women and children, which is a wonderful thing to share.
Signpost your child towards picture books or short documentaries that show varied African cities, towns, and villages, so they see both traditional and modern homes. We hope this sparks a lifelong curiosity about architecture and the history of how people have built shelter across every region of the world.
For many families, a mud hut is a loved home full of deep memories. We talk about them kindly-never as “funny” or “old-fashioned” houses.
Extending the Project: Villages, School Displays, and Play Ideas
Once you have completed one hut, most children will want to continue and build more. Here are some ideas for extending the project into something bigger:
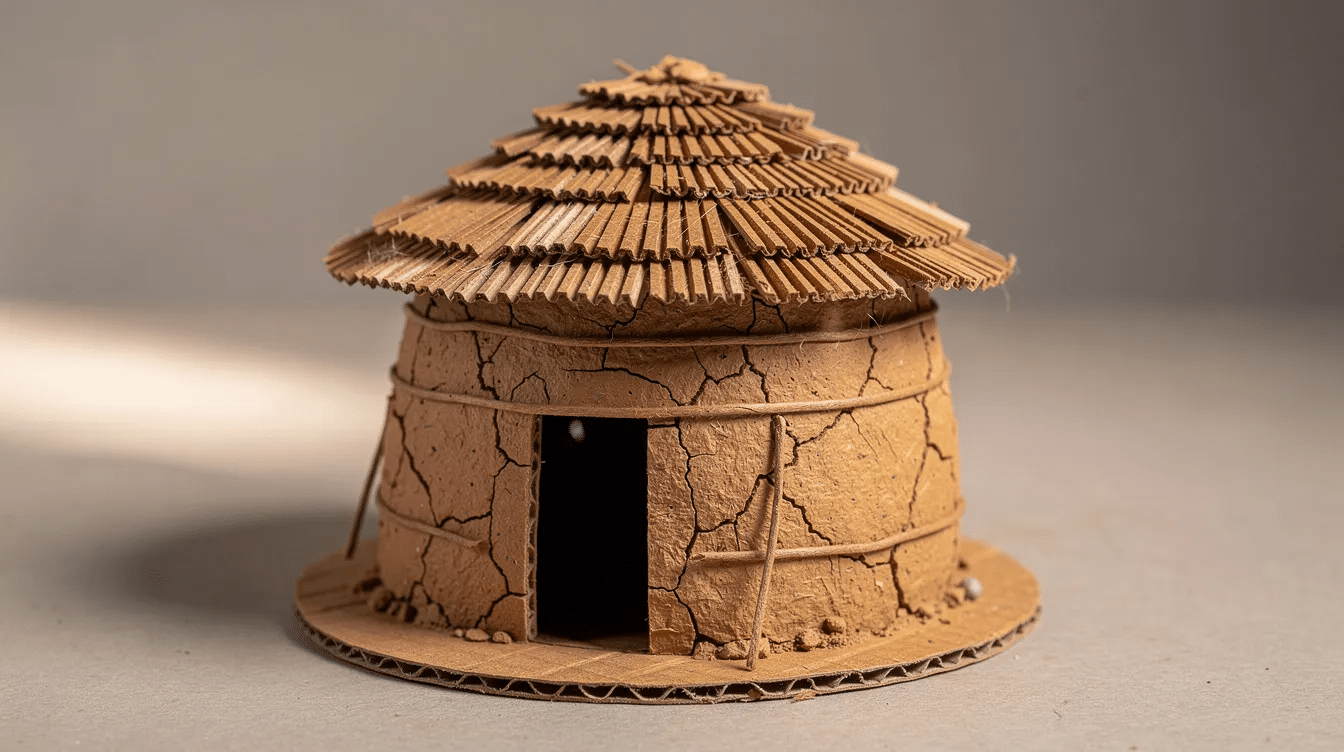
- Make 3–4 huts of different sizes and types on a larger cardboard base to create a small village or homestead, mixing round and square huts to echo the variety seen across different regions.
- For school or nursery displays, add paper “fields,” a river made from blue tissue paper, labels with country names and climate notes, and children’s drawings of daily life scenes.
- Pair the hut with toy animals, wooden people, or peg dolls for small-world play. Set up storytelling sessions where children invent characters who enter and “live” in the hut.
- Older children can turn the craft into a mini research project or homework assignment, adding captions about mud walls, thatched roofs, and sustainable materials beside their model.
For even more easy craft ideas that use readily available materials from around the house, explore our full craft archive-there is no shortage of things to make and places to let imaginations run wild.
FAQ: Miniature Cardboard African Mud Huts
Below are the questions parents and teachers most commonly ask about this craft. If something is not covered, drop us a line and we will update the page.
How long will the cardboard mud hut last?
If you seal the dried hut with a thin coat of clear PVA or craft varnish, it can last for months. Keep it away from damp windowsills and humid rooms. Traditional mud huts are made from clay bricks and thatched roofs and naturally weather over time; your miniature version will too if left unsealed, but a varnish coat slows erosion significantly.
Can I make the “mud” paste without sand or soil?
Yes. Substitute fine sand with fine sawdust, shredded paper pulp, or even textured poster paint mixed with flour. The grain size affects the final texture, so experiment until you gain a consistency you like. The key is that the paste is thick enough to stay on the wall without sliding off.
Is this craft safe for very young children?
With supervision, yes. Use only non-toxic paints and PVA glue. Remove any small pebbles or twigs from the reach of children under three to avoid choking hazards. Adults should handle the craft knife and any hot-glue gun. Cover surfaces and dress kids in old clothes-a professional clean-up plan saves stress.
How should we store the hut and clean up afterwards?
Let the hut dry completely before placing it in a box lined with tissue paper. Store the roof separately so its weight does not crush the walls. Vacuum stray sand from the table and floor, and wipe surfaces with a damp cloth to remove gritty residue. Stored in a dry place, the hut will stay in great shape for show-and-tell or continued play.
Can we paint the hut different colours?
Absolutely. The best quality mud is fresh and pure red mud, so a warm terracotta or red-brown gives the most realistic result. But feel free to explore ochre, cream, or sandy tones too-a combination of earth tones across a village of huts looks stunning and reflects the real-world variety of earthen architecture found across Africa.


