

Key Takeaways
- Families can turn an ordinary cardboard box into a cardboard viking longship complete with oars, shields, a sail, and a dragon head in about 45–60 minutes of focused making time (or 60–90 minutes with painting and drying).
- This viking ship craft is ideal for children aged 5 and up with adult help and connects beautifully to KS1/KS2 history topics about the vikings.
- The project uses recycled materials – cereal boxes, delivery boxes, scrap paper – plus modest art supplies most homes already have, making it a perfect diy activity on a budget.
- Iconic features of a real viking ship, including the curved bow and stern and a striped sail, are recreated in simplified form so kids learn while they craft.
- The finished viking longboat is designed for imaginative play and display only and will not float in water like a real longship.
Introduction: A Viking Longship in Your Recycling Box
Ever wonder what’s hiding inside that delivery box by the front door? At Little Button Diaries we decided to find out – and shortly after, a cardboard viking boat was born. This project shows you how to construct a viking longship inspired by the real ships that carried Norse seafarers across oceans and up rivers more than a thousand years ago.
It works brilliantly for rainy afternoons, weekend fun, or to bring school topics like “Vikings” and “seas and oceans” to life at home or in the classroom. Replicating a viking longship using cardboard is a popular hands-on history project, and for good reason: children get to recreate a long, narrow hull built for speed, a set of oars, a square sail, and a fierce dragon prow – all from materials you can grab from the recycling bin.
Below you will find a complete materials list, step-by-step instructions, decorating ideas, learning links, safety tips, and an FAQ. Let’s begin.
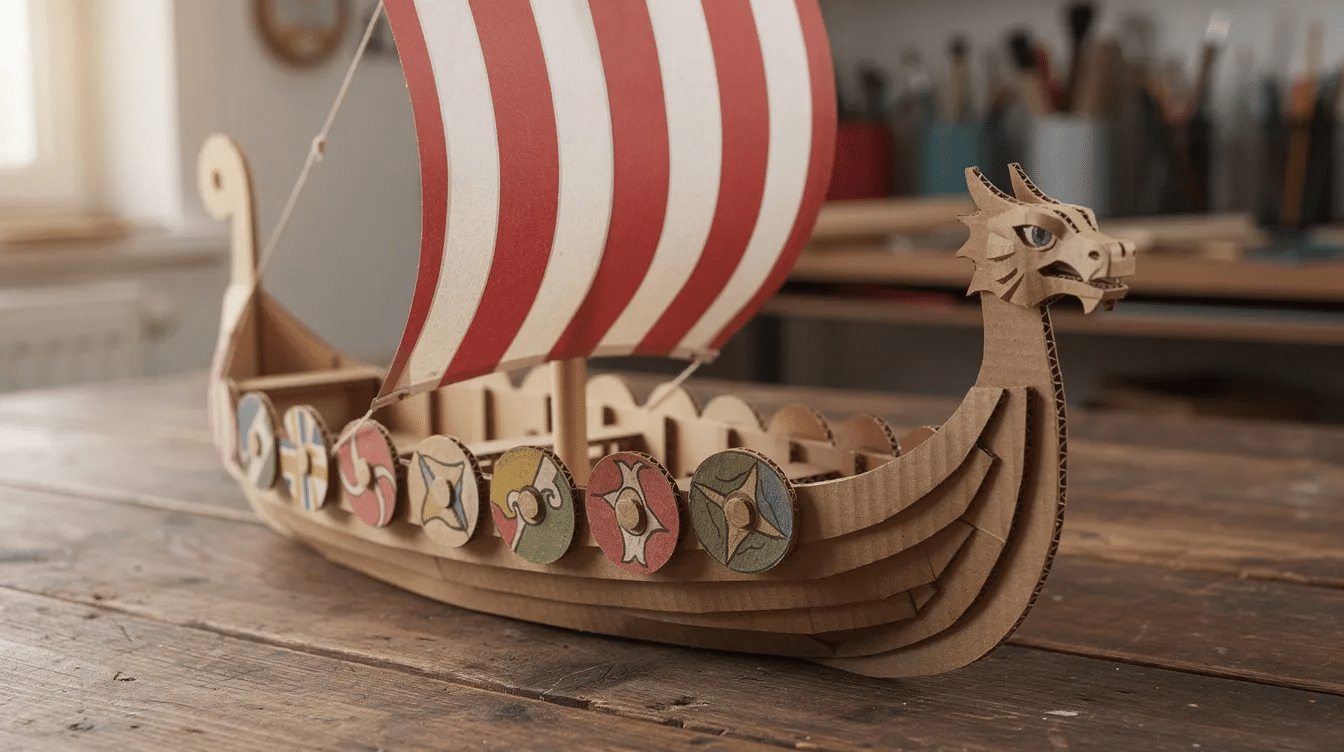
What You’ll Need for Your Cardboard Viking Boat
Core materials:
- One medium delivery box (sturdy corrugated cardboard is recommended for constructing the hull) or a self-folding gift box
- Cereal box card for shields and the dragon head
- White A4 printer paper or scrap brown paper for the sail
- A wooden skewer, bamboo stick, or thin dowel for the mast
- Cocktail sticks or paper straws for oars
Tools:
- Child-safe scissors and adult scissors or craft knife (adult use only)
- Stapler, hole punch, or sharp pencil for poking oar holes
- Ruler, pencil, eraser
Decorating supplies:
- Brown paint or crayons for a wood effect
- Red paint or felt-tip for sail stripes
- Metallic pens or foil for shield rims
- Glue stick, PVA glue, or hot glue (adult use only)
- Masking tape or clear tape
Optional extras: string for rigging, gold buttons or bottle caps for shield bosses, washi tape for pattern on the sides.
Most items can be swapped – felt-tips instead of paint, a barbecue skewer instead of a dowel, or scrap wrapping paper for the sail. If you love reuse arts and crafts, this project is right up your street.
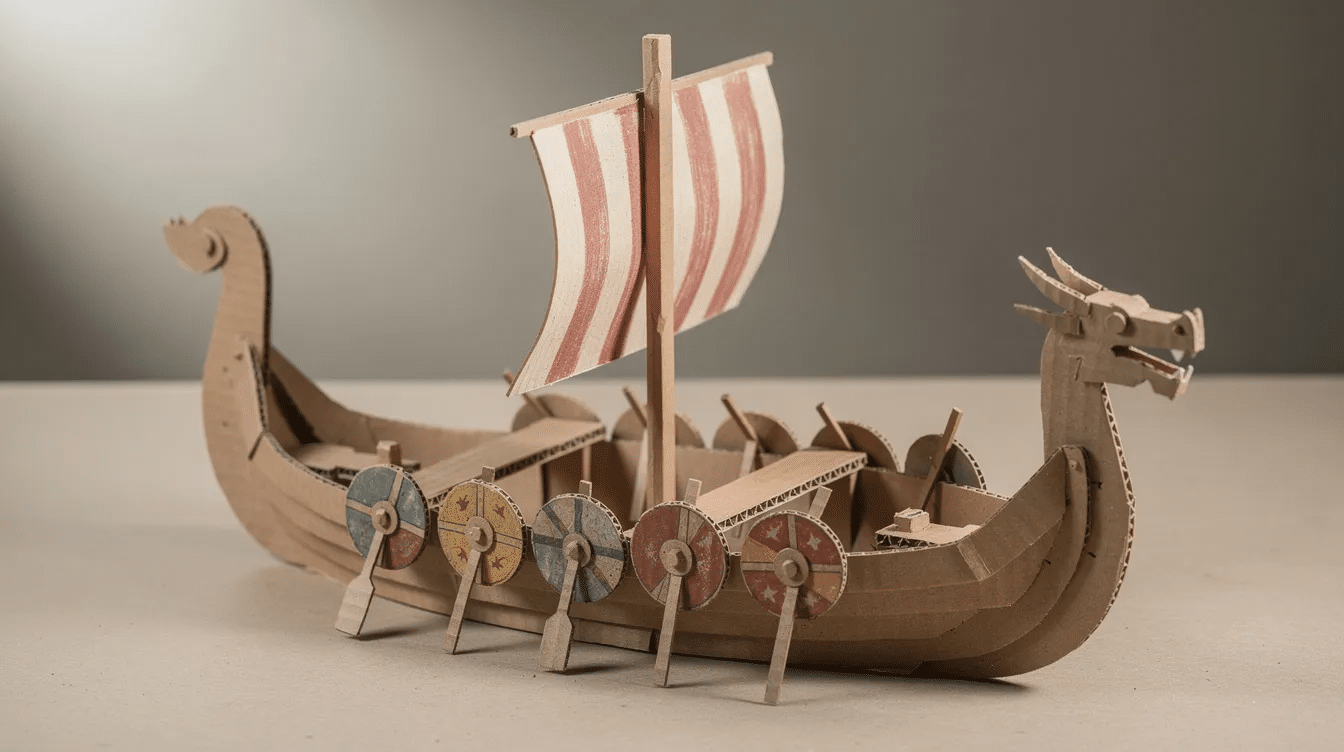
Step-by-Step: Building the Cardboard Viking Longship Hull
Start by choosing your box. A medium delivery box or gift box around 30–40 cm long works well. Remove two opposite top flaps and two opposite bottom flaps to open up the shape, leaving the other flaps in place.
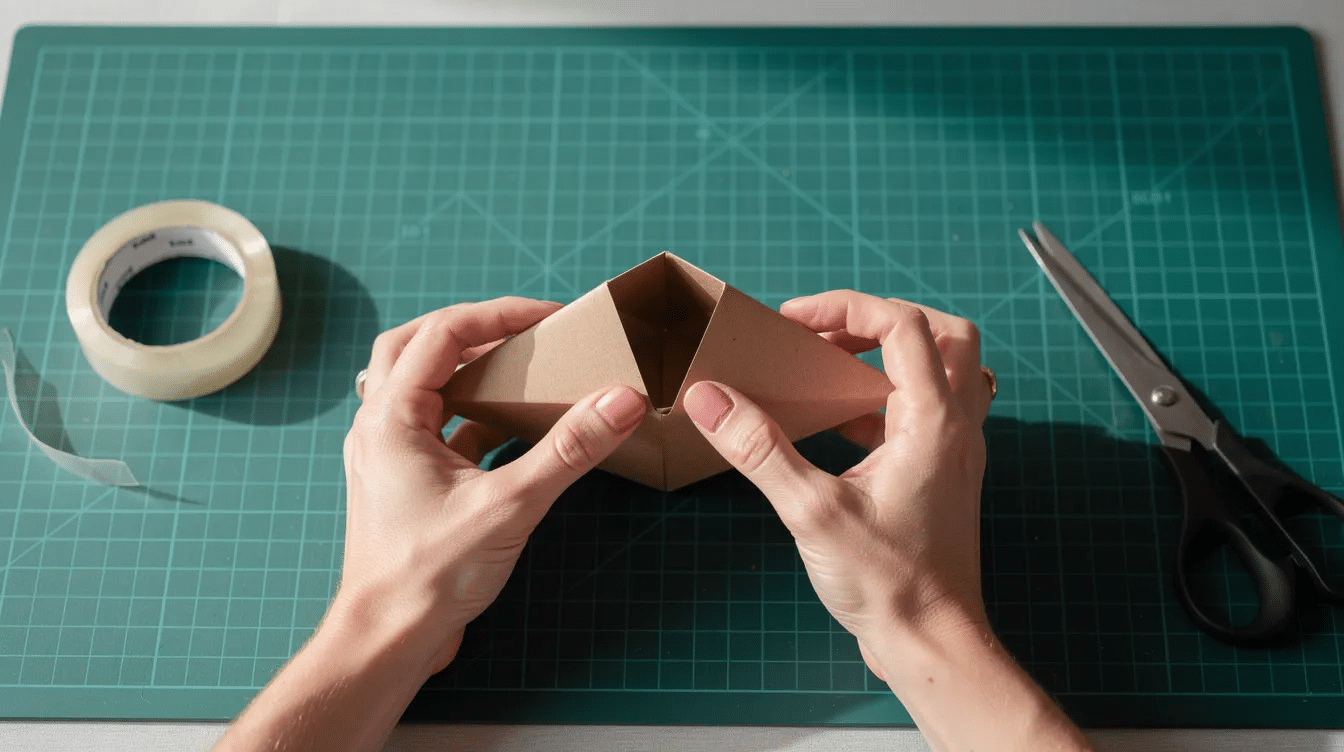
Now form the hull. Gently push two corners of the remaining box inward so the sides curve, then overlap the flaps at each end. Staple or tape them together to create the pointed prow and stern. Real viking longships had a double-ended hull so crews could reverse direction without turning around – your cardboard version echoes that by making both ends symmetrical.
Trim any extra card along the top edge to mark a neat boat rim, but keep the bottom solid as the deck. Leave a bit of extra card at the prow to support the dragon head later.
If the card feels floppy, cut a cardboard strip the length of the hull and glue it along the middle inside as a “spine.” Add a cross-beam or two for extra strength – just as real longships used internal frames for rigidity.
Pause here and let children test the shape on the floor. Slide it forwards and backwards, pretending to row. If it holds up, you are ready for the next stage.
Adding the Dragon Prow, Stern Tail and Shields
This section covers the iconic details that make a viking ship unmistakable.
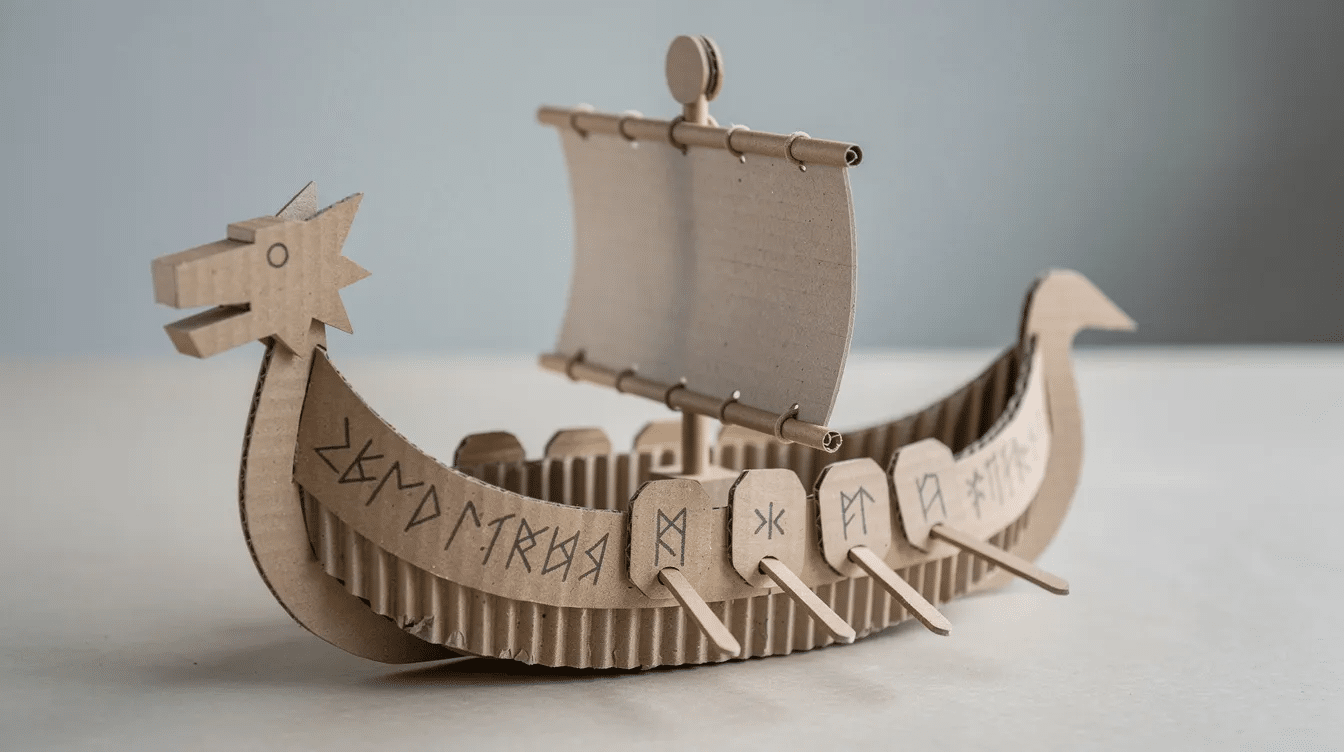
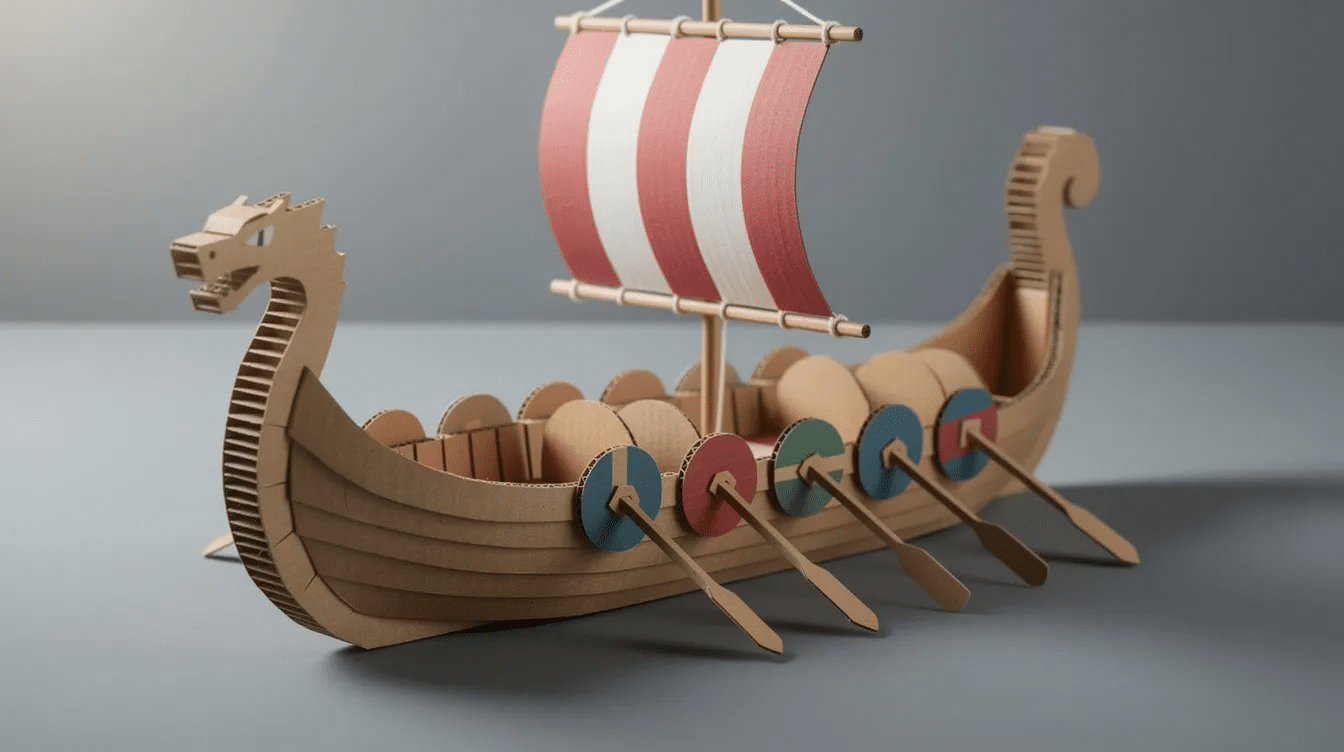
Dragon head and tail: Fold a piece of cereal box card in half, then draw a simple dragon or serpent profile – an eye, snout, zigzag teeth, and a horn or crest. Cut through both layers so you get a mirrored pair. Viking longboats featured dragon heads to frighten enemies, so encourage kids to make theirs as fierce as possible. Leave a rectangular flap at the bottom of each piece, fold it into a triangle base, and tape or staple it to the front and back of the hull so the dragon head and tail stand upright. If you enjoy making mythical creatures from card, try our dragonfly craft ideas too.
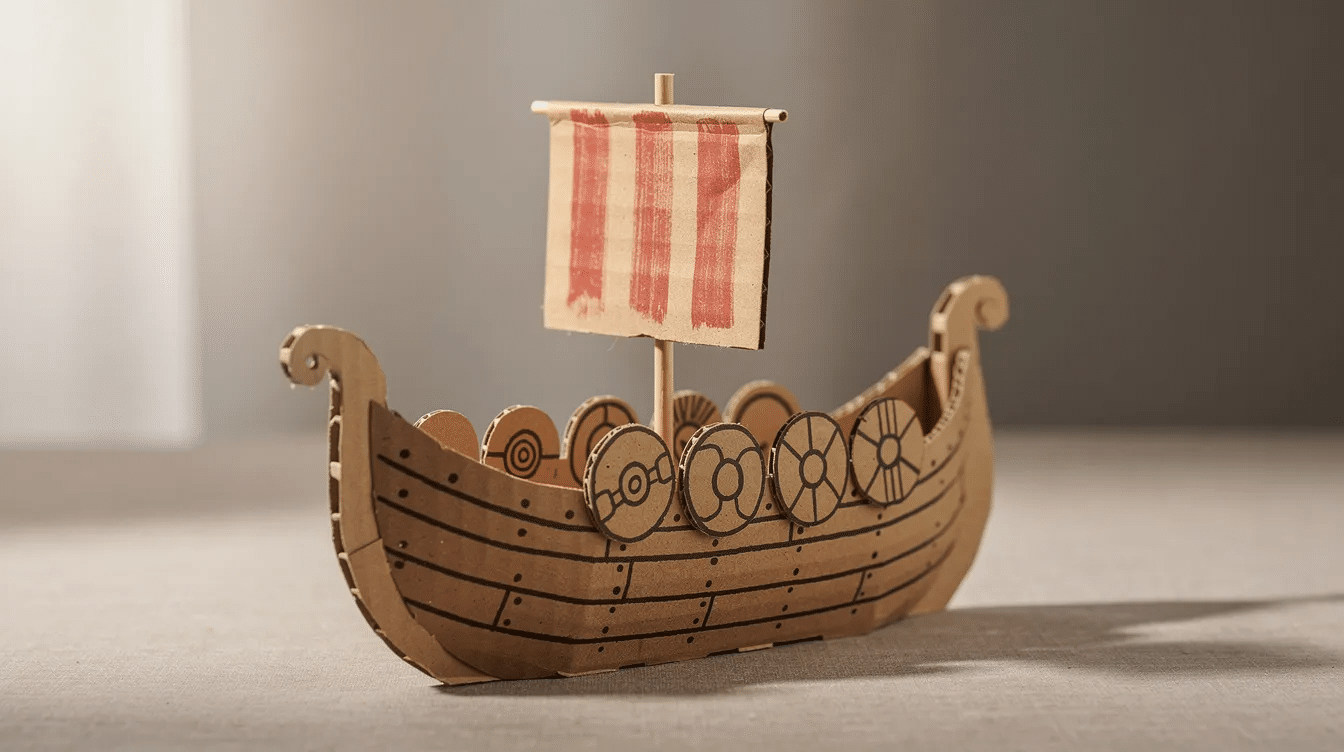
Shields: Trace around a cup or jam jar onto thin card to create 6–10 circles. Cut them out and let children paint them with bright stripes, crosses, or dots using red, yellow, blue, and black. Once dry, glue or tape three to five shields along each side of the boat, slightly overlapping like armour just under the rim. Add small foil circles or buttons in the centre as shield bosses. On the other side, repeat the same arrangement for symmetry.
Encourage kids to invent a clan symbol or “family rune” to repeat on the shields – a wonderful link to storytelling and imaginative play.
Making the Mast, Sail and Oars
A large square sail powered viking longships over long distances while oars provided maneuverability. Your cardboard version captures both.
Mast support: Glue or tape a cardboard strip across the middle of the boat interior as a beam. Have an adult carefully poke a hole in the centre using a sharp pencil or skewer.
Fitting the mast: Slide a wooden skewer or thin dowel through the hole so it stands upright. Secure at the bottom with a blob of hot glue (adult use), modelling clay, or blu-tack.
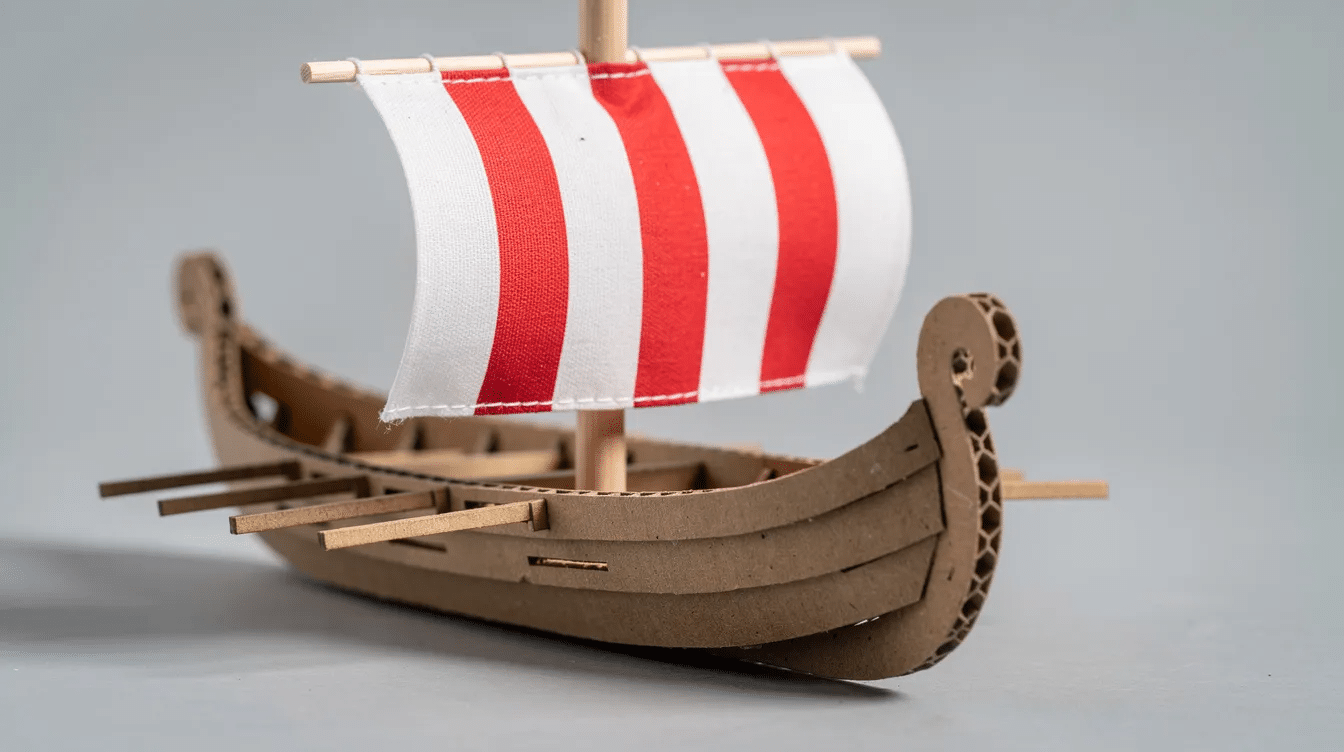
The sail: Join two pieces of white A4 paper along the long edge to form a big square. Decorate with vertical red thin strips to echo the bold sails of real viking longships. Tape the top and bottom edges around a horizontal strip of card or another skewer to keep the sail flat. Then cut a small slit in the centre of each horizontal strip and slide the mast through so the sail sits in the middle of the ship. Tie on a length of string if you’d like simple rigging – it catches the wind nicely if you play near an open window.
Oars: Cut slim cardboard strips as blades and tape them to cocktail sticks or paper straws as handles. Punch or poke matching holes along the hull sides so children can slide the oars through. Viking longships typically had between 24 and 50 oars, but four to six per side is plenty at this scale. Reinforce each hole with a small square of tape so the seams don’t tear during play.
Painting and Decorating Your Viking Ship
Now for the part kids love most. Let children lead the design while you guide them toward historically inspired details.
- Hull: Apply a base coat of brown paint or crayon to mimic wood. Once dry, draw darker lines along the sides to represent the overlapping planks of a real clinker-built longship. This construction method made the hull lightweight and flexible enough to withstand rough seas.
- Dragon: Use green, red, or gold for the dragon head and tail. Add eyes with black marker and swirls along the neck for drama.
- Sail designs: Bold red-and-white or blue-and-white stripes work well. Kids can add a central symbol or simple knot pattern. Encourage them to glance at a picture of a real Viking sail before choosing their own twist.
- Weathering: Lightly dab darker brown or black along edges to make the boat look sea-worn, or glue tiny torn bits of tissue paper as waves along the bottom for a display piece.
Once paint is fully dry, adults can brush on a thin layer of PVA glue mixed with water to help the cardboard viking ship last longer – though it is still not water-safe. The craft is now complete and ready for play.
Linking the Craft to Viking History and Learning
Turn putting this boat together into a mini history lesson. Here is a quick guide you can share with children in simple language.
The vikings were seafaring people from Norway, Sweden, and Denmark, active roughly AD 800 to 1100. They used viking longships – among the most advanced vessels of the early medieval world – to travel, trade, explore, and settle across Europe and the North Atlantic. The design of viking longships facilitated trade and colonization from North America to the Middle East.
Vikings built their ships from oak and pine, preferring green wood for its flexibility. Viking ships were clinker built with overlapping planks, and the hull was caulked with animal hair and pine resin to keep water out. Viking ship frames used grown timber, carefully selected for natural curves that gave strength. Viking ships symbolized power and status in Norse culture and were often used in ship burials.
While crafting, ask children where they think vikings travelled and what they might have carried – animals, silver, tools. These ships could navigate both open seas and shallow rivers, and their shallow draft allowed crews to beach ships easily at inland settlements.
Extend the learning: Invite children to name their viking longboat, draw a map of its journey, or write a short diary entry: “I am a Viking sailing to…” For more history-themed projects, try our cardboard time machine.
Adapting the Cardboard Viking Longship for Different Ages
This viking ship craft scales easily for different ages and settings.
- Ages 3–4: Pre-cut the hull, sail, and shields. Little ones focus on painting, gluing, and play with chunky crayons or sponge painting.
- Ages 5–7: Let children help mark out shields and dragon shapes with a pencil and ruler, practise careful cutting, and count shields equally on both sides as a simple maths link.
- Ages 8–10: Challenge them to research real viking longships, sketch their own prow design, measure mast height to keep the boat balanced, and create a cardboard “crew” of Viking figures.
Classroom tip: Set up a “shipyard” table where groups assemble different parts – hulls, sails, shields – then combine them. Older children can cut and engineer the ship while younger siblings or friends take charge of colours and storytelling. Browse our craft activities for kids for more group-friendly ideas.
Safety Tips and Mess-Management for Cardboard Boat Crafts
A slightly more involved project like this calls for a few sensible precautions.
- Cutting: Adults should handle craft knives and heavier cardboard. Children use blunt-ended scissors on thin card only. Always cut away from the body.
- Staplers and skewers: Adults do the stapling and pre-poke all mast and oar holes so children are never pushing sharp objects through thick card.
- Paint and glue: Use washable, child-safe paints. Cover the table with newspaper or an old cloth. Keep a damp cloth ready for speedy wipe-downs.
- Supervision: Stay within arm’s reach when younger children use scissors or small pieces like cocktail sticks. Avoid very tiny embellishments if toddlers are nearby.
- Storage: Once dry, keep the ship on a bookshelf or high windowsill so it doesn’t get trodden on during energetic play.
Playing, Storytelling and Extending the Cardboard Viking Boat Craft
Your cardboard viking longship is ready to set sail – here is how to spread the fun beyond the craft table.
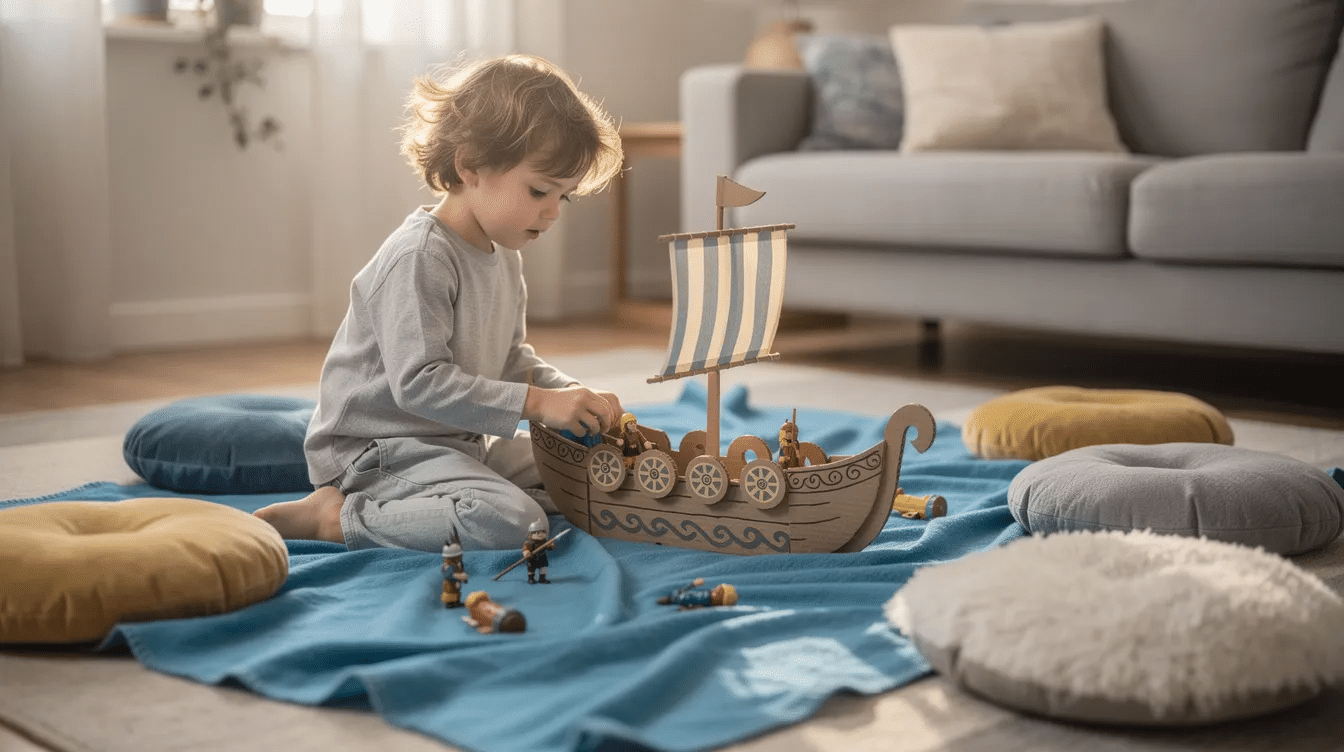
Set up a “fjord” on the floor using a blue blanket or large sheet of paper. Children can sail their ships around islands made from cushions while role-playing as traders visiting a market or explorers discovering new land. Prompt them to decide what is packed on board and who is in charge of the longboat.
Simple game idea: Race two viking ships across the rug using gentle puffs of air on the sail, or roll a dice to see how many “days at sea” the crew must survive before reaching land. Pair the boat with a cardboard sword or a treasure chest for a complete Viking adventure.
Display: Create a small “museum” corner with the ship, labelled drawings, a flag, and a map showing where viking longships sailed. Finally, we would love to see what you have created – share your image with Little Button Diaries on social media and tell us about any imaginative twists you added!
FAQ: Cardboard Viking Boat Troubleshooting
Below are answers to common questions that come up once families start building their cardboard viking longship. If something is not covered here, drop us a comment on this post.
Will my cardboard Viking ship float in water?
Standard cardboard and cereal-box card will quickly soak, bend, and collapse in water, so this craft is designed for dry-land play and display only. If your kids are waiting for a chance to test it in the bathtub, try using a clean plastic food tray or craft foam sheet as a base instead, then glue cardboard details on top – but still keep water contact brief.
How long does it take to make a cardboard Viking longship?
A cardboard viking longboat craft takes 45–60 minutes to complete if an adult pre-cuts the trickier parts. With younger children painting and waiting for layers to dry, allow 60–90 minutes. You can split the project across two sessions – build the hull and mast one day, then paint and decorate the next.
What if I don’t have a self-folding box for the hull?
Any rectangular cardboard box works. Trim the height to about 10–12 cm, then follow the same steps to fold and shape the ends. Alternatively, cut a longboat outline from a flat piece of card and tape a strip of card around the edge as the hull wall. Every ship will look a bit different depending on the box, and that is part of the fun.
Can I make this Viking ship craft with a whole class or party group?
Of course. Pre-cut hulls and masts, then set up stations for shields, sails, and dragons. Write names on the underside of each viking longship to avoid mix-ups. Plan for about 60 minutes of focused making time plus a short story or song about vikings while paint dries – ideal for a KS2 history lesson or a themed birthday party. Check our easy craft ideas for kids for more group-ready projects.
How can I store or recycle the cardboard Viking boat when we’re finished with it?
When the ship has been well loved, peel off any plastic tape, string, or foil, then place the clean card parts into household recycling where facilities allow. We like to keep favourite parts – the dragon head or a particularly special shield – in a memory box or scrapbook, so the craft lives on even after the hull is recycled. A quick photo of the finished boat makes a lovely keepsake too.


