

Scratch cards aren’t just for lottery counters. With a few household supplies and about half an hour of crafting time, you can make your own scratch off cards at home, turning ordinary cardstock into shiny, scratchable surprises that kids absolutely love. This tutorial walks you through every step, from mixing the paint to handing out the finished cards at parties, in classrooms, or just on a rainy Tuesday afternoon.
Key Takeaways
Families can make diy scratch off cards at home using heavy-weight cardstock, clear tape, and a simple mix of acrylic paint and dish soap. The process takes about 30 minutes of active work plus drying time between coats, and the result is a card that scratches cleanly with a coin or old store card. You can also skip the paint entirely and use ready-made silver scratch off stickers for an even faster version.
- Party games: hand out scratch off tickets at birthday parties, sleepovers, and seasonal events so guests can reveal prizes, clues, or silly dares.
- Gender reveal and announcements: hide “It’s a boy!” or “It’s a girl!” under a single scratch panel and post cards to family members.
- Classroom activities and reward cards: teachers and parents can use scratch offs as motivators for chores, good listening, or phonics practice.
- Rainy-day craft: the making itself is half the fun; kids aged roughly 3 to 10 can decorate, choose colours, and help design themes.
- Safety note: adults handle scissors, craft knives, and paint mixing. Children do the decorating and scratching once everything is dry. Always supervise under-6s.
Why DIY Scratch Cards Are Brilliant for Families
I first tried diy scratch cards around 2018 when I was looking for a way to add a bit of “lottery ticket” excitement to my daughter’s 5th birthday treasure hunt. The cost? Pennies. The reaction? Priceless. Every child at the party was excited to scratch and discover the next clue, and two kids asked if they could take spare cards home.
The sensory appeal is real: the shiny panel, the satisfying “shhhrrrp” sound of a coin dragging across the surface, and the surprise reveal underneath. For preschoolers who thrive on tactile play, it’s genuinely magical.
The possibilities stretch well beyond birthdays. You can create reward cards for chores, party games for sleepovers, classroom activities for teachers, or quiet love notes tucked into a lunchbox. Every card costs almost nothing to make because you’re using supplies already in the kitchen or craft box. And because the design is totally up to you, it’s easy to customize each batch for any theme: dinosaurs for boys who love T-Rex, unicorns for magical party decor, space missions, or seasonal holidays. This is a craft that earns its place on the rainy-day idea list and stays there.
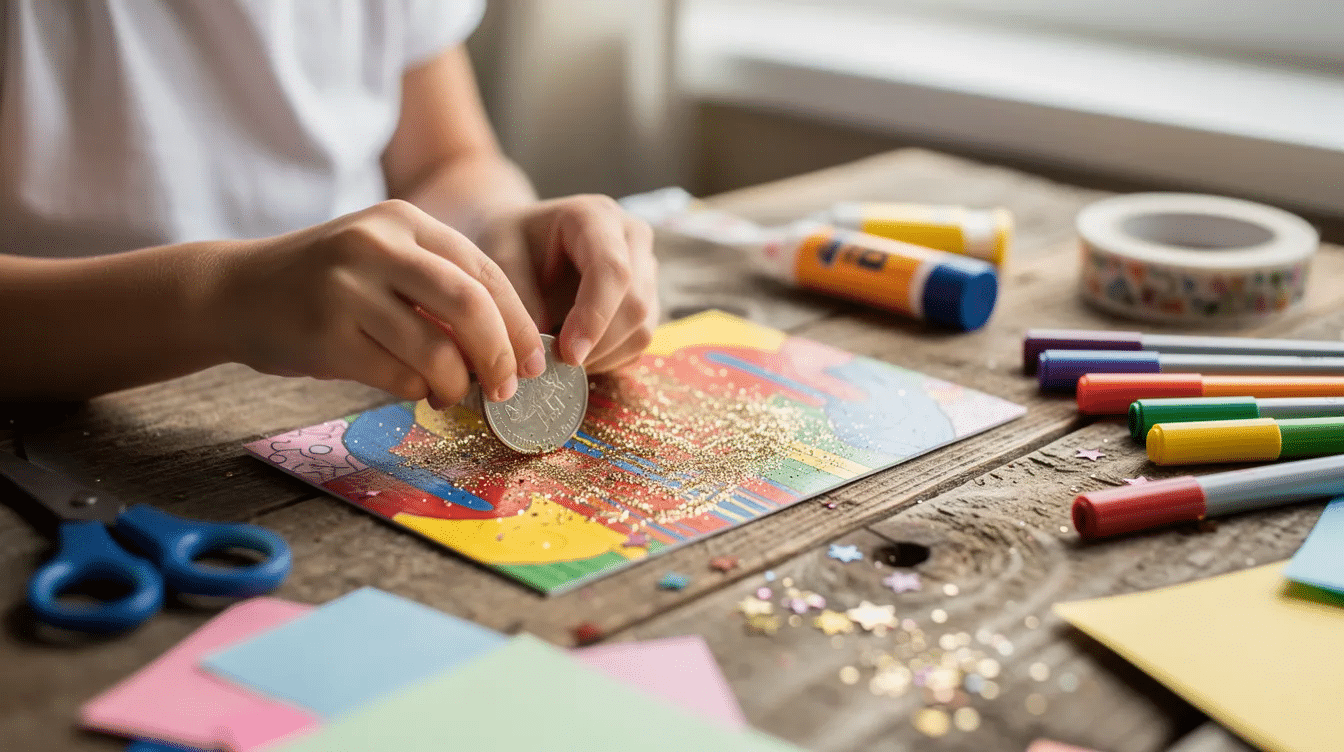
Supplies You’ll Need for DIY Scratch-Off Cards
There are two routes: making your own scratch surface with paint, or sticking on store-bought scratch off stickers. The list below covers both options so you can decide which suits your day.
Card base
- A4 white cardstock (around 200 to 250 gsm) cut to postcard size, roughly 10 x 15 cm. Use heavy-weight cardstock to prevent warping when scratched. Cereal-box card works too if you want an eco-friendly, upcycled version.
Scratch area cover (paint route)
- Clear packing tape or self-adhesive laminating sheets, large enough to cover each reward box. Clear contact paper can also be used to protect the hidden message if you prefer a wider sheet.
Scratch paint mix
- A small tube of acrylic paint (metallic silver, gold, or bright turquoise all work well) plus plain washing-up liquid. The rough ratio is 2 parts paint to 1 part dish soap; the soap helps the paint flake off cleanly.
Scratch area cover (sticker route)
- Pre-made silver scratch off stickers or labels (round dots, squares, or rectangles) that simply stick over printed or handwritten rewards.
Decoration tools
- Felt tips, crayons, coloured pencils, washi tape, child-safe glitter glue, stamps, stickers, and stencils for themed shapes.
Tools for grown-ups
- Scissors or paper trimmer, ruler, pencil, permanent markers for writing hidden messages, a foam brush for smooth paint application, an old gift card or teaspoon for testing scratch offs, and a plastic plate for mixing paint.
Adults should handle cutting and paint mixing. Children help with decorating and scratching once everything is dry.
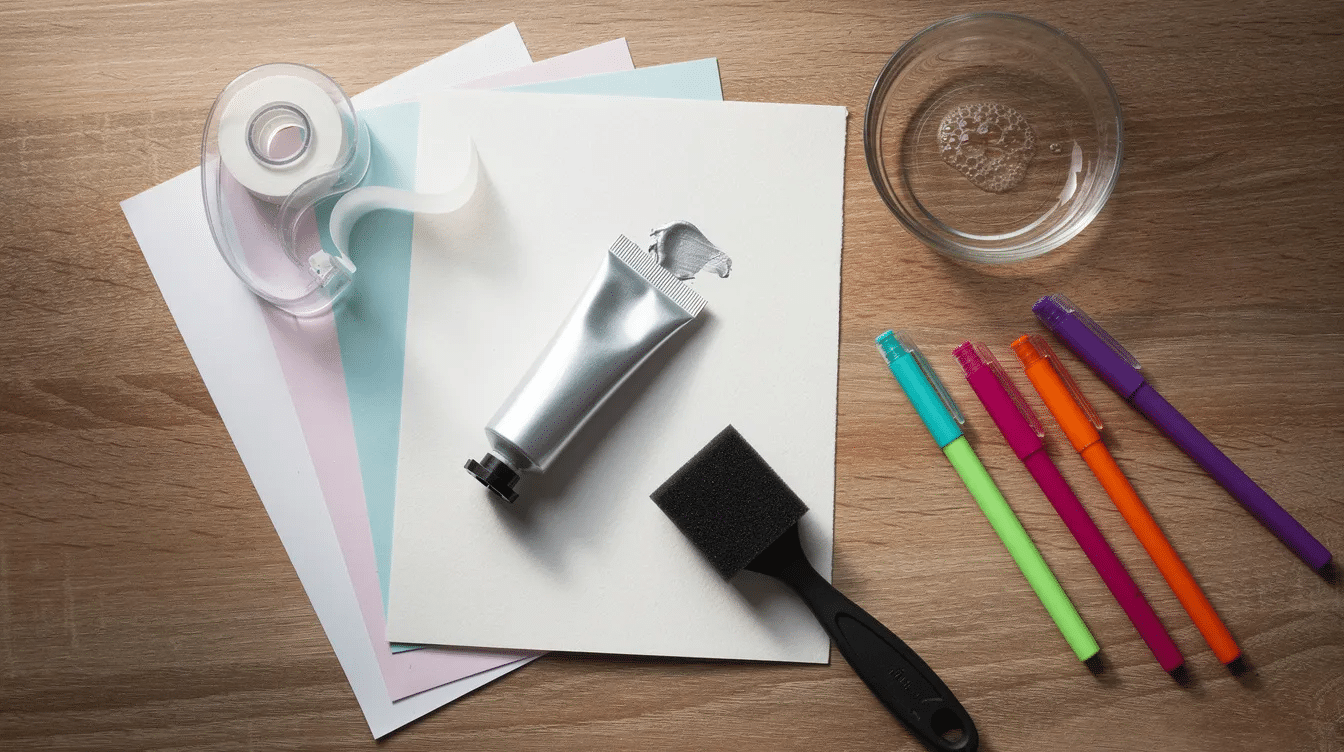
Basic Method: Make Your Own Scratch-Off Paint
This is the classic diy scratch method. You’ll layer acrylic paint mixed with washing-up liquid over taped card to create a scratchable surface that hides any message until someone grabs a coin.
Step 1: Design the card Draw or print simple reward boxes on cardstock. Three rectangles labelled “Prize 1, Prize 2, Prize 3” is a clean starting layout. Let kids decorate the rest of the card with drawings, stickers, or stamps before you add the scratch layer.
Step 2: Write the secret Use permanent markers or a ballpoint pen to write clear rewards inside each box. Ideas: “Stay up 15 minutes later”, “Pick a snack”, “Trip to the playground”. Let the ink dry fully before moving on.
Step 3: Seal with tape Lay strips of packing tape smoothly over each reward area so every word is covered. Press out bubbles with a ruler or old store card. This step is essential; you need to use packing tape to cover scratch off areas before painting so the paint sits on a non-porous surface and releases cleanly.
Step 4: Mix scratch paint In a small pot, mix 2 parts paint with 1 part dish soap until smooth. For a standard batch, that’s roughly 2 teaspoons of acrylic paint and 1 teaspoon of washing-up liquid. Metallic silver gives the classic scratch off tickets look.
Step 5: Paint in layers Using a foam brush for a smooth, even finish, brush a thin first coat directly onto the taped scratch off areas only. Wait around 20 to 30 minutes for it to dry, then add two to three more coats. Apply 3 to 4 coats total for full opacity; three coats of paint is usually enough for standard coverage, but a fourth coat helps if you’re using a lighter shade over dark ink. Avoid loading on thick layers, which crack.
Step 6: Test and trim Test one corner with a coin or fingernail. If it scratches cleanly, you’re done. Neaten messy edges with scissors or outline the scratch panel with a pen or washi tape.
Troubleshooting tip: if the paint doesn’t scratch, you may have skipped the soap. If it peels off in big sheets, reduce the soap slightly next time or press the tape more firmly onto the card.
Quick Option: Using Ready-Made Scratch Off Stickers
This is the fastest route. Buy a sheet or roll of scratch off stickers, peel, stick, and hand out your cards with zero drying time or mess.
Pre-made scratch-off sticker sheets can speed up the scratch card creation process considerably. Typical products come in round or square silver scratch off stickers; each sticker can be about 1.5 inches square, or up to 5 cm wide for larger panels. They’re sold in sheets of 50 to 100 or larger rolls, often in silver, gold, or holographic colours. Brands like My Scratch Offs offer over 100 scratch off products, and some of their packs contain 20 blank 3 x 4 inch scratch off cards. DIY scratch off kits can also include stickers and note cards bundled together for convenience.
To design around stickers, draw small boxes or hearts slightly smaller than your sticker, write rewards or numbers inside, and keep the surrounding card flat. Peel each sticker carefully, line it up over the message, press from the centre outwards to avoid air bubbles, and wait a few minutes for the adhesive to bond.
For classroom activities and party games where you need 20 to 30 cards in a hurry, stickers give you consistency: every silver scratch area looks neat and identical. Compared to the diy acrylic paint method, stickers cost a bit more per card but save time and mess, making them ideal for last-minute projects.
Kid-Friendly Designs: Themes and Layout Ideas
This section gives concrete templates and layouts that young children will love, all easy to draw by hand without a printer or fancy software (though printing from a browser-based template is fine too).
Themed card ideas:
- Treasure Map: draw a wobbly island outline, mark spots with X shapes, and cover each X with a scratch panel. Pair with a treasure chest craft for a full adventure.
- Rainbow Reward Chart: rows of colourful circles, each topped with a scratch area hiding a small treat or kind message. Try rainbow craft colours for inspiration.
- Space Mission: planets hiding missions (“Do 10 star jumps”, “Name 3 animals”).
- Unicorn Wishes: stars to scratch for small treats or compliments.
Layouts: One large scratch panel in the centre works for a single big surprise. Multiple small circles in a grid suit daily reward cards. Three rectangles in a row mimic a mini lottery ticket, perfect for boys and girls alike.
Colour schemes: pastel backgrounds with silver scratch areas photograph well for scrapbooks. Bold primary colours pop in preschool classrooms. Black cardstock with bright paint creates dramatic art.
Let kids take the lead with drawing and colouring. Adults add the scratch off parts later, once children are in bed or busy elsewhere. Add short instructional text for early readers: “Scratch me!” or “Find the golden star”, using clear, large lettering so they can discover the words themselves.
DIY Scratch Cards for Party Games
Scratch off cards can turn a simple birthday tea into a game show. They’re also a great idea for family barbecues, New Year’s Eve countdowns, and fundraising events and games at school fairs.
Birthday party Make 10 to 15 scratch off tickets. One or two contain “Grand Prize” (a small toy, badge, or extra slice of cake), while the rest say “Balloon”, “Sticker”, or “High Five from the birthday child”. Hand them out as guests arrive or tuck them into party bags alongside paper hats. DIY scratch cards are suitable for events like birthdays and weddings, so you can scale the same idea for grown-up celebrations too.
Treasure hunt Hide scratch off tickets around the house or garden, each revealing a clue or picture leading to the next location. The final card directs everyone to a prize box. Scratch cards can be used for interactive activities like revealing prizes, and the hunt format keeps groups of 5-year-olds moving and engaged.
Sleepover games Create “Truth or Dare” scratch offs with age-appropriate prompts for tweens: “Tell a funny memory”, “Show your best dance move”, “Sing half a song in a silly voice”.
Seasonal parties Halloween scratch offs where some reveal sweets and one triggers a “jump-scare dance”. Christmas scratch offs for choosing a carol or festive activity. Easter “egg hunt” cards hidden alongside chocolate eggs as bonus decor.
Print names or colour-code tickets so each guest receives a fair number. Use heavier card so scratch off tickets survive being stuffed into pockets and party bags.
Scratch-Off Ideas for Gender Reveal and Special Announcements
Scratch off cards have become a popular personal way to share news with family. Scratch off cards are popular for events like baby showers, and they carry the same quiet anticipation at home.
Gender reveal setup Design neutral-coloured cards (sage green and cream, for example) with a single silver scratch panel hiding “It’s a boy!”, “It’s a girl!”, or “Baby joining us March 2027”. Hand them out at a small gathering and let everyone scratch at the same moment.
Long-distance reveals Post scratch off cards to grandparents or godparents who live far away. Include a note asking everyone to scratch at the same time during a video call. DIY scratch off cards can be used for various occasions like this without spending money on commercial options.
Other announcements
- New sibling reveal: “You’re going to be a big sister!”
- Holiday surprise: “We’re going to the seaside in August!”
- School news: “You got into your first-choice school!”
Make a test card first to confirm the message is fully hidden and readable after scratching. For one-off milestone moments you can’t redo, that test card is worth the extra two minutes.
A privacy tip: don’t share photos of cards showing personal dates or addresses publicly online without covering sensitive details first.
Using DIY Scratch Cards for Rewards and Classroom Activities
Homemade scratch off tickets can become genuine motivators in both homes and early years classrooms when used positively and sparingly.
Home reward cards Create a “chore scratch chart” where children earn a ticket after helping with simple tasks: laying cutlery, tidying toys, feeding the cat. Rewards work best when they’re experiences rather than things. Think “Choose a bedtime story”, “Extra playground trip this weekend”, or “Bake cupcakes with Mum or Dad”. This way, the reward system doesn’t cost extra money and builds connection instead.
Teacher ideas Scratch offs work well as classroom activities: instant prizes for good listening, mystery maths problems hidden under panels that students scratch and solve, or phonics pictures children scratch and then sound out. For a class of 30, print cards on A4 cardstock, laminate sheets before adding scratch off areas for extra durability, and colour-code sets by group or subject. Browse kindergarten class ideas for more ways to gamify learning.
Non-material rewards Include relationship-building treats: picnic in the living room, family board game night, choosing the Friday film. Kids often prefer these over small toys.
A brief reminder: reward systems should be flexible and kind. Scratch offs are fun surprises, not punishments. Children who struggle should still feel encouraged. If a child doesn’t “win” a big prize, the scratch itself is still exciting, and that matters.
Adapting Scratch-Offs for Different Ages and Abilities
Diy scratch projects work for toddlers right through to teenagers, as long as tasks and expectations shift with age.
Toddlers (2 to 3 years) Jumbo cards with one large scratch area, thick lines, and simple images (smiley face, star, favourite animal). Adults do the scratching while toddlers watch and point. Avoid small flakes near little mouths.
Preschoolers (3 to 5 years) Let children decorate with crayons and stickers, choose sticker shapes, and scratch with a coin held alongside a grown-up’s hand. They can also pick colours and decide on themes.
Early primary (5 to 8 years) Involve them in writing short words, mixing paint under supervision, and designing their own game boards with several scratch offs. This age group often wants to create cards for friends, which makes a brilliant diy activity for playdates.
Neurodivergent or sensory-seeking children The sound and feel of scratching can be very appealing, or, for some, overwhelming. Offer a quieter wooden craft stick instead of a metal coin, or hand them a practice card first so they can try the sensation before committing. Cancel any pressure; let them opt in.
Adults and teens Diy scratch offs double as date-night jars, revision prompts, jewelry-themed gift reveals (“Scratch to see your birthday surprise!”), or party icebreakers. The technique grows with the family.
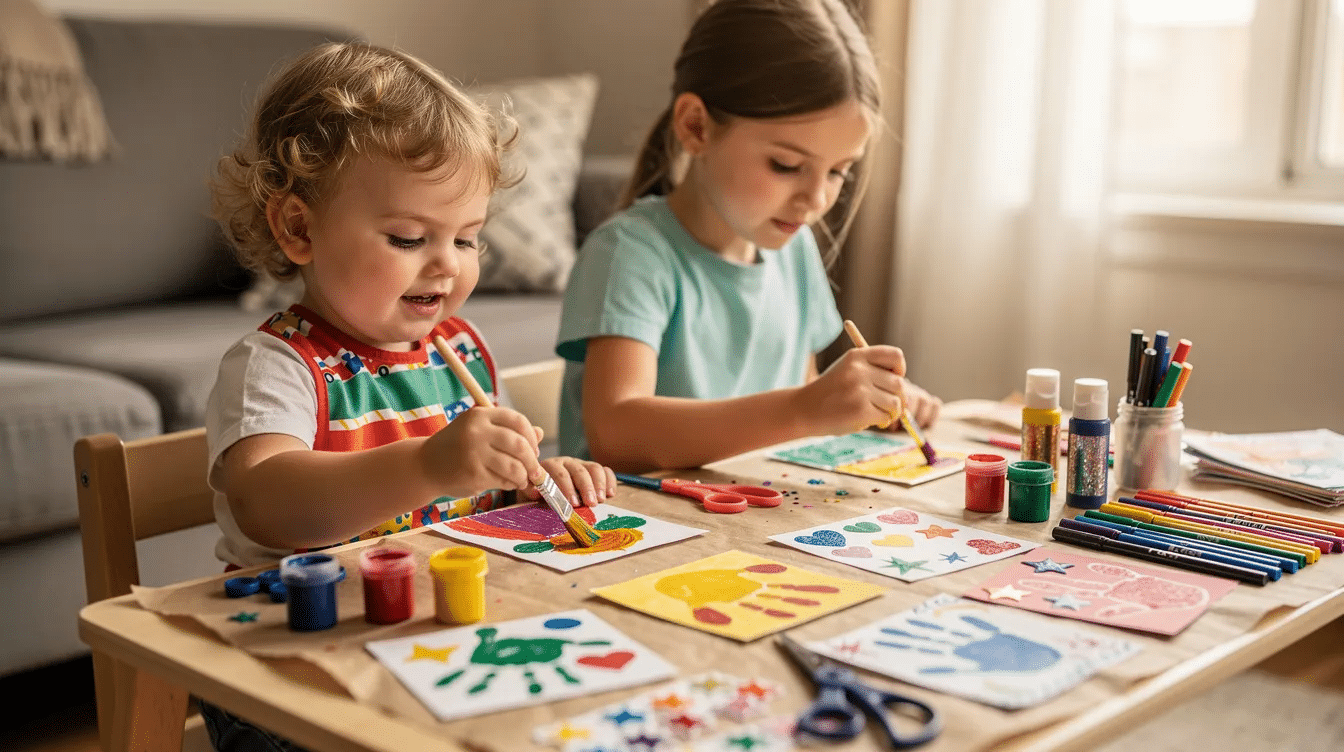
Safety Tips and Mess-Minimising Tricks
This is a low-risk activity, but a few simple precautions keep things smooth, especially with young children and acrylic paint.
Adults should handle scissors, craft knives, and the mixing of acrylic paint and washing-up liquid. Children focus on decorating and scratching once everything is dry.
Cover the table with an old tablecloth or opened-out cardboard box. Old T-shirts or aprons save clothes. Keep wet wipes or a damp cloth nearby for quick clean-ups.
Choose non-toxic craft acrylics bearing the AP (Approved Product) seal; these meet ASTM D-4236 safety standards. Acrylic paint works better than watercolors for durability, and non-toxic student-grade acrylics avoid the heavy-metal pigments found in some artist-grade paints. Keep paint and soap away from mouths, and remind children not to scratch near their faces or eyes.
If making many cards at once, work in a ventilated room. Store leftover paint mix in a small jar with a lid for up to a couple of days. Dispose of paint water in the sink rather than the garden. Sweep up scratch flakes with a damp cloth so tiny metallic specks don’t travel into little mouths or pet bowls.
Troubleshooting Your DIY Scratch Offs
A quick fix-it guide for the most common hiccups.
Paint won’t scratch You may have skipped the soap or used too little. Remix with roughly 2 parts acrylic to 1 part washing-up liquid, apply thinner coats, and make sure the tape underneath is well-pressed. A load of thick paint in one go is usually the culprit.
Paint scratches off in one big sheet Reduce the amount of soap slightly. Confirm the clear tape is firmly stuck to the card. Try lightly scoring the edge of the scratch area with a blunt tool before handing out the card.
Writing still visible underneath Switch to a darker paint colour; silver over black pen works well. Or add an extra thin coat and let it dry fully. Sometimes a second colour on top (gold over silver, for instance) does the trick.
Stickers lift at the corners Wipe card surfaces dry before sticking. If the card feels sticky or has glue residue from decorations, clean the spot first. Press firmly from the centre outwards. If a corner still lifts, a tiny dot of clear-drying glue underneath holds it in place.
Don’t worry about imperfect cards. Kids will still be delighted; they care about the surprise inside, not whether the edges are ruler-straight. Keep one test card from each batch so you can refine the mixture for the next round.
Storing, Gifting and Reusing Your Designs
If you make scratch off tickets ahead for birthdays, classroom activities, or advent-style countdowns, storage matters.
Finished diy scratch cards should be stored flat in a cool, dry place, such as a shallow box or rigid envelope. Heat and humidity cause paint to crack and stickers to lift, so avoid leaving them in a car or near a radiator.
Bundle sets with ribbon or twine, add a small tag that says “Scratch to reveal!”, and tuck in a shiny coin. That tiny sign of effort makes them feel like real gifts rather than a craft project. Scratch off cards also work beautifully for baby showers, weddings, and other celebrations where guests enjoy a moment of interactive fun.
Parents and teachers can save digital templates as PDFs or photograph hand-drawn masters, then print new sets for each occasion throughout the year. If you prefer sewing or mixed-media projects, you can even mount scratch panels on fabric cards for a tactile twist.
Photograph children’s favourite card designs before they’re fully scratched; those images fit perfectly in scrapbooks or photo books, preserving the surprise long after the craft is done.
I hope this post gives you the confidence to try scratch cards at your next birthday, rainy afternoon, or classroom reward day. Adapt the ideas, share your finished scratch offs with friends, and use the technique as a springboard for other easy craft ideas and interactive projects. Happy scratching!
FAQ
Can I use something other than acrylic paint for the scratch layer?
Acrylic paint is recommended because it dries waterproof and flexible. Thick gouache or poster paint can work for short-term cards if mixed with a little washing-up liquid, but they’re less durable and more prone to moisture damage. Watercolors create a smoother finish but are less durable; they can re-activate with damp fingers and smear rather than flake off, so avoid them for scratch offs aimed at young children.
How long do homemade scratch off cards last?
When stored flat and dry, scratch off paint or stickers look good for several months. Making cards 2 to 3 weeks before a party or new school term is perfectly fine. Extreme heat, humidity, or being bent in pockets causes cracking or lifting, so hand them out close to the event rather than carrying them loose for days.
Do I really need the washing-up liquid in the paint?
The washing-up liquid helps the acrylic paint release cleanly from the tape or plastic surface when scratched. Very soft student-grade acrylics sometimes scratch without soap on glossy tape, but including a small amount produces more reliable results, especially with kids. If you search online for scratch card tutorials, nearly all of them include soap in the recipe for this reason.
Can young children scratch safely without coins?
Use alternatives like an old, smooth loyalty card, the blunt end of a teaspoon, or a wooden craft stick so there are no sharp edges near little fingers. Adults should model slow, gentle scratching first and supervise under-5s, particularly if small scratch flakes might be tempting to put in mouths.
Is it cheaper to make my own scratch paint or buy scratch off stickers?
If you already have acrylic paint and tape at home, the diy paint method is the most frugal option, often under £0.10 per card. For large groups or frequent use, buying a roll of 100 to 300 silver scratch off stickers can be cost-effective and saves time and mess. Either way, you save money compared to buying pre-printed commercial scratch cards.


