

Introduction: What Are Holly Ivy 3D Sun Catchers?
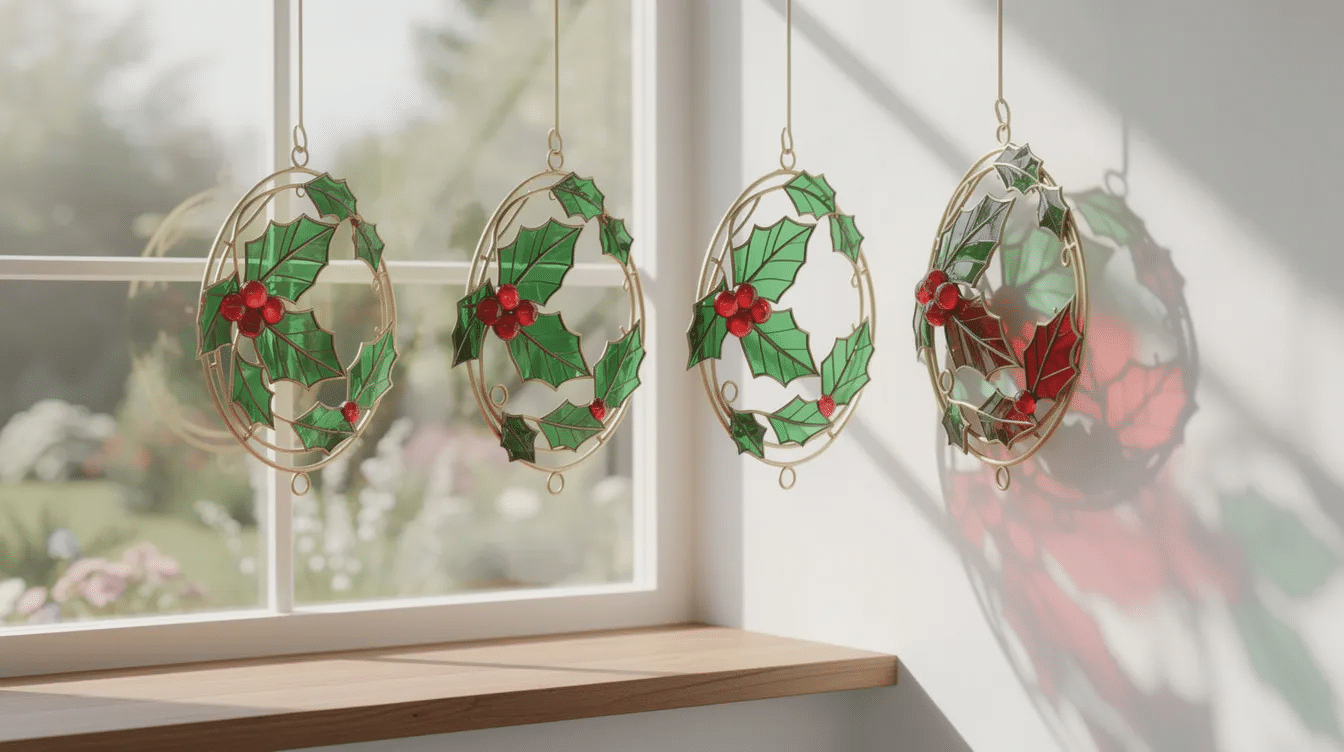
If you’ve ever wanted a Christmas craft that doubles as a decoration and a keepsake, holly ivy 3D sun catchers are the perfect answer. Unlike flat stained-glass-style designs, these layered decorations have real dimensional construction-two panels joined with a small spacer so they catch winter light from every angle. Holly and Ivy sun catchers feature stained glass-inspired holiday designs, and the finished piece showcases intricately rendered holly leaves and bright red berries alongside trailing ivy. Holly and Ivy sun catchers represent traditional themes of renewal, faith, and eternal life, making them meaningful as well as beautiful. Sunlight interaction makes them glow and radiate color when hung in a sunny window.
This is a kid-friendly craft from Little Button Diaries, designed for preschoolers (around ages 3–6) with adult help. Hang them in a living room window, on the lower branches of a child-safe christmas tree, or string several into a festive garland along a mantel.
What this post covers:
- Supplies and where to find them
- Kid-friendly holly and ivy templates
- Step-by-step assembly
- Display and hanging ideas
- Learning benefits and age variations
- Storage tips for making it a yearly tradition
Supplies: Simple Materials for a Festive 3D Effect
Most of what you need is already in the craft cupboard or easy to add to your cart on the next shopping run. Every item here is inexpensive, and you can sort through recycled packaging to find clear plastic sheets for free.
Materials:
- Green and dark green translucent cellophane or coloured tissue paper
- Red translucent paper or self-adhesive gem “berries”
- Clear plastic sheet (recycled food packaging or laminating pouches)
- Black or dark green card for the frame
- Child-safe PVA glue or washable glue sticks
- String or thin ribbon
- Optional: sequins, glitter glue
Tools:
- Pencil and round-tip scissors (for under-5s)
- Holly leaf and ivy templates (printed or hand-drawn)
- Hole punch
- Optional: low-temperature glue gun (adults only)
When choosing any product, look for the “AP Non-Toxic” seal or ASTM D-4236 compliance to be sure materials are safe for young children. Keep stock of extra tissue paper-little hands go through it quickly. A light-coloured table surface or tray helps children see translucent colours as they work. Suncatcher kits often include detailed assembly instructions, so if you prefer a ready-made option, commercial kits like Krafty Kids DIY kits include acrylic paint pots for painting directly onto frames.
Designing the Holly & Ivy Shapes (Kid-Friendly Templates)
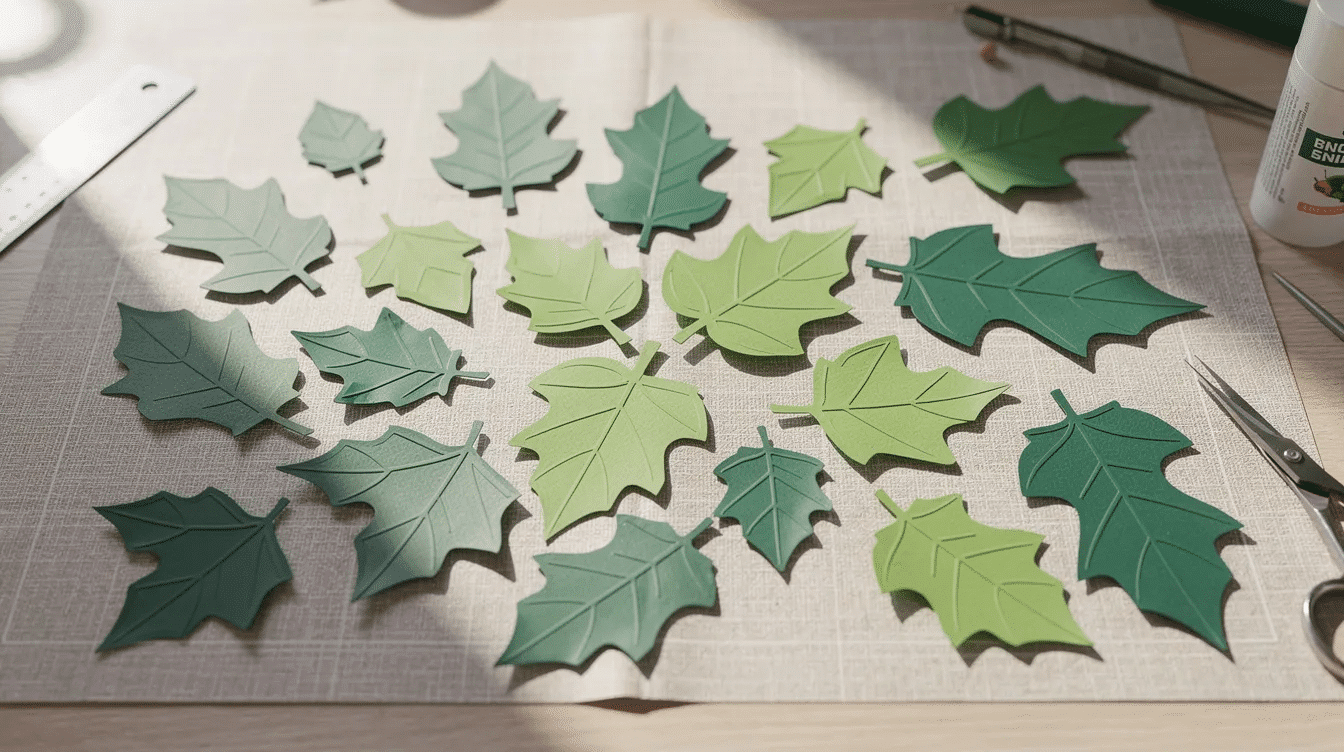
Grown-ups can prepare a few basic leaf shapes in advance to keep the activity smooth. Seasonal or nature motifs are favoured in the design philosophy of holly and ivy, so aim for recognisable, simple outlines.
- Holly leaves: sketch three pointed tips with a gentle curve-no need for botanical accuracy. A compact holly suncatcher measures roughly 2.5″ tall by 4.25″ wide, which is a good size for small hands.
- Ivy leaves: draw long, wavy shapes with smooth edges that trail gracefully.
- Print templates on standard A4 card. You can download ours from Little Button Diaries, or let children help hand-draw their own for a personal touch.
- Older preschoolers (4–6) can trace around the templates with a pencil. Adults handle detailed cutting.
- Mix sizes-small holly leaves for the front panel, slightly larger ivy leaves behind-to emphasise the 3D layered effect.
Making the 3D Sun Catchers Step-by-Step
This section walks through the whole process in a child-friendly order. Once supplies are ready, you can be loading up the table and crafting in under ten minutes.
Cut and frame: Cut two identical holly-and-ivy outlines from card. Attach a clear plastic sheet or laminating pouch behind each frame using PVA glue, pressing close to the edges. If you’ve worked on tissue paper stained glass crafts before, the method is very similar.
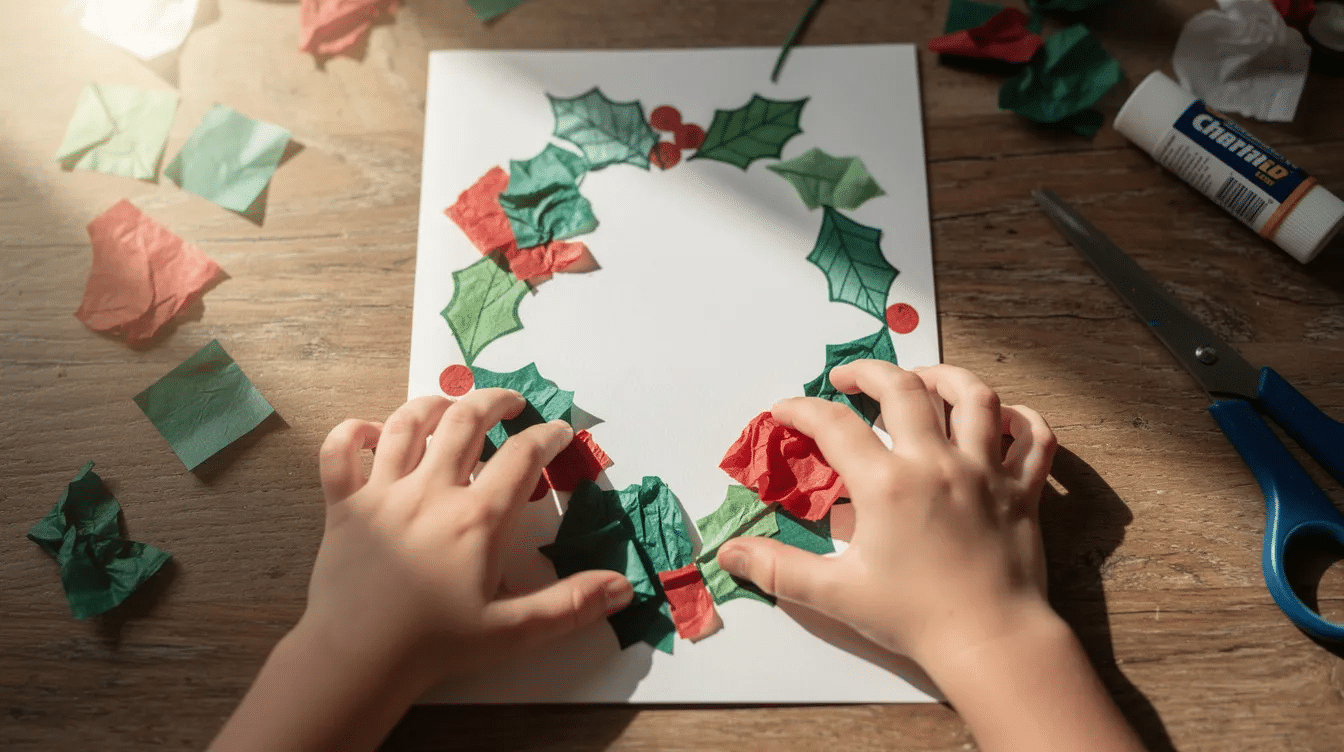
Layer the colour: Help children stick small pieces of green and dark green tissue paper or cellophane inside each frame like a collage, overlapping shades for richer color when light shines through. Add red “berries”-circles of tissue or self-adhesive gems. This step is where kids really get to touch and explore materials. Like many 3D suncatcher kits that can be assembled with glue, the construction here relies on simple layering.
Assemble the 3D shape: Place both panels back-to-back with a thin card “spacer” strip glued between them so they sit slightly apart. This gap is what separates a 3D suncatcher from a flat one-it makes the piece look dimensional from any view angle. Punch a hole at the top and thread ribbon through.
Let PVA glue dry fully-around 30–40 minutes-before children handle their finished suncatcher.
Hanging, Display Ideas & Christmas Tree Uses
Once the holly ivy 3D sun catchers are ready, choosing where to hang them is half the fun. Here are some options to try:
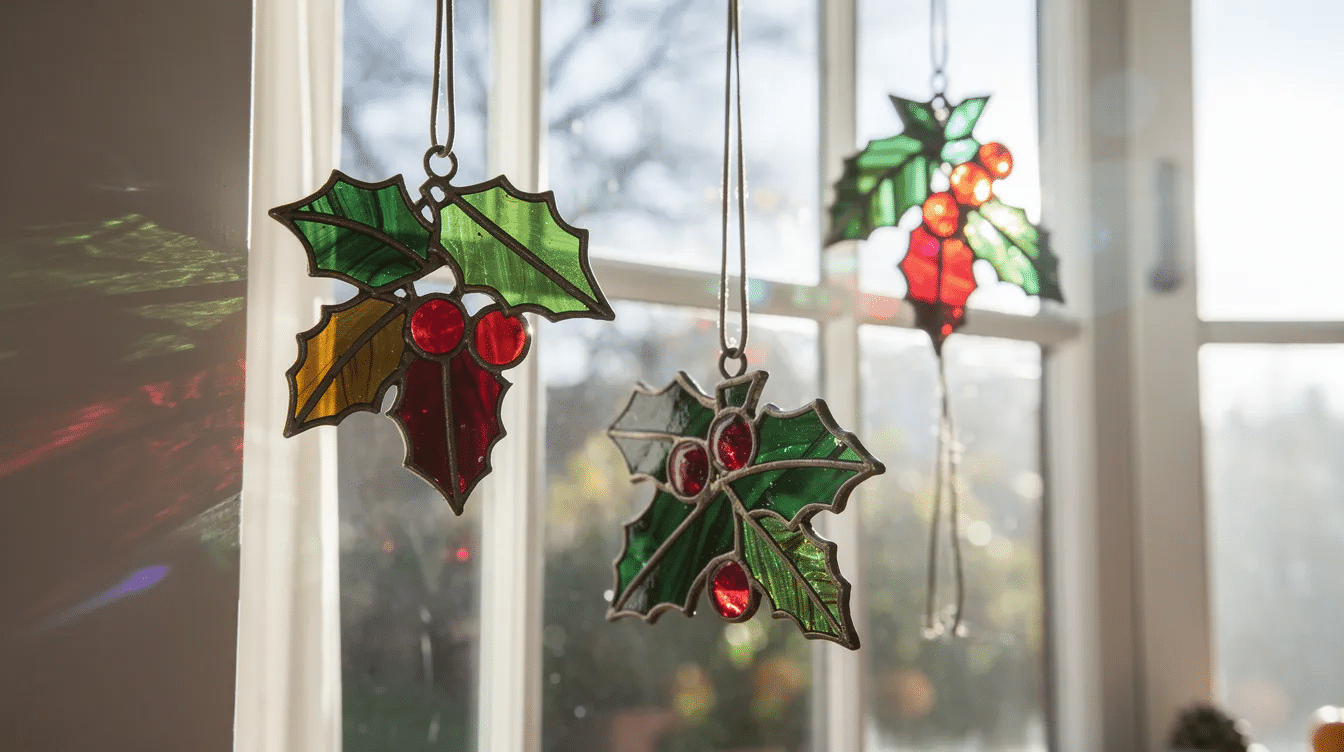
- Window display: Use suction hooks to hang individual suncatchers in a sunny window. Combining several different 3D sun catchers in one window can create a mini gallery effect, and light-catching surfaces can split sunlight into small rainbow effects and bright reflections.
- Christmas tree: Tie them to lower branches of a child-safe artificial tree where little ones can admire them up close.
- Garland: String several together across a mantel or playroom wall.
- Mobile effect: Display options include clustering sun catchers using varying lengths of thin chain for a mobile effect, spinning gently in draughts.
- Rainbow corner: A rainbow corner can be created by hanging sun catchers in a sunny window for reflected light patterns. Place a small mirror on the sill to amplify the effect-hanging sun catchers can create light-refraction effects that enhance room decor.
- Centrepiece: Sun catchers can be incorporated into a winter evergreen wreath as a centrepiece, and adding warm-white fairy lights around them turns them into a seasonal table decoration.
Take care to keep ribbons short and out of reach of very young toddlers. Write your child’s name and the year on the back-these become keepsakes families can hang each December.
Learning Benefits & Variations for Different Ages
Beyond being pretty decorations, holly ivy 3D sun catchers support genuine developmental skills. You can read more about how craft builds dexterity in our art fine motor skills guide.
- Scissor skills: Cutting along leaf outlines strengthens hand muscles.
- Colour recognition: Talking about shades of green, red, and how overlapping creates new tones.
- Science of light: Simple discussion about how light shines through translucent versus opaque materials.
Age tweaks:
- Ages 2–3: Pre-cut frames and large tissue pieces so they can tear and stick.
- Ages 4–6: Let them design extra details-leaf veins with felt-tip pens, or a gold star instead of berries.
Variations to explore:
- Swap holly for a butterfly or flowers shape for spring, or try wintery blues and silver for January décor. Holly and ivy motifs can be styled beyond traditional Christmas themes for year-round decor.
- Holographic stained glass suncatchers are available in various colors if you want a sparkly twist.
- 3D suncatcher kits include designs like unicorns-great if siblings want different themes.
- 3D printed suncatchers can be customized in design and size for families with access to a printer, and suncatcher designs can be customized using modeling software for truly unique shapes.
Tips, Storage & Making It a Yearly Tradition
Turn this into a December ritual-add one new holly ivy 3D sun catcher each year and review how your child’s cutting and gluing skills have improved. Customization options are often available for engraving names on sun catchers, so consider labelling each one: “Ivy, age 4 – December 2026.”
- Store carefully: Lay dry sun catchers between sheets of baking paper in a flat box so translucent paper doesn’t stick or crease.
- Fix warping: Press bent frames under a heavy book overnight.
- Patch tears: Stick a small piece of tissue behind the damaged spot with fresh glue.
- Extend the fun: Suncatchers can also be made using 3D printing techniques if your family wants to experiment. Try flowers for spring or leaves for autumn-browse more easy craft ideas for inspiration all year long.
Share this post with friends and family who love crafting with little ones. We’d love to see your finished holly ivy sun catchers-tag Little Button Diaries on social media so we can admire what your children have created.


