

December is for crafting with sticky fingers, mismatched fabric, and the kind of joyful mess that turns into a keepsake. This Craftmas no sew garland by Art Camp idea is one of our favorite projects to kick off the holidays – and it works for every skill level in the house.
Key Takeaways
- This is a kid-friendly, no sew fabric garland project inspired by Art Camp–style Craftmas fun, perfect for December 2026 holiday decorating.
- Families can use up all the fabric scraps and old Christmas pyjamas to make a colorful diy fabric garland in under two hours.
- The garland is built from simple fabric strips knotted onto twine, so preschoolers can help with most steps.
- It works everywhere: around the Christmas tree, over a mantel, on bunk beds, or as a photo backdrop for Christmas morning.
- No sewing machine needed – just scissors, fabric, and cord, making it an accessible Craftmas tradition you can repeat every year.
What Is a Craftmas No Sew Garland?
Craftmas” is our word for a month of daily mini Christmas crafts families can do together – sweet, low-pressure projects that fill December with creative energy instead of stress. This no sew fabric garland is one of the best great ideas to start with.
A no sew fabric garland is simply a strand of twine or ribbon covered in tied-on fabric strips, creating a fluffy, tactile decoration kids love to touch and make. This version is inspired by Art Camp–style projects: simple steps, bold colours, and an emphasis on process over perfection for kids aged 3–8. Art Camp offers creative activities for young children and families, and those same supplies can be adapted for festive decorations like this one.
While decorative garlands can be made from paper, yarn, and scraps, this diy fabric garland is a reusable, eco-friendly alternative to tinsel or paper chains. Upcycling materials into crafts promotes creative reuse, and using recyclable materials in projects supports eco-friendly craft practices. Creative activities like this foster hands-on learning for preschool-aged children, and crafting activities can genuinely enhance preschool learning experiences – from pattern recognition to fine motor practice. No-sew projects are accessible for young children and parents, which is exactly why parents seek frugal, hands-on activities for children. This project fits the Little Button Diaries ethos perfectly: use what you have, encourage independence, and sneak in a bit of skill-building along the way.
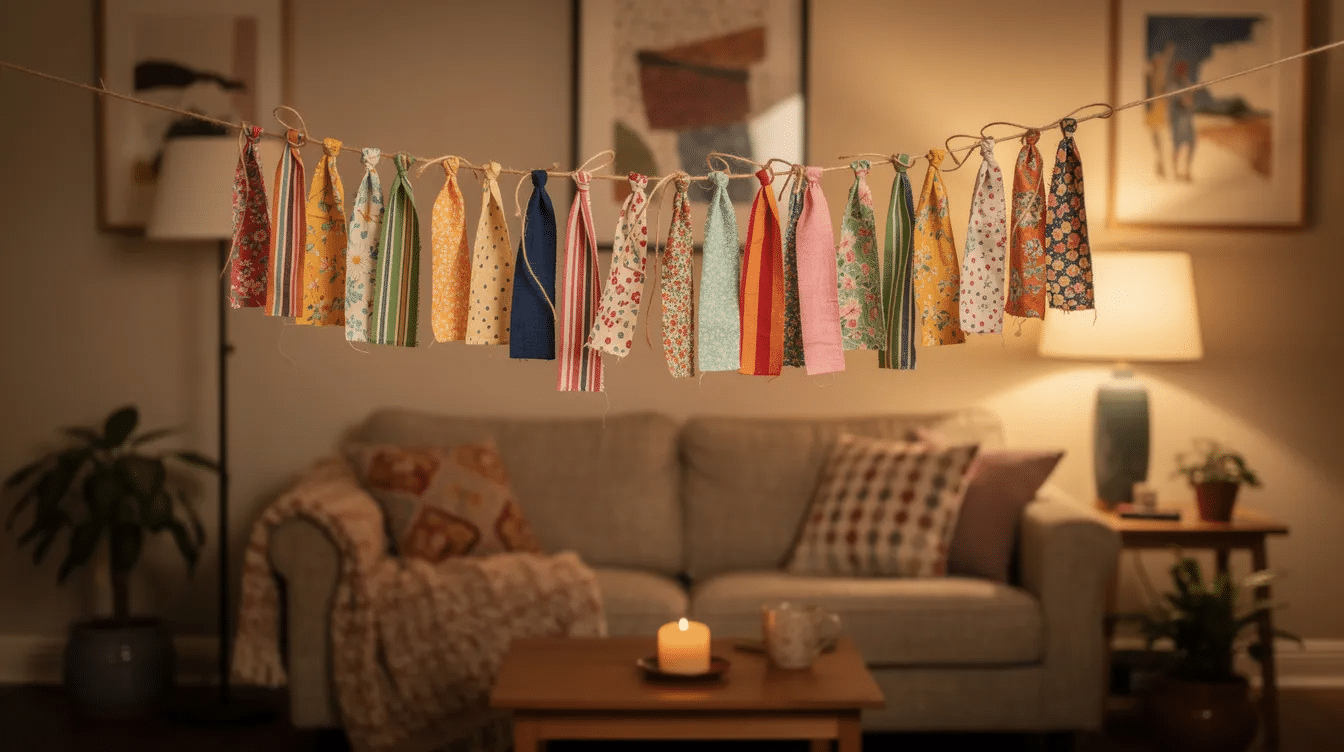
Supplies: Gather All the Fabric & Bits
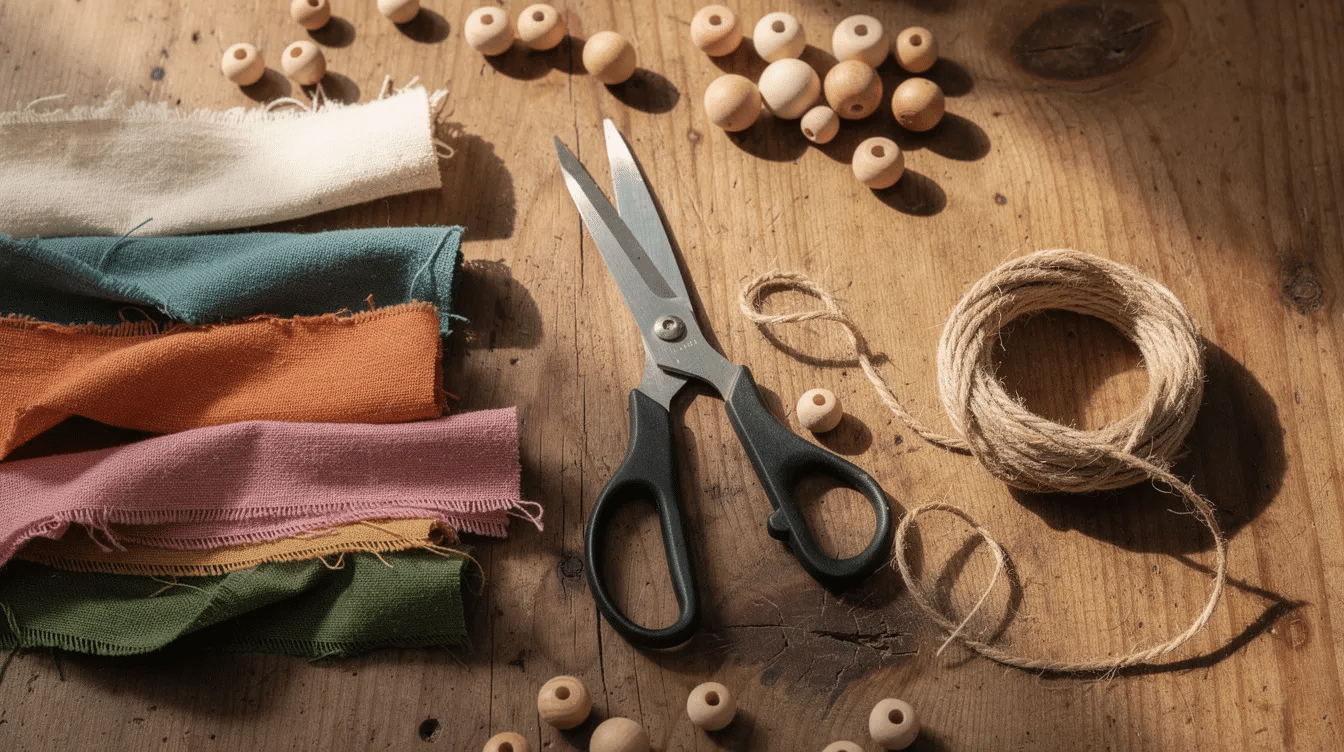
Most materials can be sourced from your stash, charity shops, or the back of the wardrobe. Crafts can utilize leftover materials from art supplies you already own – don’t forget to check old project bins.
Fabric to collect:
- Cotton offcuts, outgrown Christmas pyjamas, old tea towels, flannel shirts
- Festive fat quarters from 2026 seasonal ranges (a fat quarter measures 18×22 inches and yields about 8 strips)
- A jelly roll includes pre-cut fabric strips measuring 2.5×42 inches – grab one from your local store or on Etsy if you want a coordinated print set
- Use at least 5 different fabric patterns for variety
- Fleece doesn’t fray and is good for children who dislike tickly threads; felt garlands can be created without sewing skills too
Core tools:
- Fabric scissors or rotary cutter and mat
- Measuring tape or ruler
- Twine, cotton cord, or string
- Masking tape to secure cord while working
- Optional pinking shears for a zigzag edge that reduces fraying edges
Optional Art Camp extras:
- Wooden beads, felt stars, jingle bells
- Paper tags children can draw on
- Fabric markers for older kids to decorate plain strips
For safety: pre-cut strips for toddlers, use blunt-tip scissors for preschoolers, and keep bells and beads away from under-3s. Art Camp supplies can be adapted for festive decorations without any fancy equipment.
Planning Your Christmas Colour Story
Before you cut one piece of fabric, choose a colour story. This avoids a chaotic figure of clashing prints and lets kids help with design decisions. Select colors that match your decor for best results.
Here are four palette ideas to try:
Style | Colours | Fabrics |
|---|---|---|
Classic Christmas | Red, green, white | Gingham, polka dots, solids |
Cosy Nordic | Cream, soft grey, deep red | Tiny hearts, linen, knits |
Winter Woodland | Forest green, brown, plaid | Animal prints, flannel, hessian |
Candy Cane Brights | Hot pink, teal, lime, red | Bold stripes, neon solids |
Lay strips out on the floor and have children arrange them in a repeating pattern or sequence. Mix solids, stripes, and small prints so the finished fabric garland doesn’t look too busy from across the room. Toss in neutrals like cream or soft grey – they let you keep using the garland as playroom or bedroom decor long after Christmas. If you love exploring cute craft ideas, this colour-planning step is your favorite part of the whole project.
Measure, Cut, and Prep Your Fabric Strips
This is the only slightly fiddly part, best done by an adult or older child on a cleared table – lay everything on a flat surface and you’ll move quickly.
How to measure your space:
Measure the hanging space (mantel, window, bed frame, or tree) and add 30–40 cm (12–16 inches) on each side for tying and swagging. A standard no-sew fabric garland is typically 6 feet long, which covers most mantels. A standard fabric garland length of 6 feet is a reliable starting point.
Strip dimensions:
Cut fabric strips about 1 inch wide by 40–45 cm (16–18 inches) long. Cut fabric strips into 1-inch pieces for the garland width and go longer for chunkier, drapey garlands. Thin fabrics look less robust than thick fabrics, so mix weights for texture. Cotton fabrics lay flatter than felt or fleece fabrics – combine both for dimension.
Cutting tips:
- Cut off seams from old clothing first, then slice straight-ish strips
- Stack two or three layers to cut multiple strips at once
- Each fat quarter measures 18×22 inches, yielding about 8 strips per quarter
- Each jelly roll piece measures 2.5×42 inches – just cut those in half for ready-made strips
- Don’t wait for perfection; slightly uneven edges add character
Sort cut strips into bowls or small boxes by colour so children can easily pick the next piece. This is a cool way to keep the workflow moving and avoid tangles on the table.
Step-by-Step: No Sew Garland Tutorial
The method is simply tying fabric strips onto a central cord using a lark’s head knot. Here are the instructions in child-friendly language:
- Secure the cord. Tape your twine or cord along a table edge or between two chairs with masking tape so it doesn’t slide.
- Find the middle. Mark the centre of the cord with a small knot or washi tape, then work outwards to each end for a balanced look.
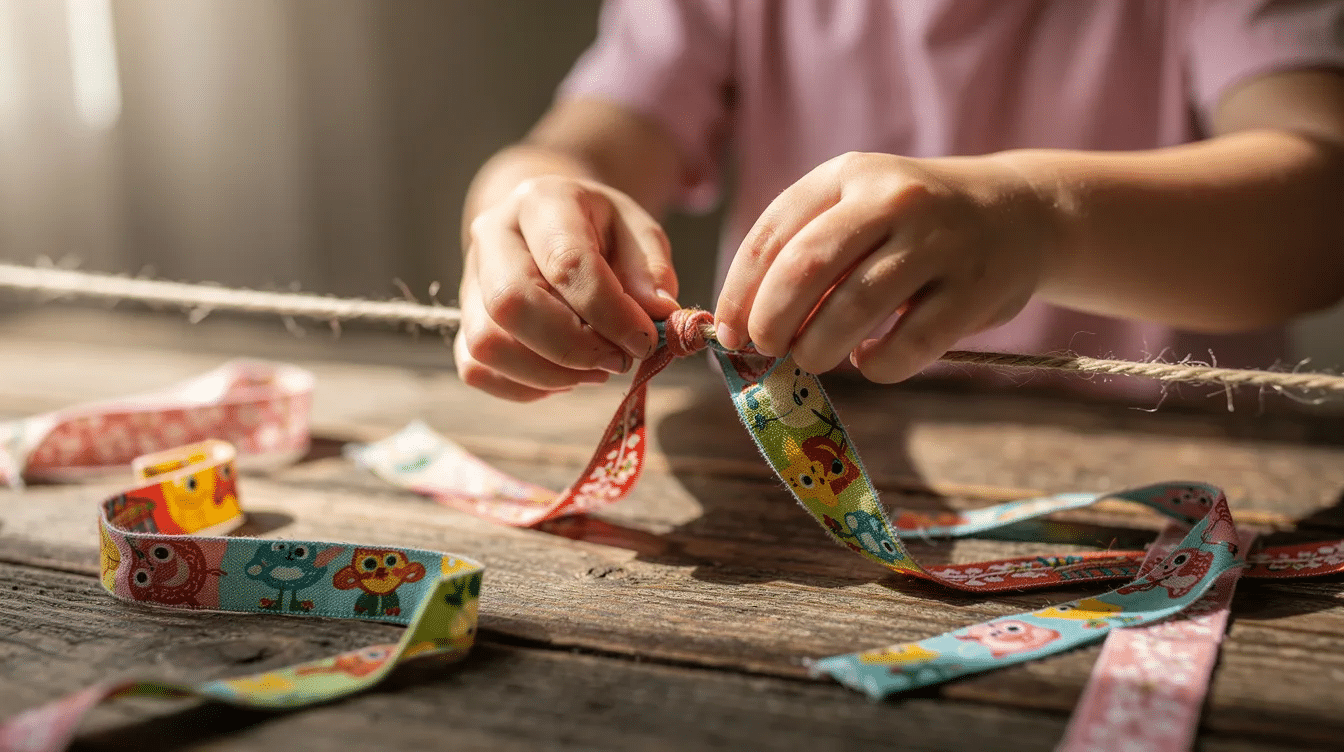
- Fold and tie. Take a strip, fold it in half, slide the loop under the cord, bring the tails over and through the loop, and pull gently to tighten. Think of it like giving the cord a little scarf – lol, that’s how we explain it to our four-year-old.
- Follow a pattern. Try 3 red strips, 3 green, 1 gold, then repeat. Young children can just alternate two colours in the same color family. Use about 25 color sections to cover a 6-foot garland.
- Manage spacing. Push strips snugly together for a full, fluffy look, or leave small gaps if you want to attach beads or felt shapes between groups. Create loops at each end for hanging.
A simpler version of the project takes about 30 minutes to complete, while a full 1.8 m (6 ft) garland with a small helper runs 60–90 minutes – ideal for an Advent afternoon. You don’t need hot glue for this method, but a dab of glue can secure any decorative extras like wooden stars. If you prefer more easy craft ideas, keep this tutorial bookmarked.
Craftmas Variations Kids Will Love
Once families master the basic no sew method, they can adapt it for different Craftmas themes. Here are adorable twists:
- Storybook Garland: Choose fabrics that match favourite Christmas books (blue and silver for “The Snowman”) and hang near a reading corner.
- Shape Garland: Pre-cut felt stars, trees, and hearts with small holes, then thread them onto the cord between fabric clusters.
- Name Garland: Tie on card tags or small wooden letters so children can spell their name or words like “JOY.”
- Sensory Garland: Use mostly soft fleece and brushed cotton, avoiding sequins or scratchy glitter – a cute, sensory-friendly option for younger kids.
For more creative DIY activities the whole house can enjoy, these variations spread the fun across the entire holiday season.
Where to Hang Your Fabric Garland
Experiment with different spots for a fresh look throughout December. Change garland locations if not visually appealing after a few days – no shame in trying a new space.
Placement ideas:
- Over a Christmas mantel (hang garlands about 6 feet long for mantels)
- Along stair banisters or framing a bedroom door
- Across bunk bed rails or above a toy kitchen
- Wrap a shorter garland around the top third of the Christmas tree as a ribbon alternative on child-decorated trees
- Garlands can be hung vertically against a wall for backdrops – several shorter garlands side by side make an adorable DIY photo backdrop for school holidays or Christmas Eve pyjama photos, as pictured in so many holiday posts
Hanging hardware:
- Command hooks allow for easy garland removal and repositioning
- Use cup hooks for a semi-permanent garland display
- Washi tape works on very light garlands
- Tie simple loops at each cord end for quick hanging
Making It a Family Craftmas Tradition
Turn this diy fabric garland into an annual Craftmas ritual. Pick one afternoon in early December each year – the first Saturday after 1 December 2026 is a glad choice – and pair it with hot chocolate and Christmas music.
Add a small dated tag to the garland each year so you can see how children’s colour choices and tying skills change over time. Involve different ages: toddlers choose and sort fabric strips, preschoolers do the tying with help, and older siblings cut strips and design the pattern. Don’t forget to trim any stray threads before you store it for next year.
We’d love to see your Craftmas no sew garland! Drop your photos in the comments, tag us on Instagram, or send an email – sharing your creations helps build this community and inspires other families. If you’re looking for even more craft activities for kids or ideas on how to reuse arts and crafts materials, we’ve got you covered.
FAQ
How do I stop the fabric strips from fraying too much?
A little fray adds to the cosy, handmade style – embrace it. If fraying edges bother you, use pinking shears for a zigzag cut, choose tightly woven cottons, or simply trim loose threads after hanging. Fleece and felt don’t fray at all, so mix them in if shedding threads drive you mad.
Can I make this garland with very young children (under 3)?
Absolutely. Under-3s can safely help choose and sort fabric strips and push them along the cord. An adult should handle the actual cutting and tying. Avoid small beads or bells for this age group due to choking risk – stick to fabric only and keep the fun going.
What length garland should I make for a standard mantel or window?
Aim for around 1.8–2 m (6–6.5 ft) with 20–30 cm (8–12 inches) extra on each end for tying. Always measure your own space first. A standard fabric garland length of 6 feet works for most mantels and standard windows.
Can this no sew fabric garland be washed or stored for next year?
Skip the washing machine – it will tangle the knots and weaken the cord. Instead, gently shake off dust and spot-clean with a damp cloth. Coil the garland loosely, wrap in tissue paper, and store in a labelled box. It will last for years with a bit of care.
What if I don’t have enough fabric scraps for all the fabric I need?
Mix in ribbon, old shirts, or pillowcases cut into strips. Even one new print from a fat quarter combined with existing scraps can create a full, colorful diy fabric garland. Check your local store for seasonal remnants, or browse Etsy for coordinated scrap bundles – a mom on a budget can make this work every time.


