

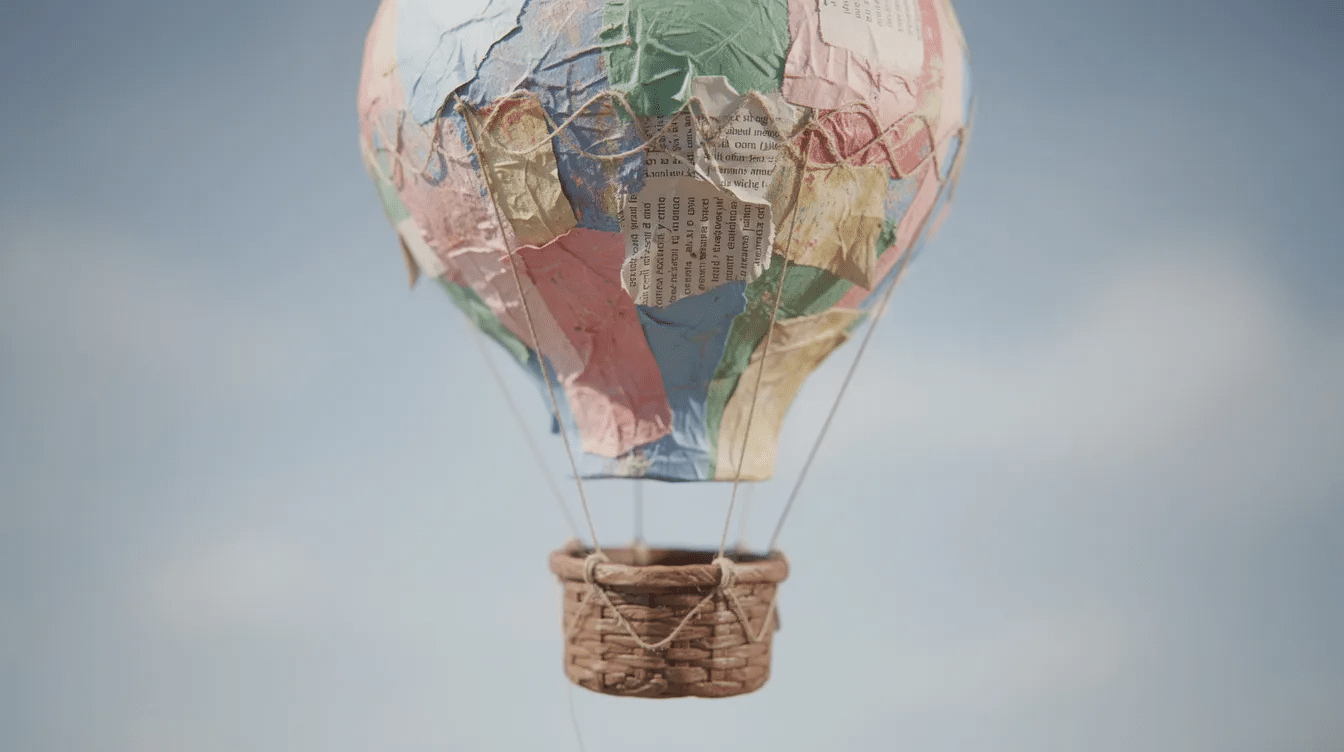
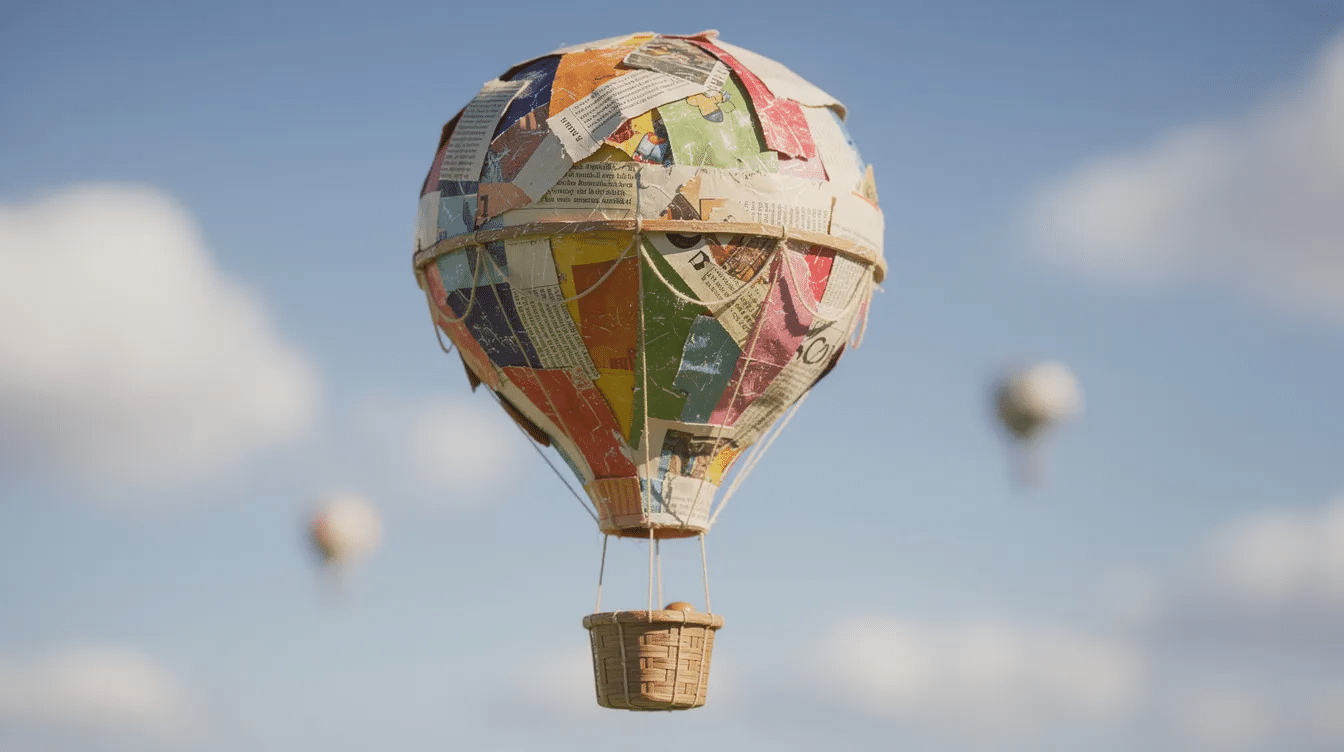
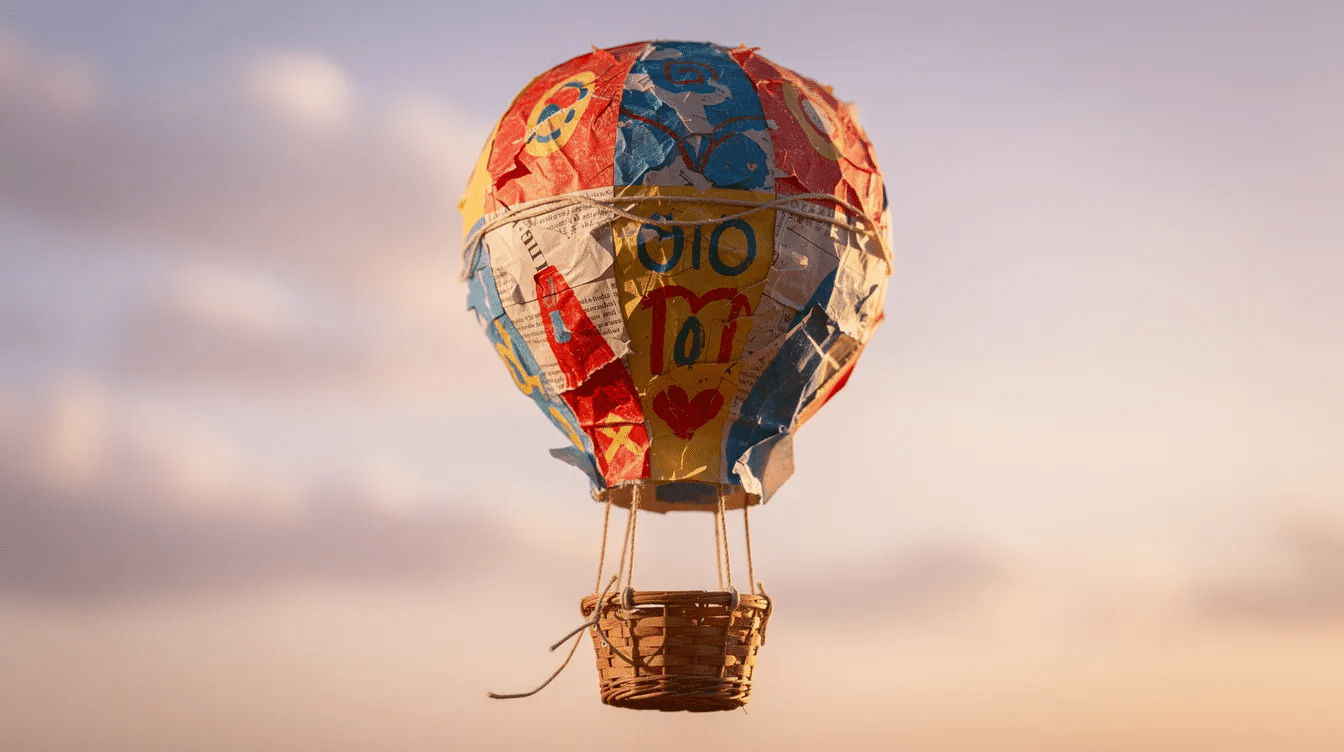
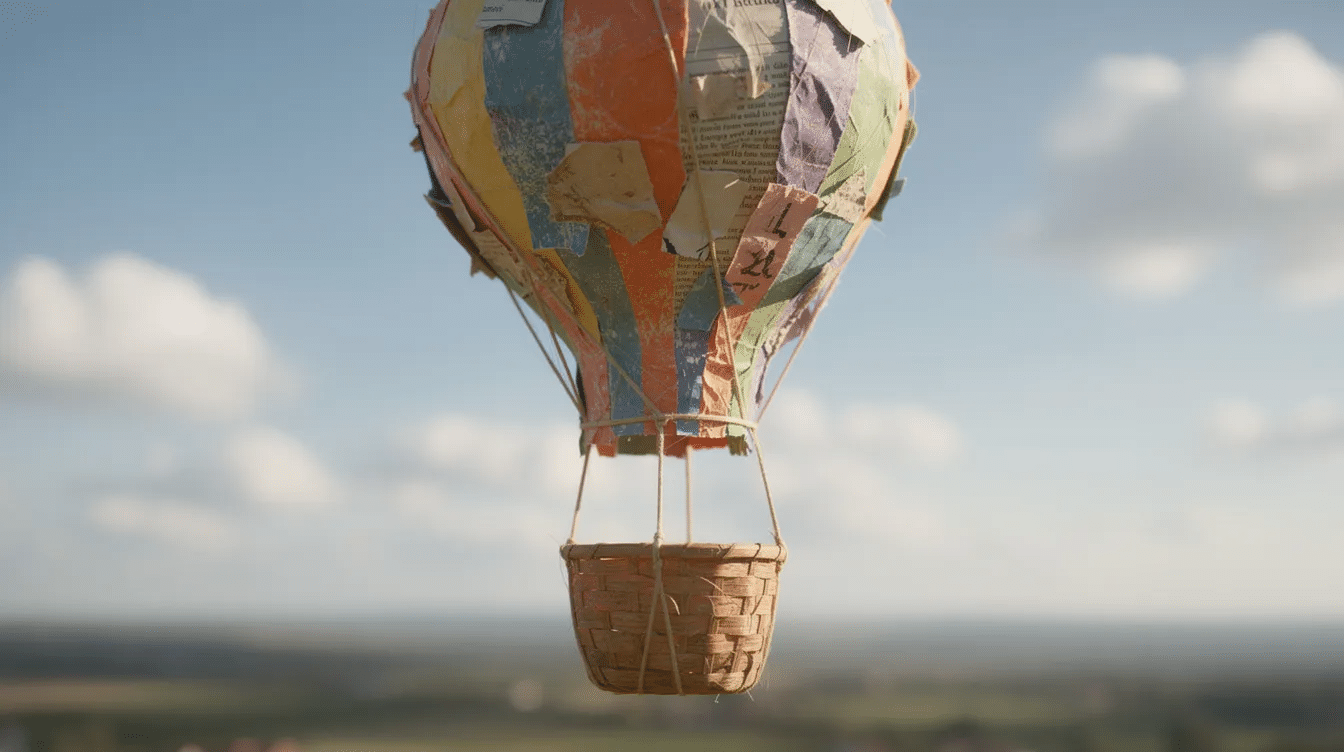
Few crafts deliver the same “wow” as a colourful paper mache hot air balloon spinning gently above a reading corner. This tutorial walks you through building one from scratch with your kids – using little more than a balloon, newspaper, paste and a paper cup.
Key Takeaways
- Children aged roughly 4–8 can help create a paper mache hot air balloon using a real balloon as the mould, newspaper strips, and a simple paper cup basket.
- This Little Button Diaries project turns recycled materials – scrap paper, cardboard, cups – into whimsical room decor or party decorations.
- The craft takes 2–3 days because paper mâché layers need to dry completely between steps.
- For a strong project, it’s advised to use glue mixed with water instead of flour paste.
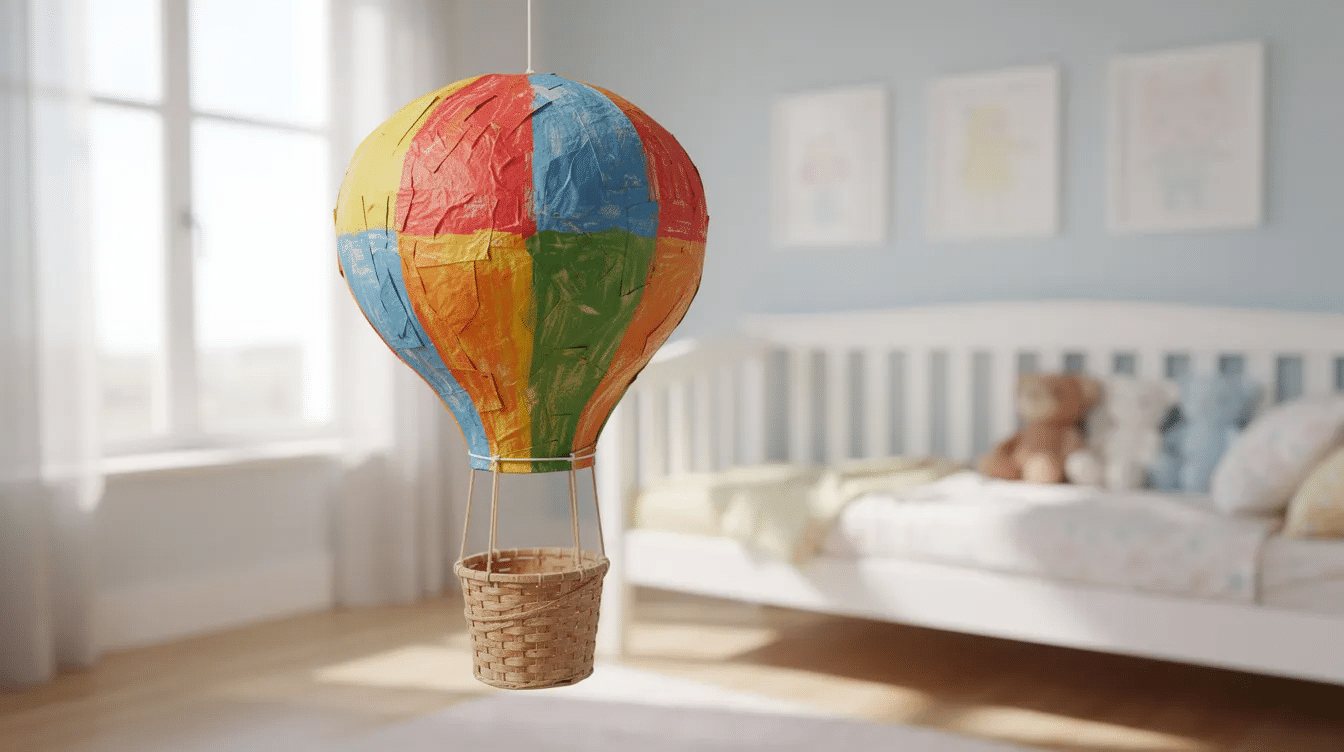
- Hot air balloons make perfect decor for a boys room, nursery, or birthday party table.
Materials & Prep for Your Papier Mache Hot Air Balloon
Gather everything before you start – it keeps crafting with kids calmer and far more fun. Collect these supplies and prepare your workspace so the process runs smoothly.
Supplies list:
- A standard party balloon (a 12-inch balloon is ideal for crafting hot air balloons – good diameter for little hands)
- Newspaper cut into strips (roughly 2 cm × 15 cm)
- PVA glue diluted 1:1 with water, or flour-and-water paste
- Masking tape, a pair of scissors, acrylic paint, brushes
- String or thin twine, a hole punch, a paper cup for the basket
- A small ring (key ring or metal washer) for hanging
- Old tablecloth, aprons, and a mixing bowl
Whether you search for “paper mache,” “papier mache,” or “paper mâché” on google, acknowledge that they all describe the same technique – strips of paper bonded with paste over a form.
Quick prep tips: blow up the balloon and tie one end with a knot, then sit it in a bowl to keep it steady while kids work. Pre-cut newspaper into strips – or even long, skinny triangles for better conforming to curved surfaces. Using smaller paper strips allows kids to smooth them down easily. Younger children can tear paper and paint big areas; adults should handle scissors and any craft-knife work.
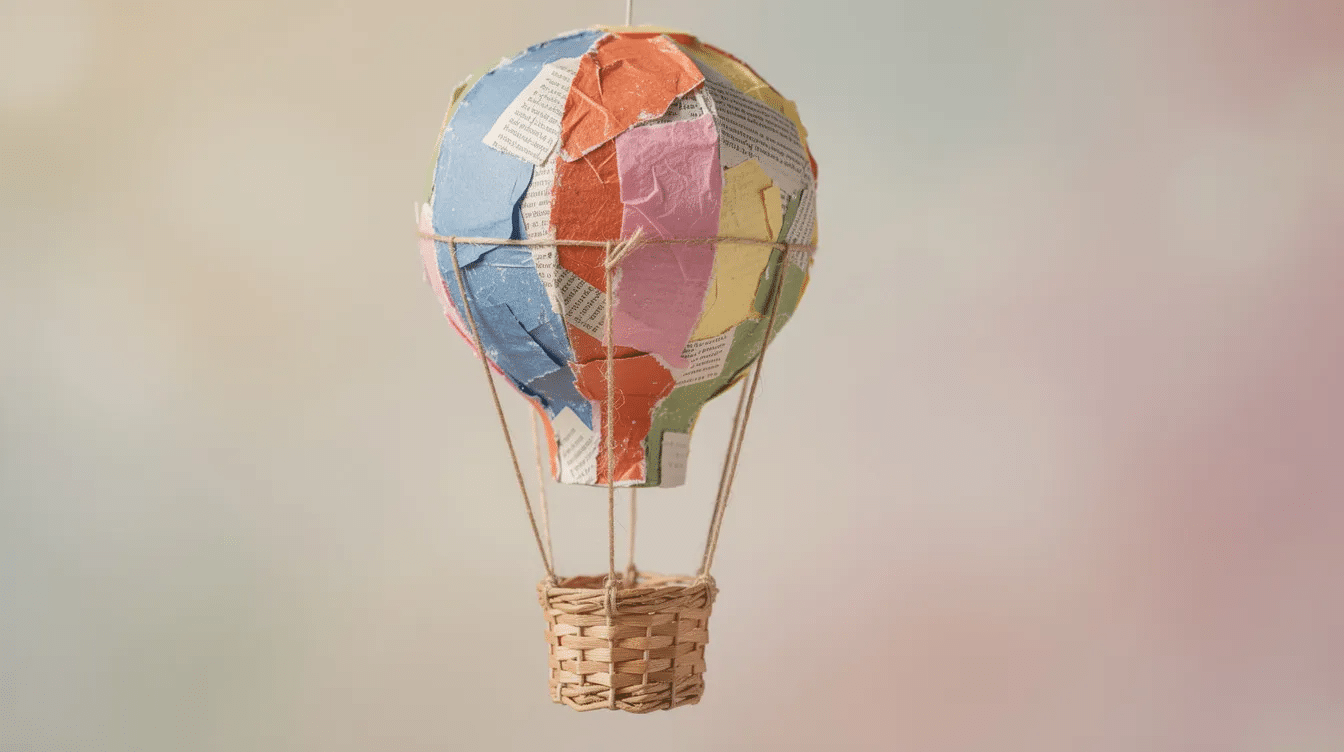
Kid-friendly extras are optional but fun – stickers, washi tape, tissue paper, foil stars, or map paper for an “around the world” air balloon look.
Step-by-Step: Building the Paper Mache Balloon Shape
This is the messy, sensory-rich part that kids love. Here’s the process, point by point.
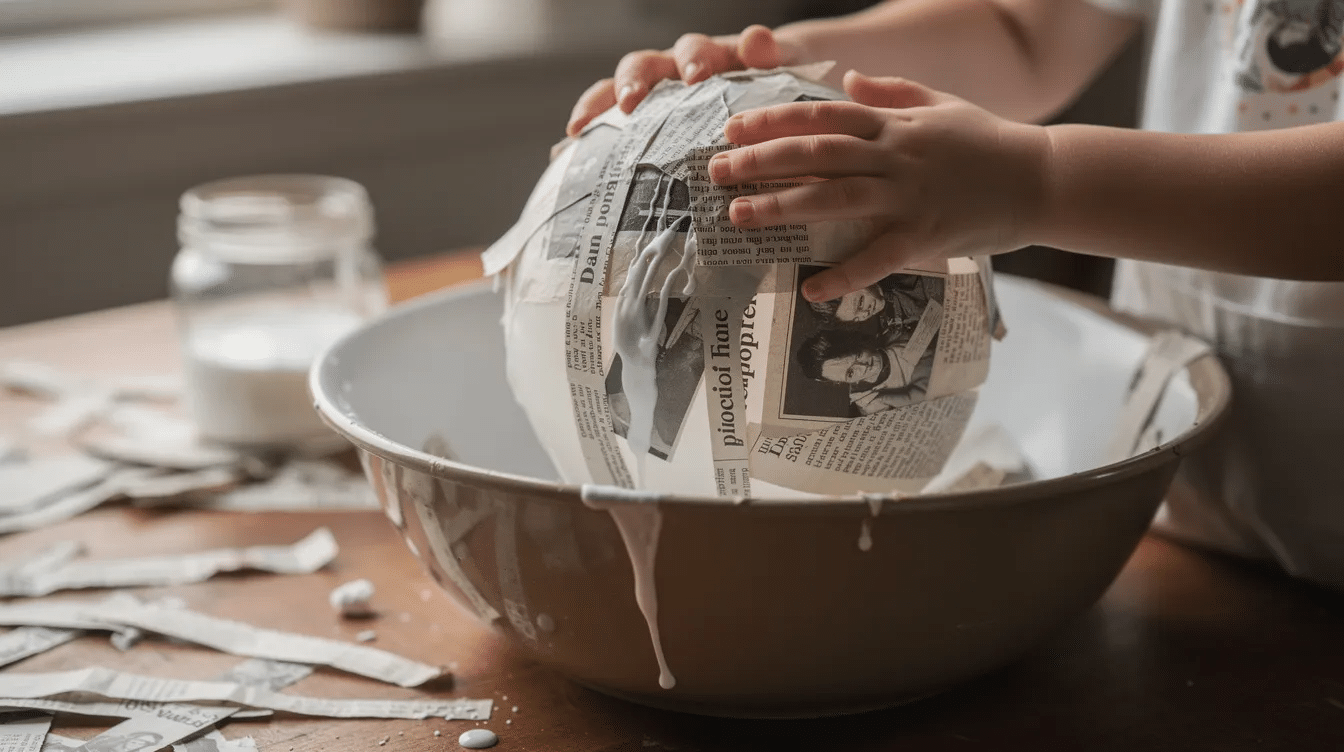
- Mix your paste. Stir 1 part PVA glue to 1 part water until smooth. You can also mix wallpaper paste or flour glue (1 cup flour to 1½ cups warm water, whisked). For durability data, glue-based paste dries faster and yields a stiffer shell.
- Dip and apply. Dip each strip in paste, pull it between two fingers to remove excess, and lay it onto the balloon. Overlap paper strips when applying layers to create a stronger shell. Start near the tied end and work outward, leaving the knot area and a small circle at the bottom uncovered.
- Cover thoroughly. Continue until the whole balloon is covered. Review your work – gaps weaken the shell. Repeat the layering step.
- Layer count matters. Apply 3 to 4 layers of paper mache for a sturdy balloon structure. Use 5–6 layers if you want a stiffer keepsake that will last years.
- Dry between layers. Let each layer dry completely before adding more – ideally dry overnight in a warm, well-ventilated spot. Working in a well-ventilated area helps dry the layers faster and prevent mould. Turn the balloon between layers so hot air and light reach all sides evenly.
- Test for dryness. Tap the surface – a sign it’s ready is a hard, hollow sound. If it feels cool or squishy, wait longer before you cut any holes.
Shaping, Painting & Decorating the Balloon
This is the magic moment the grey shell transforms into a bright hot air balloon.
- Remove the latex balloon. Carefully snip a small hole at the bottom (the pointy end). The air balloon inside will shrivel – pop it, then pull the latex out through the opening. Trim ragged edges around the bottom hole for a clean appearance.
- Create the top hole. Cut a tiny hole near the tied end area for feeding through a loop of string or a small metal ring to hang the finished piece.
- Prime the surface. Paint the papier mache with white acrylic paint as primer. Creating a base coat prevents the newspaper print from showing through. Let it dry.
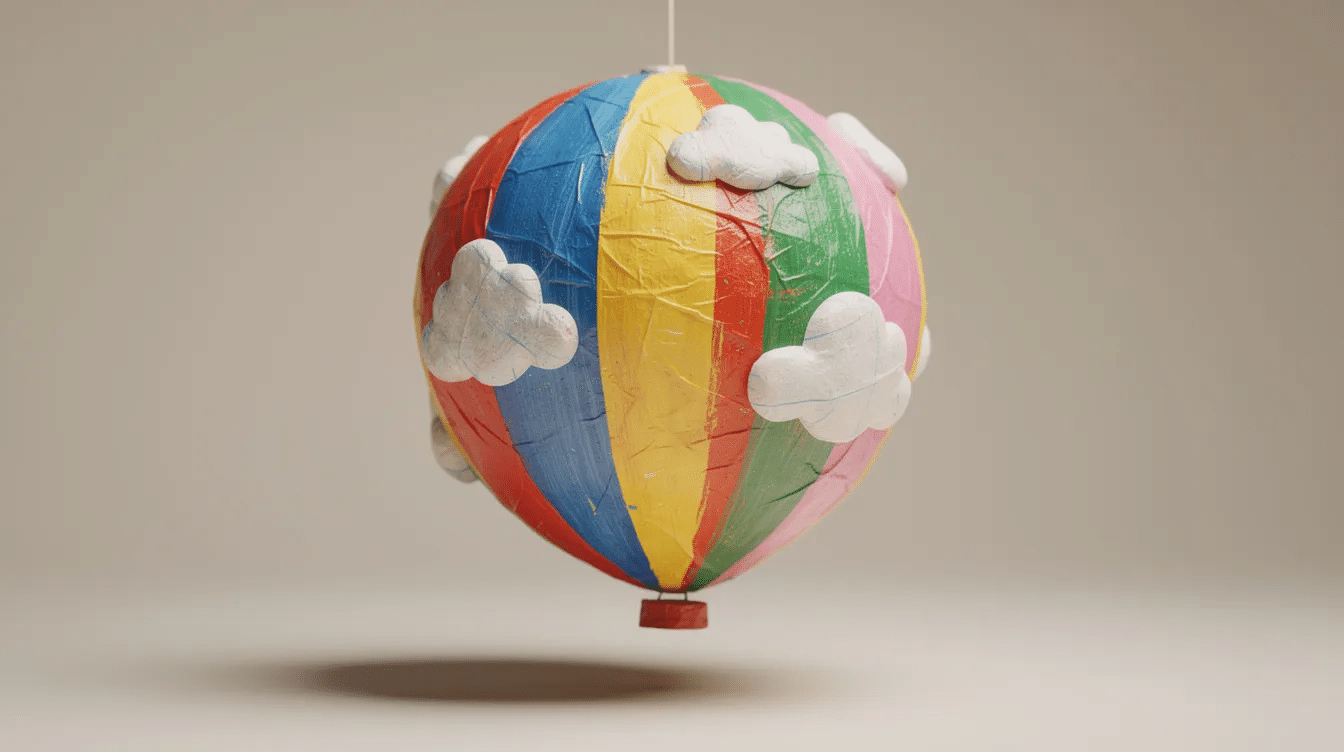
- Decorate boldly. Use alternating colours to paint sections – stripes, chevrons, arrows, or rainbow panels inspired by real hot air balloons. Acrylic paint is recommended for decorating paper mache, though poster paint works for quick projects. Allow each colour block to dry to avoid smudging.
- Add details. Decorations can include tiny paper passengers, miniature flags, or themed designs. Creative ideas include using pastel colours or vintage map pieces. Decorate with stickers, foam shapes, or glitter glue. For added texture, glue cotton batting around the balloon to mimic clouds. Use dangling charms and small fabric pillows for additional decoration – but keep decorations lightweight to maintain balance when hanging the balloon. Older kids can sketch designs with pencil first; explore whatever category of theme excites them.
Making the Paper Cup Basket & Hanging the Balloon
The humble paper cup becomes the hot air balloon “basket” – and kids usually love this piece of the project.
- Prepare the cup. Trim a paper cup to create a basket – cut the rim so it looks more like a classic woven basket. Paint it brown, gold, or any party colour. Add pom-pom trim around the outside of the basket for extra charm. Let children add stripes or faux windows.
- Punch holes. Punch four evenly-spaced holes around the top edge of the cup. An adult should handle the hole punch or sharp skewer.
- Attach strings. Cut four pieces of thin string or twine to equal length. Thread each through a hole from outside to inside, then knot securely so the basket hangs level. Attach the basket by tying strings through holes on both the cup and the balloon opening.
- Prepare for hanging. Glue or tape a small metal or cardboard ring over the top hole inside the balloon. Tie one end of a longer hanging string to it, insert the other end out through the top, and form a loop for a hook or nail.
- Connect balloon and basket. Tie the four loose basket strings to four points spaced evenly around the bottom hole of the mâché hot air balloon so the basket hangs straight.
Display ideas: hang several balloons at different heights over a birthday party table or above a cot – well out of reach, with battery tea lights only if lighting is desired. A number of these grouped together make striking nursery or boys room decor.
Tips, Variations & Safety Notes for Families
A friendly round-up so the fun stays stress-free.
- Spread the work. Prepare strips and layer one coat on Friday evening. Add more layers Saturday. Paint and assemble Sunday. The wait between steps is built-in drying time, not wasted time.
- Variations to explore. Try mini balloons using water balloons and egg cups, themed designs for baby showers (pastel colours), pirate parties (map-covered balloon with a cardboard telescope), or classroom geography projects. You’ll find more reuse craft ideas on our website.
- Handle the mess. Keep warm soapy water and a towel nearby. Dress kids in old T-shirts. Let them enjoy the sensory experience while you manage drips.
- Safety first. Adults cut any small hole, keep long hanging cords out of reach of toddlers, and never use real candles or flames inside the balloon – only cool battery-operated lights.
- Seal for longevity. Seal a completed paper mache project with clear acrylic or Mod Podge to protect paint and resist dust. Store finished air balloon decor in a dry place so it can be reused across multiple parties – a genuinely eco-friendly approach that fits the craft-and-reuse ethos we champion at Little Button Diaries.
Share photos of your finished paper mache hot air balloons with us – your feedback helps us create better content, and we’d love to see what your children come up with. Browse more craft activities for kids on our site for your next rainy-day project.
FAQ
How long does a papier mâché hot air balloon take to dry?
Each thin layer typically needs 6–12 hours to dry completely. A full build of 3–4 layers can take 24–48 hours in normal home conditions. Speed things up with gentle airflow from a fan – avoid direct high heat, which can cause warping or cracks.
Is flour paste or PVA glue better for long-term decor?
PVA glue mixed with water produces a stronger, more moisture-resistant shell and is the better choice for a piece you want to keep. Flour paste is cheaper and perfectly non-toxic for younger kids, but it’s more prone to mould if not dried thoroughly.
How do I fix a soft or sagging shell?
Add extra layers of paper mache over the weak spot and let them dry. For a small tear around the opening, patch it with a fresh strip dipped in paste, let it dry, sand smooth, and repaint.
Can I use the finished balloon outdoors?
Paper mache is best kept indoors, away from rain and damp. If you need outdoor decor briefly, seal heavily with clear acrylic varnish – but bring it inside afterwards. Dust with a soft cloth and avoid stacking to prevent crushing.


