

Quick overview: why a giant carrot piñata is perfect for kids’ parties
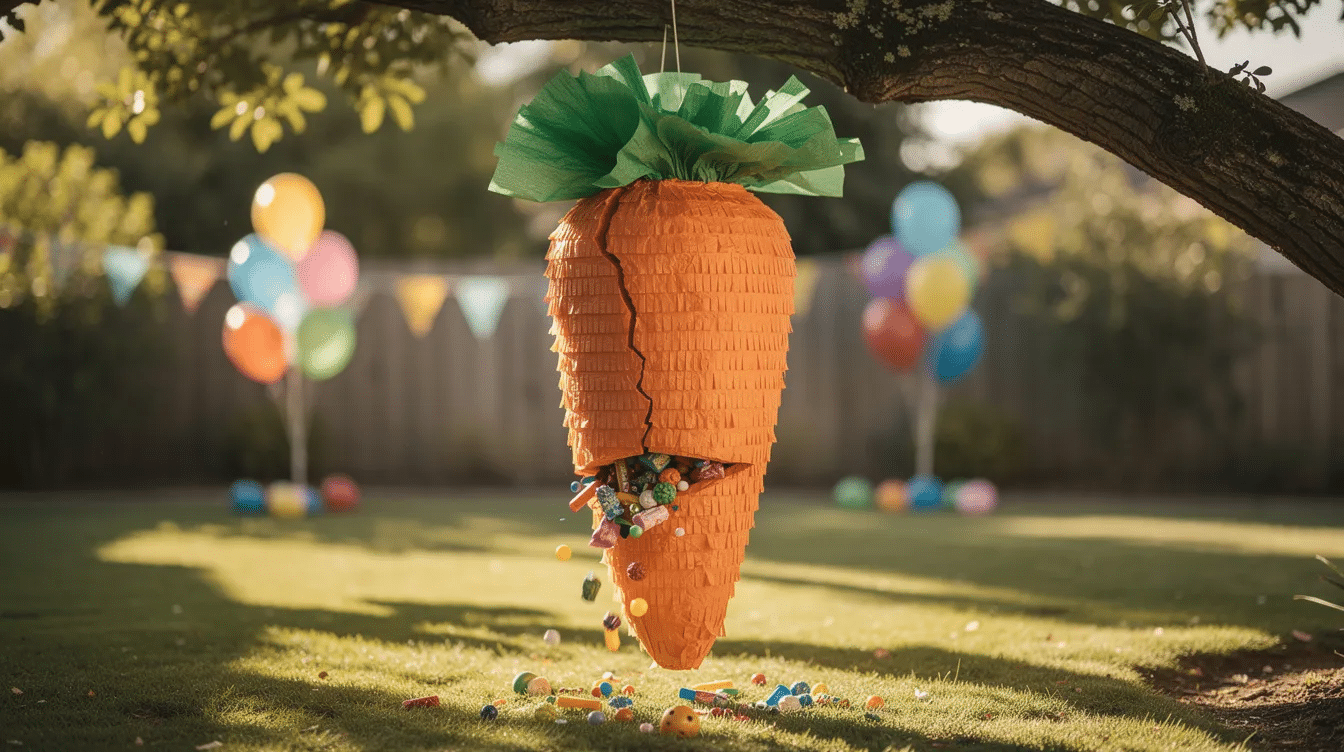
A giant carrot pinata is one of those brilliantly simple party ideas that works across seasons and themes. Hang it at an easter theme party alongside an egg hunt, use it as the centrepiece of an orange veggies birthday, or bring it out for a farm-themed afternoon – it always gets kids buzzing with excitement. As a decorative focal point at parties, it pulls double duty: gorgeous to look at and thrilling to smash.
This hands-on DIY project from Little Button Diaries is aimed at parents of preschoolers and early primary kids (ages 3–7). A typical store-bought giant carrot piñata is 20 inches tall. Walmart sells a 20-inch version for $38.99, Amazon features a carrot piñata for Easter themes, and Matteo Party offers a giant carrot piñata online too. Mass retailers provide standard-sized carrot piñatas through various platforms, and niche party boutiques may stock oversized vegetable-themed piñatas occasionally. You can even find an Etsy seller offering unique handcrafted versions – customers describe the product as cute and good quality, with reviews averaging 4.6 out of 5 stars, and customers reported it lasted an hour of continuous use.
But here’s the thing: making your own is cheaper, more personal, and a genuinely fun afternoon activity. Specialty piñata sites offer custom shapes including carrot piñatas, but a DIY version uses materials you likely already have. Carrot piñatas are suitable for various themes like Easter, garden parties, and farm celebrations, so your creation won’t gather dust after one event. A quick note on safety: always supervise when filling and breaking any pinata with young children nearby.
Supplies you’ll need for a DIY giant carrot pinata
Here’s a simple checklist with short explanations for each item.
Structure & tools:
- Flattened cardboard boxes – a box from your last supermarket delivery works perfectly; cereal boxes suit smaller carrots
- Masking tape, PVA glue or glue stick
- Scissors and a craft knife (adults only)
- Hole punch and strong string or ribbon for hanging
- A size of roughly 20–24 inches (50–60 cm) tall works well for most family parties
Decoration:
- Orange tissue paper or crepe paper for the carrot body
- Green crepe paper or card for the leafy top
- Optional white and pink paper for a Kawaii-style face
Fillers:
- Wrapped mini chocolates, foil Easter eggs, stickers, bouncy balls, temporary tattoos, or small plastic animals – all preschool-friendly, non-choking treats
- Common alternative fillings for piñatas include seed packets and mini gardening tools, perfect if you want something beyond sweets
- For eco-friendly, low-waste options: paper confetti, homemade streamers, and reusable fabric ribbons instead of plastic fillers
Optional extras: acrylic paint for stronger colour, markers for names, and a wooden spoon or lightweight bat. You don’t need to shop for anything specialist – every item on this list is an everyday craft cupboard staple.
Step-by-step: building the cardboard carrot base
No specialist skills needed here. If you can use scissors and tape, you can create this. DIY piñatas can be made using cardboard cones or paper mache, and we’re going the cardboard route for speed.
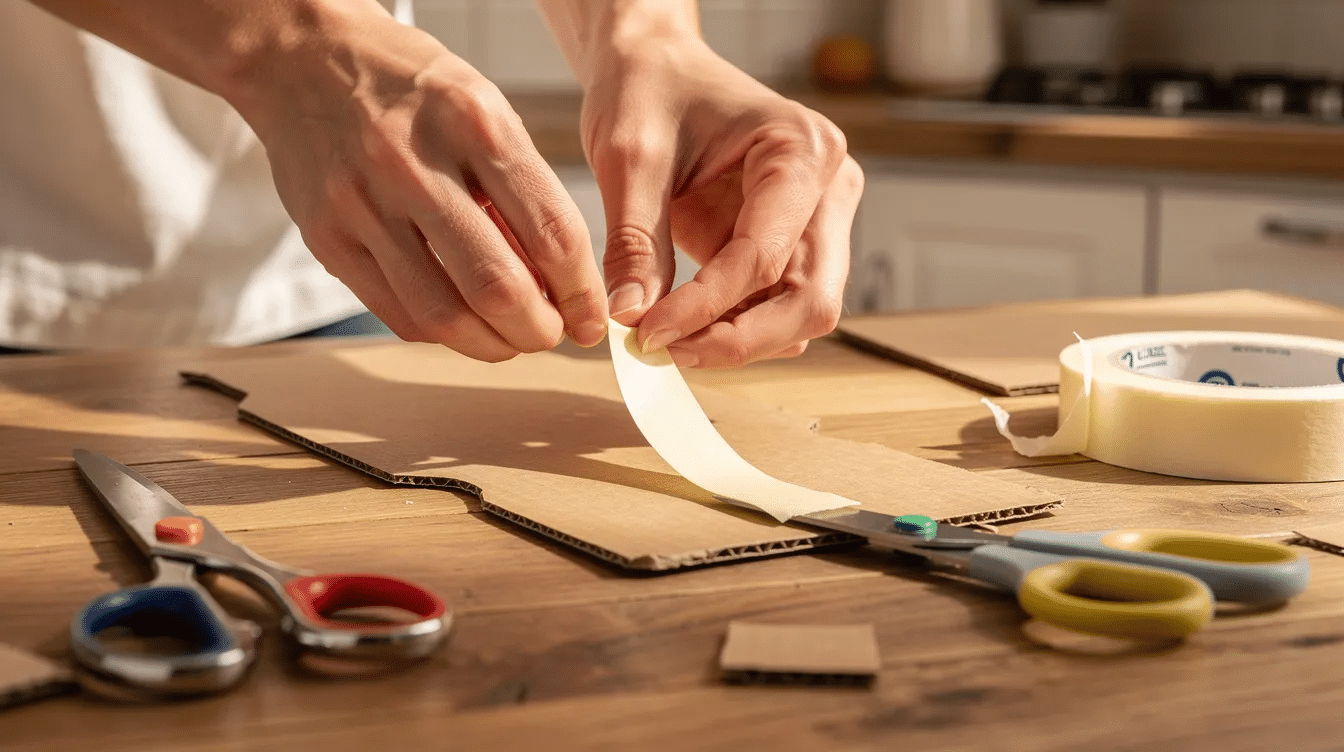
- Draw the outline. On flat cardboard, sketch a tall carrot shape about 20 inches high, 7–8 inches wide at the top, narrowing to a point. A baking tray edge or ruler helps keep lines straight.
- Cut two identical pieces. Use scissors or a craft knife (adults only) and lightly sand any sharp edges.
- Create side strips. Cut long cardboard strips about 4–5 inches wide. Gently bend them to follow the curve of your carrot – these form the depth of the piñata body.
- Tape one side. Secure the strips around one carrot piece with masking tape. Stand it pointed-end down, flat top up.
- Leave a flap. Keep a small section near the top side unsealed – this becomes your door for adding treats later.
- Close the shape. Tape on the second carrot piece and reinforce every join with extra masking tape.
Gently press the sides to test. The structure should be sturdy enough to hang but not so rigid that kids can’t eventually break through. Add an extra internal rib of folded cardboard across the widest point if it feels floppy.
Decorating your giant carrot pinata with tissue and crepe paper
This is the easy, child-friendly stage where kids can help with glueing and fringing – the messier, the better.
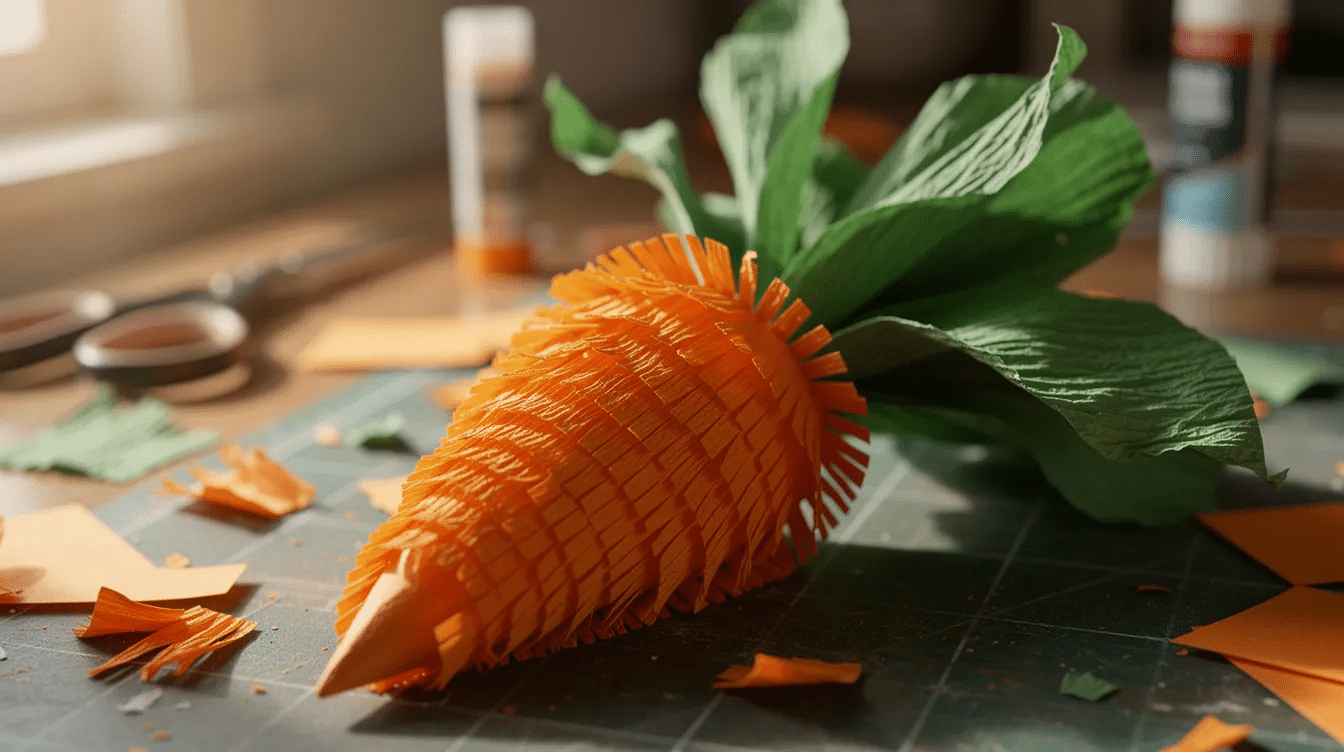
Start by covering exposed cardboard with a base layer: either a quick coat of orange paint or a flat wrap of orange tissue paper glued down. This hides any brown cardboard peeking through. While that dries, cut orange tissue or crepe paper into long strips and snip fringes along one edge to mimic a real carrot’s textured surface.
Layer from the tip upwards. Glue each fringed strip so the fringe points downward, overlapping rows as you climb. The overlap hides the cardboard and builds that satisfying, shaggy carrot look. For the leafy top, cut long green crepe paper leaves or wavy green card strips, bunch them together, and tape them securely into the top opening. Hide the join between body and leaves with an extra band of green tissue or a ribbon wrap.
Want to add personality? Draw a smiley face, stick on rosy cheeks with pink paper circles, or write the birthday child’s name and age. These touches are a lovely way to personalise.
Filling, hanging and safely breaking your carrot pinata
This section helps you handle the smash stage calmly, even with a garden full of excited preschoolers.
Open the pre-planned flap and fill the carrot with a mix of sweets and lightweight toys. Aim for around two-thirds full – exciting but not so heavy it tears the hanging point. Note: it is heavy when filled with candy, so if you’re going sweet-heavy, reinforce the top with extra cardboard. Thread a strong loop of string through two holes punched near the top centre, then knot securely on the inside so the rope stays attached.
Where to hang it:
- From a tree branch for an outdoor Easter egg hunt
- From a sturdy curtain pole indoors
- From a garage beam if the weather turns
Safety rules for multiple guests:
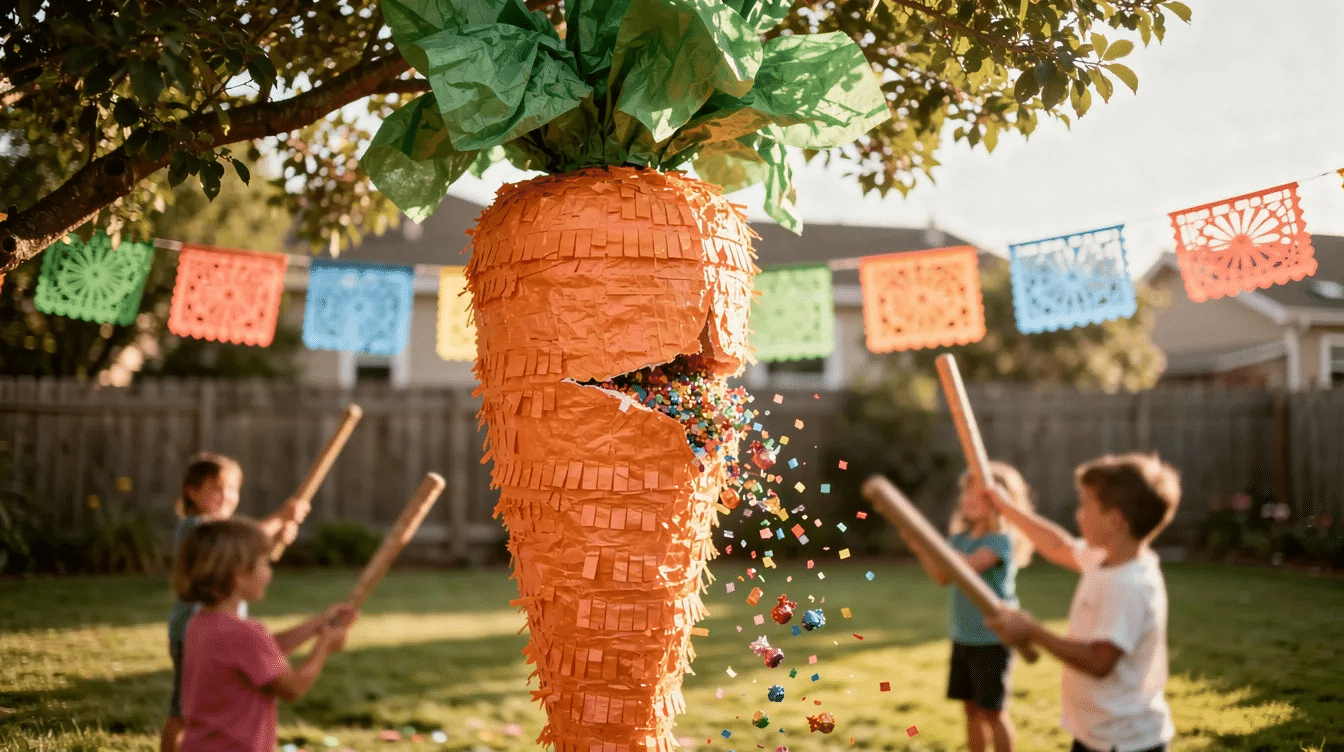
- Children stand in a wide circle
- Only one child swings at a time – safety measures should be in place during piñata activities to organize and secure turns
- Use a lightweight wooden spoon or cardboard tube for toddlers
- An adult holds the rope and supervises closely
For very young kids, try a pull-string option: pre-tie ribbons attached to the flap so children pull gently instead of swinging. Much calmer, equally thrilling.
Theme ideas: Easter theme party and orange veggies birthday
Your giant carrot piñata is the star – now build a party around it.
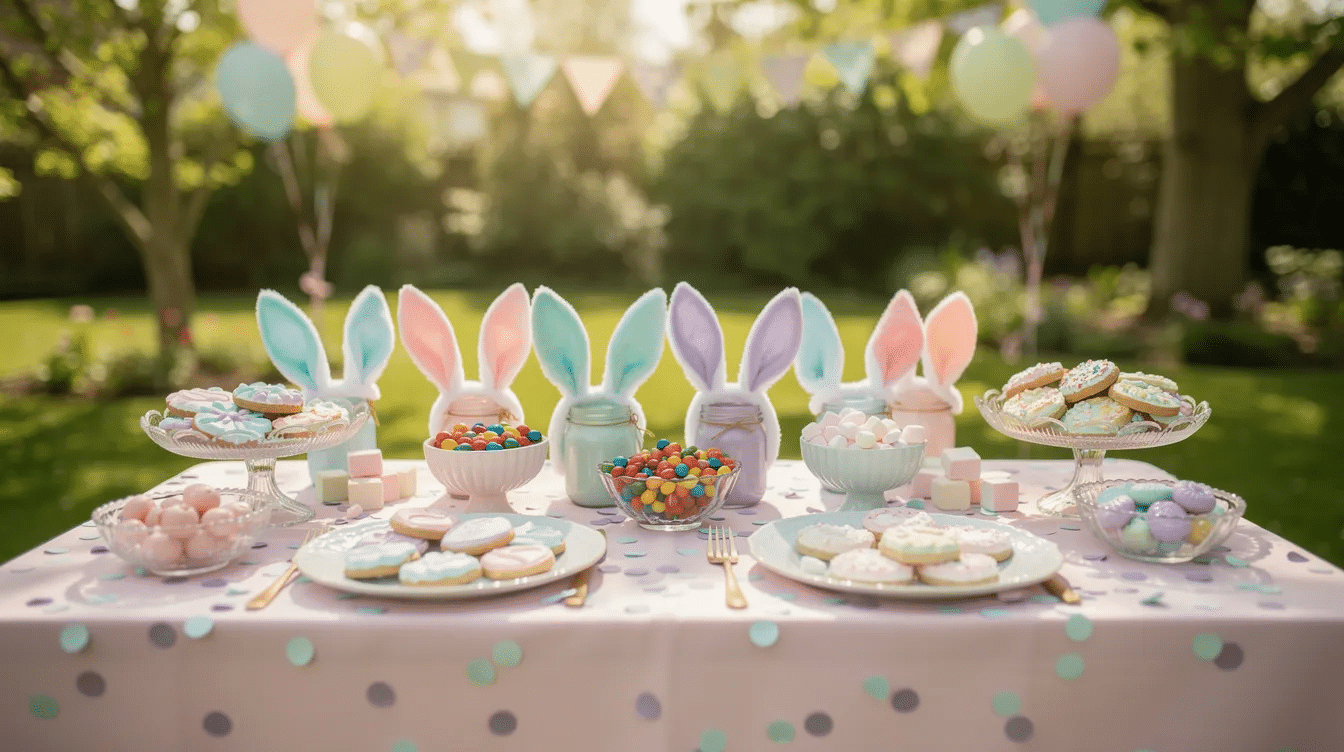
Easter celebration: Hang the carrot pinata near the egg hunt area. Add pastel bunting, bunny ear headbands, and a craft table for decorating paper eggs or Easter bonnets. Fill with foil-wrapped eggs, small chocolate bunnies, carrot-shaped treat bags, and bunny stickers. Carrot piñatas can be used for garden parties and Easter celebrations equally well, so discover what suits your space.
Orange veggies birthday: Pair the pinata with paper plate pumpkins, cucumber bunting, and a “Veggie Patch” snack table. Carrot cupcakes topped with cream cheese frosting make a simple coordinating bake. Try circle-based party games like “Pin the Tail on the Bunny” or a veggie colour-sorting game for preschoolers. You can even live out a Peter Rabbit storybook theme with matching colours and wording. Play music from any device to keep the energy up between games.
Tips, variations and preschool learning links
A few extra ideas to adapt this project for different ages, spaces, and learning goals.
Time-saving variations: Make a smaller tabletop carrot pinata using a paper cone, or create several mini versions so each child gets one – no waiting, no tears. Piñatas can serve as interactive activities beyond just candy-filled smashing: use them for counting games or colour hunts.
Reuse ideas: An intact carrot pinata becomes a bedroom decoration, play kitchen prop, or classroom display for a “Growing Plants” topic. That’s education and craft rolled into one.
Preschool learning links: Count treats as they fall out, sort by colour, and chat about where real carrots grow. These small conversations turn party chaos into genuine learning moments. For more easy craft ideas, read through our archives.
Troubleshooting: If the pinata doesn’t break, the most common error is joints that are too sturdy – pre-cut tiny slits before decorating. If it tears too early, add extra tape in weak spots. Search for a video tutorial on youtube if you’d like to see the fringing technique in action, especially useful if you’re crafting on a weekday pm after the kids are in bed. Thanks to aug being peak party-planning season, you’ll find plenty of inspiration on our page.
We’d love to see your creations – sign up to tag Little Button Diaries on social media and share your photos. The whole point isn’t perfection. It’s playful, creative time together, and that’s the best way to make memories.


