

Lino printing is one of those crafts that looks impressive but is surprisingly doable at the kitchen table. In this guide from Little Button Diaries, we walk you through everything you need to try this hands-on printmaking technique with your family – safely, affordably, and with plenty of fun along the way.
Key Takeaways
- Lino printing is a simple kind of block printing: you carve a design into a soft linoleum block, roll on ink with a brayer, and press the image onto paper or fabric. A linocut is a type of block printing, and creating a lino print involves designing artwork, carving a linoleum block, and rolling ink onto it.
- This tutorial is written by Little Button Diaries for parents, carers, and preschool teachers who want to try safe, supervised lino printing at home or in the classroom.
- The guide covers choosing beginner-friendly tools (including kid-safe alternatives), planning and transferring a design, making a test print, and creating small final projects with children.
- You will also learn the difference between water based ink and oil based ink, plus simple safety and clean-up tips for working around little ones.
What Is Lino Printing (and Why It’s Great for Families)?
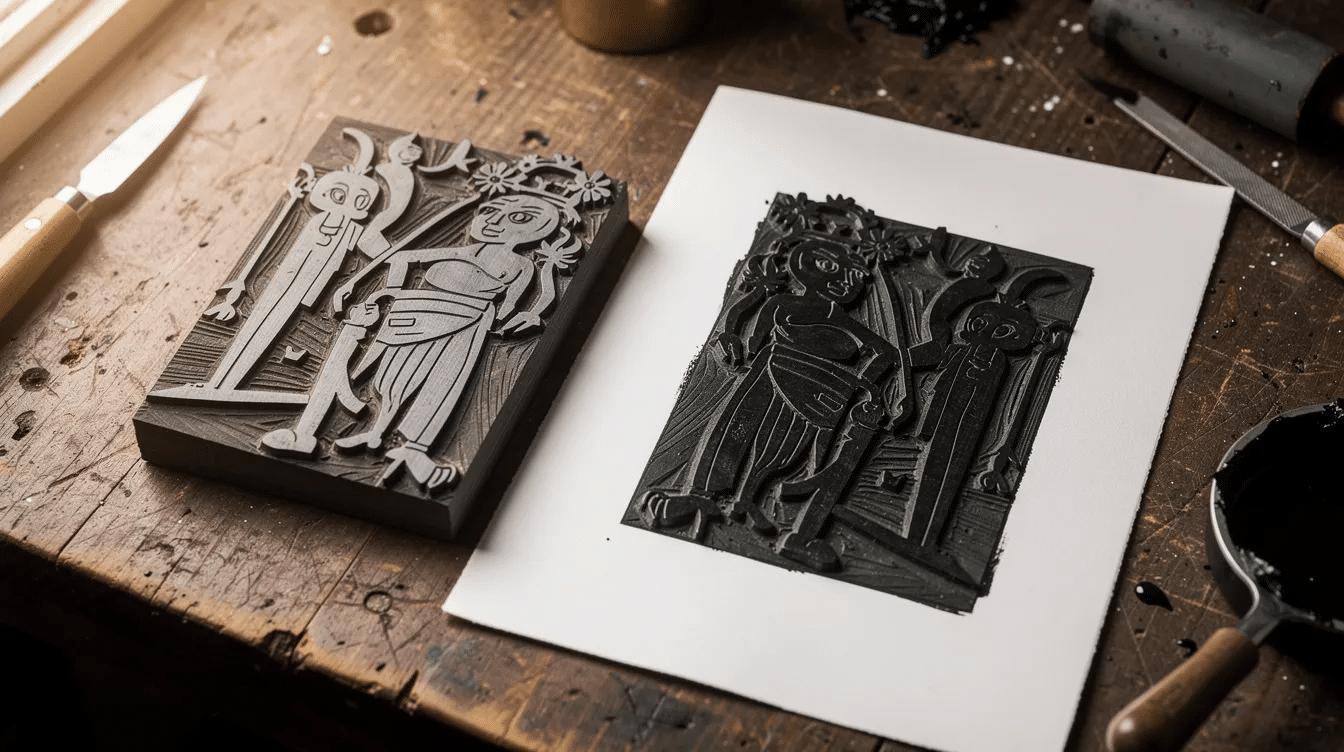
Lino printing is a relief printmaking technique. You carve away the areas you want to stay blank, leaving raised shapes that hold the ink. When you press the block onto paper, those raised parts transfer the design. The process is slow, tactile, and satisfying – perfect for family craft time.
If your children have tried rubber stamping or potato printing, lino printing is the natural next step. Unlike a potato stamp that goes mushy after an afternoon, a single carved lino block can be reused to make dozens of prints: cards, wrapping paper, bookmarks, or simple framed art. Compared to woodcut printing, lino lacks wood grain, so lines flow freely in any direction – making linocuts more forgiving for beginners.
Lino printing suits family life because it breaks into short stages. You might sketch a design one evening, carve the next day, and print at the weekend. One important safety note: the carving stage uses sharp tools and should only be done by adults or older teens. Preschoolers can happily help with designing, choosing colours, inking, and pressing the print.
Lino Print Supplies You’ll Need (Beginner & Kid-Friendly Options)
You do not need a press or expensive gear to begin. A kitchen table, a few basic materials, and an hour of free time is all it takes to start.
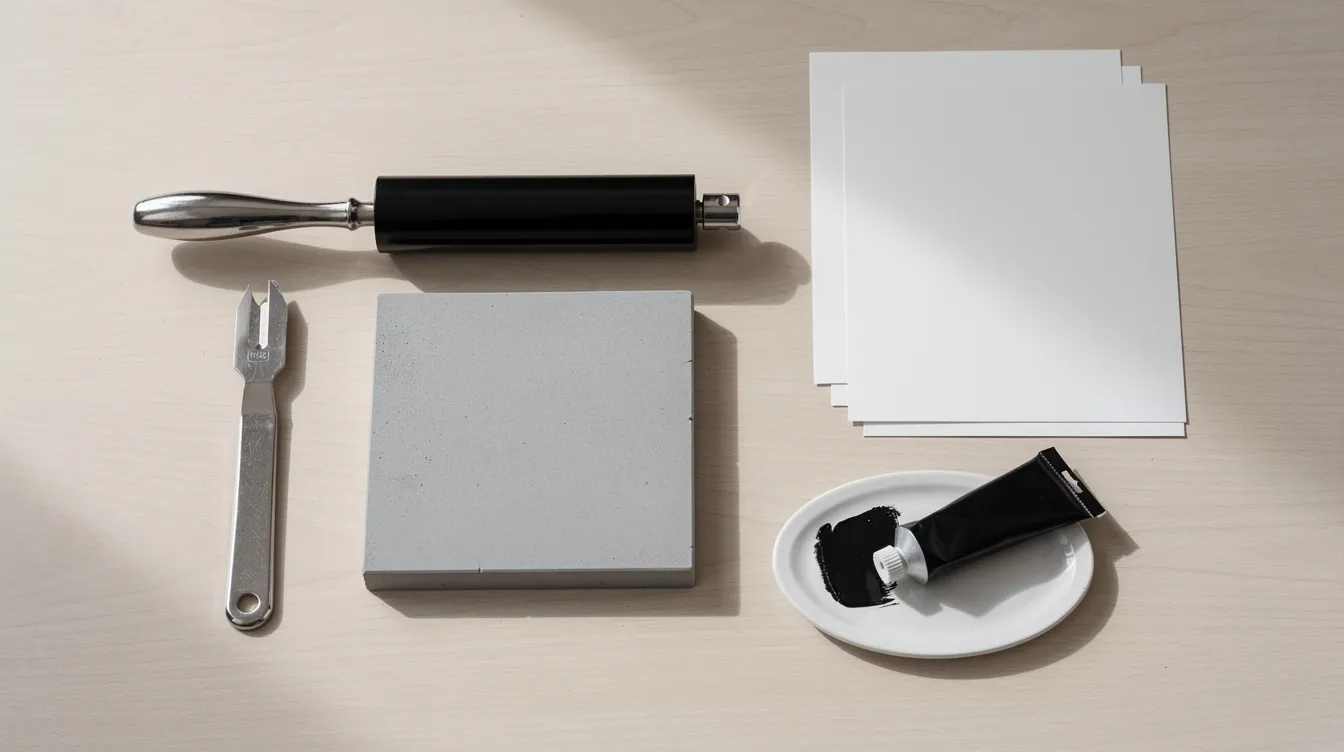
Core supplies:
Item | What to look for |
|---|---|
Lino block | Softcut (pale grey) or Speedy-Carve (pink) – both are soft and easier to carve than traditional lino. Linoleum blocks come in traditional battleship gray or soft-cut polymer types. Use a box cutter to cut the block to size. |
Carving tool set | A basic gouge set with interchangeable V-shaped and U-shaped blades. Power Grip Carving Tools and pfeil tools are popular brands for beginners. |
Brayer | A soft rubber roller used to distribute ink evenly on the block. |
Block printing ink | Water based ink cleans up with soapy water and is ideal around children. Oil based ink (such as Cranfield Caligo Safe Wash Relief Ink, which is oil-based but washes with water) gives richer colour. |
Inking surface | A sheet of plexiglass is ideal for rolling out ink evenly. Old picture-frame glass or a ceramic tile also works – inking surfaces should be smooth and non-porous for optimal results. |
Paper | Cheap printer paper for test runs. For final prints, choose a slightly heavier sheet around 160–220 gsm. Printing paper should be relatively smooth and absorbent. |
Kid-safe substitutions: For very young children, try foam sheets or craft-foam blocks instead of lino, and blunt plastic clay tools or wooden coffee stirrers to press different shapes into the foam. |
Extras that help: Masking tape or a non-slip mat, scrap paper for protecting the table, an apron or old shirt, and baby wipes for quick hand clean-ups. Most of these art and craft supplies for young artists can be found in standard UK craft shops, and families can build up their kit slowly rather than buying everything at once.
Planning Your First Lino Print Design with Children
Simple, bold designs are easiest for a first lino print, especially when working with preschool children. Thin lines tend to crumble or fill with ink, so stick to chunky shapes with clear areas of black (inked) and white (carved away).
Family-friendly motifs that work well at small scale:
- Stars, hearts, rainbows
- Simple leaves or apples
- A child’s initial in a chunky font
- Basic dinosaurs or ladybirds
Here is the important bit: the final print will be a mirror image of the design carved into the block. Letters, numbers, and directional shapes like arrows will print backwards unless drawn in reverse on the lino. Designs must be carved backwards for correct printing orientation.
To involve a preschooler, have them sketch their idea in thick felt-tip pen. The adult then simplifies and traces the final version, keeping it small – around 8 × 10 cm is a good starting point so carving stays manageable and children do not lose interest. Rotating lino printing with other preschool 3D art projects and sculptures can also keep young children engaged over time.
Transferring and Drawing the Image on the Lino Block
The goal here is to get a clear, simple line drawing onto the lino block that will guide safe carving. Graphite paper or a soft pencil is used to transfer designs to lino.
Step-by-step tracing method:
- Lay tracing paper over your chosen design.
- Go over the main lines with a soft pencil (a 2B works well).
- Flip the tracing onto the lino block face-down.
- Rub firmly on the back to transfer the graphite – this automatically reverses the image for correct printing.
Once transferred, refine the drawing directly on the lino with a pencil or permanent marker, thickening lines and blocking in the solid inked areas. Encourage older children to mark the areas that will be carved away with a big “X” so they can visually distinguish “cut” from “keep.”
Leave a generous blank border around the edge of the image so fingers can hold the block safely away from where the carving tool will move.
Safe Carving Techniques for Beginners (Adults & Teens)
Only adults or responsible older teens should handle lino cutting tools. Young children can watch and help at every other stage.
Setting up a safe carving area:
- Work at a stable table with bright light.
- Secure the block with painter’s tape or place it on a bench hook – a safety barrier like a bench hook helps keep the lino block stable while carving.
- Keep hands positioned behind the moving tool at all times.
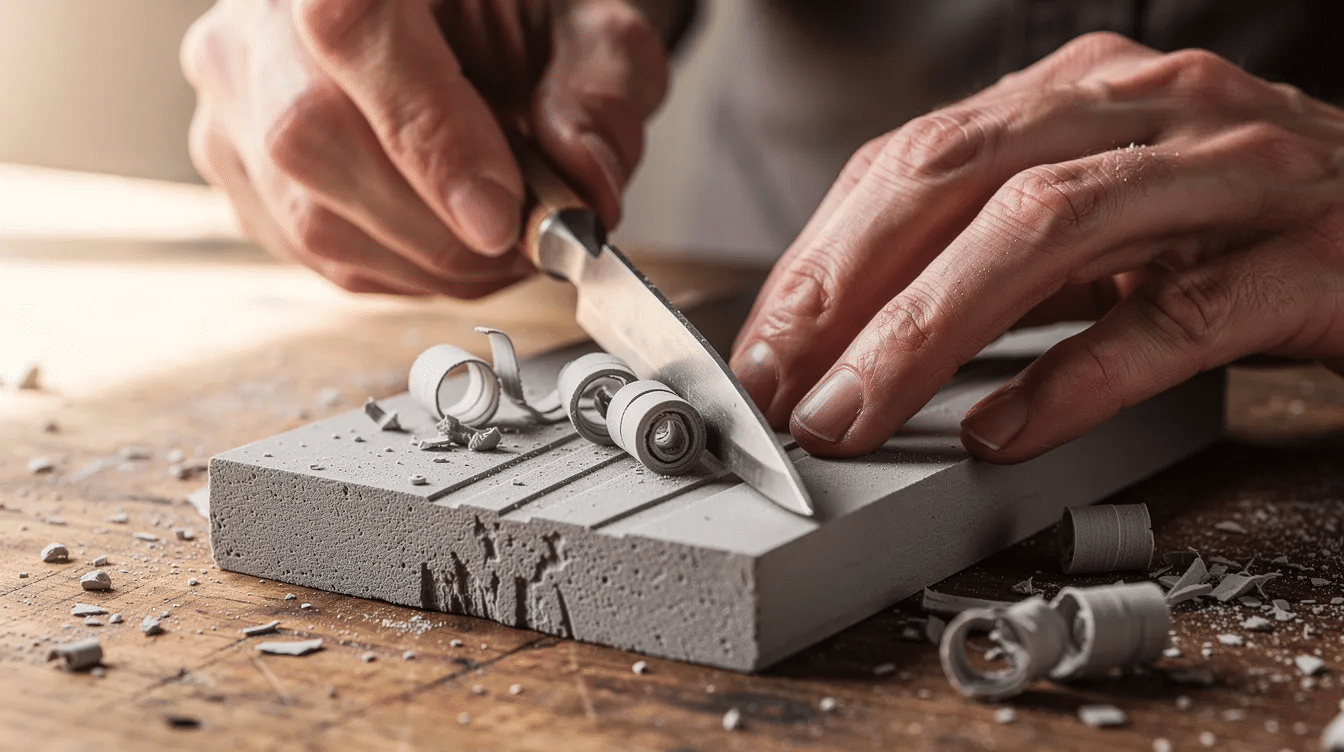
Carving tools include V-shaped and U-shaped blades for fine lines and wide clearing. Beginners can start with just one or two sizes. Begin by cutting along the main outlines with a small V-gouge, then gradually remove larger non-image areas using a wider U-gouge.
Practical carving tips:
- It is important to always carve away from your hands and body for safety.
- Work slowly and avoid cutting towards your free hand.
- Carving should be done by removing small amounts instead of deep cuts – several shallow passes give finer control.
- Clear linoleum shreds regularly for clean cuts so you can see what you have done.
Let children “direct” the design while an adult carves: “Shall we make this star thicker?” keeps them involved without risk. And remember – little slips and wobbly marks add character. A first linocut does not need to look perfect to be treasured on a family wall.
Inking the Block and Making Your First Test Print
A test print is essential. It lets you check the design, spot areas that need more carving, and practise applying the right amount of ink before children join. A test print helps identify areas needing adjustments, and test prints are recommended to refine technique before final copies.
Setting up the inking area:
- Cover the table with scrap paper.
- Place your glass or plexiglass sheet to one side.
- Squeeze out a small pea-to-grape-sized blob of block printing ink.
- Roll it with the brayer in multiple directions until it makes a soft, tacky “zip” sound.
Use the brayer to evenly apply ink to the block in thin layers from different directions. Ink should be rolled to a thin and even layer to avoid patchy prints – the raised areas should look evenly shiny, while the carved recesses stay clean. If you need more ink, add a tiny bit at a time.
Hand printing the test: Lay a sheet of scrap paper over the inked block, press down with your hands, then use the back of a wooden spoon or a plastic baren to rub in small circles across the whole surface. A wooden spoon or baren can be used to apply pressure when printing, and even pressure must be applied when transferring ink from the block to paper.
Peel back one corner slowly to check coverage. If the print looks pale, add a fraction more ink next time. If fine detail is filling in, you have used too much. Make one or two quiet test prints alone before inviting little helpers – this keeps the process calm.
Printing with Kids: Turning Your Lino Block into Cards, Wrap or Art
This is the magical “reveal” stage, and it is where children light up. Watching their design appear on paper is like a little bit of art magic, and they will want to do it again and again. Lino printing is accessible and allows multiple prints from a single carved block, so let them!
Simple projects to try:
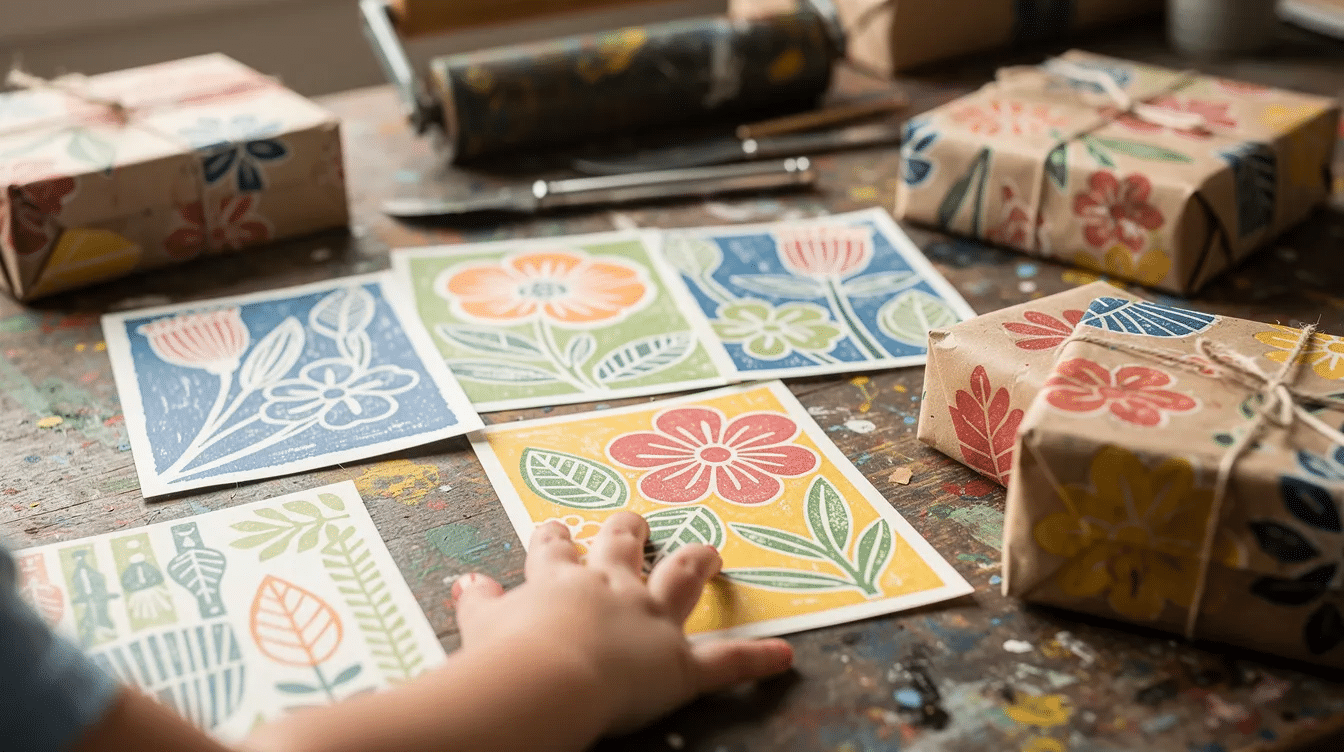
- Birthday or Christmas cards on pre-cut card blanks
- A repeated pattern on brown paper gift wrap
- A mini print to frame for a playroom gallery wall
Set up a child-friendly printing station: keep the inking area restricted to adults, and create a separate clean space where children help lay paper and press prints. Final prints should be made on paper larger than the block so you get a clean border, just as you would when working through DIY craft kits for creative projects that come with pre-cut materials.
How a child can safely help:
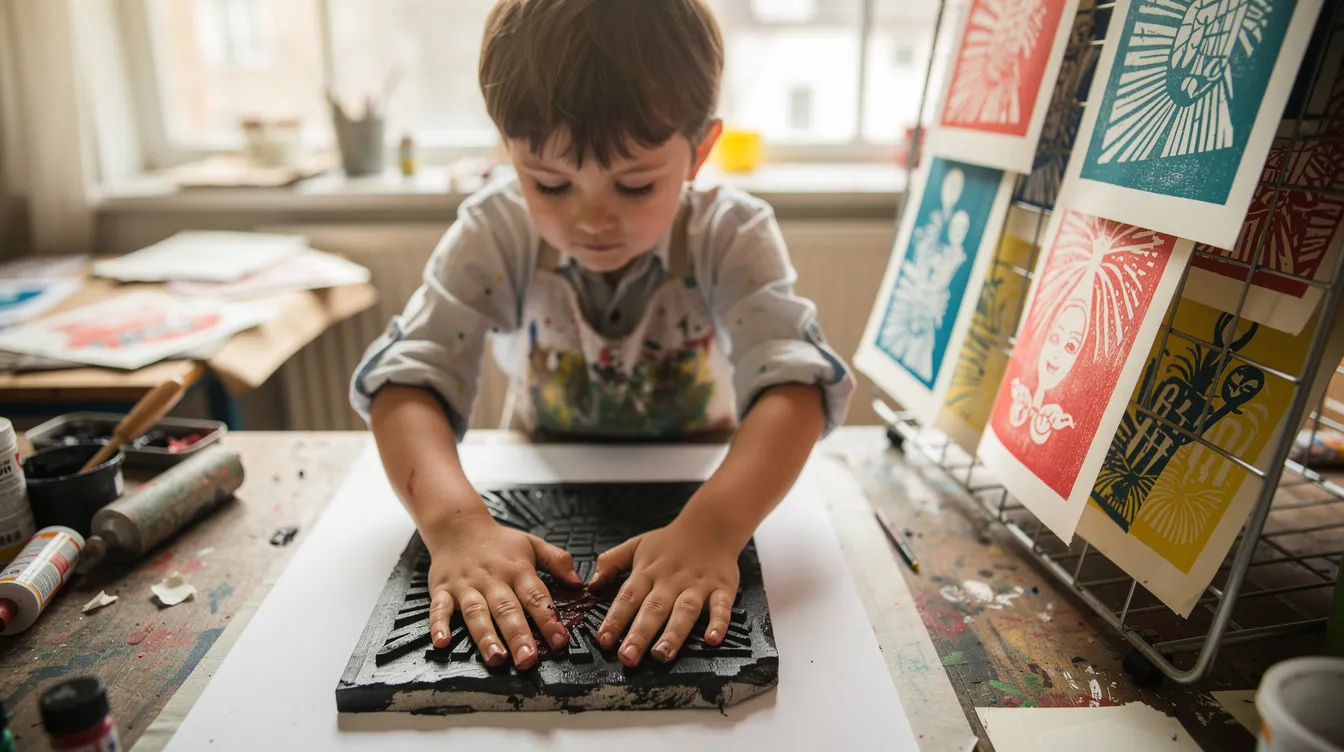
- The adult inks the block and sets it down.
- The child carefully lays the paper on top, guided at the corners.
- They use their palms, a rolling pin, or the back of a wooden spoon to press while counting slowly to ten.
Preschoolers enjoy repetition: lining up three apple prints in a row, making a rainbow of colours from the same block, or printing a “family set” where each sibling picks their own ink colour. Prints need to dry flat for several hours (or overnight), ideally somewhere children can see but not touch.
Cleaning Up and Storing Your Lino Printing Kit
Quick, gentle clean-up helps tools last for years and keeps the activity feeling manageable for busy parents.
For water based ink: Wipe excess from the block and glass with scrap paper, then wash everything with warm soapy water and a soft cloth. Dry thoroughly – washing and drying prevents rubber rollers from degrading.
For oil based ink: Traditional oil based ink requires special care. Use vegetable oil followed by soapy water, or a specialist printmaking cleaner. Work in good ventilation and clean up when young children are not at the table.
Lay brayers on their sides or hang them so the rubber roller does not sit in a puddle of ink or water. Store carved lino blocks flat in a shallow box or envelope, labelled with the date and design name so you can reuse favourite blocks for future holidays and birthdays.
Involve children in simple end-of-session jobs: wiping the table, stacking dry prints, or helping label envelopes. It is a gentle way to close the activity and builds a sense of ownership.
Simple Project Ideas to Try Next
Do not stop at one design. Use your first lino block as a springboard for more family projects throughout the year.
- Seasonal series: Leaf prints for autumn bunting, snowflake or star blocks for winter cards, and simple flowers for spring birthday invitations.
- Collaborative alphabet: Each family member designs a different letter block. Eventually spell the child’s name to hang above their bed – a fun idea that grows over months.
- Fabric printing: Use Speedball Fabric Block Printing Ink for textile projects like a cotton tote bag for library visits or a tea towel as a gift for grandparents. Natural fibers like cotton yield better print results, and smoother fabrics provide the best printing results. Avoid printing on textured or stretchy fabrics for best results. Pre wash the fabric before printing, and follow the ink brand’s instructions for heat setting to make the print permanent. Test prints on fabric help determine ink and pressure needs before committing to your final piece – you might prefer to practise on a scrap first. You could even print a simple motif onto a plain t shirt.
- Mixed media: Children can hand-colour around or over dried black-and-white lino prints with crayons, coloured pencils, or watercolours, or combine them with tissue paper stained glass crafts for layered window displays. The texture of a linocut paired with bright crayon gives each artwork a unique, opaque quality.
Lino printing is screen-free, hands-on, and endlessly reusable. Whether you are making linocuts for holiday cards or a gallery wall, the real point is spending slow, creative time together. Grab a soft lino block, pick a bold shape, and let the ink do the talking.
FAQ: Lino Printing with Kids
Below are answers to common beginner questions that did not quite fit into the step-by-step guide above.
Is lino printing safe to do with preschool-aged children?
The carving stage uses very sharp tools and must be done by an adult or older teen, well away from small hands. Preschoolers are ideal helpers at every other stage: brainstorming designs, choosing colours, helping position paper, rubbing prints with a wooden spoon, and decorating dried prints with crayons.
Keep blades out only while carving and store tools high up immediately afterwards. Insist children sit while printing to avoid slips, and stick a photo of the finished design nearby so they can see what they are working towards without crowding the carving area.
Can I do lino printing without buying special lino blocks?
Absolutely. Thick craft foam, old erasers for tiny stamps, or even potatoes all work for quick block printing sessions. These substitutes carve more crudely – you will not get the crisp edge or fine detail that real linoleum offers – and they tend to wear out faster. But they are a brilliant starting point for families who want to try the art before investing. Softcut is easier to carve than traditional linoleum and is a good first upgrade when you are ready.
How long do lino prints take to dry, and how should we store them?
Drying time for prints depends on the type of ink used and can vary widely. Water based inks on paper typically dry within a few hours to overnight. On fabric, allow at least 24 hours plus any heat setting recommended by the ink brand. Dry prints flat in a single layer, or with clean sheets of paper between them, keeping them away from splashes and curious fingers.
Do I need a printing press to get good results?
You do not. Hand printing with a wooden spoon, baren, or clean roller works very well for small blocks, and many artists prefer this method for its simplicity. Use a firm, smooth surface under the block, lean your body weight evenly, and take time rubbing all areas – especially corners where pressure tends to be lightest. That is all you need to create a print you will want to stick on the fridge.


