

Creating a personalised ceramic mug is one of those rare kids crafts that produces something a family actually uses. This guide covers every step: picking mugs, choosing the right pens, baking, sealing, and caring for the finished cup.
Key Takeaways
- Kids sharpie mugs are a quick, low-cost diy mug project suited to ages 3 to 10 with adult help. All you need are plain white mugs, paint pens, rubbing alcohol, and an oven.
- Regular sharpies usually wash off ceramic after a few uses. Oil based sharpie paint pens on cheap glazed mugs, baked at 250°F (120°C) for 2 hours, give the best chance of surviving gentle handwashing, but the result will never be fully dishwasher safe.
- Little Button Diaries focuses on simple, old-school kids crafts using everyday supplies. No Cricut, no heat press, no specialty kit required.
- This post includes several kid-friendly design ideas (fingerprint animals, dotty name mugs, pencil-trace drawings), a realistic full disclosure about what can go wrong, and how to fix smudges before the baking step.
- A safety checklist covers heat, fumes, and non-toxic supply choices. The FAQ section answers common parent questions about food safety, longevity, and gift ideas.
Why Kids Love Making Sharpie Mugs (And Why Parents Do Too)
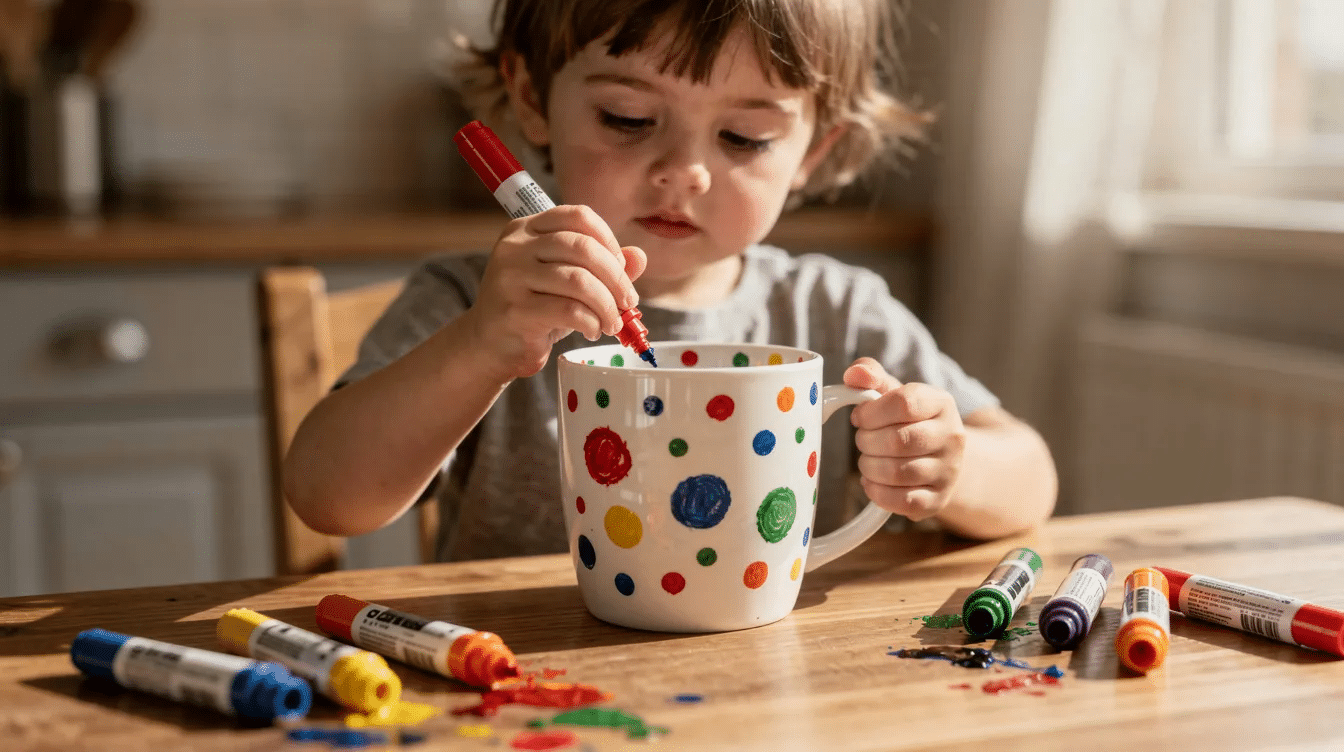
Picture a rainy afternoon: the kitchen smells like cocoa, three paint pens are rattling around on the table, and a four-year-old is hunched over a white mug drawing what might be a cat. The oven will do the rest later. That is the entire setup.
Diy sharpie mugs work as a kids craft because the barrier to entry is close to zero. You need cheap mugs from a supermarket or dollar store, a handful of markers, and about ten minutes of active drawing time. The result is practical (a real cup they can drink from) and doubles as a personalised gift for grandparents, teachers, or family members. Creating a personalized ceramic mug is a fun keepsake project with kids, and craft projects like this build creativity while giving families time around the table together.
At Little Button Diaries, the aim is always frugal, hands-on activities using materials already in the house or available for a couple of pounds. No cutting machines, no specialist equipment. Sharpie mugs have been circulating on Pinterest since around 2013, but here the focus is on kid-friendly versions that are safer, simpler, and more forgiving. Some designs will fade over time. Not every mug will survive a year of daily use. That is perfectly fine for a child’s fun project.
Full Disclosure: What Sharpie Mugs Can (and Can’t) Do
Full disclosure: even the best diy sharpie mugs are less durable than factory-printed cups. No at-home method produces a finish that will survive years of hot dishwasher cycles the way commercial screen-printed or sublimation mugs do.
Here is what parents should know upfront:
- Some colours shift when baked. Blues can turn grey-brown at higher temperatures; metallic gold tends to dull. In a controlled test across four temperature regimes, colours stayed truest at 250°F for 2 hours, while 350°F and 450°F caused noticeable distortion.
- Paint can chip if scrubbed hard or run through a hot dishwasher. After 4 hand washes and 2 dishwasher cycles in that same test, the low-temperature baked section showed minimal chipping; the higher-temperature sections fared worse.
- A regular sharpie (the classic alcohol-based permanent marker) often fades or washes off glazed ceramic within a few uses. Oil based paint pens and ceramic pens bond more strongly and survive handwashing far better.
This project is more about the experience and the memory (a child’s drawing on a “Best Mum” mug) than engineering a mug that lasts two decades. Photograph the finished piece. If the ink fades in a year, the photo stays forever.
By following the prep, baking, and care instructions in this post, you give your mugs the best shot at surviving many cosy cocoa nights.
Supplies for Kids Sharpie Mugs (Budget-Friendly and Parent-Approved)
Here is what you need. Most of it costs under £5 / $5.
Supply | Notes |
|---|---|
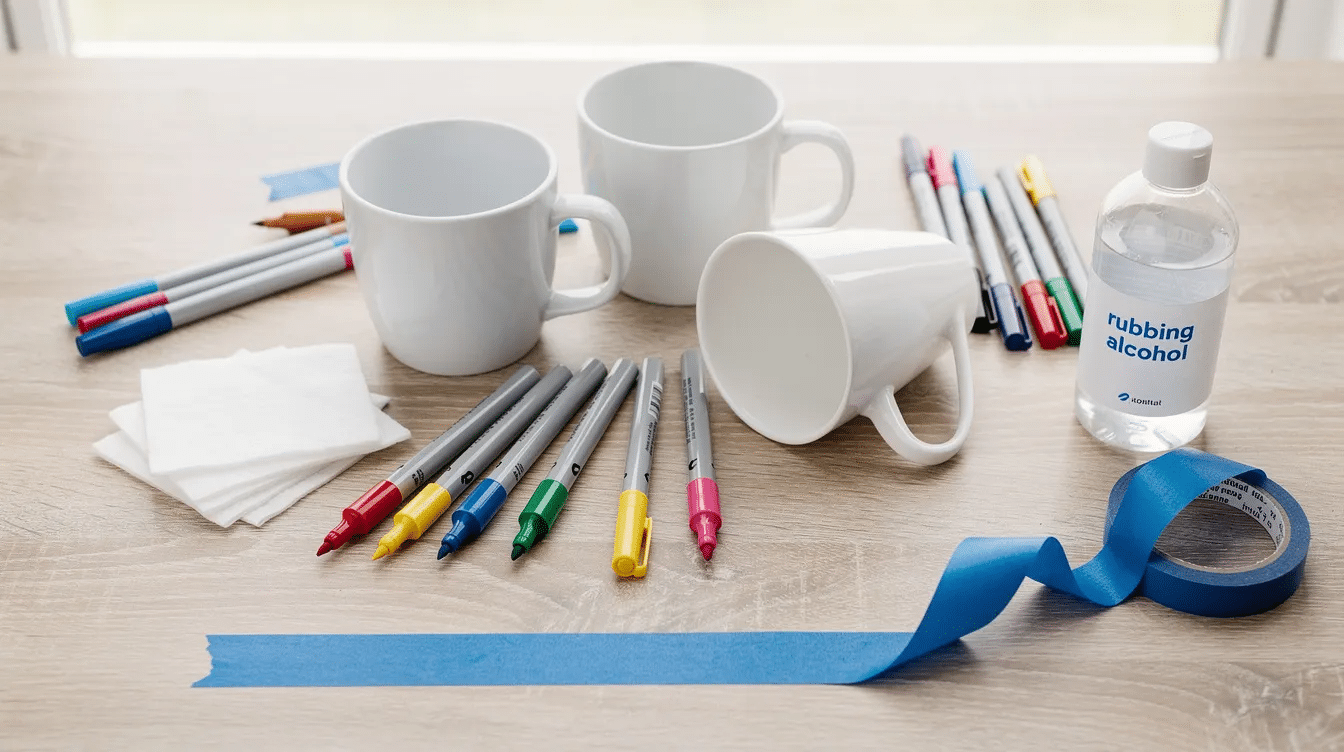
Plain white ceramic mug (11-13 oz) | Supermarket, Poundland, or dollar tree mugs with a simple glaze. White ceramic mugs are best for sharpie designs because colours show up clearly. |
Oil based Sharpie paint pens (or similar paint pens) | Use oil-based Paint Sharpies for permanent designs. Brands like Posca and DecoArt also work. Extra fine paint pens are recommended for lettering. |
Rubbing alcohol (isopropyl) | For cleaning the mug surface before decorating. |
Cotton pads and a q tip | For wiping surfaces and fixing small mistakes. |
Dish soap and paper towel | Basic cleaning supplies. |
Optional: painter’s tape, letter stickers | For stencilling shapes and names. |
Optional: clear acrylic sealer or mod podge | For exterior-only sealing after baking. Adults only. |
Use oil-based Sharpies, not regular ones. The oil based formulation uses alkyd media that bonds to glazed ceramic under heat, while regular sharpies use alcohol-based ink that sits on the surface and lifts off with water.
Colours that behave best when baked: black, navy, dark green, red. Colours that can shift: pinks, purples, metallic gold. Silver tends to hold up.
A note on safety: choose non-toxic, AP-certified pens. Keep all paint and spray sealers away from the rim and inside of the mug. Always supervise small children around markers.
Some links in this post are affiliate links. Little Button Diaries only recommends items actually used and tested in kids crafts.
Choosing the Right Mug: Size, Shape, and Glaze Matter
Glaze makes or breaks the result. Smooth, glossy supermarket or discount-store mugs with a thin white glaze take paint pens well. Avoid shiny, high-glaze mugs to prevent bubbling; the slick surface causes ink to bead and slide. Very matte bisque mugs need a different type of paint entirely.
Dollar Tree mugs work well due to their cheap glaze, which is thin enough that oil based paint grips it during baking. Most mugs from Poundland, dollar store bargain bins, or supermarket basics ranges share this quality. An inexpensive mug from a charity shop works too, as long as the surface is glossy-smooth without heavy texture.
Shapes for kids: straight-sided or slightly squared mugs are easiest for little hands to hold steady and for stencils or letter stickers to lie flat. Very curved or tiny espresso cups are harder to decorate.
Size: 11 to 13 oz mugs are a good proportion for children’s hot chocolate. Giant 16 oz novelty mugs offer more drawing space but are heavier for toddlers.
Quick buying tips:
- Test by lightly touching a fingertip to the surface; if it feels like glass, ink may bead. A slightly “draggy” feel is ideal.
- Avoid textured, embossed, or printed designs that make drawing difficult.
- Separate “keepsake” mugs (for display) from “everyday cocoa” mugs so you can relax about wear.
Preparing Mugs for Painting (The Step That Makes or Breaks It)
Proper prep is the reason some sharpie mugs survive months of use while others peel on the first wash. Skipping this step is the single most common cause of failure.
Follow this sequence:
- Wash each mug in hot water with plain dish soap. Scrub lightly to remove any factory dust or oils.
- Dry thoroughly with a clean paper towel.
- Wipe the entire outer surface with rubbing alcohol on a cotton pad. This removes invisible grease from fingers, packaging residue, and any soap film.
- Let mugs air dry for at least an hour. For extra staying power, some crafters leave them for 24 hours before kids start drawing.
Clean mugs with rubbing alcohol before decorating; this step matters more than the brand of pen you use.
Kid-management tips for this stage:
- Set mugs on a tray lined with baking paper to stop them rolling off the table.
- Draw a light pencil line near the rim to remind kids not to paint where mouths will touch. Keep all artwork at least 1 to 2 inches below the rim of the mug.
- Encourage aprons or old T-shirts; oil based ink stains fabric.
- Handle mugs by the handle only once the surface is cleaned, so fingerprints don’t reappear in the decorating zone.
Kid-Friendly Design Ideas for DIY Sharpie Mugs
Here are tested design ideas for ages roughly 3 to 10. All of them rely on simple, bold shapes that still look cute if a line wobbles or a dot smudges.
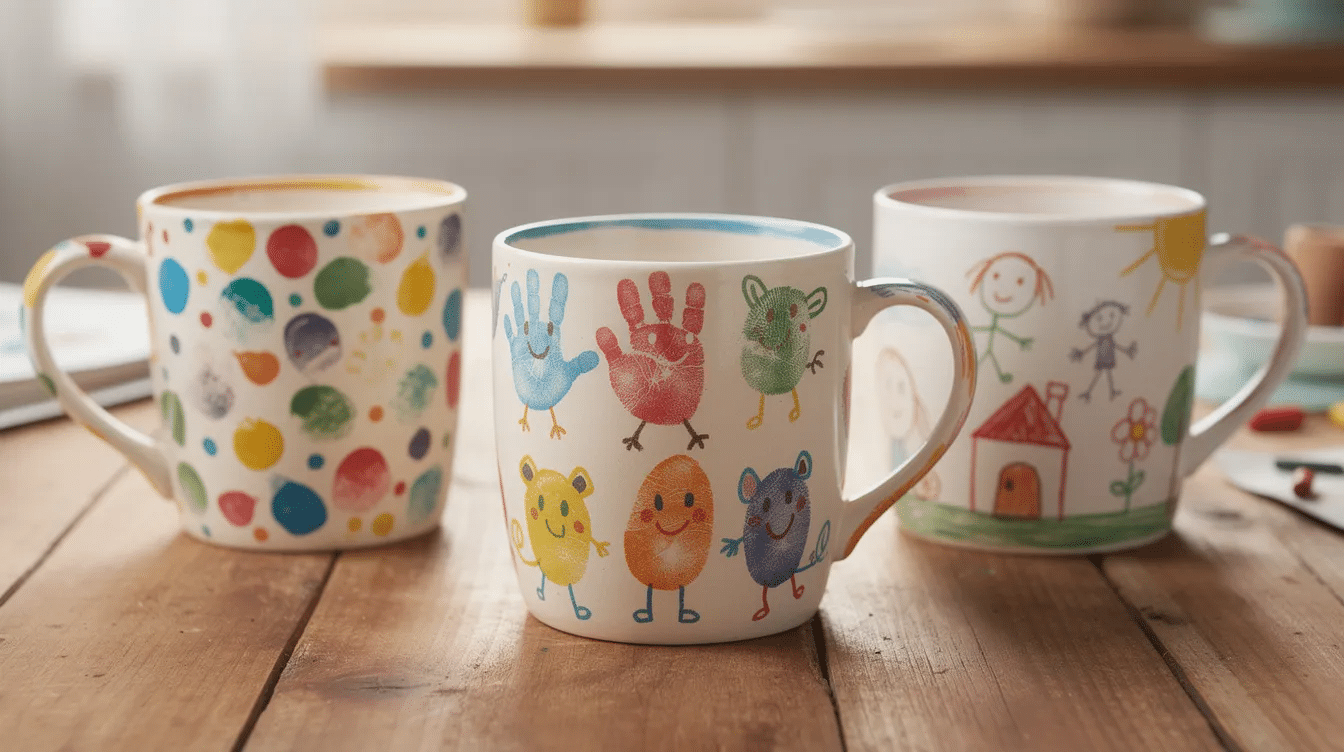
Fingerprint creatures. Toddlers press paint-pen-inked fingers onto the mug (adult applies a thin layer of ink to the fingertip with a pen). Adults then turn each fingerprint into a ladybird, bee, monster, or family portrait by adding legs, eyes, and antennae with a fine-tip pen. This is so much fun for the 2 to 4 age range and the results are genuinely charming.
Name and monogram mugs. Apply painter’s tape or letter stickers as stencils for clean design shapes. Kids dot around the stickers with bright colours. Peel off to reveal crisp white letters spelling “MUM”, “DAD”, or the child’s name. The dot method is super easy and forgiving.
Seasonal themes. Valentine heart crafts and “Love You Nana” mugs, snowflake mugs for winter hot chocolate, rainbow and sun mugs for summer lemonade. Simple geometric repeats (dots, stripes, zigzags) are easy for preschoolers to copy.
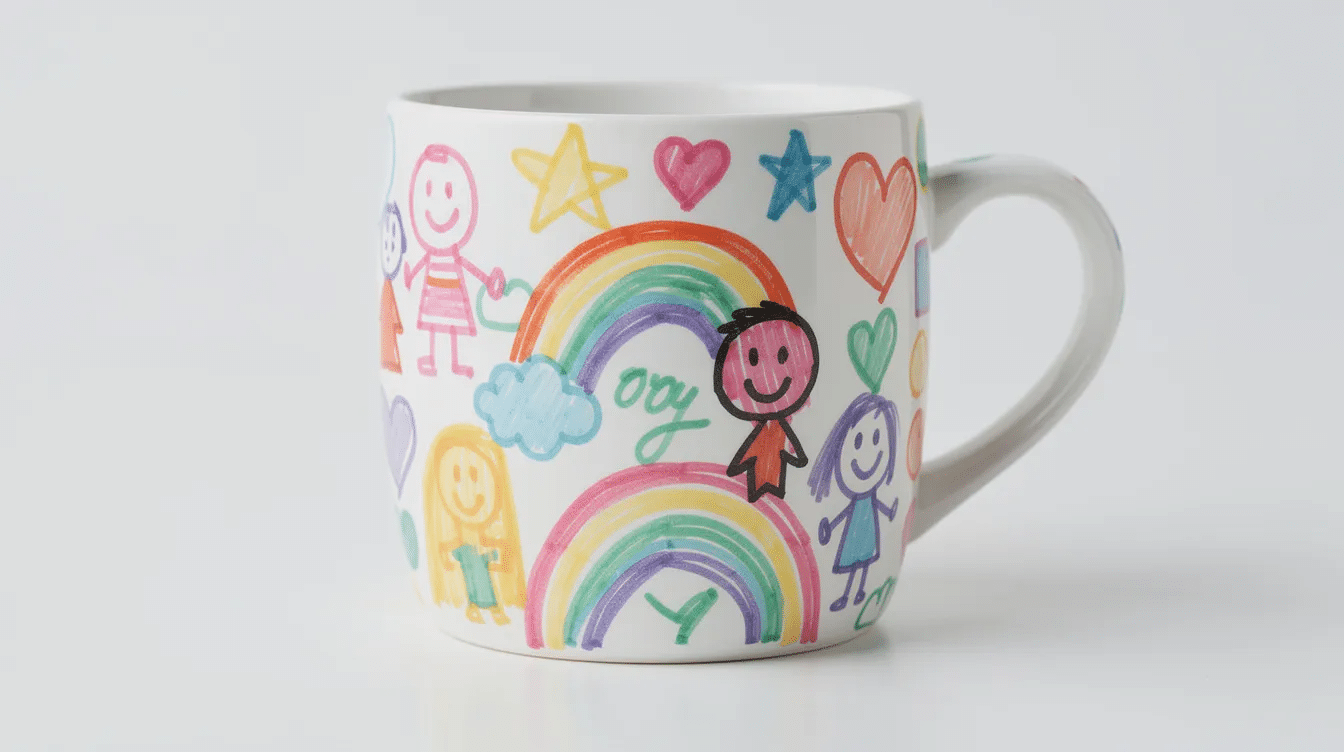
Traced drawings for older kids (7 to 10). Plan designs in pencil on paper first: stick-figure families, pets, comic-style speech bubbles saying “This belongs to Leo.” Trace the final version onto the mug. A pencil outline on the ceramic wipes off easily during prep if it goes wrong.
For more craft activities for kids that pair well with mug-making, try homemade cards or gift tags as companion projects.
Step-by-Step: Making a Kids Sharpie Mug (Baked Version)
This is the most durable child-friendly method Little Button Diaries currently recommends: oil based sharpie paint pens on a cheap glazed ceramic mug, baked at a lower temperature for longer.
1. Prep the mug. Follow the cleaning steps above. Set up a protected table with scrap paper underneath.
2. Practise on paper. Let kids draw their design on a sheet of paper cut to roughly the mug’s surface area. This avoids “I messed up” tears on the real thing.
3. Draw on the mug. Kids decorate the outside of the mug, keeping designs 1 to 2 cm below the rim and completely off the inside. Use oil-based Paint Sharpies for permanent designs. Remind them that putting paint where drinks touch is not safe.
4. Fix mistakes. For small errors, dab gently with a q tip dipped in rubbing alcohol. For bigger smudges, use nail polish remover on a cotton pad (adults only), then re-clean and re-draw. If the whole design needs erasing, wash, dry, and re-prep. It is a fresh canvas.
5. Dry. Let designs dry for 24-48 hours before baking. Rushing this step causes smearing and bubbling inside the oven.
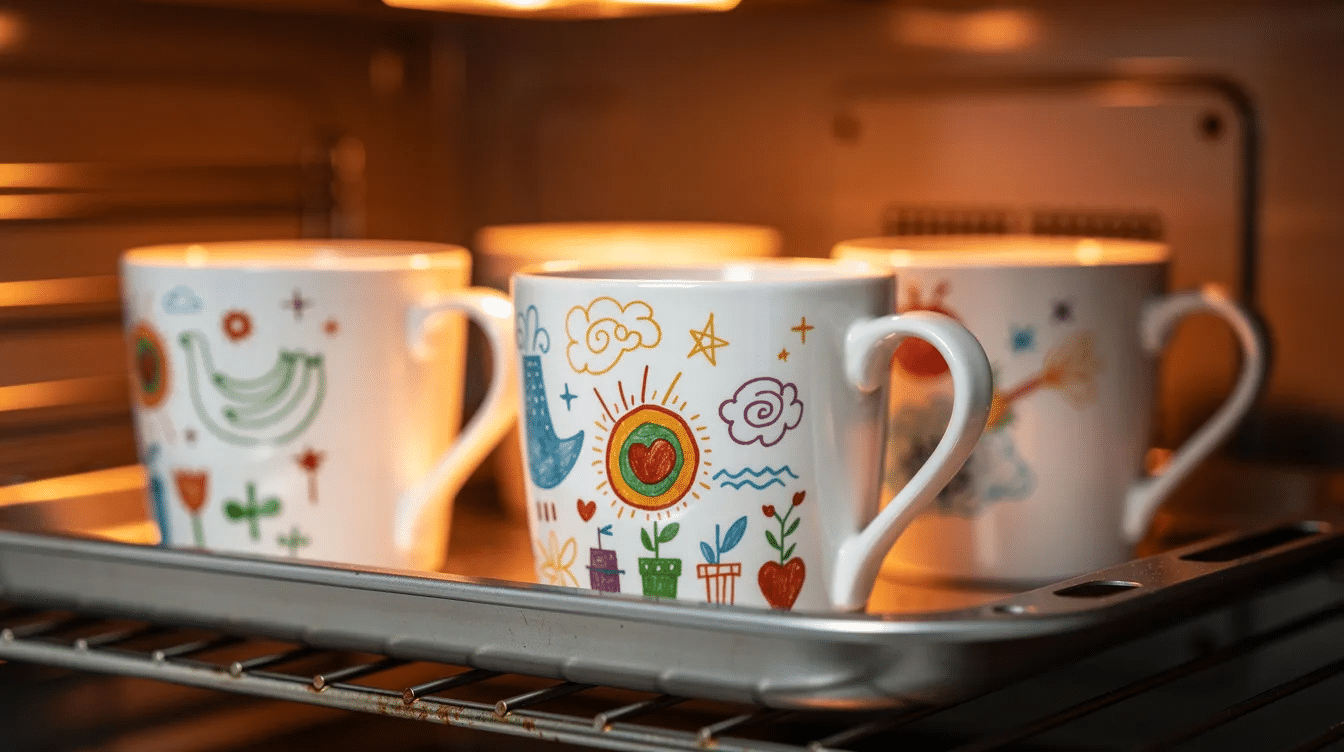
6. Bake. Always place mugs in a cold oven before heating. Set the oven to 250°F (120°C). Bake for 2 hours. Baking at 250°F for 2 hours yields best results according to controlled tests. Some bloggers suggest 350°F for 30 minutes, and others recommend 350°F for one hour; both work but carry higher risk of colour distortion. After baking, turn the oven off and let mugs cool completely inside the cool oven. Opening the door or removing hot mugs risks thermal shock and cracking.
7. Inspect. Colours may shift slightly. Metallic gold often dulls; silver usually stays bright. Black and navy hold well. Photograph the “before and after” with your kids as a mini science experiment.
That is it. The whole baking step requires patience, not skill.
No-Bake and Low-Odour Options (For Tiny Kids or No-Oven Days)
Some families prefer not to bake mugs. Shared kitchens, strong smells, or simply not having an oven on a particular day are all valid reasons. Here are alternatives with honest pros and cons.
Pure no-bake method. Kids decorate with regular sharpies or paint pens. Adults let the design cure for 48 to 72 hours at room temperature. Optionally finish with a brush-on coat of mod podge or clear ceramic sealer, kept well below the rim. These mugs are for gentle hand wash only and work best as display pieces, pencil cups, or containers for dry snacks. They will not survive hot drinks and scrubbing.
Decorate and photograph. Children draw entire stories around the mug in sharpie. Parents photograph from all angles, then turn the images into a printed collage, card, or page in a memory book. Fading later does not matter because the real keepsake is the photo. This is an awesome idea for very young kids whose drawings change month to month.
Tips for minimising fumes and mess:
- Open windows or work outdoors.
- Use water-based paint pens where possible.
- Lay a disposable tablecloth or bin bag over the table.
- Reserve a specific “craft mug” that will not be used for hot drinks if sealers are applied.
No-bake options are better treated like temporary art than permanent crockery. Experiments confirm that even pens labelled “dishwasher safe” degrade after repeated heat cycles without baking.
Keeping Kids Safe: Heat, Fumes, and Food-Safe Zones
Diy sharpie mugs are simple, but there are real safety points for young children that adults must manage at every stage.
Key rules:
- Adults handle all rubbing alcohol, oven use, and aerosol sealers.
- Children stay well back from hot ovens. When crafting with kids, ensure adult supervision and work in a ventilated area.
- Mugs cool overnight before kids touch or wash them.
The “food-safe zone” guideline. Keep all ink, paint, and sealant at least 1 to 2 cm (roughly a finger’s width) below the rim and completely off the inside where drinks touch. Standard markers are not recommended for surfaces that contact food or liquids. Sharpie’s own FAQ confirms that while their products are AP-certified non-toxic, they have not tested them as oven-proof and do not recommend them for food-contact surfaces.
Pen choice. Favour non-toxic, child-safe paint pens. Check manufacturer labels for any updates. Do not let kids chew markers or put painted fingers in their mouths.
Cleanup doubles as safety:
- Wash hands after crafting.
- Keep pens capped when not in use.
- Store supplies out of reach of under-3s.
- Supervise siblings so older children do not operate the oven unattended.
Making Kids Sharpie Mugs Last: Sealing and Everyday Care
Even well-baked sharpie mugs prefer gentle treatment. The difference between a mug that lasts months and one that lasts days usually comes down to how it is washed.
Basic care rules:
- Always hand wash with mild dish soap and a soft cloth or non-abrasive sponge.
- Avoid soaking for hours.
- Keep painted areas away from harsh scourers or the rough side of sponges.
- Avoid using dishwashers for decorated ceramic mugs to maintain the design.
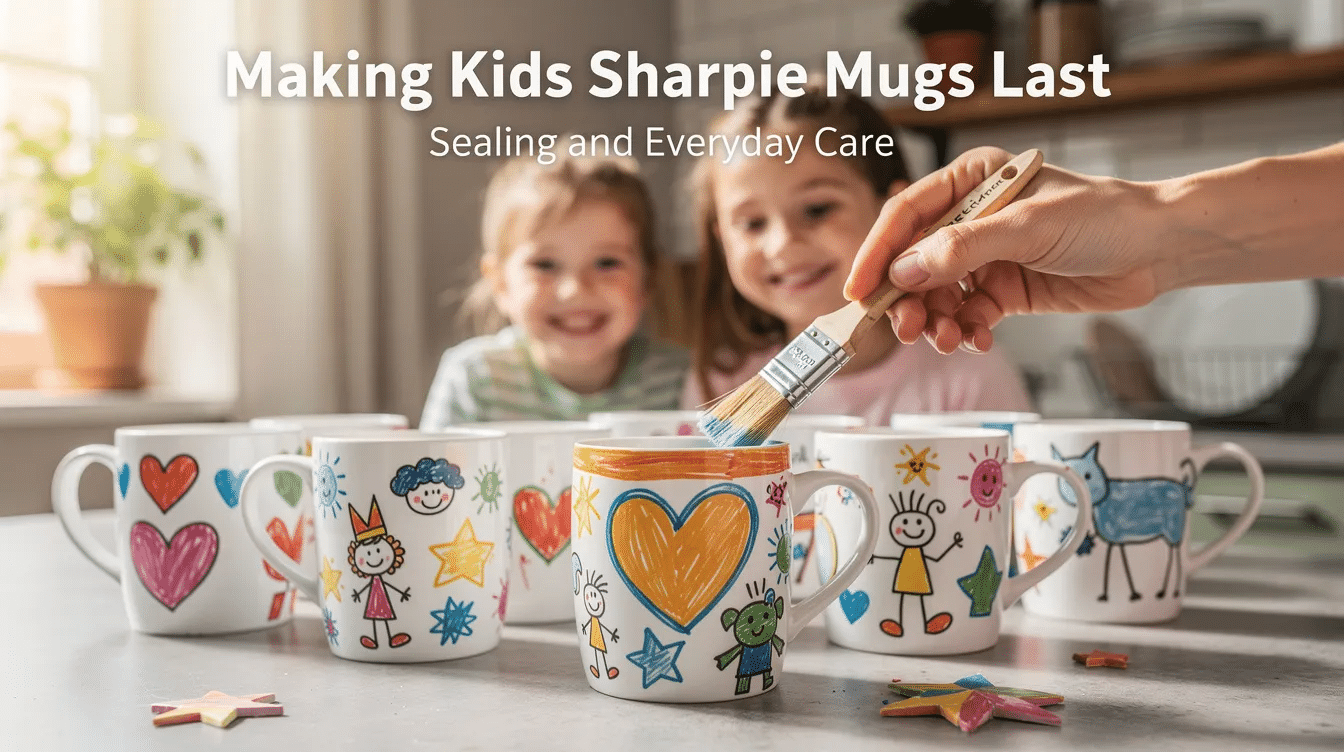
Optional sealers. Apply a dishwasher-safe sealer to enhance durability for washed mugs. Clear acrylic sprays or dishwasher-safe mod podge can add another layer of protection, but must be used outdoors or in a well-ventilated area by adults only. Never apply sealers on the rim or inside. Some products require up to 28 days of curing before the first wash.
The dishwasher question, honestly. Some crafters report success on the top rack with low-heat eco cycles. For kids’ keepsake mugs, treat “dishwasher safe” claims with caution and stick to handwashing. A family rule that works: everyday plain cups go in the dishwasher; personalised kids mugs get a gentle hand wash and dry on the rack.
For especially precious mugs (first day of school drawings, birthday self-portraits), consider displaying them as art on a shelf or windowsill instead of putting them into heavy daily rotation.
Turning Kids Sharpie Mugs into Thoughtful Gifts
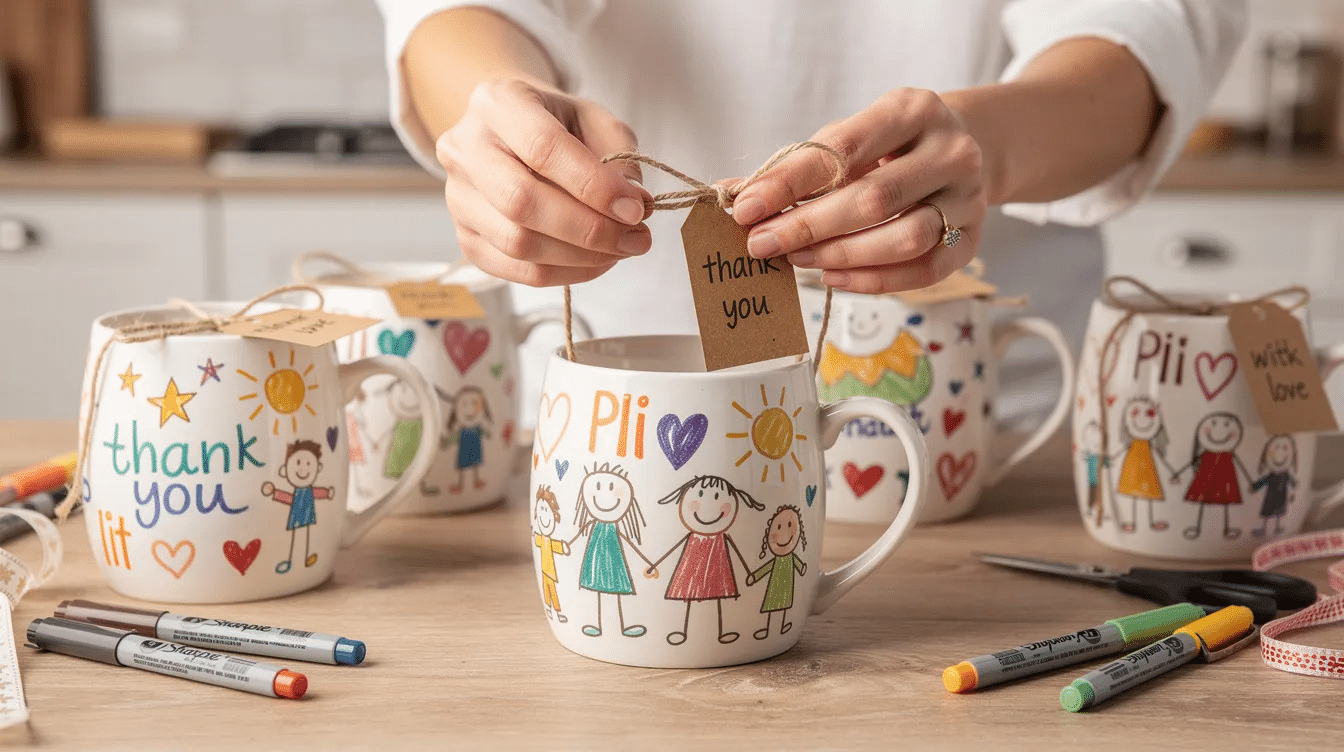
Father’s Day, Mother’s Day, Christmas morning, teacher thank-you mugs in July with “Best Teacher” written in wobbly letters. Kids sharpie mugs are great gifts because they carry a child’s actual handwriting or drawing, which no shop-bought present can replicate.
Gift themes that work:
- “Grandad’s Gardening Mug” with plant doodles.
- “Teacher Survival Kit” mugs filled with tea bags and chocolates.
- “Best Big Sister” mugs when a new baby arrives.
- Birthday party favours where each child decorates one mug to take home.
Involving children in the process:
- Plan who the mug is for and choose colours that person loves.
- Write a short message and the date on the base with a fine-tip pen.
- Wrap the mug in tissue and a recycled gift box. Pair it with homemade cards or other cute easy crafts for a complete kid-made present. Thank you so much notes from kids add a personal touch.
Group activities. For playdates or preschool classrooms, pre-clean more than one mug the day before. Label each mug with masking tape on the bottom so kids know which is theirs. Bake them all together once dry. You can pick up cheap mugs in bulk from craft stores, hobby lobby, or supermarket basics ranges.
Photograph every beautiful mug before wrapping. Even if the design fades eventually, the photo keeps the memory.
Troubleshooting Common Kids Sharpie Mug Problems
Mistakes are normal. Smudges, fading letters, and odd colour shifts are part of any craft with children. Most problems have a fix or at least a creative workaround.
Smudging before baking. Dab the area with rubbing alcohol on a cotton bud (q tip). Wait for it to dry, then redraw. If the design is very smeared, wash the entire mug, re-prep with alcohol, and treat it as a fresh canvas. All that work is not lost; it is just round two.
Patchy or beaded ink. The glaze may be too slick. Try wiping the surface again with rubbing alcohol. If ink still beads, switch to a different brand of paint pen. Adults can lightly roughen the spot with a magic eraser or very fine sandpaper, then re-clean.
Colours fade or change after baking. Blues and greens are prone to shifting at temperatures above 300°F. Turn the result into a learning moment about heat and pigments. Outline faded designs in black to sharpen them, or add a second layer of colour and bake again (re baked at the same lower temperature).
A mug chips or cracks later. Glue the handle carefully and retire it as a pencil pot. Plant a tiny succulent in it. Display it on a shelf as a record of that stage in the child’s drawing journey. Nothing from a child’s hand is ever wasted.
If kids get excited about making more, keep a stash of cheap mugs and a “mug decorating” kit ready. This is one craft that improves with practice.
FAQ: Kids Sharpie Mugs
Quick answers to questions parents commonly ask about sharpie mugs, covering safety, longevity, and practical details not fully addressed above.
What age is appropriate for making kids Sharpie mugs?
Toddlers as young as 2 to 3 can take part using chunky washable pens on a prepped mug. An adult then traces or re-creates their marks with permanent paint pens before baking. Ages 4 to 6 can use real paint pens under close supervision, with adults handling all prep, correction, and baking. Ages 7 to 10 can follow simple instructions and attempt small lettering or traced pictures.
Because ceramic mugs are breakable and pens are not toys, adult supervision is essential at every age. For under-3s who tend to throw things, consider enamel camping cups or plastic tumblers decorated with vinyl stickers instead.
Are kids Sharpie mugs microwave and dishwasher safe?
Most mugs on ordinary supermarket ceramics cope fine with brief microwave warming of a drink. Metallic paints (gold, silver) and sealers may spark or overheat, so mugs with those finishes should stay out of the microwave.
While some low-temperature baked designs survive occasional top-rack dishwasher cycles, Little Button Diaries recommends treating kids sharpie mugs as hand wash only. Everyday plain cups go in the dishwasher; personalised kids mugs get a gentle wash and dry by hand, turning care into a small shared ritual after hot chocolate time.
Which is better for kids sharpie mugs: regular Sharpies or paint pens?
A regular sharpie permanent marker tends to fade or wash off ceramic quickly, especially after contact with hot water or dish soap. Regular sharpies are best only for temporary, no-wash display mugs or for practising on paper before committing to the real thing.
Oil based sharpie paint pens and other ceramic pens designed for glass and ceramic bond more strongly to the glaze, particularly once baked. Their extra-fine tips suit little doodles and names. If you already own a pack of classic Sharpies, let kids sketch with those on paper first, then transfer final designs using oil based sharpies reserved for the craft.
Can I use dishwasher-safe Mod Podge or ceramic sealer to make mugs fully dishwasher safe?
Products labelled “dishwasher-safe” add protection but do not guarantee commercial-level durability, especially on bargain-store mugs and through the daily heat and detergents of modern dishwashers. Brush-on or spray sealers must stay away from the rim and inside for safety, applied only by adults in well-ventilated areas, and left to cure for the full time the manufacturer specifies (often 28 days).
If you want a truly permanent everyday mug, consider scanning the child’s artwork and having it professionally printed via a sublimation service. The diy version remains an awesome, fun craft and keepsake in its own right.
How should I store paint pens and leftover supplies for future projects?
Store paint pens horizontally in a sealed box or zip pouch so ink flows evenly. Cap them tightly after each use and give them a gentle shake and test scribble on scrap paper before the next session.
Build a labelled “mug decorating” kit with pens, rubbing alcohol, cotton buds, painter’s tape, and spare cheap mugs. Keep it on a high shelf away from younger siblings but easy to grab for rainy-day diy activities. With good storage, most quality paint pens last through many craft sessions, though metallics and white pens dry out faster and can be replaced as needed.
I absolutely love that this idea keeps giving. Grab one mug or grab five. Let your kids draw something they are proud of, bake it, and pour the cocoa. The mug may not last forever, but the afternoon of making it together will stick around a lot longer than any glaze.


