

Key Takeaways
- Animal mirrors are simple DIY crafts where a small mirror becomes the “tummy” or “face” of an animal, and popular animal mirror concepts include lions, bears, foxes, and bunnies.
- This Little Button Diaries project uses cheap craft mirrors, cardboard or foam, and basic supplies most families already have at home.
- These crafts support speech practice (watching mouth shapes), emotions play, and independent routines like checking faces and brushing teeth for kids ages 2 to 6.
- Below you will receive step-by-step instructions for three animal themed mirrors (fox, lion, whale), plus variations, display tips, and safety guidance.
Introduction: What Are Animal Mirrors Crafts?
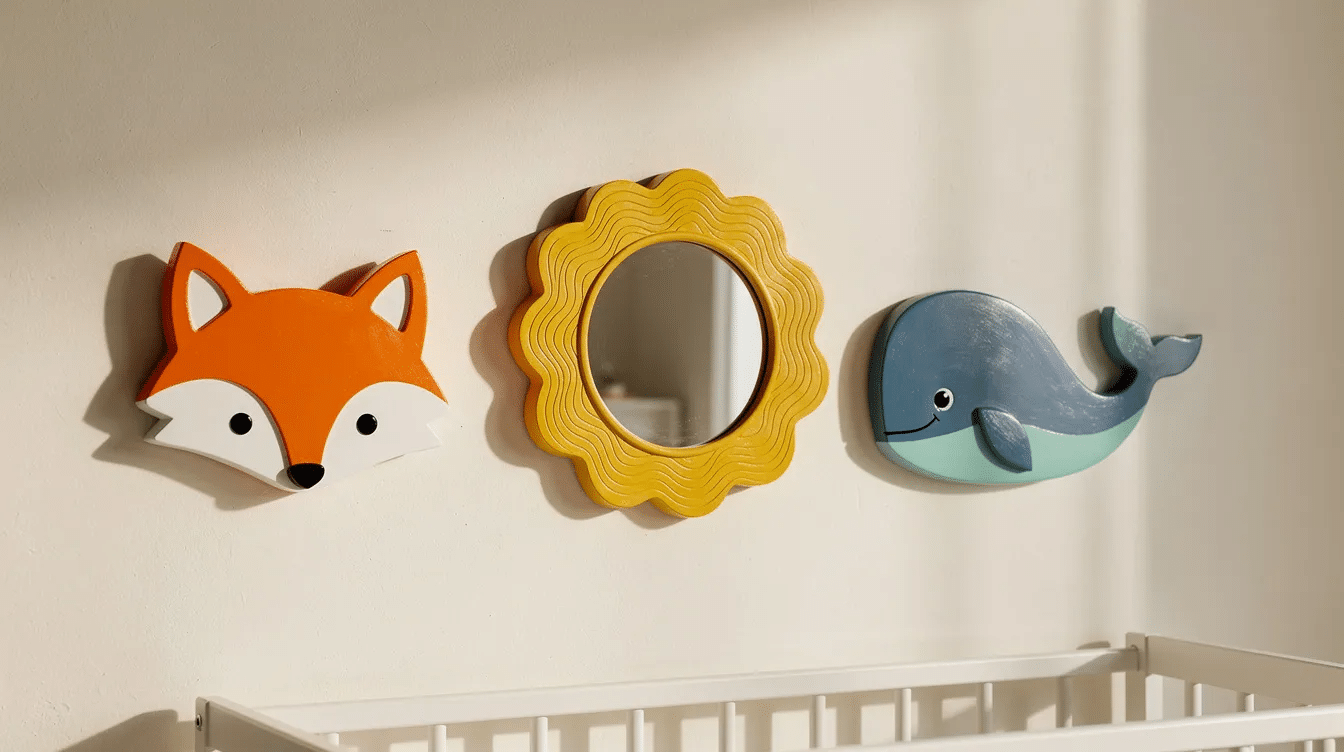
Animal mirrors are small hand or wall mirrors decorated to look like animals. The mirror acts as the animal’s face in DIY animal mirror projects, while foam, felt, and card form the ears, mane, or tail around it. Creating animal mirrors is a whimsical and highly customizable craft that fits right into the nature-inspired kids’ decor trends gaining traction through 2025 and 2026.
Animal-themed mirrors can be whimsical, elegant, or playful depending on materials. If you have browsed pinterest or artisan marketplaces, you may have noticed that NOVICA offers 19 unique animal-themed mirrors, and animal-themed mirrors can feature designs like lions and toucans, often handcrafted from materials like mango wood. Animal mirrors can be made from eco-friendly materials like mango wood, but those store-bought versions typically cost $50 to $200. The DIY version here costs about $3 to $8 per mirror and takes roughly 30 to 45 minutes, so families love the savings.
This tutorial suits ages 3 to 6 with adult help. Younger toddlers can assist with sticking larger pieces and use the finished mirror for play.
Materials & Prep for DIY Animal Mirrors
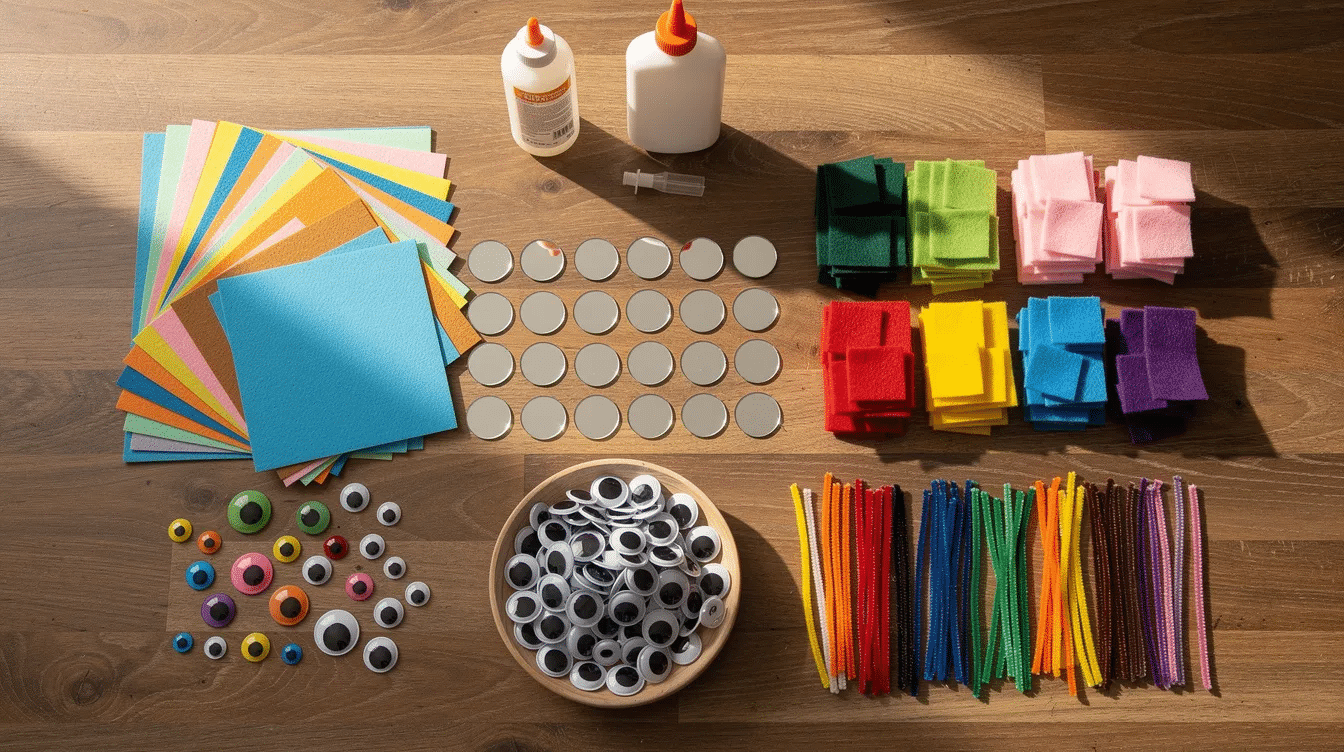
Below is a checklist of what you need, plus quick prep notes before you start crafting.
Mirror options:
- Flat craft mirrors, 7 to 10 cm round or oval, from a pound or dollar shop
- Upcycled old make-up compacts with the lid removed
- Acrylic or plastic mirrors are safer alternatives to glass for children’s crafts; product safety guidelines recommend avoiding real glass for children under seven because it shatters and produces sharp edges
Base materials:
- A4 sheets of coloured craft foam (the core material for shaping animal bodies)
- Sturdy corrugated cardboard from a cereal box
- Thin plywood if an adult has basic DIY tools
Decorative supplies:
Essential materials for crafting include mirrors, craft foam, and felt. You will also want coloured paper, googly eyes, pipe cleaners, non-toxic acrylic paint, and child-safe PVA or tacky glue. Hot glue guns are recommended for quick assembly on foam and felt when an adult handles the gun directly. Optional: magnetic tape for turning mirrors into fridge magnets.
Mounting and display:
- Removable picture strips or double-sided tape; mount mirrors at children’s eye level using double-sided tape so they can use the mirror independently
- Blu-tack for temporary wall display
- Flush mounts if you want a permanent installation
Safety:
Always sand or cover sharp edges on any cut material. Supervise gluing, and keep small decorations (beads, loose googly eyes) away from children under three. The CPSC Small Parts Rule bans detachable pieces smaller than about 3.2 cm in diameter for products intended for children under three due to choking risk. Using lightweight, child-friendly materials makes crafting safer for kids across the board.
Step-by-Step: Making 3 Easy Animal-Themed Mirrors
Crafting techniques include tracing, gluing, and layering materials. The three projects below, a fox, a lion, and a whale, each follow that sequence. Use foam sheets to create animal features around mirrors, and cut foam and felt for ears, tails, and hair decorations as you go.
Woodland fox hand mirror
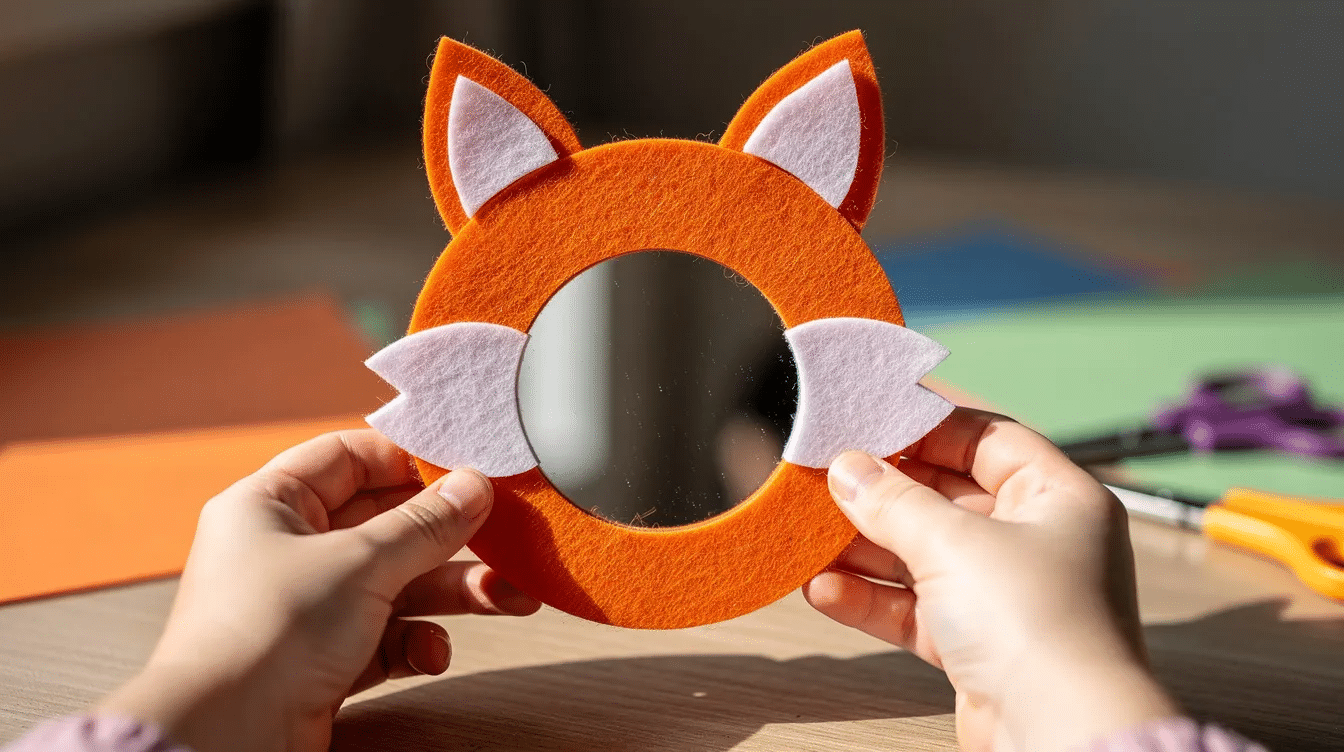
Trace a large fox-head shape on orange foam, about 2 cm wider than your mirror on each side. Cut it out by hand, then glue the round mirror where the fox’s face goes. Add white felt cheeks on each side, two pointy orange ears at the top, and a tiny black felt nose glued onto the glass at the bottom. Leave the eyes off the mirror so kids see their own faces peering back. Layering foam can create a 3D effect for animal features; stack a second layer of white felt under the cheeks to make them pop out. This becomes a beautiful hand mirror your child can hold up during play or speech practice.
Sunny lion wall mirror
Cut a circle of cardboard roughly 20 cm across. Glue your mirror in the centre. For the mane, cut 15 to 20 strips of yellow and orange card, each about 8 cm long. Kids can snip small triangles into the ends for a “hairy” look, then glue the strips around the cardboard circle so they fan out behind the mirror. Add two small felt ears and paint a curved smile under the mirror with a non-toxic paint pen. This lion is ready to hang on a wall in the bedroom or hallway. Handcrafted mirrors often display unique lines and markings; each child’s mane strips will be different, and that is the point.
Friendly whale mirror
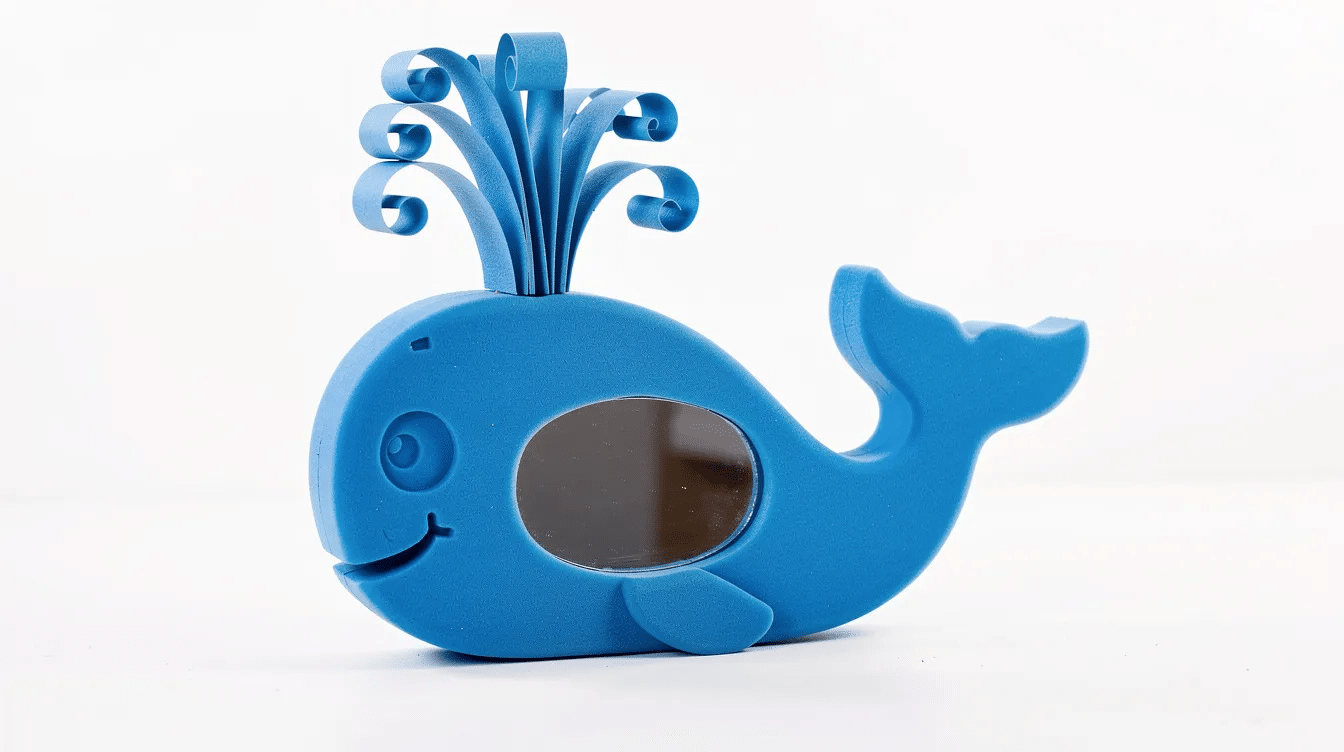
Cut a wide whale body from blue foam, about 25 cm across. Position an oval mirror as the whale’s tummy. Draw a curved mouth with a white paint pen along the foam below the mirror, and glue on a water-spout made from curled blue paper above the head. This project works well for a bathroom or play corner. Animal-themed mirrors can be used in various spaces, including bathrooms, so select a spot your child passes every day.
Quick variations:
Turn the same approach into a bunny (long felt ears, pink nose), bear (round ears, brown foam), or walrus (add big felt tusks). Depending on which animal your child picks, the whole set can grow over time. You can find more easy craft ideas and carton animal crafts on the blog if you want to keep the animal theme going.
Finishing:
Let everything dry flat for at least 2 hours. Test by gently tugging each decoration before letting children play. Log the date on the back (e.g. “Summer 2026”) along with the child’s name so you can review it later as a keepsake.
FAQ
Below are answers to questions parents commonly ask about animal mirrors crafts.
What age are animal mirrors crafts suitable for?
Cutting and gluing with scissors and a hot glue gun is best done by adults or children aged 5 to 6 and up. Toddlers from about two and a half can help choose colours, stick larger pre-cut pieces, and use the finished mirror for play under supervision. The art and craft benefits for child development are real across this whole age range; younger children build fine motor skills by pressing foam onto glue, while older kids practice tracing and cutting.
How can I use animal mirrors for learning?
Speech-language pathologists use mirrors for visual feedback of lip and tongue placement during articulation therapy. Your child can sit in front of their animal mirror and practise sounds like “sh” or “ch” while watching their mouth. They can also copy emotions (happy, sad, surprised), building emotional vocabulary. Place the mirror at a “check-in” station by the front door or bathroom so your child uses it before brushing teeth or going out at home. This builds independence in daily routines.
How do I clean and store homemade animal themed mirrors?
Wipe the mirror surface with a soft cloth and mild soapy water. Avoid soaking cardboard-backed versions, as cardboard warps with moisture. Hanging them on a wall rather than tossing them in a toy box protects the decorations from being crushed. If you used foam and felt, those materials hold up well over months of display.
Can I make these animal mirrors in a classroom or party setting?
Yes. Pre-cut the animal shapes so a group of 10 to 15 children can assemble their own mirrors in about 20 minutes. Use plastic mirrors and peel-and-stick foam to speed things up. This setup works well for preschool sessions, birthday parties, or group activities for 5 year olds. Each child takes home a finished mirror, and no two will look the same.
Are animal-themed mirrors safe to leave on a child’s bedroom wall?
They are, provided you follow a few rules. Avoid placing them on a wall that receives direct sunlight, because mirror surfaces can concentrate reflected light and create a fire risk. Use removable mounting strips rated for the mirror’s weight. Inspect the adhesive and decorations every few weeks; if any small piece has loosened, reattach it with glue before a child can pull it off. Polycarbonate mirror sheets are roughly 250 times more impact resistant than glass of the same thickness, so if you want a longer-lasting option, polycarbonate is worth the upgrade.


