

Clutter on a child’s desk reduces focus. Research shows kids complete tasks over 20% faster in tidy environments compared to messy ones. A diy desk organizer solves this without a store run, because creative activities can be made using everyday materials like cardboard and jars. DIY desk organizers can be made from wood, cardboard, or metal cans, and each project here costs under a few dollars. Kids enjoy hands-on activities that encourage creativity and exploration, and making organizers together turns cleanup into family craft time.
How We Chose the Best DIY Desk Organizer Ideas
Every project on this list meets six criteria:
- Safety: Materials conform to ASTM D4236 non-toxicity standards. Simple tools such as scissors and glue are often required for DIY crafts; nothing sharper unless an adult handles it.
- Accessible materials: Recycled items from your kitchen or dollar-store supplies. DIY desk organizers can be customized using recycled materials you already own.
- Durability: Each organizer holds up to daily use by children ages 2 through 8.
- Functionality: Compartments sized for crayons (~3.5 in), markers (~6 in), paper, and small supplies.
- Time: Every project finishes in under two hours.
- Customization: Paint, stickers, washi tape; kids select colors and themes themselves.
Upcycling everyday materials is effective for creating crafty desk organizers, and recycled materials can create custom desk organizers that fit your child’s desk precisely. DIY projects for kids can be budget-friendly and involve easy crafts when you keep the purpose simple.
Top 7 DIY Desk Organizer Ideas for Kids and Families
1. Mason Jar Pencil Holders
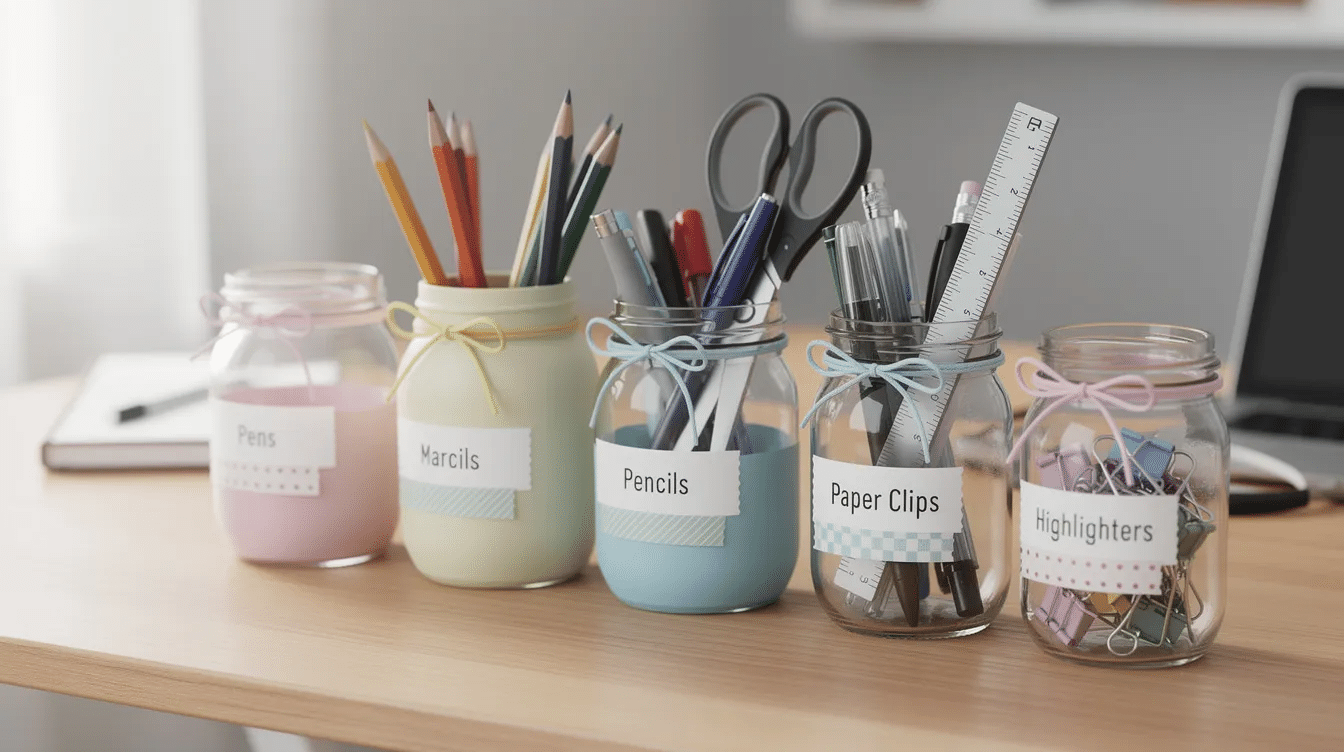
Mason jars can be used as desk organizers with nothing more than paint and ribbon. Small glass jars can be labeled to organize office supplies effectively; use white labels or washi tape strips for each category.
Why it stands out: Glass or plastic jars let kids see exactly what’s inside. Each jar holds roughly one pound of pens and markers.
Best for: Families with multiple kids sharing a craft station.
Key strengths: Easy to wipe clean, stackable, and fun to customize. Use at least three coats of Mod Podge over any painted surface for durability.
Possible limitations: Glass jars break if dropped; opt for plastic mason-style jars for children under 5. Full jars weigh enough that small hands may struggle to move them.
2. Cardboard Cereal Box Organizers
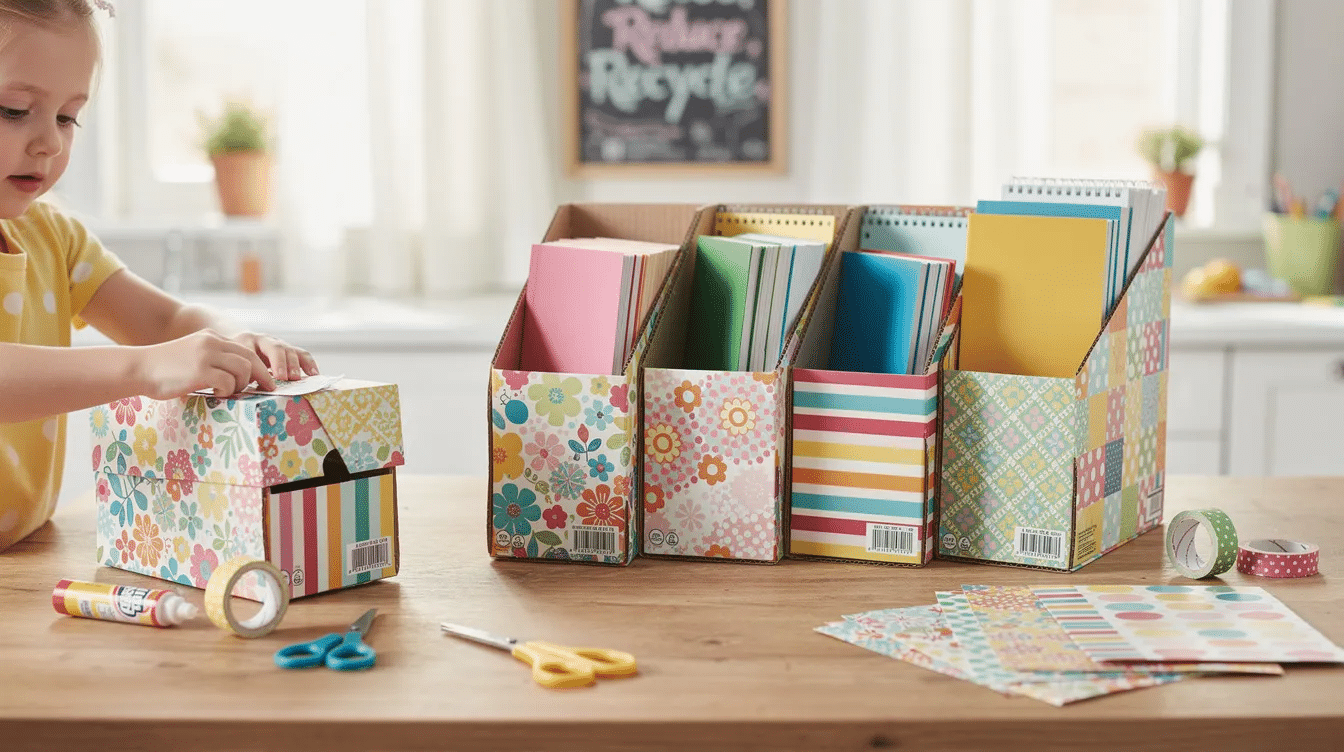
A simple DIY desk organizer can be made using cereal boxes. Cut the top at an angle, cover with scrapbook paper, and you have a holder for notebooks or loose paper. Cereal boxes can be repurposed into desk organizers in about 30 minutes. Using decorative paper can enhance the appearance of recycled organizers; this kind of reuse craft teaches kids that trash has a second life.
Best for: Families on tight budgets practicing eco-friendly crafting.
Key strengths: Free materials, lightweight, children aged 5+ decorate them independently.
Possible limitations: Cardboard warps in humid rooms and frays at cut edges. Reinforce corners with extra glue or tape.
3. Toilet Paper Tube Desk Caddies
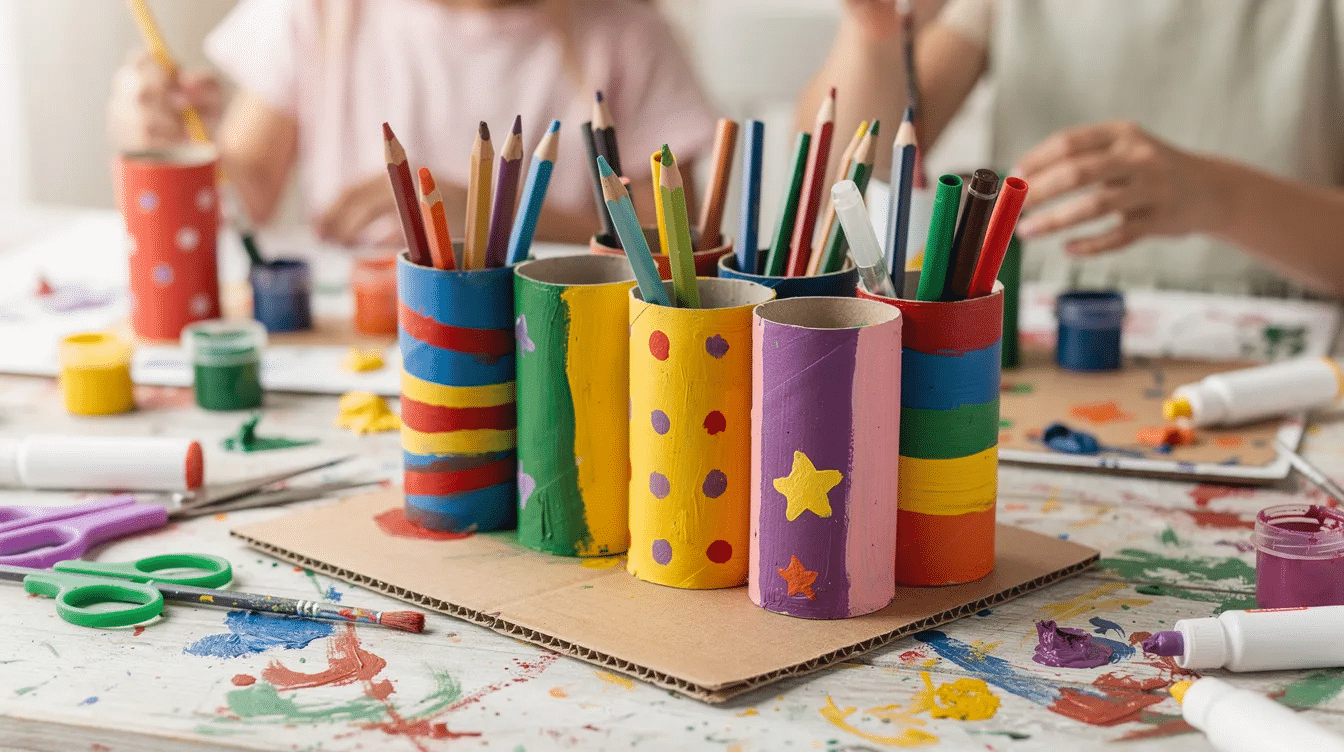
Glue six to eight tubes onto a piece of cardboard and you get a caddy with compartments sized at ~1.5 inches diameter, the right fit to hold pencils and markers upright. Kids love making these because they can paint each tube a different color.
Best for: Preschoolers learning to sort supplies by type or color.
Key strengths: Free materials, endless cute craft possibilities, and kid-sized compartments.
Possible limitations: Tubes compress under weight over time. An adult should handle cutting and hot-glue assembly.
4. Tin Can Storage Towers
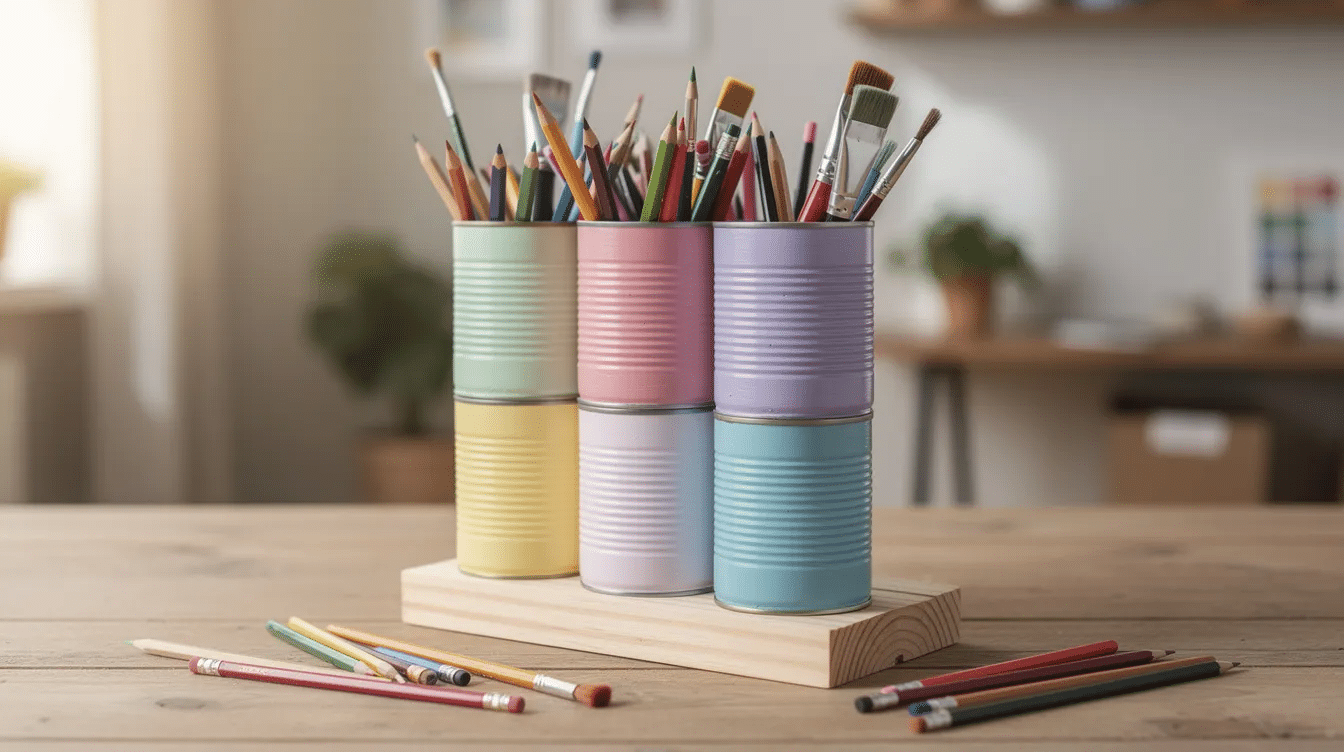
Pencil holders can be made from washed and painted food cans. Repurposing cans is a common approach for simple DIY organizers; you can make organizers from old metal cans by stacking two or three cans on a wooden base.
Best for: Elementary-age kids who need a stand that survives daily use.
Key strengths: Metal holds heavier items like scissors. Glue magnets to the back and mount them on a magnetic board for a wall-mounted style.
Possible limitations: Sharp edges need filing with a metal file before any child handles the can. Rust can form if cans get wet; seal interiors with a coat of spray paint.
5. Wooden Scrap Desktop Organizers
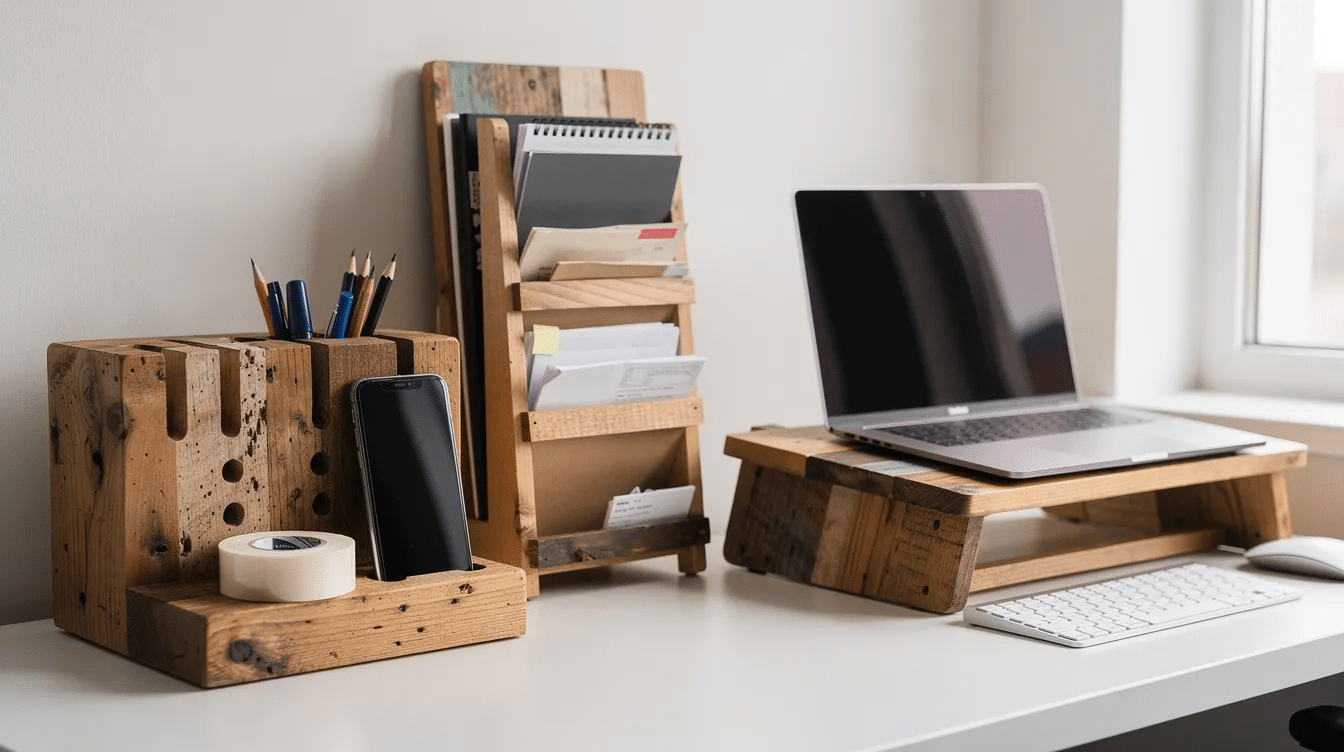
Scrap wood is commonly used for DIY desk organizers, and DIY desk organizers can be made from scrap wood left over from other projects. Wooden block organizers can combine multiple storage functions in one piece: slots for pencils, a shelf for tape, a ledge for a phone. A simple wooden rack can organize items vertically, saving desk space. Using scrap wood, you can build a laptop stand for ergonomic use alongside the organizer.
Best for: Families comfortable with DIY activities involving a saw and sandpaper.
Key strengths: Lasts for years. Sand, paint any color, seal to prevent splinters.
Possible limitations: Requires tools, adult supervision, and 1 to 2 hours of work spread across sessions.
6. Egg Carton Drawer Dividers
Cut the lid off a cardboard egg carton and slide it into a desk drawer. Creating a grid system can help sort small items in drawers: erasers, paper clips, push pins, rubber bands. DIY projects can include making items like drawer dividers from cardboard this way. If you have leftover cartons, check out egg carton animal crafts for another use.
Best for: Organizing tiny craft supplies and small things that get lost in drawers.
Key strengths: Pre-made compartments (~1.5 in each), biodegradable, zero cost.
Possible limitations: Shallow depth means larger items won’t fit. Cartons wear out within a few months of daily use.
7. Shoe Box Desktop Command Center
Stack two shoe boxes with one cut to half-height and you get a tiered organizer. A DIY tiered organizer can be made in under an hour. You can create a tiered organizer in under an hour by covering boxes in contact paper and gluing them together. Add a vertical slot at the back for paper and folders.
Best for: Kids with lots of supplies who need one place for everything.
Key strengths: Spacious, customizable with craft ideas like fabric wrapping.
Possible limitations: Takes a large footprint on small desks.
Quick Comparison of the Best DIY Desk Organizers
Organizer | Best For | Cost | Durability | Time |
|---|---|---|---|---|
Mason Jar Holders | Visible storage | ~$2–5 | High | 30 min |
Cereal Box Organizers | Zero-cost eco option | Free | Low | 30 min |
TP Tube Caddies | Preschool supplies | Free | Low | 30 min |
Tin Can Towers | Heavy-duty use | Free | High | 45 min |
Wooden Organizers | Long-term investment | $5–15 | Very high | 1–2 hrs |
Egg Carton Dividers | Tiny items in drawers | Free | Low | 15 min |
Shoe Box Command Center | Comprehensive storage | Free | Medium | 45 min |
How to Choose the Right DIY Desk Organizer
Choose Based on Your Child’s Age
Toddlers (2–4) should only decorate: stickers, stamps, sorting supplies by color. Preschoolers (4–6) can measure and glue with supervision. Elementary kids (6–8) can plan layouts, sand wood, and use a hand saw with an adult present. Using contrasting colors can help make any DIY project visually appealing and gives younger children a clear way to tell compartments apart.
Choose Based on Available Materials
Look at what’s already in your recycling bin. Three cereal boxes and a roll of washi tape give you a full desk set. A DIY cork board can be customized to any size above your desk for pinning reminders, and pairs well with any organizer below it.
Choose Based on Desk Size and Storage Needs
A small desk fits mason jars or tin cans. A large desk can hold a shoe box command center. Keep in mind that children accumulate more supplies each school year; modular options (jars, cans) let you add one piece at a time.
Which DIY Organizer Is Best for You?
- Choose Mason Jar Holders if you want see-through, durable storage.
- Choose Cereal Box Organizers if you spend nothing and prefer eco-friendly work.
- Choose TP Tube Caddies if you have preschoolers just learning to sort.
- Choose Wooden Organizers if you want something that lasts years and gives a polished look.
For most families reading this post, starting with a cereal box or tin can organizer is the fastest way to get inspiration and build confidence before tackling wood.
Final Thoughts
The right organizer depends on your child’s age, your comfort with tools, and what materials are already on hand. Each project here teaches planning, measuring, and ownership of a personal space. Families often find that one organizer leads to another; that’s a good thing. Start with the simplest option this weekend, and visit our craft activities for kids for more ideas once you’re ready.


