

Key Takeaways
- You can turn plain espadrille soles into embroidered espadrilles using cotton canvas, embroidery thread, and a hand needle-no fancy equipment required.
- Simple, bold embroidery on the toe piece (hearts, rainbows, stars, or kids’ initials) works best and is easiest for children and beginners to hand stitch.
- Cut toe and heel pieces from fabric and lining, apply fusible interfacing for stability, then sew the uppers before blanket stitching them to jute soles by hand.
- This project is ideal for adults to sew while preschoolers help choose colors, draw designs, and pull some safe, supervised stitches.
- With gentle care and a few repair tricks, your family’s embroidered shoes can last all summer and even be upcycled when little feet outgrow them.
Introduction: Turn Plain Soles Into Personalized Embroidered Shoes
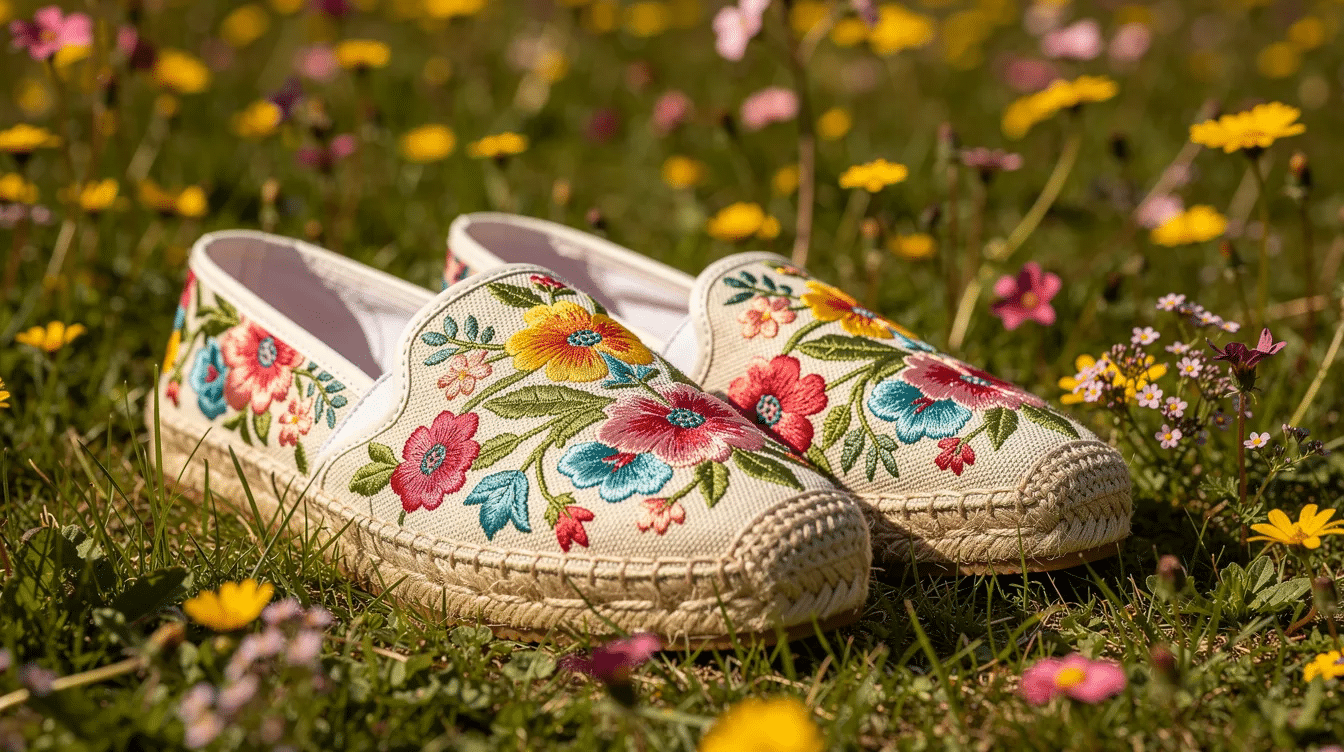
Summer 2026 is the perfect time to sit down with your kids and make something you can actually wear. Here at Little Button Diaries, we love family crafts that combine creativity with a real, usable result-and diy espadrilles check every box. Embroidered espadrilles combine basic sewing with hand embroidery, and the finished product is genuinely charming.
So what exactly are espadrilles? They’re casual shoes built on rope soles (traditionally jute) with simple fabric uppers. With a few hand stitches, you can turn a plain pair of soles into personalized new shoes covered in your child’s favorite colors and motifs.
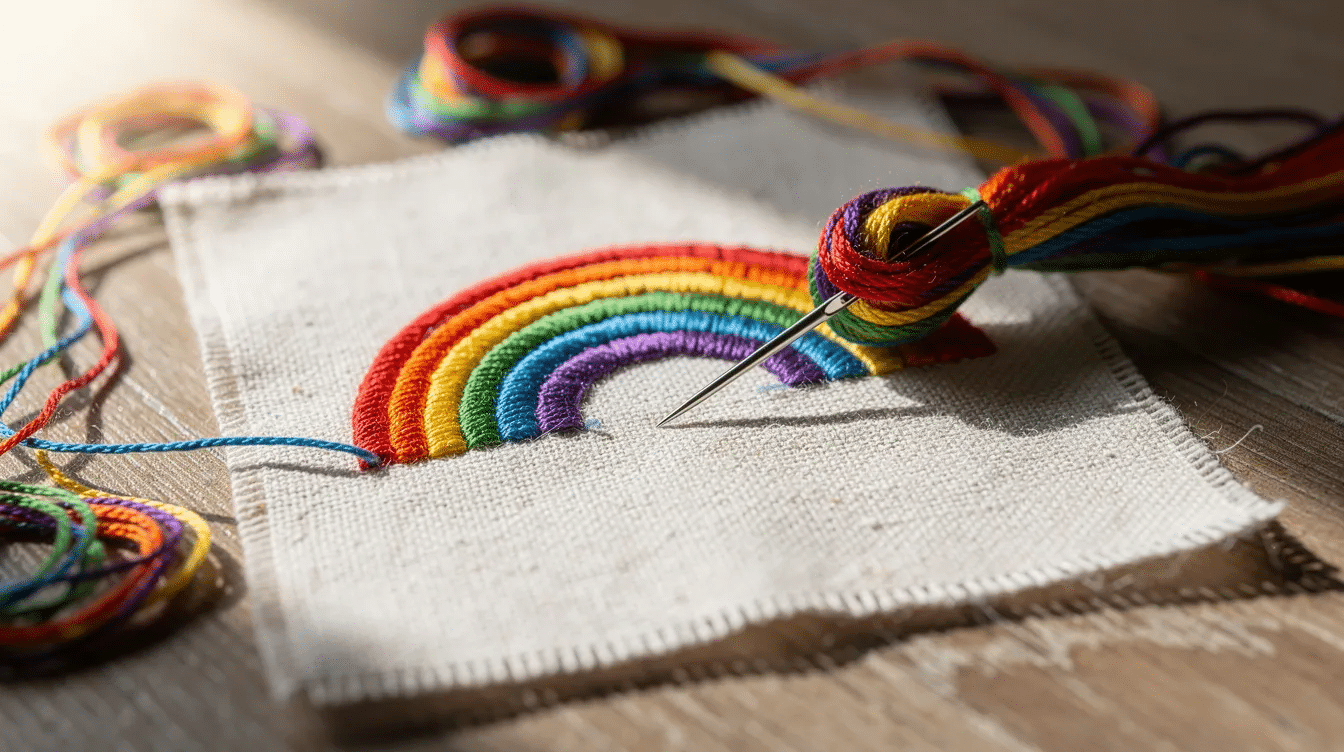
Picture this: bright cotton uppers with a rainbow arching across the toe piece, blanket-stitched to natural jute soles, with optional ankle ribbons to keep them on wiggly preschool feet. If you can thread a needle and sew a straight(ish) line, you can absolutely make your own espadrilles. Adults handle the sewing while little ones help pick fabric, draw designs, and pull a few supervised stitches.
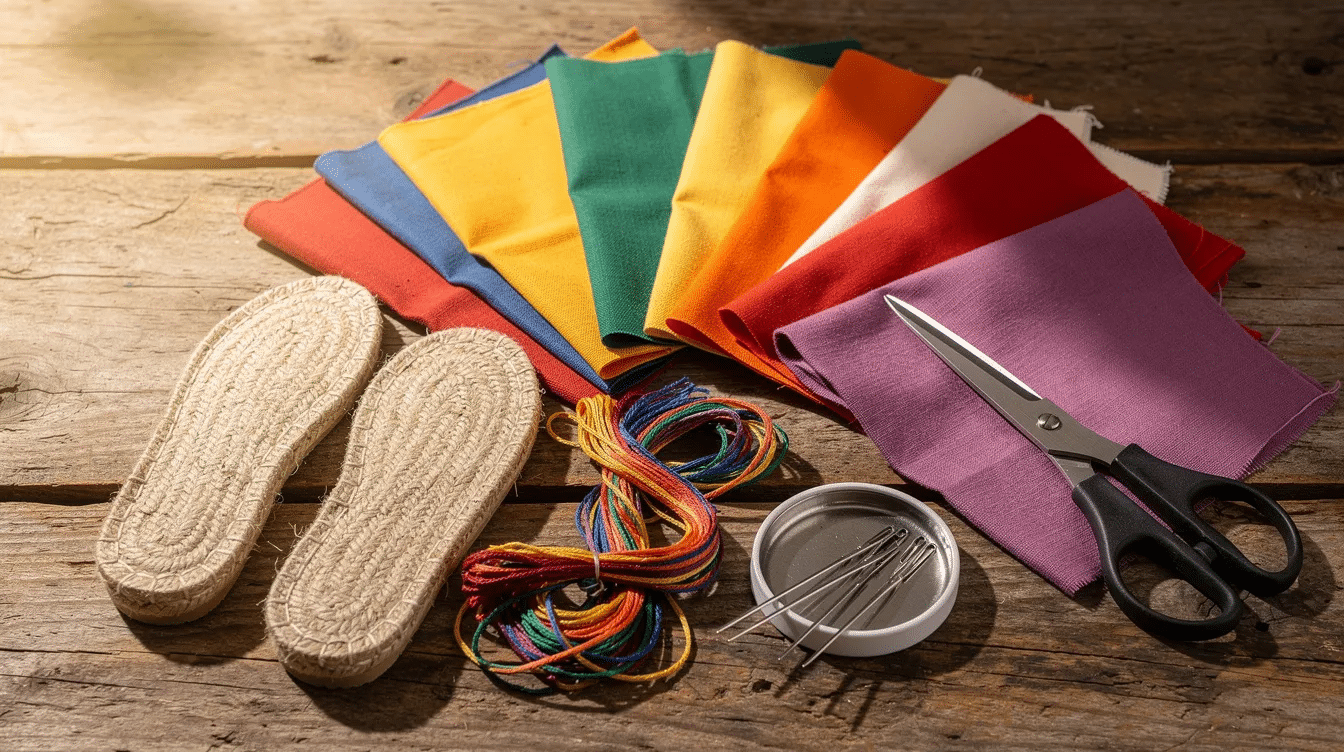
Supplies: What You Need for DIY Espadrilles With Kids
Gather everything before you start. Here’s what you need:
Fabric and structure:
- Ready-made espadrille soles sized for the wearer (espadrille soles are often made from jute or canvas)
- A printed paper pattern for toe and heel pieces (many DIY kits include a pattern, sole, and instructions)
- Cotton canvas, cotton twill, or denim for the outer fabric-choose mid-weight fabric for sturdier espadrilles. You need about .5 m of main fabric, though a single fat quarter of fabric can make two pairs of espadrilles
- Soft cotton for lining fabric
- Medium fusible interfacing
Thread and yarn:
- Strong polyester sewing thread for seams
- Six-strand embroidery floss for decorative embroidery
- Espadrille yarn for stitching around the sole-espadrille yarn is typically 7 meters long for one pair
Tools:
- Fabric scissors and paper scissors (safety scissors for kids)
- Hand-sewing needles (sharps for adults, blunt needle for children)
- Optional curved espadrille needle
- Pins or clips, fabric marker or chalk
- Iron and ironing board, thimble, optional beeswax for coating thread
- A point turner for pushing out corners
Kid-friendly extras: Washable fabric pens so children can draw their own motif, and a simple cardboard “needle card” to practice pulling thread.
Safety note: Adults handle irons and sharp scissors. Young children help with choosing fabrics, tracing patterns, and simple supervised stitches.
Planning Your Design: Simple, Bold Embroidery for Little Feet
Plan your embroidery before cutting and sewing. The design goes on the outer toe fabric, and it needs to be centered so it’s visible when worn. Sketch it out on paper first.
Child-friendly motifs that work well:
- Rainbows arched over the toe section
- Stars and moons
- Daisies, smiley suns, or strawberries
- A big initial on each shoe (L for left, R for right-great for preschoolers learning letters)
Stick to 2–3 bright colors that coordinate with your canvas. Coral + turquoise + yellow feels tropical. Navy + red + white gives a nautical look. Keep designs as simple line drawings using basic stitches so beginners don’t get overwhelmed. If you’ve tried our embroidered crown project, you already know the stitches you need.
Trace the design onto the outer toe fabric with a washable fabric pen, or let children draw directly and then follow their drawing with embroidery. Water-soluble stabilizers can also help transfer more complex embroidery designs if you want precision.
Cutting and Preparing the Toe and Heel Pieces
With your design planned, it’s time to cut and prepare the fabric parts before any embroidery or assembly.
- Use the paper pattern that came with your soles (or a printable template) to cut the toe piece and heel piece from both outer fabric and lining fabric. Label left and right with small tape flags.
- Add a 3/8″ (1 cm) seam allowance around patterns if they don’t already include it. Cut mirror-image toe pieces by folding the fabric in half before cutting.
- Cut interfacing pieces from lightweight fusible interfacing and fuse them to the wrong side of the outer toe and heel section with an iron. Press firmly, lifting the iron rather than sliding to avoid shifting. Fusible interfacing provides structure and stabilizes embroidered fabric.
- Mark the center front of the toe piece and center back of the heel piece with tiny chalk marks so matching to the espadrille soles is easier later.
This is an adult job-kids can help by tracing around cardboard patterns onto fabric with washable markers.
Embroidering the Toe Piece Before Assembly
Embroidery should be done before assembling shoe pieces. Working on the flat toe piece means you can keep the fabric taut, your stitches stay neater, and you can hoop the piece if needed. Embroider designs on the toe outer fabric piece while it’s still a simple, flat shape.
Stitch guidance for beginners:
- Backstitch for outlines (rainbow arches, star points)-beginner-friendly embroidery stitches include backstitch and satin stitch
- Satin stitch to fill small hearts or petals
- French knots or tiny straight stitches for dots and eyes
Embroidery floss is typically used for hand embroidery on espadrilles. Knot your embroidery thread, bring the needle up from the wrong side, follow the drawn lines slowly, and keep stitches about 1/8″–1/4″ long for smooth curves. Embroidery should be kept relatively flat and flexible to avoid discomfort when wearing the shoes.
Kid-friendly option: Let children pull every other stitch on a blunt needle through pre-pierced holes that an adult makes along the design, turning it into a fun lacing activity.
Keep embroidery at least 3/8″ (1 cm) away from the raw edges of the toe piece so it doesn’t disappear into seams.
Sewing the Uppers: Joining Toe Piece, Heel Piece, and Lining
Now you form the actual shoe uppers from the embroidered fabric pieces. You can use a sewing machine for minimal stitching on espadrilles, but hand sewing with a small backstitch works too-similar to making a little girl’s dress from a shirt.
Toe pieces: Place outer and lining right side together. Sew around the curved top edge with a 3/8″ seam allowance, leaving a 2″ gap on one side for turning. Clip curves, trim corners, then turn right side out using a point turner to push out the corners neatly.
Heel piece: Sew the heel piece similarly. If the pattern includes darts at the back, stitch those first. Trim the seam allowance to reduce bulk before turning.
Press flat both the toe and heel units with an iron. Topstitch 1/8″–1/4″ from the finished edge to keep lining from rolling out and to create sturdier fabric pieces for active kids.
Optional extras: Sew a small piece of ribbon as a pull tab at the top edge of the heel piece. You can also sandwich simple cotton ankle ties into the heel seam so espadrilles stay on active preschoolers-just pin, then sew them into the seam before turning.
Attaching the Uppers to the Espadrille Soles by Hand
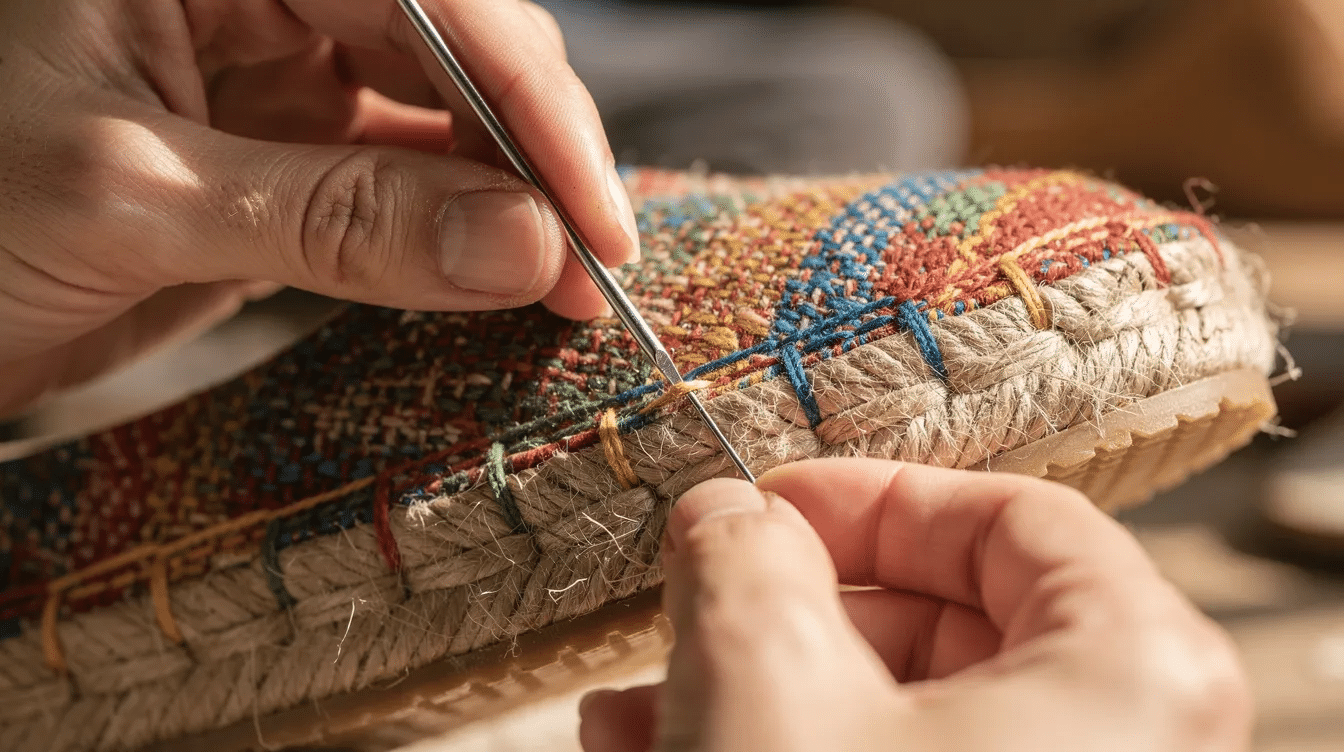
This is the classic step: you attach fabric uppers to the jute soles with a visible blanket stitch. A blanket stitch is commonly used to attach the fabric upper to jute soles, and it’s both functional and decorative.
Positioning: Pin fabric to the sole before stitching. Pin or clip the toe piece to the front of the sole, matching center marks and wrapping the fabric evenly around the edge. Repeat with the heel piece at the back, overlapping slightly at each side where the toe and heel pieces meet. Check the child’s foot against the sole before committing.
Thread preparation: Use about 3 yards of espadrille yarn for stitching, double it, optionally wax it with beeswax, and thread onto a sturdy needle with a knot hidden between layers.
The blanket stitch: Push the needle through the jute sole about 1/4″ in from the edge and out through the fabric. Pull snug, then loop the thread under the needle to form a neat horizontal bar along the edge. Your first stitch sets the spacing-keep stitches about 1/4″ apart, stitching diagonally where needed to follow curves. Work all the way around until your last stitch meets the beginning.
Practical tips: Use a thimble for thick spots. Add an extra double stitch at corners where toe and heel meet. Keep tension firm but not so tight that the fabric puckers. Then repeat the entire process for the other shoe.
Making It a Family Craft: Kid-Friendly Variations and Safety Tips
Little Button Diaries projects are designed for families, and making your own shoes together is genuinely memorable. Here’s how to involve 3–6 year olds safely in creating their own espadrilles.
Child roles:
- Choosing fabric and embroidery colors
- Helping trace around cardboard patterns onto fabric
- Drawing simple designs on the toe piece with washable pens
- Doing a few supervised straight stitches or lacing through pre-punched holes
Adaptation ideas: Sew a sturdy base pair for each child and let them add embroidery each summer. Or create matching parent–child embroidered shoes using the same colors but different designs. If you love cute easy crafts that the whole family can enjoy, this one is inspired by that same spirit.
Safety: Adults handle hot irons, sharp fabric scissors, and heavy stitching through soles. Younger children use blunt needles, sit beside an adult, and work in short sessions. Plan the project over a weekend-cut and embroider on Saturday, sew and attach soles on Sunday.
Caring for Your Embroidered Espadrilles and Easy Upcycling Ideas
Hand-stitched embroidered espadrilles will last longer with gentle care and can be refreshed as children grow.
Care tips:
- Spot-clean with a damp cloth and mild soap; avoid soaking rope soles as jute absorbs moisture and can weaken
- Air dry away from direct radiators or full sun
- Store in a dry place to keep jute from softening
- Sprinkle baking soda inside to absorb odors between wear
Repair ideas: Re-stitch loose blanket stitches with matching thread or yarn. Add extra embroidery to cover small stains on the toe piece. Replace ankle ties if they fray-a quick hand stitch fix.
Upcycling: When children outgrow their own espadrilles, turn the uppers into decorative hanging pockets, or reuse the soles for a new pair by unpicking and sewing on fresh uppers. Use old jeans, tablecloths, or fabric from a half-finished project. Check out more reuse arts and crafts ideas for inspiration. This keeps the project frugal and eco-friendly, with three rows of stitching being all it takes to give old soles new life.
FAQ: Troubleshooting DIY Embroidered Espadrilles
Here are answers to common questions that come up when families tackle this project for the first time.
How do I fix espadrilles that feel too tight across the toe?
Gently steam the fabric with an iron held just above the surface (don’t touch the jute) and stuff the toe with a rolled sock overnight to stretch it slightly. If it’s very tight, unpick a few blanket stitches at each side and re-stitch with the fabric eased out a few millimeters. Choosing the right shape and size of sole from the start helps prevent this-always check the child’s foot against the sole before you begin.
Can I make diy espadrilles without a sewing machine?
Yes. All seams can be hand stitch sewn with a small backstitch using strong thread. It takes longer but is entirely doable. Treat it as a slow, relaxing project over several evenings. Many makers find the hand-sewn version more satisfying since you’re already doing hand embroidery anyway.
What fabrics work best for children’s embroidered shoes?
Heavyweight cotton canvas, denim, and linen are suitable for the outer layer because they hold embroidery well and are durable. Pair them with a softer cotton lining for comfort against the foot. Avoid very thin quilting cotton for the outer layer unless it’s fully interfaced, as it tends to distort under embroidered fill. Cotton twill or canvas is recommended for the main fabric in most craft skills projects like this.
Are hand-stitched espadrilles strong enough for everyday play?
Blanket stitching with doubled embroidery floss or espadrille yarn produces a surprisingly sturdy bond. Keep these shoes for light outdoor use-garden play, the playground, a summer school run-rather than muddy hikes. Adding a thin rubber sole protector underneath helps if they’ll see daily wear on rough pavements.
What sole material is most durable for DIY espadrilles?
Standard jute soles work well for casual summer wear. Vegetable-tanned leather soles are more durable than chrome-tanned leather if you want something longer-lasting. Cork soles are not recommended for espadrilles due to durability issues-they tend to crumble with regular use. For most family projects, pre-made jute soles with a thin rubber layer underneath offer the best balance of tradition and practicality. Print out your pattern, grab your supplies, and stitch up a pair of summer memories with your little ones this weekend.


