

If your little one loves paint, glue, and all things messy, a homemade smock is a game-changer. This diy art smock project turns an old button-up shirt into a washable, custom-fit art apron your child will actually want to wear. It takes about 60–90 minutes, works for toddlers and preschoolers ages 2–6, and costs next to nothing.
Key Takeaways
- This diy art smock upcycles an old men’s button-up dress shirt into a washable art smock for toddlers and preschoolers ages 2–6.
- The project is beginner-friendly, relies on basic straight stitching, and can be sewn in roughly 60–90 minutes.
- Bias tape finishes raw edges and adds color-store-bought or homemade bias tape both work perfectly.
- Full length sleeves with elastic cuffs keep paint off wrists and protect clothes during messy crafts and sensory play.
- The finished smock pairs beautifully with any Little Button Diaries craft session, from finger painting to recycled collages.
Why Make Your Own DIY Art Smock?
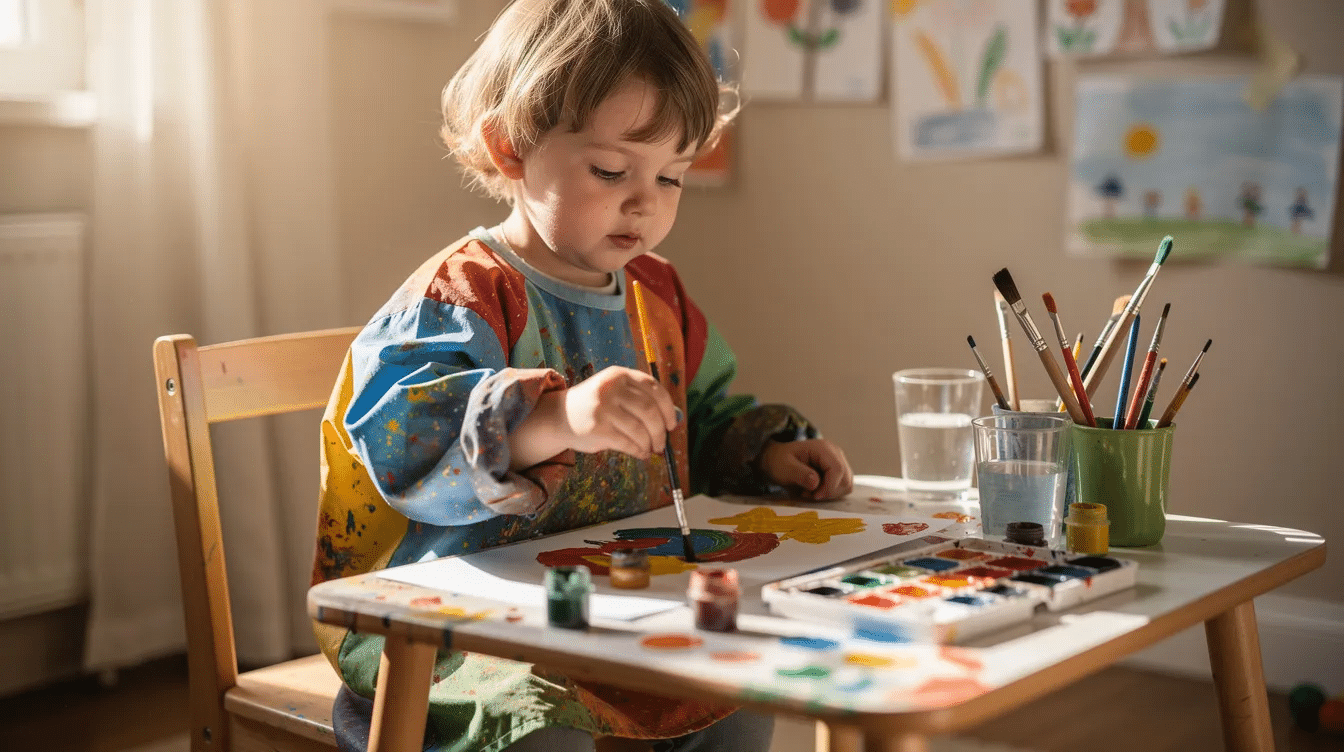
Here at Little Button Diaries, we know that creativity gets messy-and that’s a good thing. But watching stains set into a favorite outfit? Not so great. A homemade art smock lets your child dive into painting, playdough, slime, and preschool crafts without you worrying about cleanup afterward.
Store-bought artist apron options and vinyl art aprons typically run $20–22 each from school suppliers. Brands like EcoAble offer a waterproof and lightweight smock designed for easy cleaning, but those costs add up when you have multiple kids or fast-growing toddlers. Using an old adult t-shirt is a common method to create a diy art smock, and a large adult t-shirt can be modified into a comfortable version in a pinch. But a button-up dress shirt gives you better structure, a back opening, and sleeves that actually stay put.
DIY smocks can protect clothing during messy art activities while also being crafted from recycled materials-a sustainability win that fits right into frugal living. This project is ideal for toddlers ages 2–4 and preschoolers ages 4–6, with sizing notes below to help you adjust for different ages.
Materials & Tools for a Kid-Friendly Art Smock
Gather everything before you start so you can sew straight through without interruptions. Here’s your list:
Supply | Details |
|---|---|
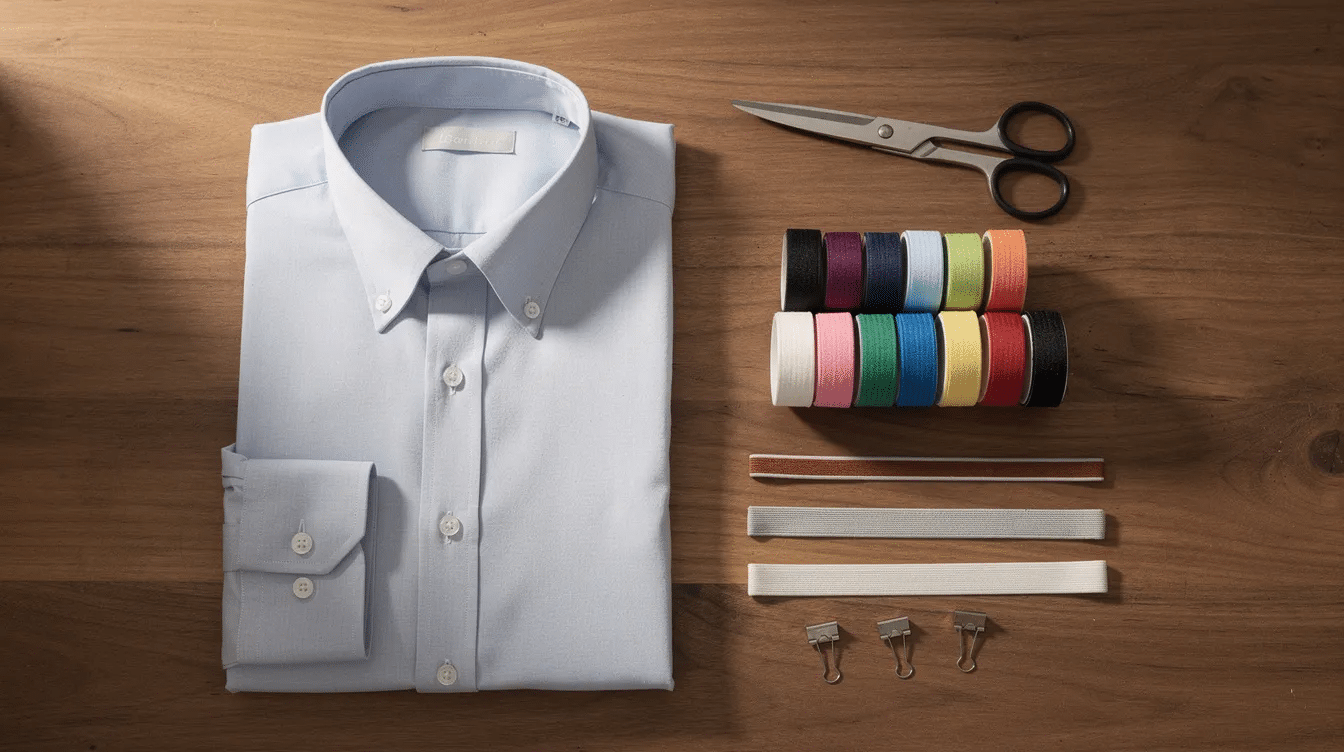
Base shirt | One clean, button-up dress shirt-a men’s size small typically fits preschoolers well (chest ~18.5–20.5 in flat). Use a medium for ages 5–6 or larger kids. |
Bias tape | 3–4 yards of ½-inch double-fold bias tape for neckline, back opening, and hem |
Elastic | Two pieces of ¼-inch elastic, each about 7 inches long, for gathered cuffs |
Pocket fabric | A 7 × 9 inch rectangle of fun cotton print or recycled garment fabric |
Sewing tools | Sewing machine, fabric scissors, pins or clips, measuring tape, fabric marker or chalk, iron |
Optional extras | Snap fasteners or hook-and-loop tape for back closure; waterproof fabric like oilcloth or PUL for a water-resistant front panel |
Art smocks can be made from cotton, vinyl, or polypropylene depending on how messy your projects get. For a no-sew shortcut, an easy art smock can also be made from a vinyl tablecloth or plastic, and even a heavy-duty trash bag can be turned into a waterproof smock for one-time messy sessions. Duct tape can seal raw edges of fabric in those quick craft project versions. But for something durable, comfortable, and reusable, a woven cotton shirt is the way to go.
Step-by-Step: How to Sew a DIY Art Smock from a Shirt
This walkthrough keeps things simple. If you’ve ever sewn a little girl’s dress from a shirt or a basic tote bag, you already have the skills. Every seam here is a straight line.
Start by washing and pressing the shirt to pre-shrink the fabric. Button it up, lay it flat, and remove the collar-snipping the collar stand off gives you a softer, rounded neckline that feels comfortable against a child’s neck. If you prefer a deeper scoop at the front, mark a gentle curve with chalk and cut along it.
Next, measure from your child’s shoulder to just above the knee for the smock’s length, and from shoulder to wrist for the sleeves. Trim accordingly so the art smock won’t trip small kids during creative play. Some art smocks come with full-length sleeves for better protection, and that’s what you’re aiming for here-coverage to the wrist without going past it.
To create the elastic cuffs, fold each sleeve end about ¾ inch toward the inside to form an elastic casing. Stitch close to the raw edge, leaving a small gap. Thread your 7-inch elastic through using a safety pin, overlap the elastic ends by half an inch, and sew them together. Close the casing gap. Elastic bands create snug cuffs that keep paint off little wrists while still allowing your child to grip brushes and wash their hand easily.
Add a pocket using fun cotton fabric: press the seam allowances on your 7 × 9 inch rectangle about ¼ inch on each side, position it on the lower front of the smock, and topstitch around three sides. Stitch a vertical line down the middle to create a large front pocket divided into brush and crayon sections-a feature kids love.
Finish all raw edges with bias tape. Open the double-fold tape, align it along the neckline and back opening, stitch along the inner fold, then fold it over and topstitch to secure. Bias tape both strengthens and decorates the smock, and it makes the whole project look polished.
For closure, kids’ smocks often feature hook-and-loop closures for easy wear-a small square of Velcro at the back neck works great. You can also sew simple ties from extra bias tape or add snap fasteners so toddlers can’t undo their artist apron mid-activity.
Seams don’t need to be perfect. Your child will be thrilled to have a colorful, tailored smock ready for their next craft session.
Using Bias Tape: Store-Bought vs Homemade
Bias tape can seem intimidating, but it’s one of the simplest ways to make your diy art smock look clean and finished. Store-bought tape is quick, inexpensive, and available at any craft source in dozens of colors-perfect for a busy weekend afternoon.
Homemade bias tape lets you match your pocket fabric exactly and is a great way to use up small cotton scraps. Cut strips on the bias (45° to the fabric grain), join them into one long strip, and press in folds with an iron or a bias tape maker. Beginners should start with store-bought for their first smock, then try homemade tape on a second smock or matching art aprons for siblings.
Adjusting the Smock for Different Toddler and Preschool Ages
One of the best features of this project is the flexibility to size up or down. A men’s small dress shirt suits ages 3–4 with its roomy fit, a medium works for most 4–6 year olds, and a large can serve early elementary kids who still love messy art.
Check sleeve length after adding elastic: sleeves should end at the wrist or slightly above so kids can still wash hands and hold brushes comfortably. For younger toddlers around age 2, trim more length from the bottom hem, widen the neck opening, and shorten sleeves further to avoid dragging past the waist.
For fast-growing kids, leave a bit of extra length in sleeves and hem so the smock lasts through more than one school year of crafts and finger painting. That kind of convenience makes this project worth the hour it takes.
Using and Caring for Your DIY Art Smock
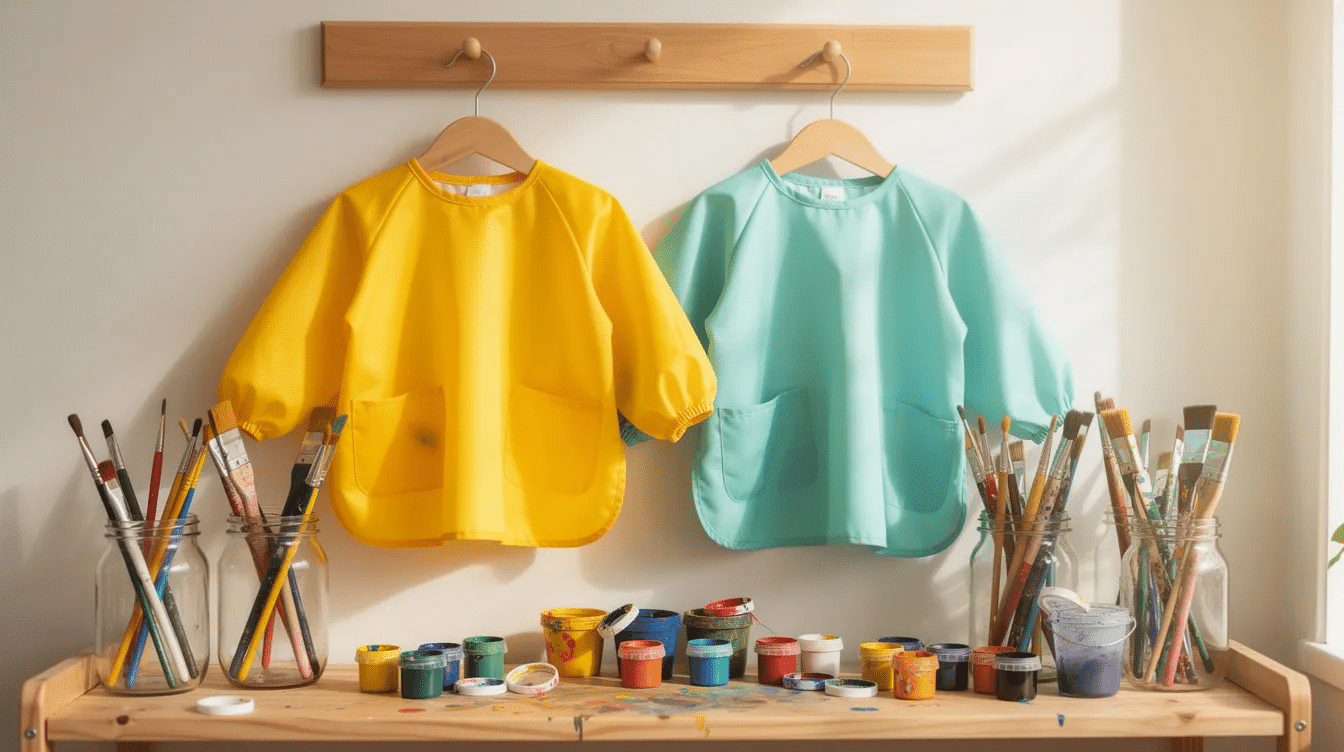
A well-crafted smock should be easy to clean and simple enough for kids to put on independently. Hang it on a low hook near your art supplies so your child naturally reaches for it-like a favorite uniform before every creative activity.
Machine wash in cold or warm water, pre-treat paint or marker stains with a stain remover, and line-dry or tumble dry on low to protect the bias tape and elastic. For very messy mediums like acrylic paint or slime, a sturdy cotton or cotton-poly blend holds up better over time. Fabric markers can personalize diy art smocks for kids-let them write their name or draw on the pocket for extra ownership.
Sew multiple smocks in different colors so each child has their own, which reduces arguments during group craft or preschool playdates. Pair the smock with recycled cardboard collages or easy craft ideas where a protective layer is especially helpful.
FAQ: DIY Art Smocks for Kids
Below are practical questions parents and preschool teachers often ask about making and using art smocks and art aprons at home or in the classroom.
Is this DIY art smock easy enough for beginners to sew?
Absolutely. The project uses straight lines and simple techniques-if you’ve sewn a pillowcase or hemmed a curtain, you can handle this. Minor mistakes in your thread lines or slightly uneven bias tape won’t affect how well the smock protects clothing. If you prefer to practice first, try a test run on a scrap shirt before working on the final version.
What type of fabric works best for a children’s art smock?
A medium-weight woven cotton or cotton-blend shirt is ideal because it’s breathable, lightweight, and comfortable over a T-shirt. It washes repeatedly without falling apart. Art smocks can also be made from cotton, vinyl, or polypropylene for different needs. Parents who want a waterproof front panel can line it with PUL or oilcloth, though these materials are slightly trickier for beginners to sew.
Can I make this art smock without a sewing machine?
Hand sewing is technically possible but will take significantly longer, especially when finishing edges and cuffs. A basic sewing machine is strongly recommended for this project. If your family doesn’t own one, consider borrowing a machine from a friend, local library makerspace, or community center. Many school craft rooms in the USA also have machines available for parent use.
How many art smocks does a family with multiple kids really need?
One primary smock per child who regularly joins crafts, plus one spare for visiting friends or for when a smock is in the wash. If you stock a small collection created from the same batch of old shirts, you’ll always have one clean and ready. Coordinating colors or patterns also helps avoid arguments over who gets which design.
Can this pattern be adapted for older kids or adults?
Yes-art smocks can be designed for both children and adults using the exact same method. Use a larger shirt and adjust sleeve and hem length as needed. Adults who prefer a sleeveless option can cut off the sleeves entirely for a long artist apron-style version with a roomy front pocket, perfect for working alongside the kids during family art time.


