

A pom pom wreath is one of those projects that looks impressively pretty on a front door but is secretly easy enough for a preschooler to help with. All you really need is yarn, a wreath form, and a free afternoon. Here’s how our family makes them at Little Button Diaries.
Key Takeaways
- A pom pom wreath is a simple, no-sew DIY that children around ages 3–8 can help create using yarn, a wreath form and basic craft tools like scissors. It is a great project for building fine motor skills and colour recognition.
- You can adapt the pom wreath for any season – a bright rainbow version for a child’s bedroom, a cosy christmas wreath for December, or muted tones for a fall display. Pom pom wreaths can be customized for any season and used as decorative accents in various locations throughout the home.
- Prep is everything: making a big pile of pom poms first means assembly is fast and fun. Parents can choose between hot glue, floral pins or thread depending on how kid-friendly they want the project.
- The whole thing is budget-friendly, perfect for using up leftover yarn, and can be completed in an afternoon or across two nap-time sessions.
What Is a Pom Pom Wreath and Why We Love Them
A pom pom wreath is simply a wreath form – foam ring, metal hoop, or cardboard circle – covered partly or completely in soft, fluffy yarn pom poms. We love them because they are forgiving, tactile, and endlessly adaptable.
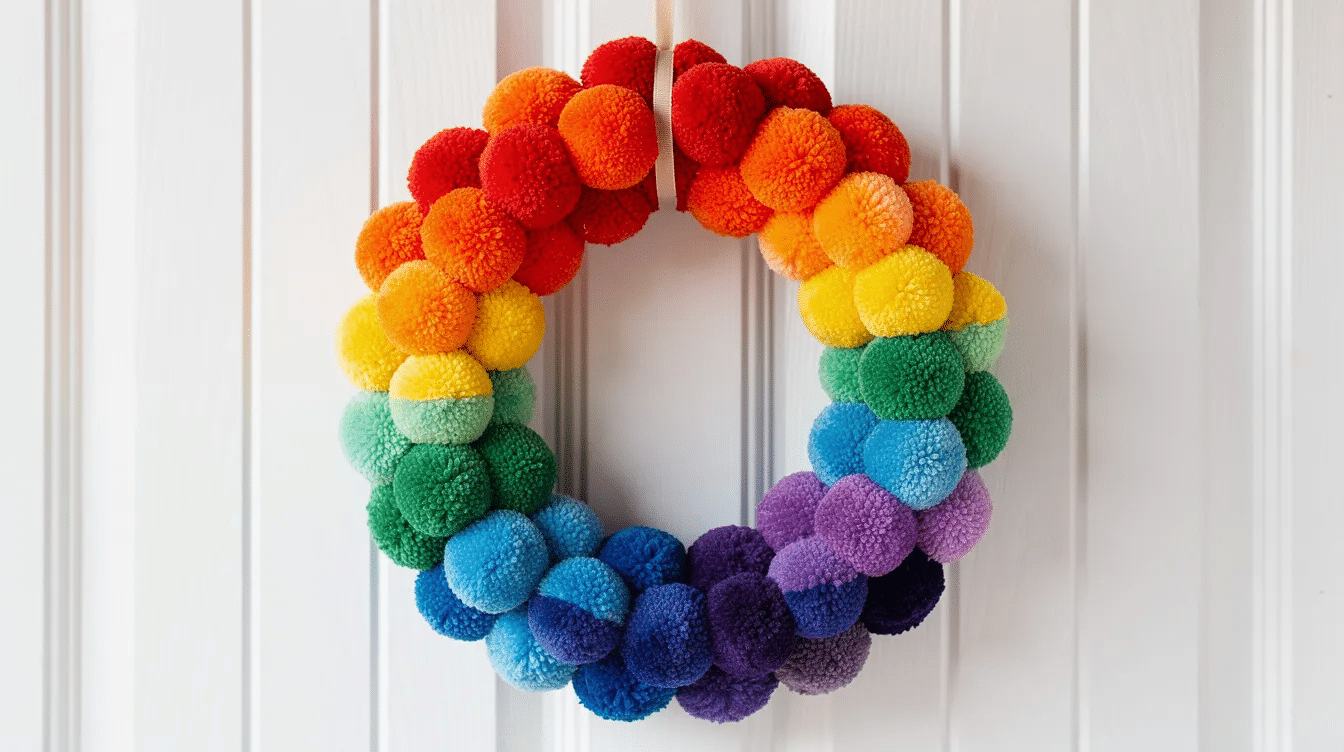
Picture a rainbow pom wreath in a playroom using every bright colour in your stash. Or a red, forest green and cream christmas wreath ready for the holidays. Or a soft pastel wreath on a nursery door that guests always comment on. Each one starts from the same basic method.
Pom poms add texture and colour while staying lightweight and safe for little hands. This post focuses on easy, low-stress methods that suit busy parents, with options to simplify for toddlers or add details for older children. It is a no-sew project using materials many families already hold in their craft stash – yarn, cardboard, ribbon, and a spare embroidery hoop or foam wreath form.
Supplies: Choosing the Right Wreath Form, Yarn and Tools
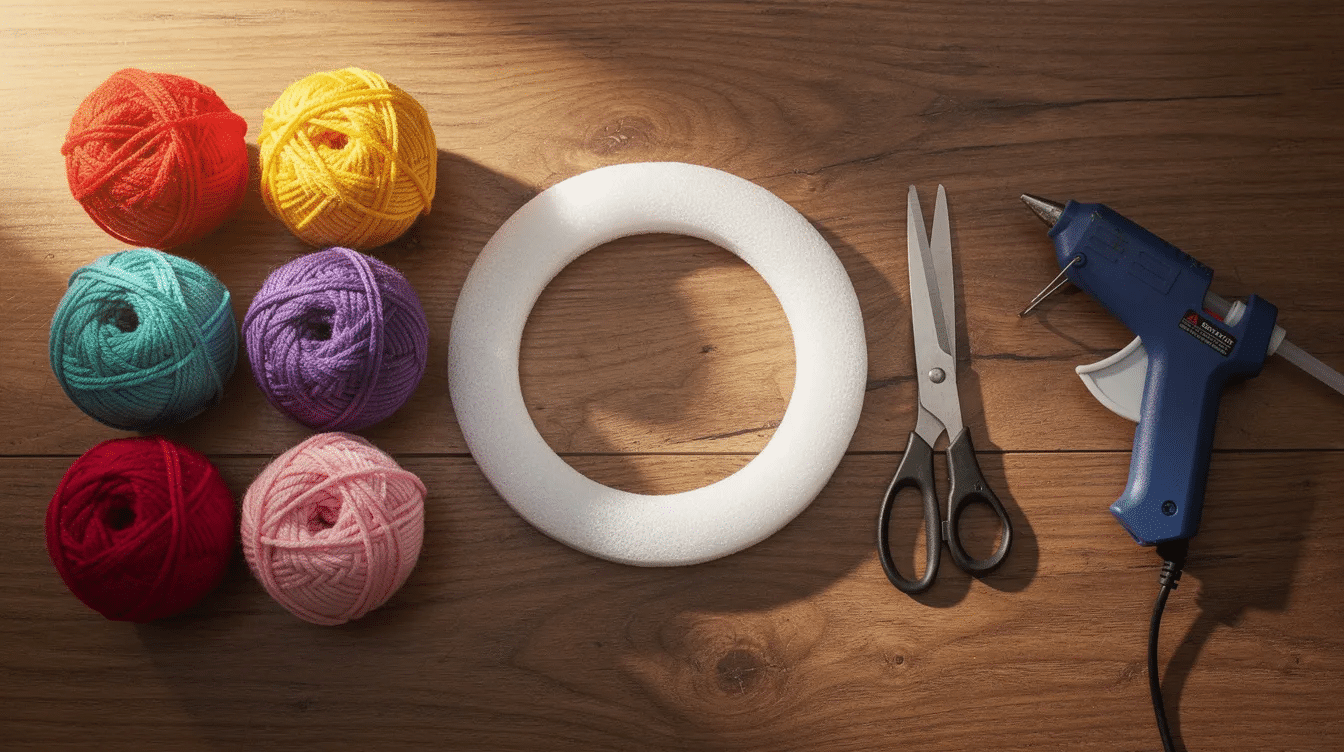
Grab everything before inviting children to the table. Key materials for a pom pom wreath include yarn, a wreath form, and scissors. Here is a quick checklist.
Wreath forms:
Form | Best for | Notes |
|---|---|---|
10–14″ foam ring | Full, fluffy door wreath | Lightweight, holds pins well |
Metal or embroidery hoop | Modern half-wreath or pom pom hoop wreath | Leave one side bare for a contemporary look |
Completely free option | Less durable but great for a first try |
How many pompoms? Wreath size matters. A 12-inch foam wreath requires about 40 pompoms. Use 30–40 pompoms for a 14-inch wreath. A 16-inch wreath may need about 56 pom-poms. Making different pom pom sizes is recommended for achieving a fuller, more organic look.
Yarn choices: Acrylic DK or worsted weight yarn is the most affordable and comes in a variety of colors. Chunky yarn produces big, fast pom poms. Variegated yarn can create multicoloured pompoms without changing strands – a real time-saver.
Tools: Child-friendly scissors for snipping yarn (adults do the heavy trimming). A low-temperature hot glue gun handled by an adult, or floral pins and strong thread if you want to avoid glue with very young children.
Optional extras: Mini felt trees or wooden stars for a christmas wreath, felt leaves for autumn, pastel felt eggs for Easter, or letter beads to spell a child’s name.
How to Make Pom Poms with Kids (Three Easy Methods)
Imperfect pompom shapes still look brilliant once packed onto a wreath – so don’t stress. pom pom creation process involves wrapping yarn, tying it, cutting loops, and fluffing the yarn.
Method 1 – Pom Pom Maker: Pom pom makers come in sizes from 1-3/8″ to 4-1/2″. Open the arms, start wrapping yarn around one side. Use 130 loops for 2-1/2-inch pompoms. Close, cut along the groove, then tie tightly through the centre with strong yarn. Of course, fewer wraps give a looser pompom – more wraps give a fluffier one.
Method 2 – Cardboard Donut: Cut two round cardboard rings, sandwich them, and continue wrapping yarn around until thick. Cut between the layers, tie in the middle, and trim. This kind of method is ideal for classrooms or reuse-friendly crafting.
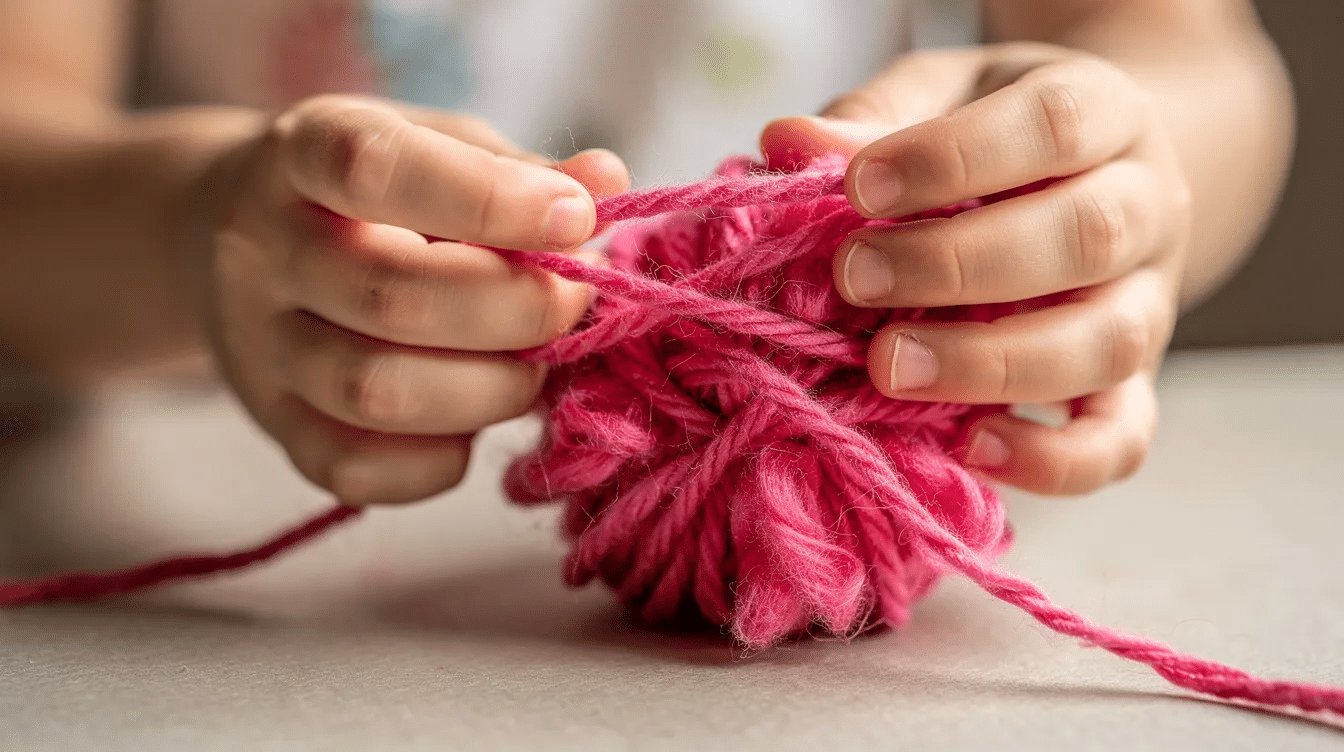
Method 3 – Finger-Wrapped Mini Poms: Wrap yarn around two or three fingers, slide the bundle off carefully, tie in the middle with a double knot, and cut the loops. This is the simplest step for impatient preschoolers and produces smaller pompoms that are great for filling gaps.
Fullness rule: More wraps equal fluffier results. Roughly 80 wraps for small pom poms, 120–140 for large – but don’t count obsessively, haha. Adults use sharp scissors to round the shape while children can fluff and shake. Aim for 40–50 pom poms so the finished wreath looks luxuriously full with no gaps.
Step-by-Step: Assembling Your Pom Pom Wreath
This is where everything comes together. You can set aside one longer session or split it over two days – make pom poms one end of the week, assemble the next.
Prepare the base: For foam or cardboard, wrap the entire wreath form with yarn or fabric strips so any edge that peeks through looks neat. For a metal hoop, leave some bare on one side if you want a half-wreath design.
Dry run layout: Lay all finished pom poms on a table. Group by colors and sizes, then place them around the wreath form before you attach anything. Encourage kids to help design the colour pattern – rainbow, ombré, random mix, or traditional holiday colours. This is listening to their ideas and letting them take ownership.
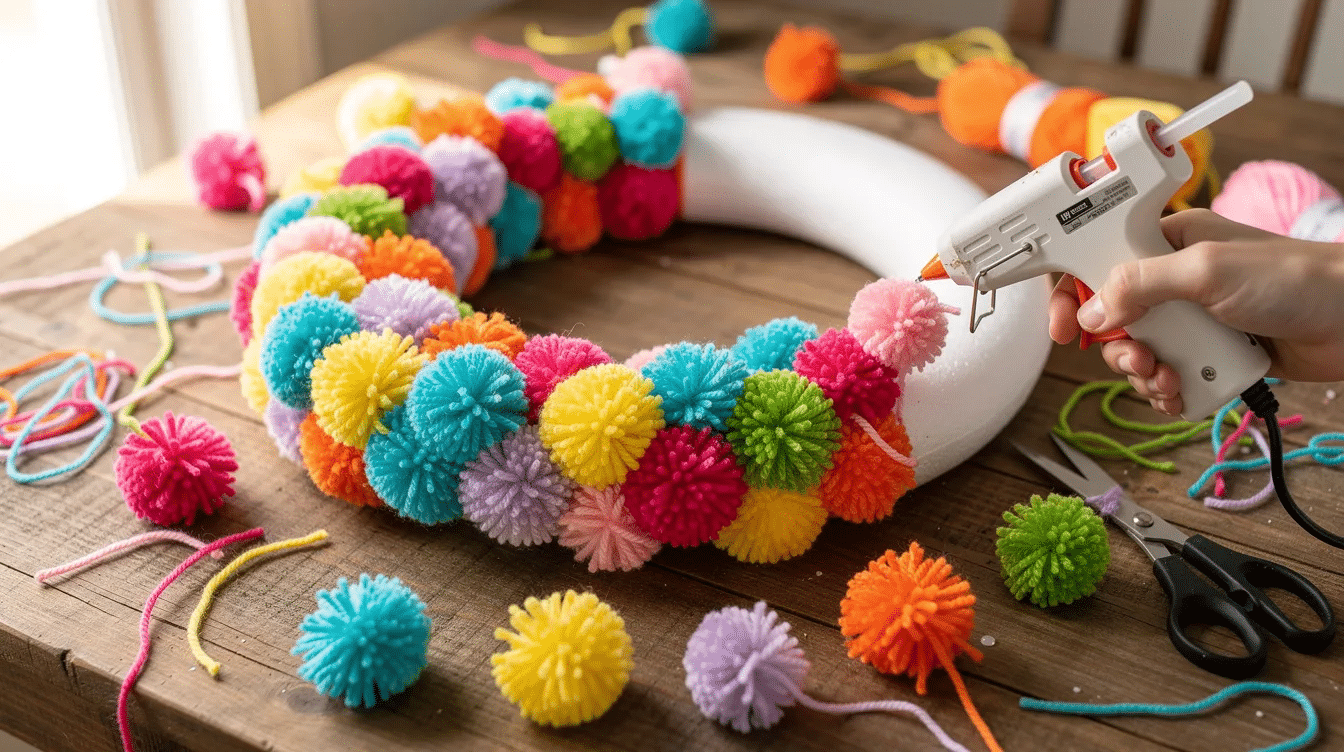
Attach pom poms: Pom poms can be arranged on a wreath base using glue or by tying them with yarn tails. For older children and adults, use a low-temp hot glue gun: dot glue directly on the wreath form, press each pompom into place and hold briefly to secure. Hot glue can secure pom-poms to the wreath form quickly. For younger families, use floral pins to attach pompoms to the wreath, or tie them on with yarn – kids can press while adults stick and secure.
Layer for fullness: Start with the largest pom poms evenly spaced, then tuck in medium and smaller pompoms to fill gaps and build a domed, fluffy surface. It is fine for poms to overlap on both sides. Mixing pom poms with other materials like felt balls and dried flowers can create a richer design.
Hanging loop and decorations: Tie a length of ribbon or twine to form a loop at the top for hanging. For a christmas wreath, glue on tiny bottle-brush trees or felt holly between pom poms for extra detail. Then gently shake the wreath over a bin, check for loose pom poms, and add extra glue or pins where needed. Display it on a door, bedroom wall, or bookshelf – wherever it makes you happy.
Seasonal and Kid-Friendly Pom Pom Wreath Ideas
Every idea below starts from the same basic tutorial. Just swap the colors and extras.
Classic Christmas Wreath: Deep red, forest green and cream pom poms on a foam wreath form, finished with a tartan ribbon and gold bells. Christmas pom pom hoop wreaths can be made in under an hour if your pom poms are ready. Bring it out every year as a family tradition that welcomes guests at the door.
Fall Pom Pom Wreath: Mustard, rust, brown and cream yarn with a few felt leaves and mini pinecones hot-glued between pom poms. Fall pom pom wreaths typically use 30–40 pompoms. Hang from late September through November for a sign of the season.
Child’s Bedroom Wreath: A bright rainbow or pastel pom wreath with the child’s initial painted and glued to the centre. Creative themes for kid-friendly wreaths can include rainbows, woodland animals, and favourite storybook characters. This also works as a new-baby gift.
Learning Twist: Arrange pom poms in colour blocks and turn the wreath into a counting game at child height – “find three blue pom poms,” “count all the green ones.” Perfect for preschool learning at home.
Stash-Busting Version: Use leftover yarn from old projects or cut up an old scarf. Encourage children to pick “scrap” colours to show that making decor doesn’t always mean buying new supplies. Seasonal colour palettes can include pastels for spring, bright colours for summer, muted tones for autumn, and cool hues for winter – whatever your stash offers.
Tips for Crafting with Young Children (and Keeping It Low-Stress)
The aim is happy, relaxed time together, not a perfect Pinterest wreath. If pom poms are wonky or colours are wild, that is a pretty great sign of genuine kid creativity.
Age-appropriate jobs:
- Toddlers: choose colours, pass yarn by hand, watching and helping sort the big pile.
- Preschoolers: wrap yarn around pom pom makers or fingers with help.
- Older children (6–8): trim, use the glue gun with supervision, plan the wreath pattern.
Safety tips: Adults handle hot glue guns and sharp trimming scissors at all times. Keep pins out of reach of under-5s. Use a tray to contain small pieces on the table. Read safety guidelines for string length limits with very young children.
Short bursts work best: 15–20 minutes of pom pom making after school all week, then a Saturday morning assembly session. Break it up to match attention spans and keep it fun.
Involve children in every decision – wrapping one end of the yarn, choosing where the finished wreath will hang, picking the ribbon. At the end, date the back of the wreath form (“Made in October 2026 by…”) so your family can love bringing it out year after year. Share the finished result – we’d love to see what you create!
FAQ: Pom Pom Wreath Problems and Quick Fixes
How do I stop my pom poms from falling apart?
The key is to tie very tightly around the middle with strong yarn or fishing line before you cut and trim. A double knot helps enormously. If a pompom starts shedding, you can re-tie through the centre with a new piece of yarn and give it a firm shake to remove loose fibres.
Can I make a pom pom wreath without a foam wreath form?
Absolutely. Use a sturdy cardboard ring, a metal hoop, an old wire coat hanger bent into a round circle, or even a wooden picture frame for a square pom wreath. Each gives a slightly different look, so mix it up and see which you prefer.
How should I store my pom pom wreath after the holidays?
Place it flat in a lidded box or large bag, away from damp. Before you display it again next season, give it a gentle shake and fluff each pompom with your fingers. Some light steaming can also revive squished pom poms.
How long does it take to make a pom pom wreath with kids?
Expect one long afternoon if adults do most of the work, or 2–3 shorter sessions if crafting with preschoolers. Making pom poms gradually over several days keeps it fun without anyone losing patience – and you end up with a big pile ready for a quick assembly session.
What if I don’t have much yarn?
You can mix in fabric strips, old t-shirt yarn, or even store-bought craft pom poms to bulk out the wreath without buying new skeins. A mix of textures actually looks wonderful, and it is a cute, easy craft that teaches kids about reusing materials.


