

Polymer clay jewellery is one of the most rewarding crafts you can do with young children at the kitchen table. A few colourful blocks, some basic tools, and 30 minutes of making time give your family lightweight earrings, necklaces, and charms that actually survive the school run.
Key Takeaways
- Polymer clay is a lightweight, oven-baked material that families can turn into earrings, necklaces, and charms on a single weekend afternoon. Once cured, it is water-resistant and tougher than air-dry alternatives.
- Simple projects like diy clay earrings and initial necklaces work well with preschoolers using basic tools, household items, and close adult supervision.
- Clays such as sculpey premo, sculpey iii, and Fimo Soft all cure at around 275°F / 130°C. A common guideline: bake for 30 minutes per 1/4″ (6 mm) of thickness.
- Projects fit into short chunks: 15 to 30 minutes of making plus baking time. Wrapped clay stays usable for months in a zip bag.
What Is Polymer Clay Jewellery (and Why Families Love It)?
Polymer clay is a modelling material based on polyvinyl chloride (PVC) that cures in a home oven rather than air-drying. Unlike natural clay, polymer clay does not dry out in air, so your child can take a snack break mid-project without the piece crumbling. It must be baked to cure and harden, which means an adult controls when the piece is “done.”
Once cured, polymer clay is lightweight and water-resistant, making it perfect for clay jewelry that children wear comfortably on the playground. Compared to salt dough (which dissolves in rain) and air-dry clay (which chips and fades), properly cured polymer clay resists everyday wear far better and holds tiny details like facial features on a 1 cm ladybird stud.
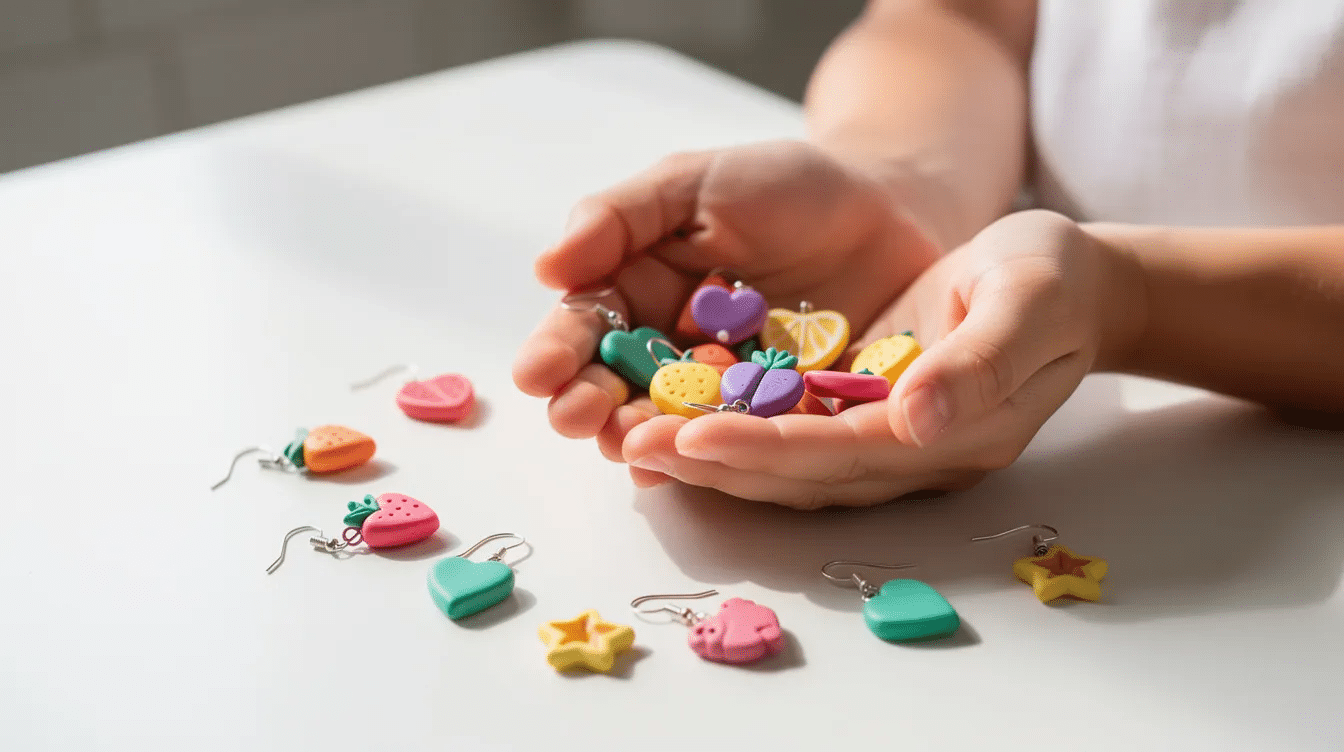
A 5-year-old can help shape rainbow heart studs for a school dress-up day, or press letter stamps into circles for a name charm bracelet as a birthday party gift. At Little Button Diaries, we focus on simple colours and shapes so even preschoolers take part in real “grown-up” jewelry making.
Choosing the Right Polymer Clay (Sculpey Premo vs Sculpey III & More)
Not all polymer clays behave the same way. Picking the right block keeps kids’ projects less frustrating and the finished pieces more durable.
Popular polymer clay brands include Sculpey, Fimo, and Kato Polyclay. Polymer clay is available at arts and crafts stores across the UK and US (Hobbycraft, Michaels, Amazon). Sculpey offers a wide variety of clay and tools, so beginners can often buy a starter kit with everything in one box. Here is how the most common lines compare:
- Sculpey premo is a popular brand for polymer clay jewelry. It is slightly firmer before baking, holds fine detail, and stays strong after curing. Use sculpey premo for easy blending and shaping when making polymer clay earrings or charm bracelets.
- Sculpey iii and Fimo Soft (a specific type of Fimo polymer clay) are softer straight from the packet. Young children find them easier to squish and roll, but parents should keep earrings on the thick side (4 mm+) to prevent snapping.
- Fimo has stated it removed phthalates from its formulations in 2006, which reassures parents who check ingredient lists.
A beginner colour palette for families: pick primary red, yellow, blue plus black and white. Blend a tiny pinch of white into red to create pastel pink, or mix blue and white for a soft gray-blue. That covers most polymer clay jewelry ideas children ask for.
You do not need specialist tools at first. A chopping board, a smooth jam jar for rolling, and a biscuit cutter all work for simple shapes. Keep a separate “craft baking tray” and never let children handle the hot oven; adults always move pieces in and out.
Essential Tools and Supplies for Family-Friendly Clay Jewelry
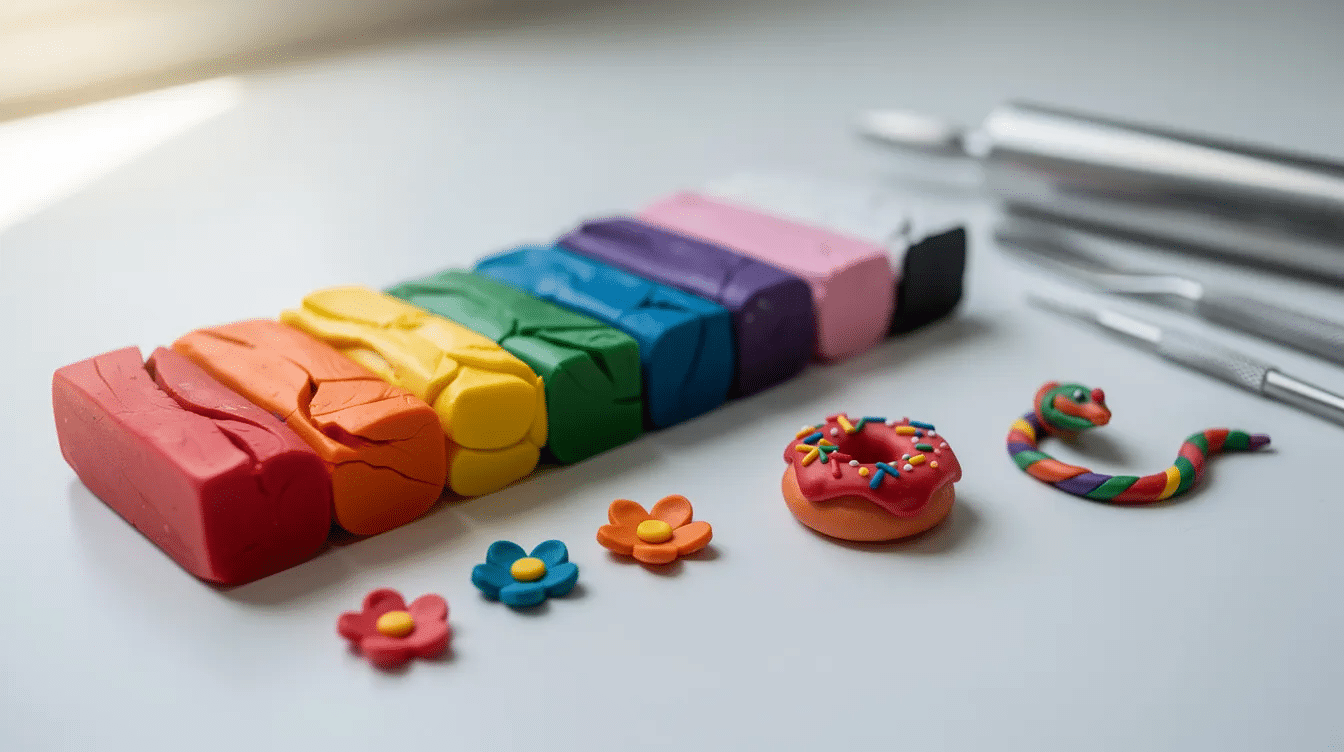
Families can start with a small kit and add more tools later if children enjoy the craft. For a full rundown, see our Comprehensive Guide to Tools for Clay.
Core clay tools:
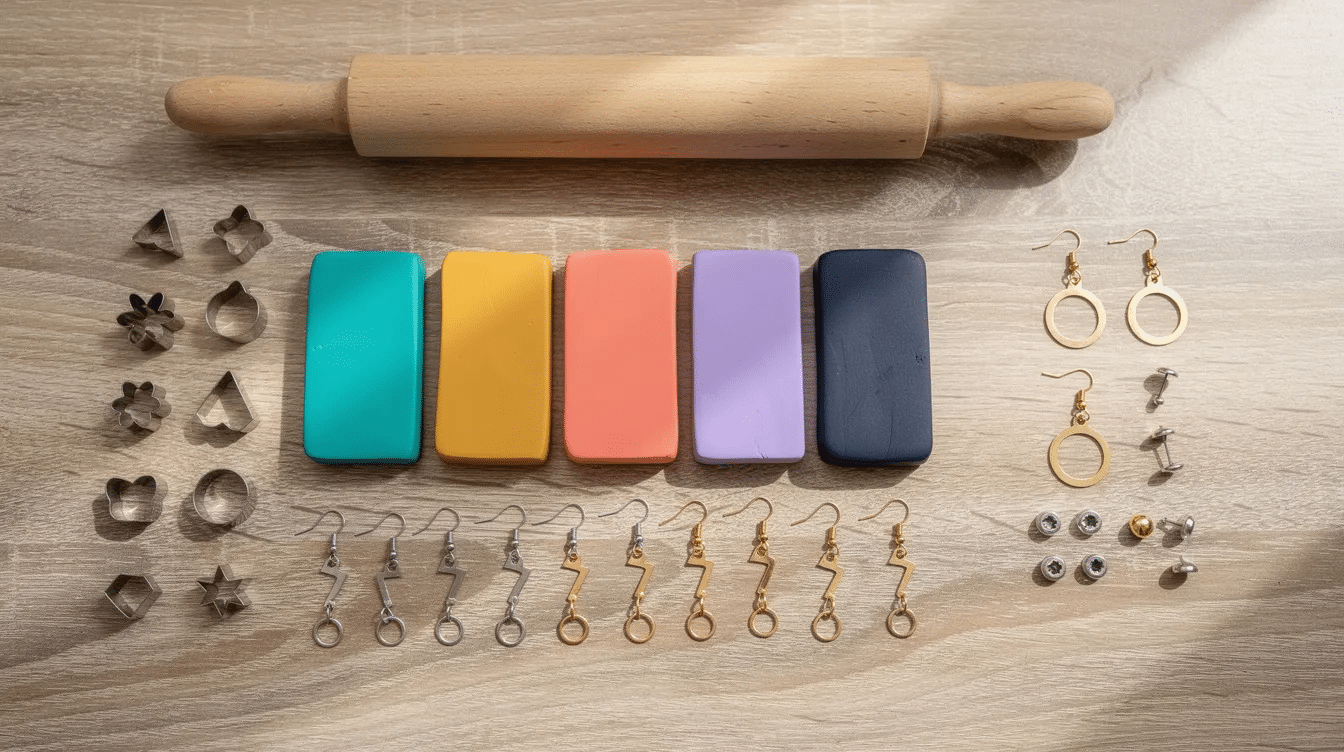
- Acrylic rollers and shape cutters are common tools for polymer clay; a smooth jar works too
- Simple cutters: hearts, circles, stars
- Toothpicks or cocktail sticks for piercing holes
- A craft knife (adult use only) to cut clean edges
Jewellery findings:
- Hypoallergenic earring posts or hooks
- Jump rings and lobster clasps for adding jump rings to pendants and chains
- Thin chain or cotton cord that won’t irritate young skin
Baking gear:
- A dedicated baking sheet lined with parchment paper or a ceramic tile
- A cheap oven thermometer so parents can verify the oven temperature reads 275°F / 130°C
Optional extras for later: alphabet stamps for names, texture sheets for knit or scale patterns, child-safe acrylic paints, and water-based gloss varnish.
How to Make Polymer Clay Earrings Step by Step
This is the “start here” recipe for parents crafting with kids aged about 5 and up, with close supervision. Follow these instructions in order:
- Condition the clay. Conditioning polymer clay involves kneading to eliminate air bubbles and enhance flexibility. Fold and press the block until it feels smooth and warm; about 2 minutes of squishing.
- Roll to even thickness. Place the clay between two sheets of paper and roll to 3-4 mm. Consistent thickness helps pieces bake evenly and gives a professional look.
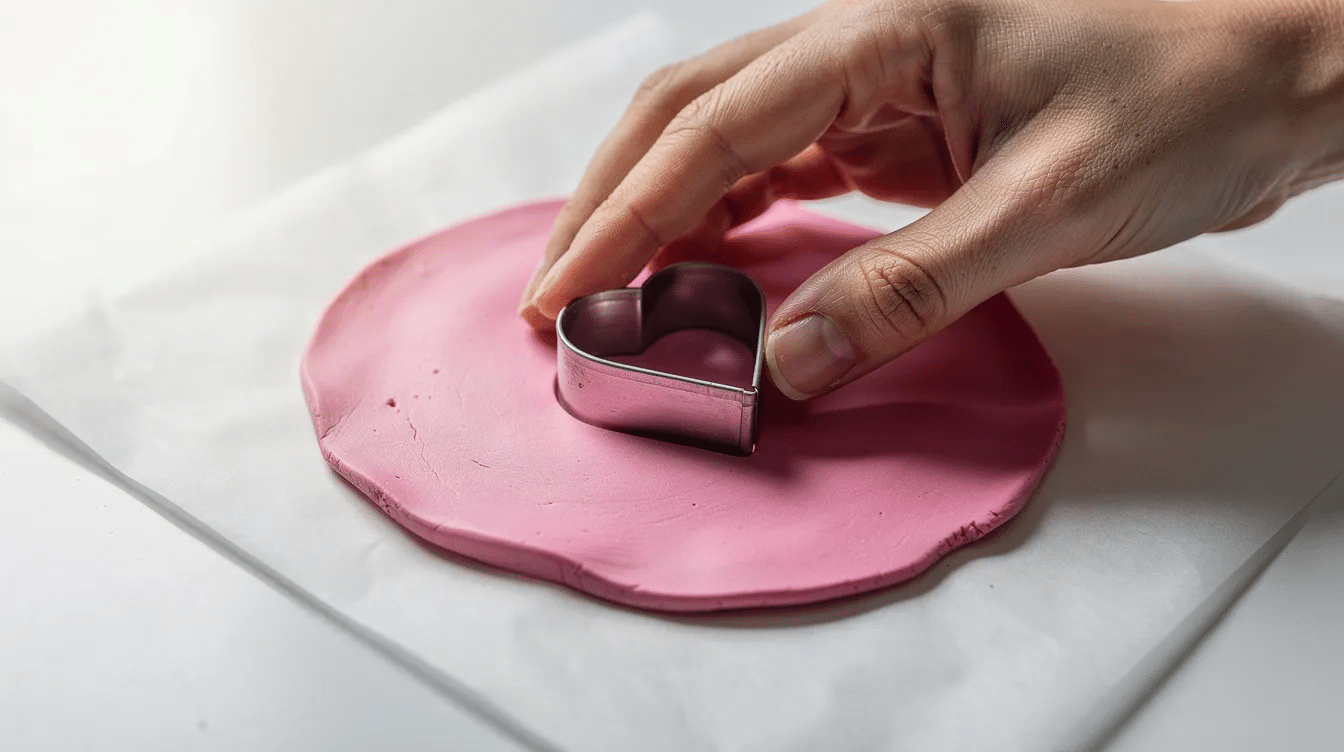
- Cut your shapes. Use a small circular cutter to create 1/4″ circles, or pick hearts, flowers, or rainbows. Remove excess clay and set scraps aside.
- Pierce holes. Use a cocktail stick to create holes for jump rings before baking. Push through about 2 mm from the edge so the hole does not tear. For studs, skip this step.
- Bake. Baking polymer clay requires a preheated oven to the manufacturer’s specified temperature. Place pieces on parchment on your baking sheet and bake polymer clay at 275°F for 30 minutes per 1/4 inch of thickness. For thin earrings (3-4 mm), 20 to 25 minutes is typical; always check the packet.
- Finish. Once cool, lightly sand edges with a nail buffer. Glue earring posts with strong jewelry glue and leave to cure overnight. Use jump rings to connect clay pieces for earrings that dangle.
Let children design colour combinations or add tiny details (spots on ladybirds, sprinkles on doughnuts) while adults handle cutting, piercing, and metal findings.
Polymer Clay Jewelry Ideas Kids Will Actually Wear
Simple, recognisable motifs keep preschoolers engaged and proud to wear their finished pieces to nursery or a birthday party. Here are projects that work with small hands:
- Smiley-face studs: yellow circles with black dot eyes; a style every child recognises
- Mini fruit slices: roll a strawberry-pink log, wrap in white then red, and cut thin slices to create a pop of colour
- Star earrings with glitter: press fine craft glitter into gold or gray clay before baking
- Tiny animal faces: panda bears from black and white clay; foxes from orange and cream
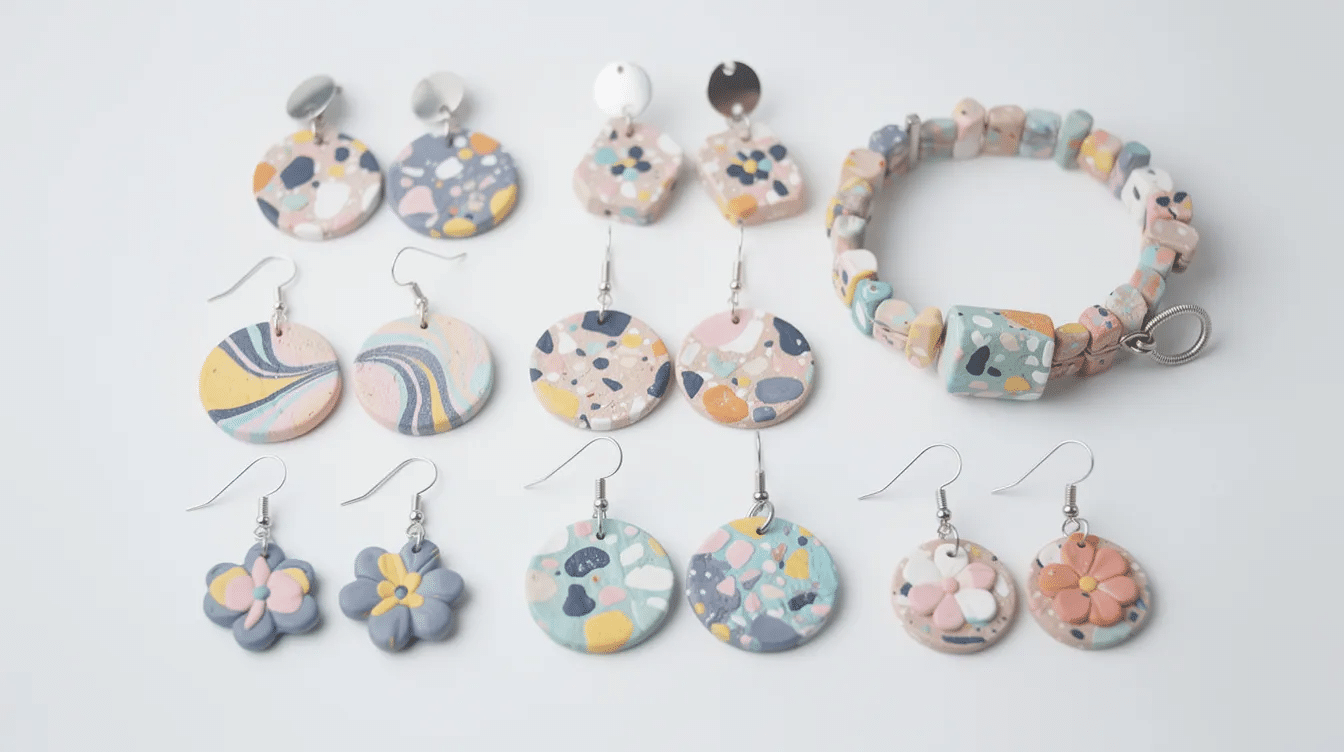
- Confetti circles: press tiny clay dots of mixed colour into a white base for a terrazzo-inspired look, similar to our DIY Terrazzo Coasters
Seasonal picks: pumpkin pie earrings for October half-term, holly leaf pendants for Christmas, and pastel egg charms for Easter egg hunts.
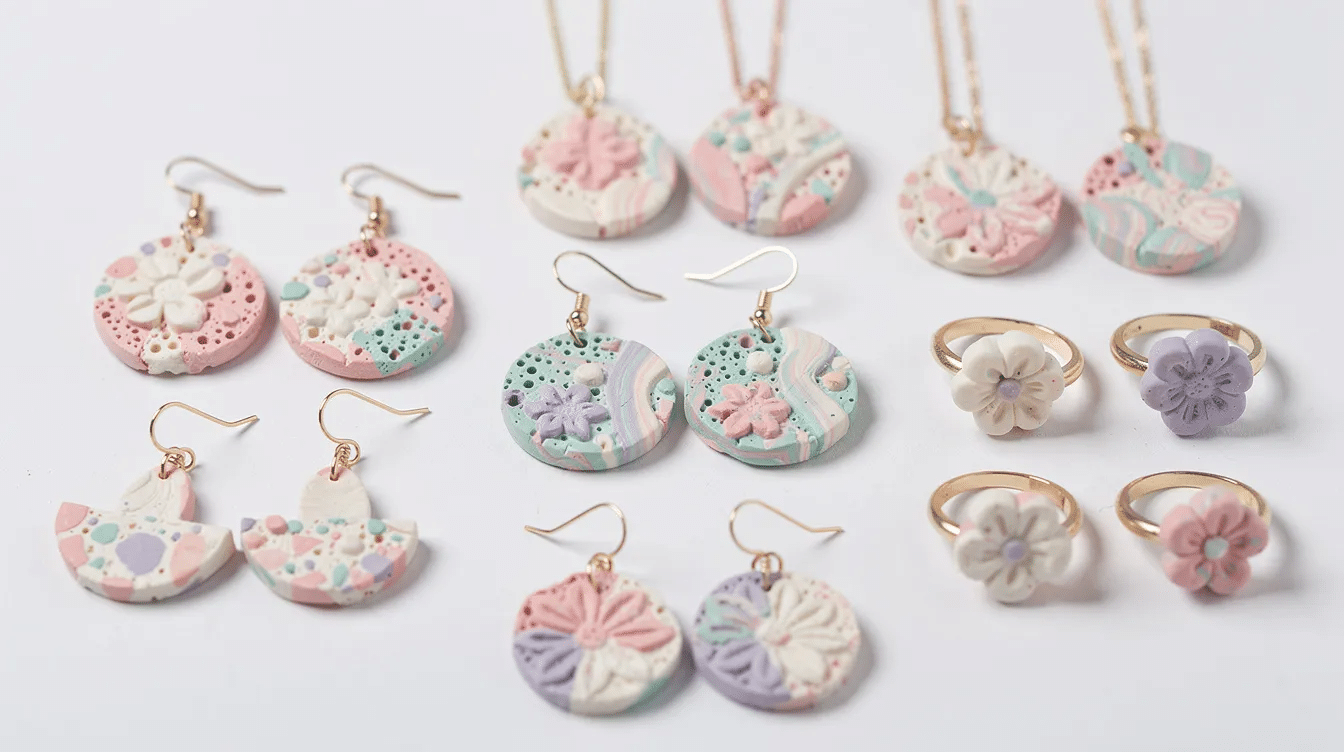
Personalised initial necklace: make initial charm necklaces using various sculpey colors. Cut circles or hearts, press a letter stamp, bake, then string siblings’ initials onto one chain for a unique gift.
Create marbled effects by rolling colors together; marbling involves rolling colors into clay snakes and blending them loosely before slicing. Techniques like marbling and layering enhance the visual effects in polymer clay projects. For more inspiration, browse our Strawberry Charm Bracelet tutorial or our Cute Easy Crafts roundup.
Polymer clay can be mixed with colorants and textures to create custom designs, so the possibilities grow as your child’s confidence does.
Working Safely With Polymer Clay Around Young Children
Modern craft clays from reputable brands carry non-toxic certification (such as ASTM D-4236 in the US) when used as directed. Parents should still follow sensible safety habits, because supervision matters more than any label.
- Polymer clay must be baked in an oven to cure. Never use a microwave; microwaving PVC-based materials can produce harmful fumes.
- Adults are responsible for operating the oven and handling hot trays. Children stay away from the oven at every step.
- Set up a “clay zone” on a wipe-clean mat. Keep food well away. Wash hands thoroughly after crafting. Tools and rolling surfaces should not be reused for cooking.
- Age-appropriate roles: toddlers (2-3) can choose colours and press texture stamps. Children aged 4 to 6 can roll snakes, cut shapes, and add dots or stripes under supervision.
- Avoid very small loose parts for under-3s; tiny jump rings and bead-sized pieces are choking hazards. Turn small designs into fridge magnets or bag tags instead of earrings for the youngest children.
- Store unused clay blocks wrapped in cling film or zip bags, labelled with the date, inside a lidded box out of reach between sessions. Stored this way, clay stays workable for months.
Finishing Touches: Sanding, Sealing and Caring for Clay Jewellery
A few simple finishing steps make homemade polymer clay jewellery look shop-bought. Professionally finished polymer clay jewelry often features consistent thickness and limited color palettes; keeping your designs clean goes a long way.
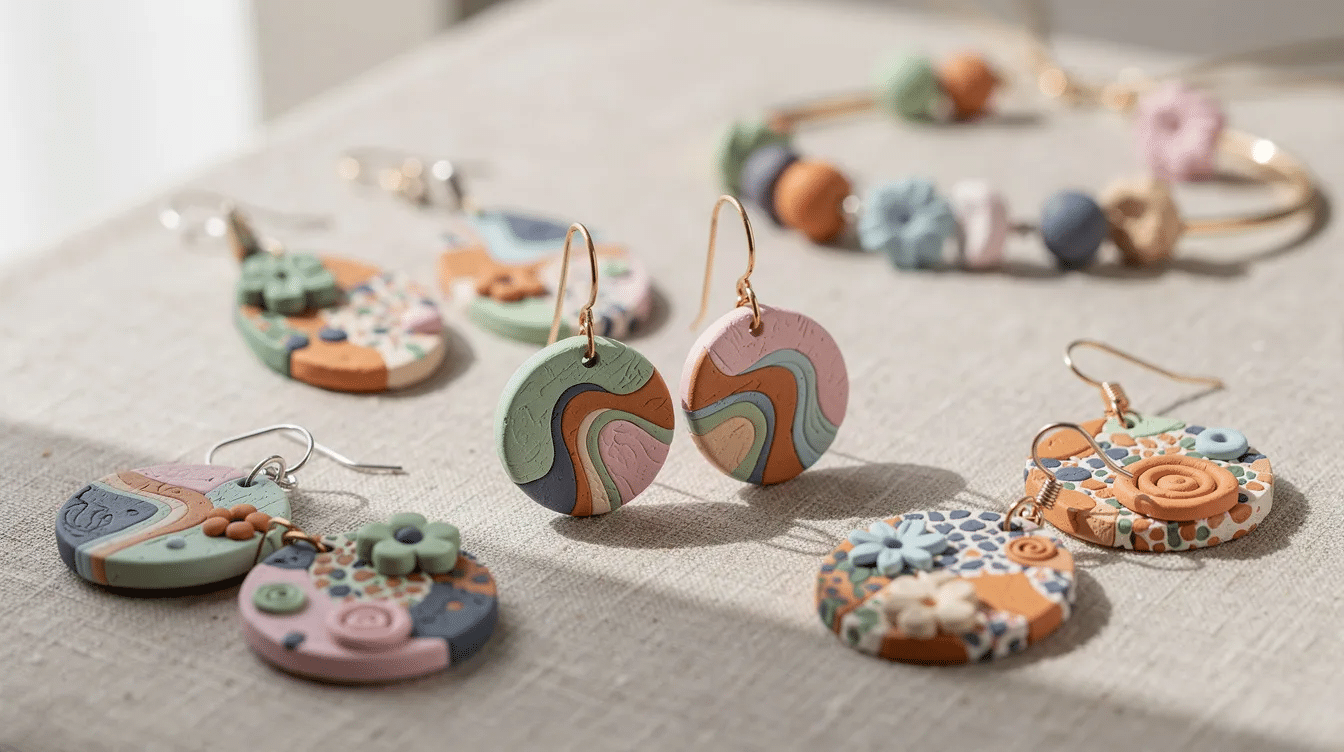
- Sand edges. Post-baking, polymer clay can be sanded or polished for a smooth finish. Use fine sandpaper (400-grit+) or a nail buffer. Adults handle this part; children can brush away dust with a sort of soft paintbrush.
- Seal (optional). A thin coat of water-based gloss or satin varnish adds shine and protects painted details. Skip it for a modern matte look.
- Everyday care. Teach children to remove earrings before swimming or bath time, store necklaces in a small box, and avoid bending thin pieces.
- Repairs. If a jump ring opens or a post comes loose, adults can usually fix the pair with pliers and fresh glue in a few minutes rather than throwing it away.
Polymer Clay Jewellery as Learning and Play for Preschoolers
Polymer clay crafting fits right into Little Button Diaries’ focus on playful learning for 2-to-6-year-olds. For more on building hand strength through art, see our post on art fine motor skills activities.
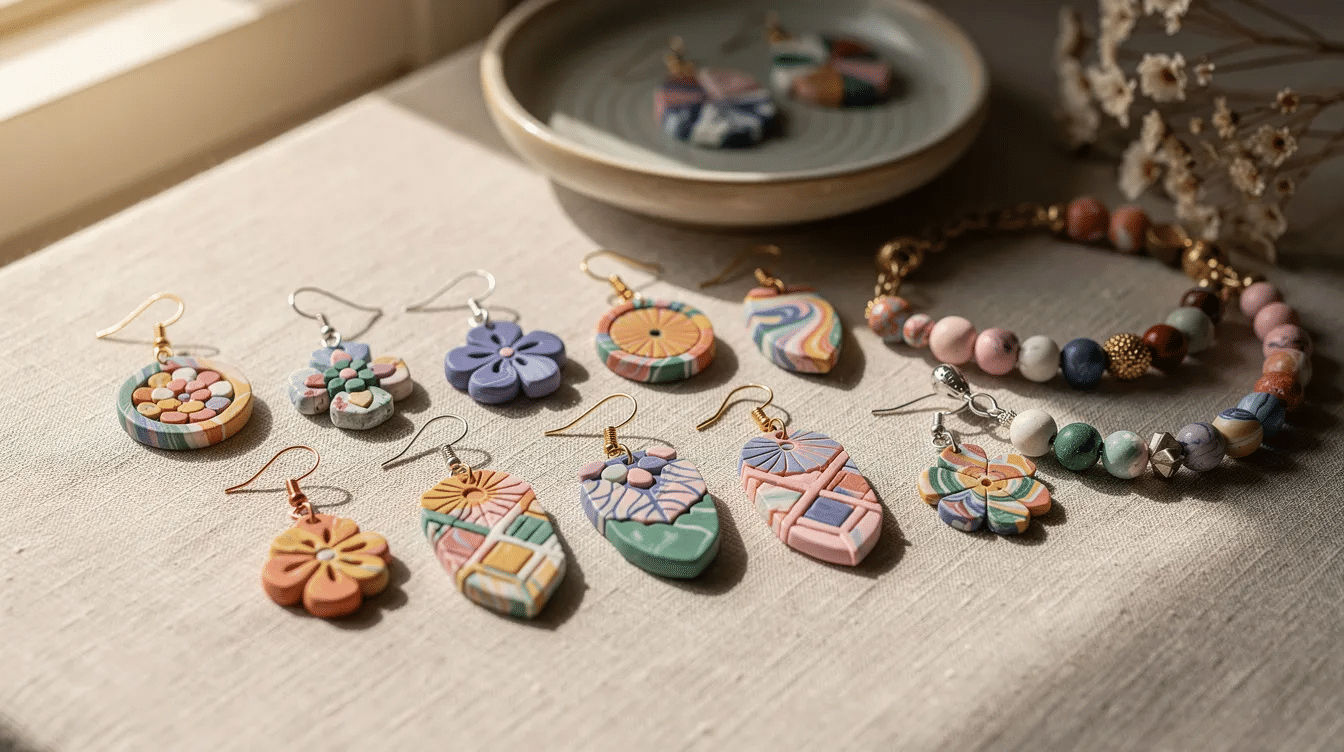
- Fine motor benefits: rolling balls and snakes, pinching petals, and pressing tiny “sprinkles” build the hand strength needed for writing and scissor skills.
- Sneak in learning: count beads onto a bracelet, make patterns (red-blue-red-blue), or spell short names with clay letter tiles on a necklace.
- Jewellery shop role-play: set up a pretend shop where children price their baked clay earrings and necklaces with paper tags and play money; a fun way to practise early maths.
- Use up scraps: leftover bits of sculpey premo or sculpey iii become colour-sorting games, tiny “cakes” for toy tea parties, or charms to decorate story stones. Nothing goes to waste.
FAQ: Common Questions About Polymer Clay Jewelry
These are the questions parents ask most before trying polymer clay at the kitchen table.
Can I bake polymer clay jewellery in the same oven I cook food in?
- Yes. Use your regular kitchen oven as long as you follow packet instructions and keep the oven temperature at around 275°F / 130°C without exceeding it.
- Place pieces on a dedicated tray lined with parchment paper. Open a window if any faint smell appears; it usually fades within minutes.
- Some families bought a cheap toaster oven just for crafts, but this is optional.
How long does homemade clay jewellery last?
- Well-baked polymer clay (not under-cured) can last for years without crumbling, even when turned into daily-wear pieces for adults.
- Children’s designs take more knocks, so choosing thick shapes and strong clay like sculpey premo helps them survive daily wear.
- Metal findings such as jump rings may need tightening over time, but the clay itself stays solid.
Can my child take polymer clay earrings to nursery or school?
- Check your nursery or school’s jewelry policy first, especially for PE and outdoor play days.
- Small stud-style polymer clay earrings that sit close to the ear are the safest pick; avoid long dangles on active days.
- If earrings are not allowed, turn matching designs into bag charms or zipper pulls instead.
Is Sculpey III safe for kids to handle?
- Sculpey III is marketed as non-toxic when used as directed, making it suitable for supervised family crafts.
- Clay is not a toy for unsupervised toddlers and should never be eaten. Hands must be washed before snacks or meals.
- Read the safety information on your specific brand’s packaging, as formulations can change over time.
What can I do with leftover clay scraps?
- Combine small pieces into marbled blocks for new diy clay earrings or bead shapes; nothing needs to go in the bin.
- Save a “scrap rainbow” log that children slice into patterned beads or buttons during the next craft session.
- Larger clean offcuts can be wrapped tightly and stored for months. Crumbly bits become practice pieces for little fingers learning to blend and shape.
If you try any of these projects, leave a comment below or tag us on pinterest with photos of your finished pieces. Subscribe to Little Button Diaries for more family craft tutorials, videos, and step-by-step guides delivered to your inbox. Sign up with your first order of craft supplies still in the cart, and you will have plenty of inspiration waiting before the clay even arrives from the shop.


