

Key Takeaways
- Making wire signs at home involves bending craft wire into letters or shapes using tools, and older preschoolers can help under supervision.
- You only need a few supplies: 12-gauge or 14-gauge aluminium or copper craft wire, jewelry pliers, wire cutters, a printed word template, and optional yarn or paint.
- Print or draw a word like “hello,” a child’s name, or “play” on A4 paper and bend the wire carefully along the lines to form letters.
- Finished wire signs work as bedroom door names, party décor, gift tags, and simple photo props for birthdays or first day of school.
- Each sign takes about 20–40 minutes and the cost is minimal, making this the perfect rainy afternoon diy project for families.
Introduction: Why Wire Signs Are Perfect for Family Craft Time
If you’ve ever wanted a pretty, personalised piece of décor for your child’s room but felt put off by the price tags on Etsy, wire names and wire signs are the answer. This is a simple craft where you bend a single piece of wire into letters that spell out a word or name – and the result looks like something you’d find in a boutique shop.
With roughly 65% of U.S. adults doing at least one DIY craft in the past year, projects like these fit right into the growing trend of small-scale, accessible making at home. Unlike complex neon signs or projects that need electroluminescent wire combined with suitable backing materials for a glowing effect, this method is deliberately low-tech. You need a desk, some wire, and a printout. That’s close to it.
This tutorial is designed for families with preschoolers aged 3–6. Adults handle the bending and cutting, while kids join in for the fun parts: choosing the word, picking colours, threading beads, and deciding where to place the finished sign. Below, you’ll find everything from supplies to display ideas and inspiration to motivate your next craft session.
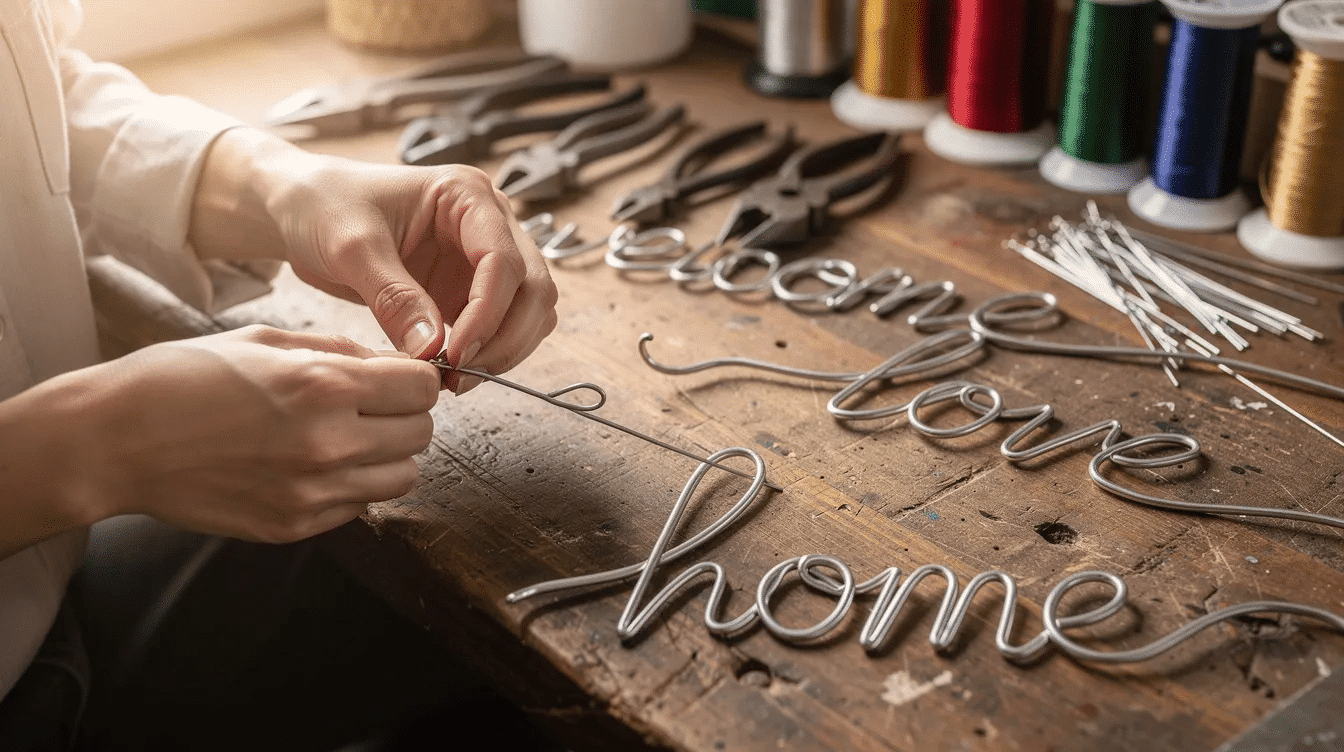
Supplies You’ll Need for Simple Wire Signs
Gather these before you start – the whole lot fits in a shoebox:
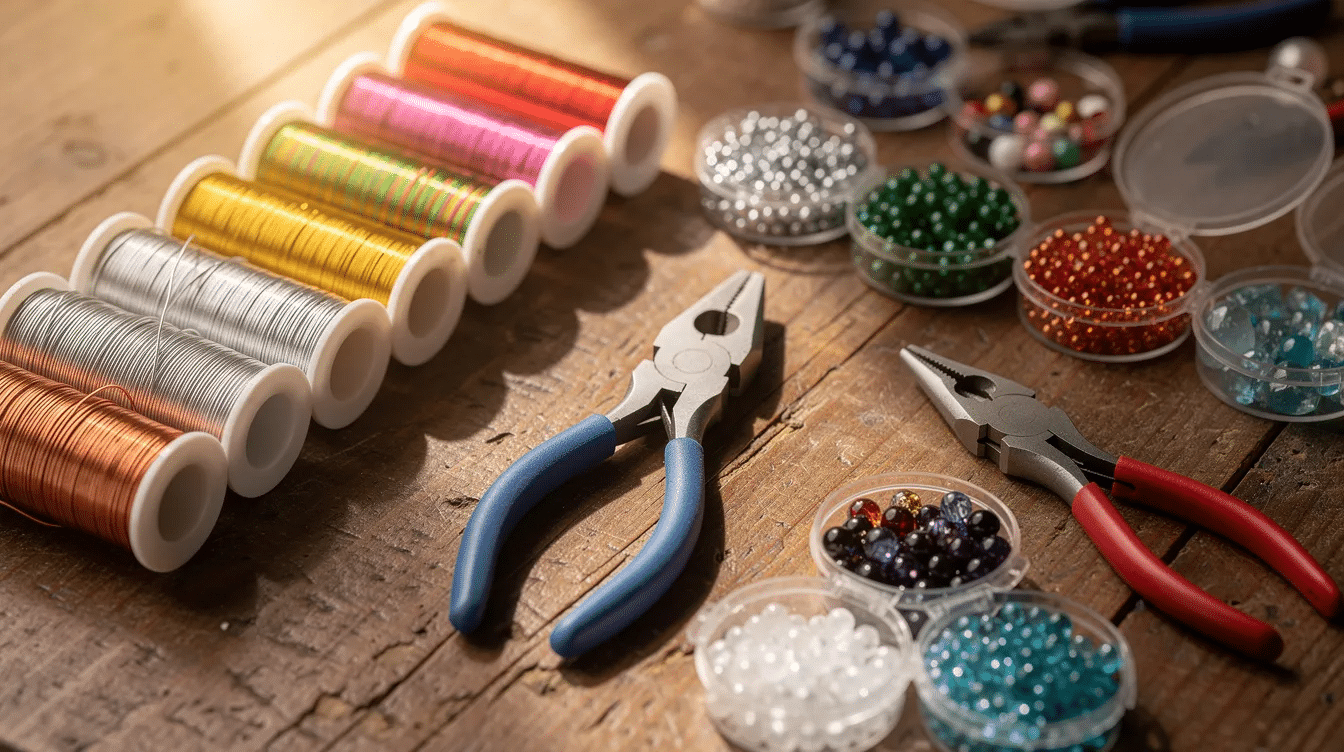
- Wire: Use 12-gauge or 14-gauge aluminum or copper wire for durability and ease of shaping. Pliable wire is easier to bend but should be resilient enough to hold its shape. Copper adds a warm, rose-gold look; aluminium is lighter and comes in primary colours that appeal to kids.
- Tools: Round-nose pliers for curves, flat-nose pliers for crimping, and heavy-duty flush cutters that ensure clean edges when trimming wire ends. Needle-nose pliers assist in making sharp bends and corners in wire. Jewelry pliers help create small shapes in wire and are a must for precise work.
- Templates: Print a stencil on A4 paper for accurate letter shapes – try a joined script font like Pacifico or Brush Script. Or hand-draw bubble letters with a felt-tip pen.
- Decoration extras: Acrylic paint, chunky yarn, wooden beads, small felt hearts, and ribbon or twine for hanging.
- Safety gear is important when working with wire to protect against snapping ends – keep safety glasses handy when snipping, and use blunt-nose children’s craft pliers if kids are helping.
Choosing and Preparing Your Word or Name
Start with short, easy words of 3–6 letters: “love,” “read,” “play,” “dream,” or a child’s first name. Wire signs can be customized with any word or phrase, so let your child pick – this step alone can keep a preschooler engaged. Whether you’re dreaming big with a long name or keeping it simple with “hi,” the concepts are the same.
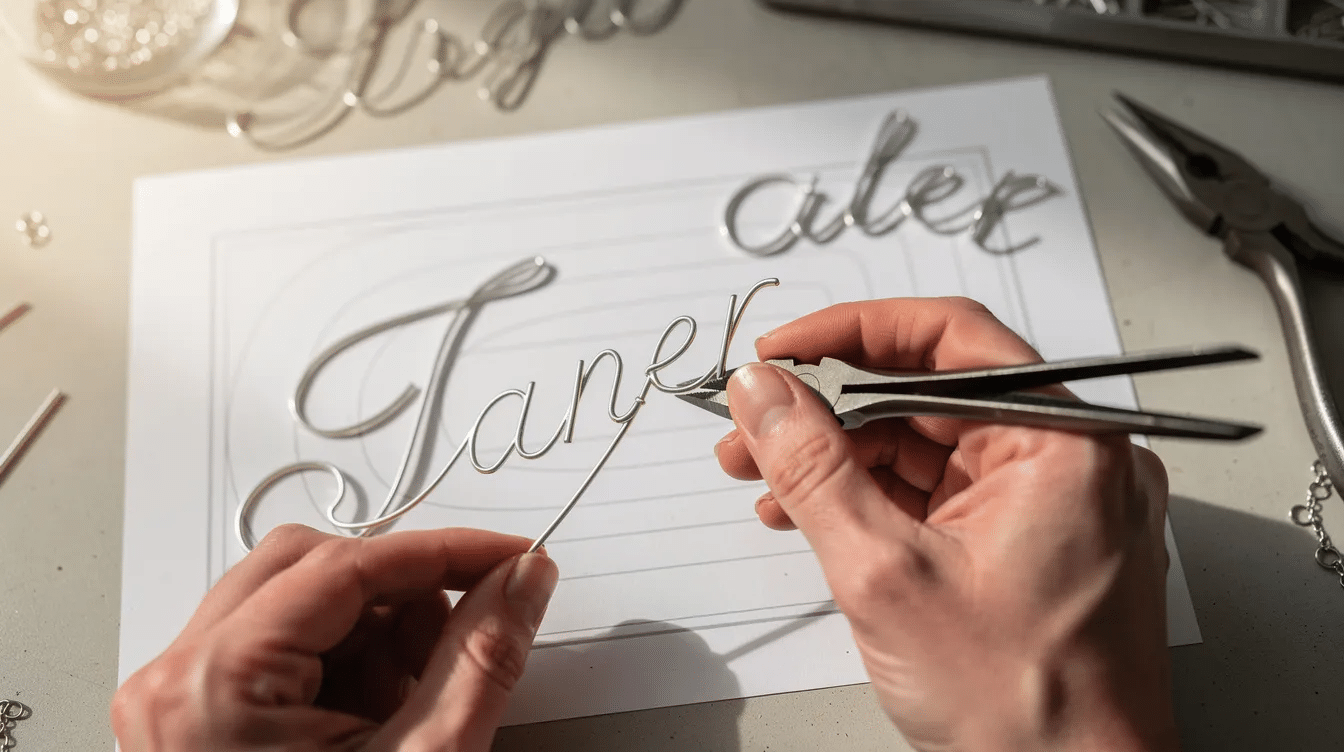
Using a paper template helps guide the bending of wire to create letters or shapes accurately. Here’s the method:
- Open a word processor, choose a joined font (try Lucida Handwriting or Segoe Script), and print the word large enough to nearly fill the page width.
- Tape the page flat to your desk or a board with masking tape.
- Trace over the word with your finger, following the path the wire will take. Mark a small dot where you’ll start and end.
If you don’t have a printer, hand-draw the letters with a thick marker. Smooth out tight corners so bends stay gentle and child-friendly.
How to Bend Wire Letters Safely and Neatly
Adults should handle the main bending step by step, while little hands can press wire down along broad curves or hold the template steady.
Getting started: Place one end of the wire at the first letter, leaving a short tail if you want a flat base for a standing sign. Slowly follow the printed line with your fingers for large curves. Bend wire using jewelry pliers for precise shapes – use round-nose pliers for the tight loops at the tops of letters like “a” and “e.” Make small adjustments rather than one big, sharp bend.
Example – shaping “Lily”: Form the tall stroke of “L” first, curve into the “i” dot (a tiny loop), continue into the “l” upstroke, and finish by looping the “y” tail. Keep all letters roughly the same size by checking against the template as you go.
Tricky letters: For letters that loop back on themselves like “b,” “d,” or “g,” crimp the overlapping sections with flat-nose pliers so the wire sits snugly. Continuous line words should not be cut between letters to maintain shape integrity – just continue the wire smoothly from one letter to the next.
Finishing: Cut the wire cleanly once the last letter is formed, then file or fold back the sharp end slightly to protect small hands. I found this thought makes all the difference: if a toddler could grab it, cap it.
Turning Wire Words into Décor: Hanging, Standing, and Gifting
Once your wire sign is shaped, the fun part begins – deciding how to display words and creations around your home. Here are popular ideas:
- Hanging signs: Attach ribbon or twine to both sides of the word, or twist two small wire loops at each end. Wire signs can be hung using clear push pins or nails. Secure mounting options include nails, push-pins, and adhesive hooks for different surfaces.
- Standing signs: Bend the tails of the first and last letters into flat feet, or mount wire signs onto wood for added dimension and aesthetic – hot-glue the wire to a painted wooden dowel or driftwood stick.
- Colour and texture: Craft wire can be wrapped with colorful yarn to add texture and disguise imperfections. Add beads, or glue on tiny felt shapes and hearts to fit a child’s room theme. Wire signs can be painted with metallic spray paint – metallic spray paint can change the color of aluminum wire entirely. Allow metallic spray paint to dry for 1–2 hours before handling.
- Gifting: Wire names can be used as gift tags or ornaments. Craft wire can also be shaped into recognizable outlines like animals or flowers for artistic signage.
Use finished signs as bedroom door names, book corner labels (“Read”), birthday table art, or photo props. Share your creations on pinterest or instagram – we’d love to see them!
Making This a Child-Friendly Little DIY Project
Don’t wait to involve your child – this little diy project has plenty of safe tasks for small people:
Age | What They Can Do |
|---|---|
3–4 | Choose the word, pick wire colours, place beads, watch and enjoy |
5–6 | Press wire gently onto the template, wrap yarn on straight sections, help decide where to leave or hang the sign |
Set up on a large table, lay down a wipe-clean mat, and keep wire scraps off the floor. Spell the word aloud together and let children trace the finished wire letters with their finger – a tactile letter-recognition activity that can remind them of letter shapes and sounds. Each sign takes 20–40 minutes, creates very little mess, and is a perfect diy activity for a weekend with the kids.
For more easy craft ideas to enjoy today, browse our full list of cute easy crafts.
If this project sparked your creativity, leave a comment below or share your wire sign photos with us. We’d love to see what you create!
FAQ: Common Questions About Making Wire Signs with Kids
What type of wire is safest and easiest for beginners?
Use 12 gauge copper or aluminum wire for signs. Soft aluminium craft wire in the 12–14 gauge range (2–3 mm) bends easily by hand, is light enough for hanging, and has smoother edges than very thin floristry wire. Use 12 gauge copper wire for durability if you want a sign that holds its shape long-term.
Can younger children bend the wire themselves?
Preschoolers should not handle sharp pliers or cut wire. They can help press broad curves down onto the template while an adult controls the ends, and they can fully take part in decorating – choosing beads, wrapping yarn, and picking where to place the finished sign.
How do I stop the wire sign from losing its shape?
Hang signs where they won’t be grabbed – above a hook rather than at toddler height. Choose slightly thicker wire (12 gauge) for sturdier names, and store seasonal signs flat in a shallow box so they keep their shape.
Can I make wire signs without a printer?
Absolutely. Hand-draw large, joined letters with a marker on A4 paper. You can even trace around letter magnets or foam letters to create an easy bending guide – no printer needed.
Is it possible to paint or change the colour of the wire later?
Plain silver or copper wire can be spray-painted with metal-safe paint outdoors (adult-only step). Or skip paint entirely and wrap sections in colourful yarn or embroidery thread – a bit easier and completely mess-free for family craft time.


