

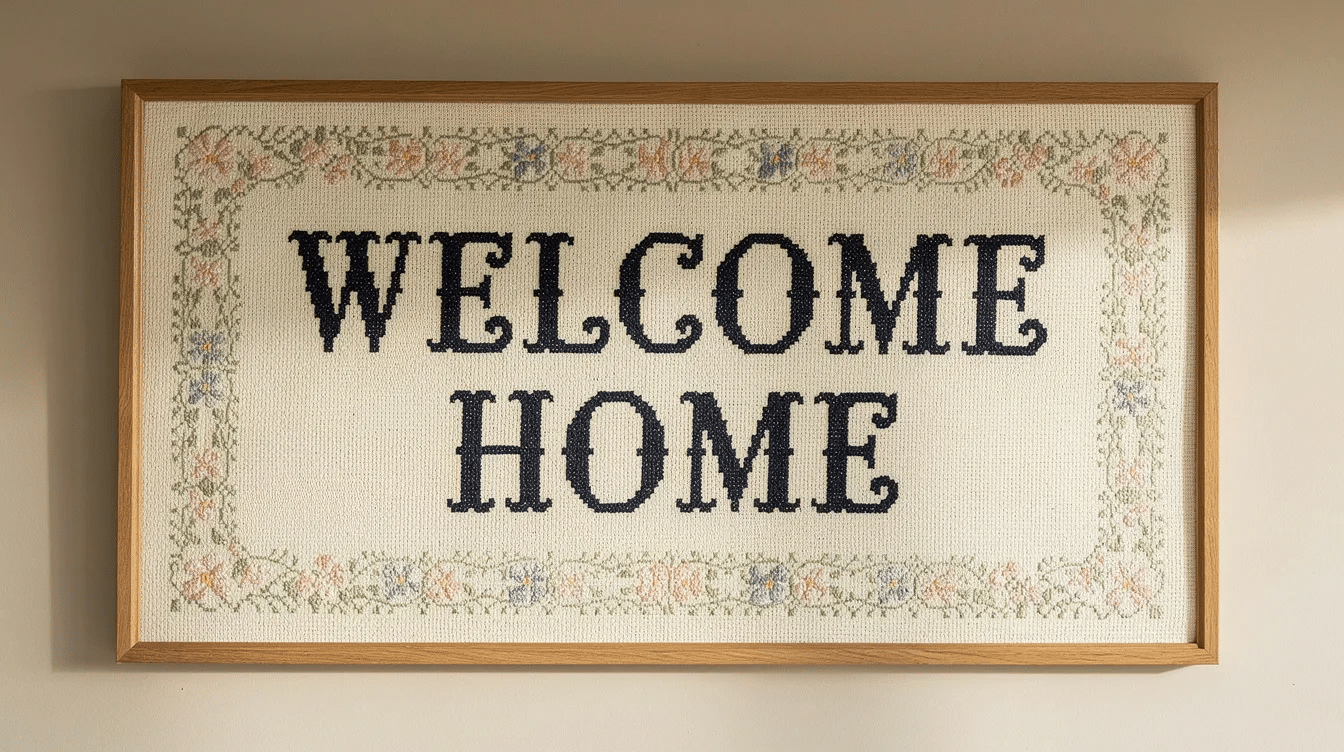
A giant cross stitch sign is an oversized, wall-hanging message made with cross stitch on a large grid such as pegboard or garden mesh. It works beautifully for decorating kids’ rooms, parties, or play spaces, and transforms a traditional craft into a massive statement piece you can use for home decor or events.
This is a beginner-friendly project scaled way up: bigger holes, chunky yarn instead of floss, and easy patterns that even preschoolers can help with under supervision. It ranks among the most satisfying cross stitch projects a family can tackle together.
This guide will walk you through choosing a short phrase (like “PLAY”, “READ”, or a child’s name), turning it into a simple cross stitch pattern, and stitching it onto a giant base using inexpensive, easy-to-find materials. At Little Button Diaries, we design these projects to be completed over a weekend or school holiday.
What Is a Giant Cross Stitch Sign?
A giant cross stitch sign takes the familiar counted-thread embroidery technique and blows it up so each “X” can be several centimeters tall. A finished sign can span 40–80 cm across a wall, making it impossible to miss. Giant cross stitch projects may use lower-count materials for larger, visible stitches, where count in cross stitch refers to stitches per inch of fabric.
Unlike regular cross stitch on fine Aida cloth or evenweave fabric, a large cross stitch sign uses far fewer stitches, a much bigger grid, thick yarn, and simple blocky letters rather than detailed pictures. You don’t need previous embroidery experience to understand how it works, which makes it ideal as a first large cross stitch project.
Think of concrete use cases: a “WELCOME” sign for a 5th birthday party, a “READ” sign above a preschool reading nook, or a child’s name sign for a shared bedroom door. The finished piece looks bold, graphic, and unmistakably handmade, with chunky Xs marching across the board in bright colours.
Choosing Your Phrase, Size, and Pattern
Pick a meaningful, family-friendly phrase you can stitch in a weekend. Words of 4–8 letters work best: “PLAY”, “HELLO”, or a child’s first name. Large signs benefit from simple typography and large blocks of color for visibility.
- Decide your size: aim for about 40 x 60 cm for bedroom doors, up to 60 x 90 cm for playroom walls. Longer words like “BIRTHDAY” need wider boards.
- Plan a pattern: use graph paper or cross stitch design software to map out your design. One square equals one giant stitch. Sketch blocky capital letters with a one-square border. You might try “SUMMER FUN 2026” for a holiday banner.
- Keep it bold: choose 1–3 colours max. Chunky sans-serif letters read clearly from across the room. Add a simple motif (a heart or star) at each end of the word.
- Read a chart: on any cross stitch pattern chart, cross stitch symbols represent different thread colors and techniques. Each symbol corresponds to a specific color in the legend. An “X” indicates a full cross stitch, backstitches are represented by dashed lines on the chart, and french knots are indicated by a small dot symbol. Arrows typically show stitching direction.
- Adapt existing patterns: pick only the letters you need from a free cross stitch alphabet chart, and enlarge them so each chart square becomes a single hole on your board. Click through a grid maker app if you prefer digital planning, and learn to build new craft skills as you go.
Materials and Tools for a Large Cross Stitch Sign
This is a frugal project using mostly hardware-store and basic craft supplies, ideal for parents crafting on a weekend with kids aged 4–8. Here is your essential list:
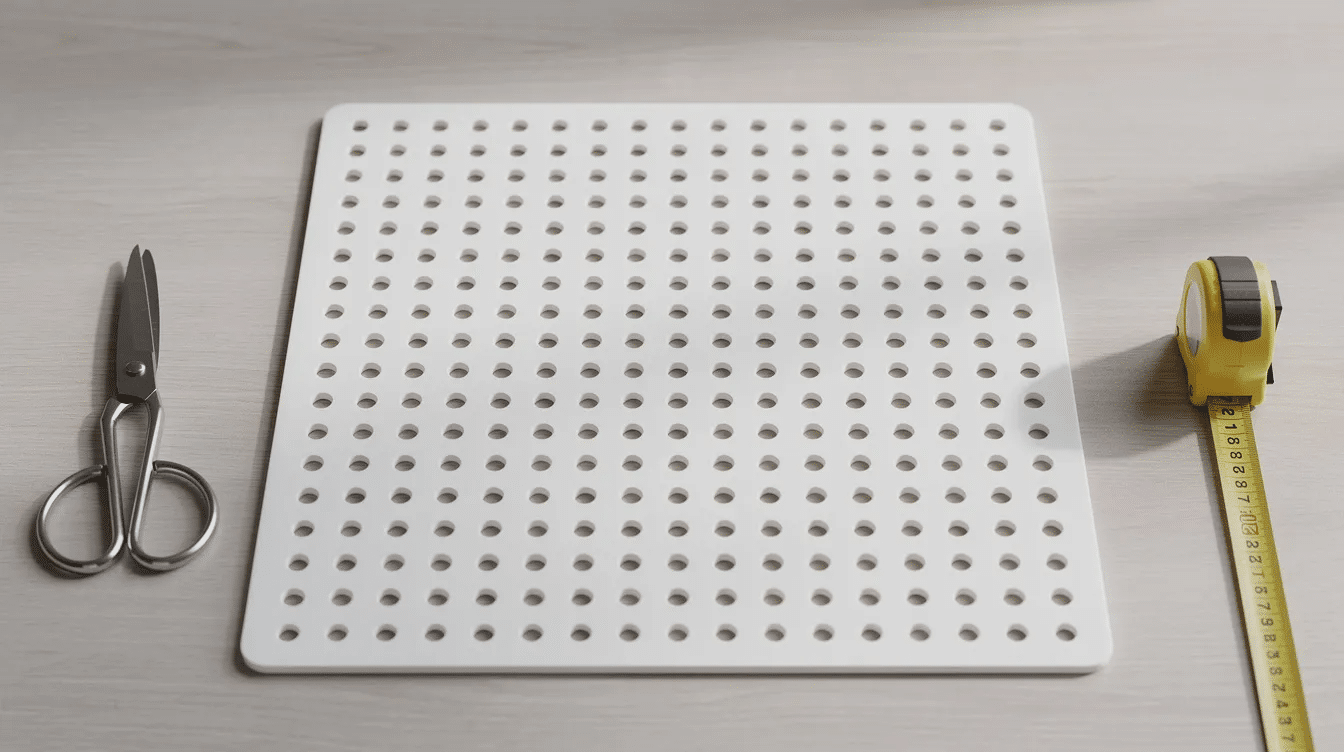
- Base options: perforated pegboard (MDF or hardboard, around 45 x 60 cm) from a hardware store; plastic garden mesh or wire fencing for an outdoor-friendly sign; or plastic canvas sheets joined together for smaller indoor signs. Materials for giant cross stitch include pegboard, plastic grid mesh, or chain-link fence. Aida cloth or evenweave fabric is also practical for large cross stitch projects if you prefer a softer finish.
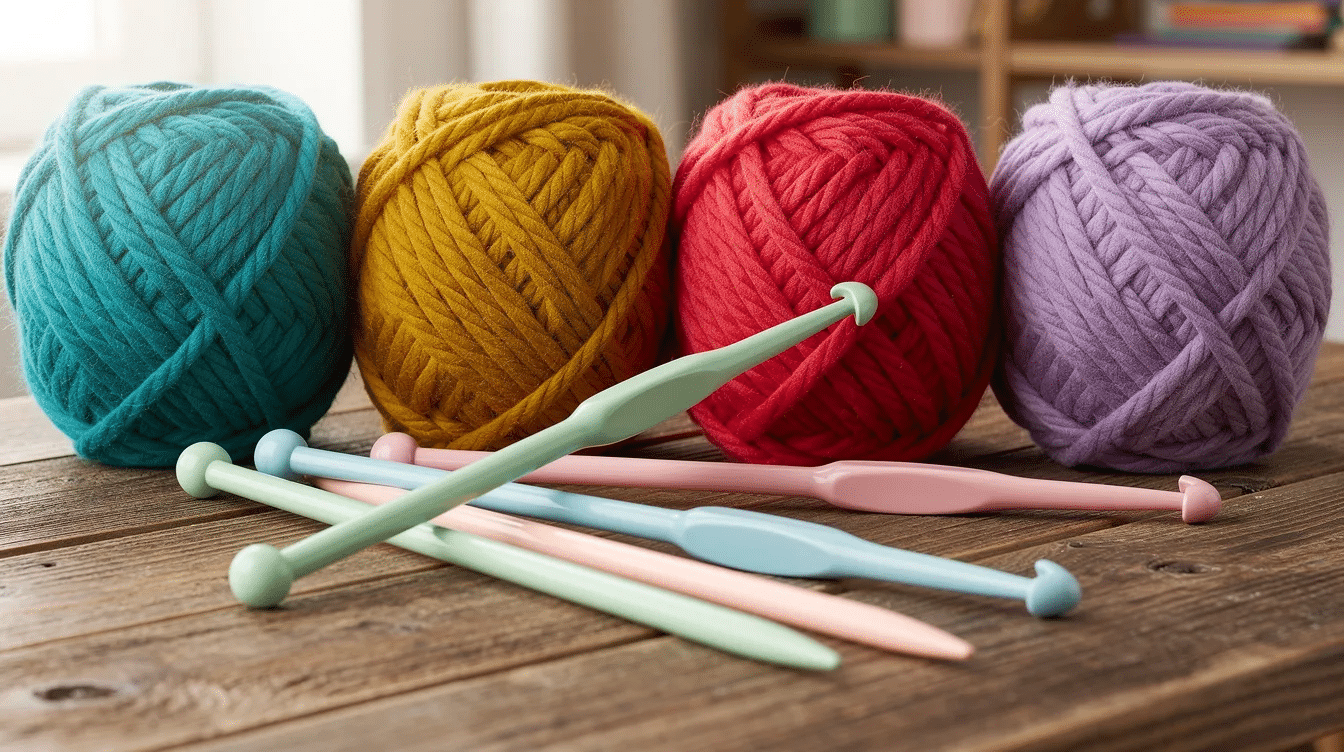
- Threads: thick yarn or heavy-duty rope is typically used for stitching. Chunky acrylic yarn, T-shirt yarn, or macramé cord in bright colours all work well. Thicker strands fill holes nicely and match the oversized grid. Some crafters use DMC tapestry wool or doubled-up floss for finer detail, though standard fabric floss sold at craft shops can fray in large holes.
- Tools: large blunt tapestry or plastic needle, masking tape to wrap yarn ends, scissors, ruler, pencil for marking, and optional painter’s tape for straight lines. These are the essential items that make the project run smoothly.
- Extras: pick a colour scheme (rainbow letters on a white board for a back-to-school sign, black letters on pastel board for a nursery), hooks or ribbon to hang it, and low-VOC paint if you want to colour the board before you start stitching. Items on sale at your local craft store can keep costs even lower.
Step-by-Step: How to Make a Giant Cross Stitch Sign with Kids
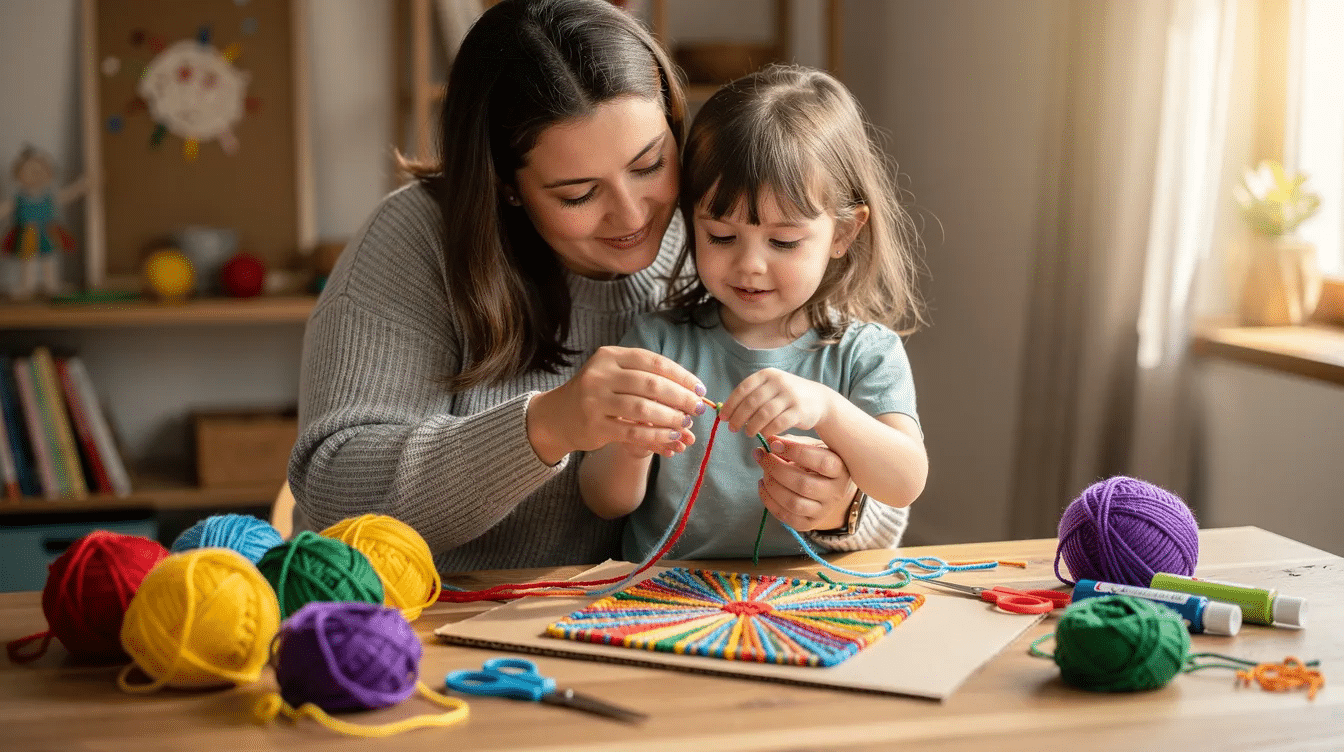
Frame this as a family project: adults handle measuring, cutting, and hanging, while children help choose colours, count holes, and pull yarn through with supervision.
- Prepare the board: measure and, if needed, cut your pegboard or mesh to size. Lightly sand any rough edges. Optionally paint the surface and let it dry overnight. The gridding method can help manage large cross stitch projects by marking the board in blocks with painter’s tape.
- Transfer the pattern: find the centre of the board and the centre of your word. Place a light pencil dot or piece of tape so you enter the design from the middle outward, just like with a standard cross stitch pattern. This keeps spacing even and avoids running out of room at the end.
- Make the stitch: to create one oversized X, bring yarn from the bottom left hole to the top right (first diagonal), then crossing from bottom right to top left (second diagonal). Keep all top stitches slanting the same way. Use appropriate tension for consistent stitching to avoid puckering, and gently pull so yarn sits flat but not tight.
- Work letter by letter: finish all stitches of one letter before loading your needle with the next colour. Count holes out loud with children to sneak in simple maths practice (“Five stitches across, three stitches high”). Taking time to count together turns this into a learning moment.
- Keep the back tidy: tape or weave in ends rather than tying bulky knots. Keep scissors and needles in a safe place when not in use. This is important for safety with little ones around.
- Finish up: check for missed stitches in order across each letter. Trim leftover yarn, wipe any pencil marks, and add simple hanging hardware. Once completed, the sign can go straight onto a bedroom door or classroom wall.
Ideas to Use and Adapt Your Giant Cross Stitch Sign
Once your family has tried one sign, you can easily adapt the idea for different seasons, ages, and events without learning new techniques. Cross stitch techniques can allow for seasonal or holiday design swaps, so you get more from every board.
- Birthday banners: stitch the child’s name and age (“EMMA 5”, “JACK TURNS 4”) on a board reused each year. A sewing birthday card makes a great companion craft. For weddings or milestone parties, interactive guest books can be created using cross stitch sign techniques, where guests each add a stitch.
- Seasonal signs: try “SUMMER FUN”, “TRICK OR TREAT”, or “MERRY & BRIGHT” hung in playrooms. Giant signs can even include oversized pixel art designs for a bit of retro fun. 3D stitching can add texture to these designs when you layer yarn on top.
- Learning signs: stitch “ABC”, “123”, or “READ” for a home learning corner. Share them with friends or explore more easy craft ideas for preschoolers. These are great for personal use in classrooms too.
- Mixed media: children can paint the pegboard first with sponge prints, then add the stitched word on top. Browse reuse arts and crafts for inspiration on sort through recycled materials.
- Scale up or down: make a door-hanger mini sign on a smaller mesh panel, or create a truly large cross stitch wall piece for a classroom where a group of children each stitch one letter.
- Add a signature: signatures add professionalism to cross stitch projects. Use a washable fabric marker to outline signature placement on the back or border. Choose thread colors that complement your design, and signatures can include a date or personal note. Small projects may not be suitable for signatures, but giant signs have plenty of room. Metal grid mesh can be incorporated as a functional memo board in cross stitch designs, turning your sign into things that improve daily life.
- Store and reuse: keep the board flat in a cupboard between seasons, or unpick the yarn to reuse the board for new DIY activities when your child’s interests change.
FAQ
This FAQ answers practical questions parents often ask before taking on a large cross stitch project, especially when crafting with young children. Find the information you need below.
How long does a giant cross stitch sign take to make?
A simple four-letter word like “PLAY” on a 40 x 60 cm board can usually be completed over a weekend: one afternoon to paint and prepare, then one to two stitching sessions of 30–60 minutes each. More detailed phrases add time, but the large stitch count keeps things manageable compared with dense counted cross stitch patterns on fabric. Contact us by email if you want tips on specific timing.
Can preschoolers really help with a project that uses needles?
Children aged 4–6 can safely help when given large plastic or blunt tapestry needles, pre-cut yarn lengths, and close adult supervision. Adults can pre-start stitches so children only pull through existing holes. Give very young children practice boards (spare mesh or cardboard with punched holes) so they can imitate the stitching motion. This is a wonderful service to their growing confidence and fine motor development.
Do I need to follow a formal cross stitch pattern, or can I make it up?
Beginners can absolutely sketch their own letters on squared paper, but using a basic cross stitch alphabet chart or a free grid app helps keep spacing neat. Treat the pattern as a guide rather than a strict rule at this jumbo scale. If a child miscounts a bit, adjust the spacing and carry on. That flexibility is a major benefit of giant cross stitch projects compared with fine fabric work. Books on cross stitch can also help if you want to read more about the craft and its rich history as an embroidery art form.
What if I make a mistake while stitching the sign?
Mistakes are easy to fix on a giant grid. Simply unthread the last few stitches and re-stitch correctly, or leave small imperfections as part of the handmade charm. Check each letter before you move on to the next so counting errors are caught early rather than at the end.
Can a giant cross stitch sign be used outdoors?
For outdoor use (a garden party in summer 2026, for example), choose plastic mesh or metal fencing as a base and synthetic yarn that can withstand a bit of rain. Avoid MDF pegboard, which may swell with moisture. Bring the sign indoors when not in use to prolong its life. This brand of practical thinking keeps your craft content looking great season after season. For more hands-on project ideas, explore our craft activities for kids post on Little Button Diaries.


