

There is something quietly wonderful about a child handing you a lumpy, gold-painted pendant on a piece of string and telling you it is the most precious treasure in the world. An air dry clay necklace is one of those perfect little projects that feels special to make and costs almost nothing. Here is everything you need to know to get started.
Key Takeaways
- Air dry clay necklaces are an easy, low-cost project families can make in an afternoon with no kiln or oven required. Air dry clay does not require special equipment or baking, making it ideal for kitchen-table crafting with young children.
- This type of air dry clay jewelry works brilliantly for preschoolers aged roughly 3–6 with adult help. Focus on simple shapes like hearts, stars, circles, and bees to keep things achievable and fun.
- Most small air dry clay pendants need a realistic drying time of 24–48 hours to fully harden before you can move on to painting, sealing, and wearing them.
- Always seal finished pieces with a child-safe varnish, avoid getting them wet, and supervise children when using beads, cords, or small findings.
- Below you will find a step-by-step bee pendant necklace project that doubles as treasure for a garden or party hunt, in classic Little Button Diaries style.
What Is an Air Dry Clay Necklace?
An air dry clay necklace is a handmade necklace featuring pendants or beads sculpted from air dry clay instead of metal, glass, or precious stones. The clay hardens without needing to be fired in a kiln – it simply cures in normal room air over a day or two, which makes it perfect for home crafts with limited equipment.
Compared to polymer clay, which must be baked in an oven at around 130°C, air dry clay is usually lighter than kiln-fired clay and air dry clay is often less costly than oven bake clays. It can be shaped without baking, though it does need sealing and gentle use once finished.
Common project types include stamped discs, little animal charms, name-tag pendants, and “treasure” coins for party bags or treasure hunts. This tutorial is written for parents, carers, and early-years teachers looking for achievable projects to create with kids.
Materials & Tools for Family-Friendly Air Dry Clay Jewelry
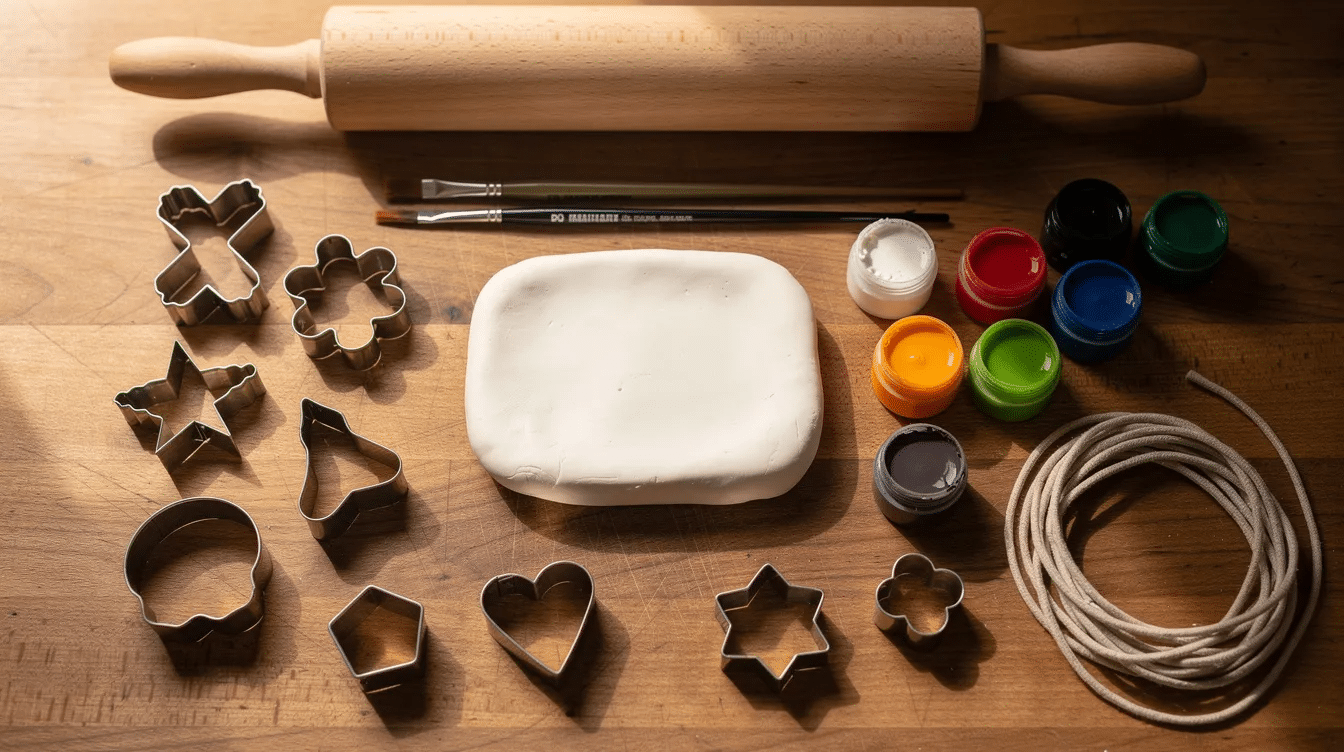
Here is a budget-conscious supplies list using items you probably already have, plus a few simple tools worth picking up.
Clay:
- White air dry clay works best for bright paint colours. Brands like DAS, Crayola Air Dry Clay, or Hobbycraft own-brand are all reliable. Paper clays include paper fibers for strength, making them slightly lighter and less prone to cracking – worth trying for delicate charms.
Stringing & Findings:
- Waxed cotton cord, ribbon, or thick yarn for threading
- Optional: lobster clasps, jump rings, or simple sliding-knot closures
- Large plastic safety beads as spacers
- You can insert eye pins before the clay dries for jewelry attachment if you prefer a more polished look
Making Tools:
- Rolling pin or smooth glass bottle
- Small cookie cutters (round, heart, star)
- Drinking straw or kebab skewer for pendant holes
- Letter stamps or themed stamps (stars, bees, leaves)
- A pencil works well for adding fine detail
For a deeper dive into making tools, see our Comprehensive Guide to Tools for Clay.
Finishing:
- Washable acrylic paints or child-friendly craft paints
- Water-based varnish or mod podge (non-toxic, water-based)
- Soft brushes, fine sandpaper or a nail file for adults
- A knife for trimming (adult use only)
Workspace tip: Lay greaseproof paper on the table as your work surface. Air dry clay is very sticky and requires surface protection, so always use a smooth non-stick surface to work with air dry clay. Pop aprons on, and keep a tray ready to move pieces somewhere safe to dry.
Step-by-Step: Simple Air Dry Clay Pendant Necklace (Bee Treasure Version)
Here is a full walkthrough to make golden bee air dry clay pendants, inspired by kids’ treasure hunts.
- Prep the clay. Break off a golf-ball-sized piece and knead it in your hands for 1–2 minutes until it feels soft and warm. Roll it out to about 5–8 mm thickness on greaseproof paper. Charms should be rolled to about 1/8″ thickness for the best balance of durability and drying time. Note that air dry clay can shrink slightly as it dries, so cut shapes a touch bigger than you want them.
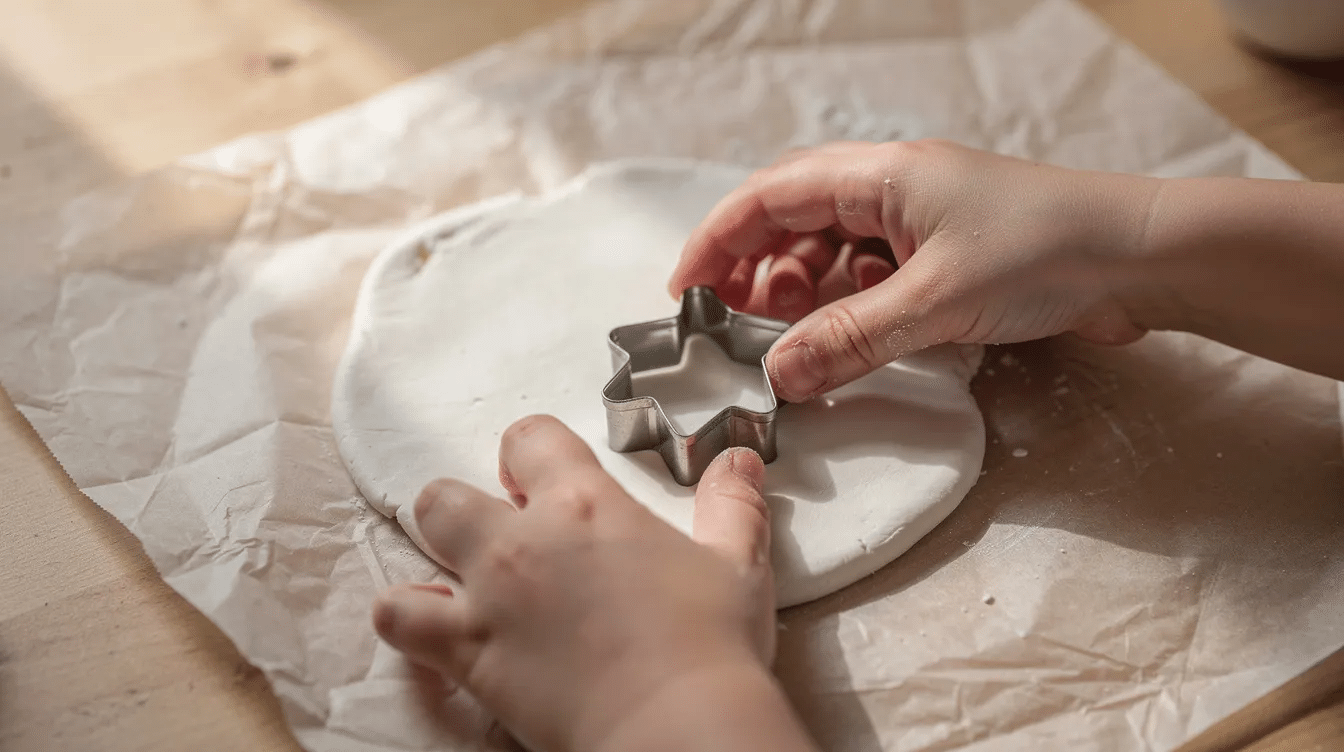
- Cut your shapes. Press a 3–4 cm round cookie cutter firmly into the flat clay to create classic “coin” pendants. Alternatively, use heart or star cutters if your children prefer those. Peel away excess clay and store it in an airtight container to keep it workable.
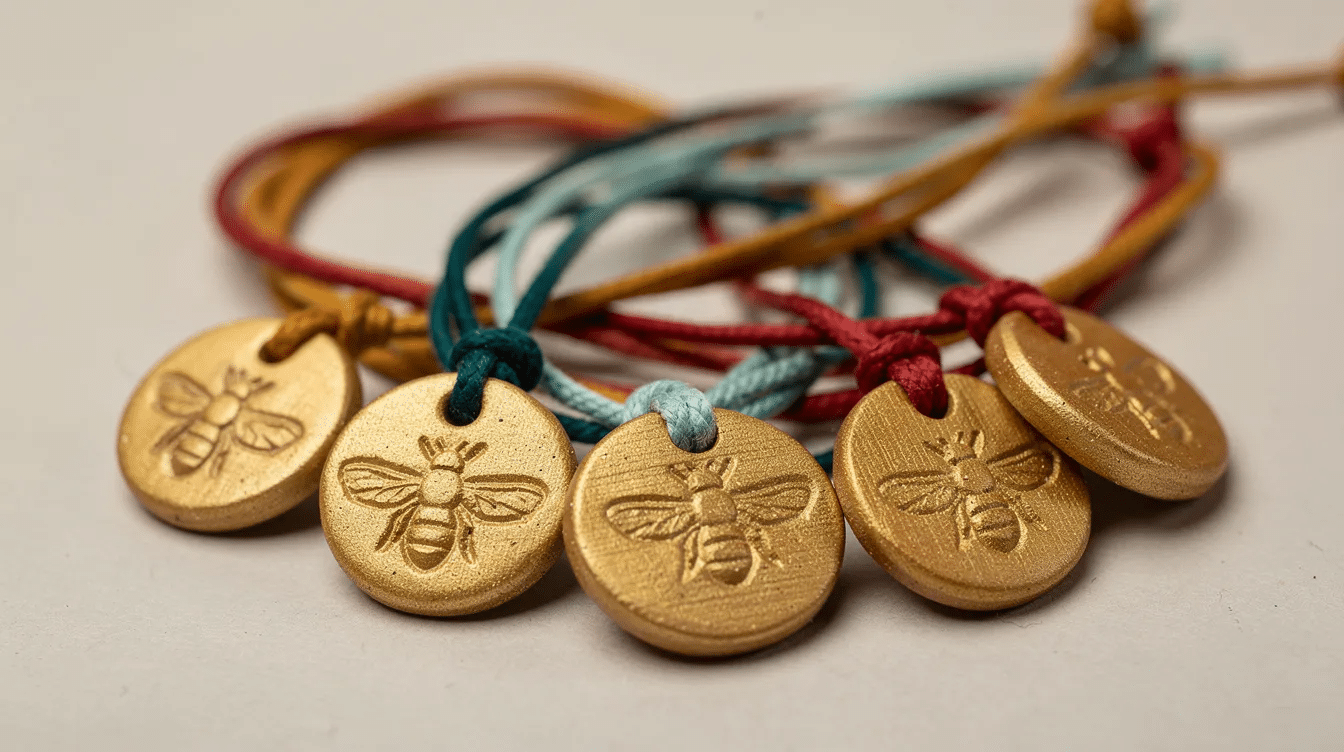
- Stamp the bee. Lightly dust the bee stamp with cornflour, press firmly but gently into each circle, then lift straight up for a clean impression. Creating patterns on air dry clay can be done by pressing leaves or stamps into it – the options are endless.
- Make the hole. Use a drinking straw or skewer to poke a hole near the top of each pendant, big enough for cord. Gently smooth the edges with a damp fingertip so nothing feels rough. If you plan to make earrings or more advanced air dry clay jewelry, you can attach eye pins at this stage before the clay firms up.
- Dry. Place pendants on a tray lined with greaseproof paper. Turn pieces over after a few hours to prevent cracking, and leave them in a warm, dry spot for at least 24 hours until completely hard. Air dry clay typically takes 24–48 hours to dry completely.
- Decorate. Air dry clay can be painted after it has fully dried. Paint the dry bees with gold or yellow acrylic paint, then add tiny black stripes or eyes if you like. Let the paint dry, then brush on a thin coat of water-based varnish to seal and add a gentle shine. Varnish is necessary to make air dry clay water resistant. For watercolour techniques, try our guide on Painting Air Dry Clay With Watercolors.
- String the necklace. Cut a child-length cord (around 45–50 cm for a loose over-the-head necklace), thread through the pendant, and either tie a secure knot or add a clasp for older children. You can also pair the pendant with wooden beads as spacers.
Timeline: Expect about 20–30 minutes of active making plus 24–48 hours of drying and decorating, spread over 1–2 days.
Air Dry Clay Necklaces for Preschoolers: Safety & Age Tips
If you have children aged 3–6, you will want to know which steps they can handle and which need an adult. Don’t worry – most of the fun parts are kid-friendly.
Children can usually:
- Roll clay with a small rolling pin
- Press cutters into flat clay
- Gently stamp designs
- Choose paint colours
- Help thread chunky cord through the hole
Adult-only jobs:
- Cutting cord to length with a knife or scissors
- Using sharp tools like skewers
- Sealing creations with varnish
- Tying secure knots or adding metal findings
- Checking finished pieces for sharp edges
For safe wear, use breakaway clasps or simple over-the-head cords to avoid choking hazards. Pendants should not be worn at bedtime or on playground equipment. Air dry clay pendants are not toys for chewing – supervise under-threes closely and remove necklaces during rough play or naps.
For very young children (ages 2–3), skip the wearable necklace and make “treasure tokens” or bag charms instead. Follow the exact same steps but attach the finished piece to a keyring or backpack using a short loop of ribbon. It is just as much fun without the safety concern.
Understanding Air Dry Clay: Types, Drying Time & Common Problems
Not all air dry clays behave the same way, and drying time and cracking are the questions our readers ask most often. Here is what you need to know.
Types parents might encounter:
- Cellulose/paper clay: Lightweight, includes paper fibers. Good for thin pendants and delicate charms.
- Standard mineral-based clay: Denser and heavier. Can shrink more and is slightly more prone to cracking.
- Cold porcelain clay: Can be made at home from cornflour and glue. Dries smooth and translucent but is less forgiving for beginners.
- Flower clays: Remain flexible after drying, which makes them unsuitable for rigid pendants but interesting for petal-like shapes.
Realistic drying time ranges:
- Thin pendants (5–8 mm): 24–48 hours
- Pieces about 1/2 inch thick take about 2 days to dry
- Chunky beads or shapes thicker than 1 cm may need up to 3 days
- Cool, damp weather slows things down noticeably
Why pieces crack: Air dry clay requires careful drying to prevent warping and cracking. Air dry clay can crack if dried too quickly – for example, on a radiator or in direct sun. It can also crack while drying depending on type and size, especially if rolled unevenly or over-watered when smoothing joins.
Prevention tips:
- Roll to an even thickness
- Use foam mats to dry air dry clay evenly – a foam mat helps prevent cracking while drying
- Dry away from direct sun and heat sources
- Turn pieces at least once during drying
Minor repairs: Adults can gently sand rough edges. Sanding air dry clay with fine-grit sandpaper can smooth rough edges nicely. Fill hairline cracks with a tiny dab of soft clay, let it dry, then repaint and seal.
Air dry clay is not waterproof and needs varnishing. Keep finished necklaces dry and remove them before baths, swims, or heavy rain.
Easy Design Ideas: From First Necklaces to Party Projects
Children do not need complicated skills to sculpt beautiful own jewelry. Simple shapes and bright paint go a long way.
First project ideas:
- Stamped initial pendants using letter stamps
- Rainbow-coloured hearts (see our heart crafts round-up for more inspiration)
- Simple stars with glitter varnish
- Tiny “medals” for family achievements
Themed ideas for parties and classrooms:
- Pirate gold coin pendants tucked inside a treasure chest craft
- Leaf and flower charms from a nature walk
- Space-themed planets and moons
- Bee necklaces as treasure at a birthday treasure hunt
Matching sets: Siblings each stamp the same shape but choose their own colours to match their personality. Classmates can make a “team necklace” design for a school fair – a ton of fun and a brilliant way to build cooperation.
Mix and match: Combine air dry clay pendants with wooden beads, felt balls, or paper beads to create more detailed air dry clay jewelry without extra cost.
Learning connections: Use the project for gentle learning – pattern making with beads, practising letter recognition with initial charms, or counting how many beads load onto each necklace.

Using Air Dry Clay Necklaces in Games, Gifts & Learning
Once you have made air dry clay pendants, they can become far more than just dress-up jewelry.
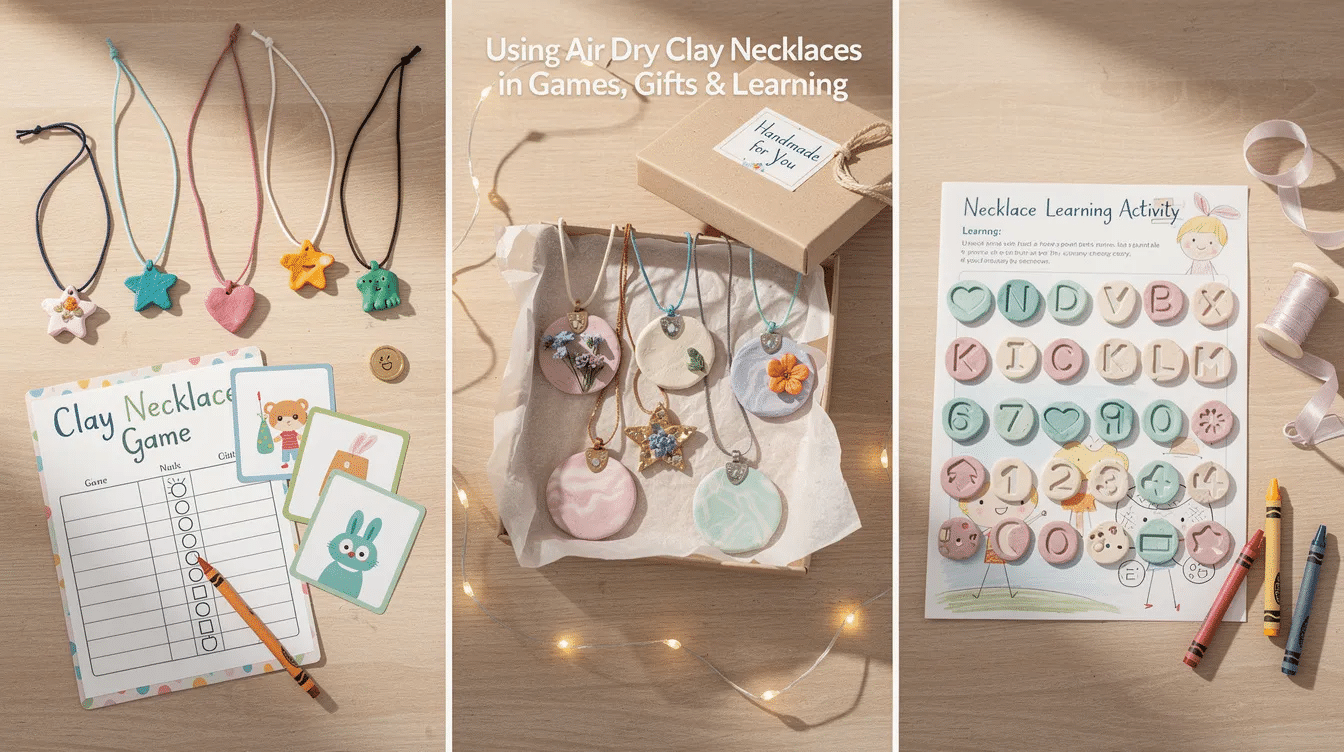
Treasure hunts: Hide bee or gold-coin pendants around the garden or house. Give children a simple map or picture clues and let them keep the necklace when they find it. This is a warming, screen-free activity that suggests adventure without any special equipment.
Party bag fillers: Each child decorates their own pendant at the party and leaves it to dry. You varnish and post the finished pieces later with a little note – a keepsake that will stand the test of time far longer than a bag of sweets.
Educational uses: Pendants work as rewards in homemade “reading medals,” colour-coded tokens for counting games, or story prompts where each charm represents a character. See our activities for imagination for more ideas.
Gifting: Grandparents love receiving initials on clay hearts. Friendship necklaces for cousins or teacher thank-you gifts with tiny stamped apples or stars are all easy to plan and meaningful to receive. You could even sell sets at a school fair to save the PTA some fundraising effort.
Storage and longevity: Keep air dry clay jewelry stored in a small box away from damp. Remind children to take necklaces off before washing hands. If pieces start to look dull, re-varnish them and they will look as good as new. Well-sealed pieces, used gently, can remain durable for years.
Troubleshooting: Cracks, Sticky Clay & Other Air Dry Wobbles
Even experienced crafters occasionally get cracked or sticky pendants. Most problems are fixable, and imperfections are part of the charm.
- Sticky clay: Lightly dust surfaces and stamps with cornflour. Work on greaseproof paper. If clay feels too soft or sticky, briefly chill it in the fridge for 10–15 minutes. Clay that is too wet will stick to everything, including your fingers, so keep a damp cloth handy rather than adding water.
- Hairline cracks: While the clay is still leather-hard, gently smooth cracks with a damp fingertip. If cracks appear after drying, fill them with a little soft clay or lightweight filler, let it set, then sand and repaint. Air dry clay can crack while drying depending on type, so choosing a quality brand helps.
- Warped pendants: Pieces can warp if moved too soon. Lay them flat to dry, flip after a few hours, and once partly firm, weight them very slightly with a sheet of paper and a light book.
- Streaky paint or tacky varnish: If paint looks streaky, apply two thin coats instead of one thick one. If varnish stays tacky, leave it to cure for at least 24 hours before letting anyone wear the necklace. A well-ventilated room makes all the difference. You might also hope for a dry, warm day – it genuinely helps.
- Embrace the wobbles. Children mainly remember the making time together, not tiny flaws. A slightly lopsided heart wrapped around a piece of string is still a masterpiece in the right hands.
FAQ: Air Dry Clay Necklaces
These cover the extra details parents and teachers often ask after trying their first project.
How long does air dry clay jewelry really last?
Well-sealed, gently used air dry clay pendants can last for years if they are stored dry and not worn in the bath, pool, or heavy rain. Hairline cracks or small chips may appear over time with rough play, but these are usually cosmetic. You can touch them up with a little paint and a fresh coat of varnish to protect the surface.
Can we speed up the drying time safely?
The best method is a warm, dry room with good air circulation. Rushing with direct heat will likely cause cracking. Placing pieces near (but not on) a radiator, or in a turned-off oven with just the light on, may reduce drying by a few hours. Always keep flipping them. Do not use a hairdryer or microwave.
Is air dry clay safe for children with sensitive skin?
Check the packet for non-toxic labels (look for CPSIA or ASTM certifications) and do a short patch-test session. Wash hands afterwards to be cautious. Very sensitive children can wear their pendant over clothing or attach it to a bag with a pin instead of directly on the skin.
Can we use nail polish instead of varnish?
Clear nail polish can sometimes react with acrylic paints and may yellow or chip over time. A water-based craft varnish or mod podge is almost always the better choice for kids’ jewelry. Seal and dry pieces in a ventilated area away from small children, and you will get a much more durable, waterproof-ish finish.
What if we don’t have jewelry findings at home?
You do not need jump rings, clasps, or eye pins to get started. Thread pendants onto wool, string, ribbon, or even a shoelace and tie a bow or basic knot the child can undo. This keeps the project very low-cost and still lets children design and wear their own air dry clay necklaces with pride. Check our DIY Clay Ring tutorial for another findings-free clay jewelry idea.


