

Key Takeaways
- A fabric kite is a reusable, sturdier upgrade from tissue paper or wrapping paper kites, making it perfect for family craft days where little hands aren’t always gentle.
- Ripstop nylon is the most popular sail material for long-lasting kites, but cotton sheets, tote bags and old scarves also work brilliantly for quick kid projects.
- Parents can build a simple fabric kite with children using wooden dowels, string, fabric glue and basic kite string – no sewing machine required.
- Choosing the right wind conditions (around 6–15 mph), plenty of open space and a well-tied bridle line makes the difference between frustration and magical flights.
- This guide leans on upcycled materials and step-by-step instructions, keeping everything frugal and accessible in true Little Button Diaries style.
Introduction: Why Make a Fabric Kite With Kids?
There’s something genuinely magical about watching a child’s face when a kite they built with their own hands catches the air and climbs into the sky. Here at Little Button Diaries, that moment is exactly what we live for – turning an afternoon of glue, string and fabric scraps into a memory that lasts far longer than the craft itself.
If you’ve already tried a quick paper kite with the kids, you’ll know they can tear on the first crash landing. Fabric is tougher, more forgiving of preschool handling and reusable across many flying sessions. Quality fabric kites have better longevity and UV resistance than cheap plastic alternatives, which means fewer tears (the crying kind) and more fun in the long run.
Simple fabric kites were common over a century ago, when families used cotton and silk on bamboo frames. This guide blends those old-fashioned ideas with modern materials like ripstop nylon and fabric glue, so the end result is a kite that actually flies well. You’ll find everything here: choosing your sail material, gathering supplies, a no-sew build guide, decorating ideas and honest flying tips for real-world wind conditions.
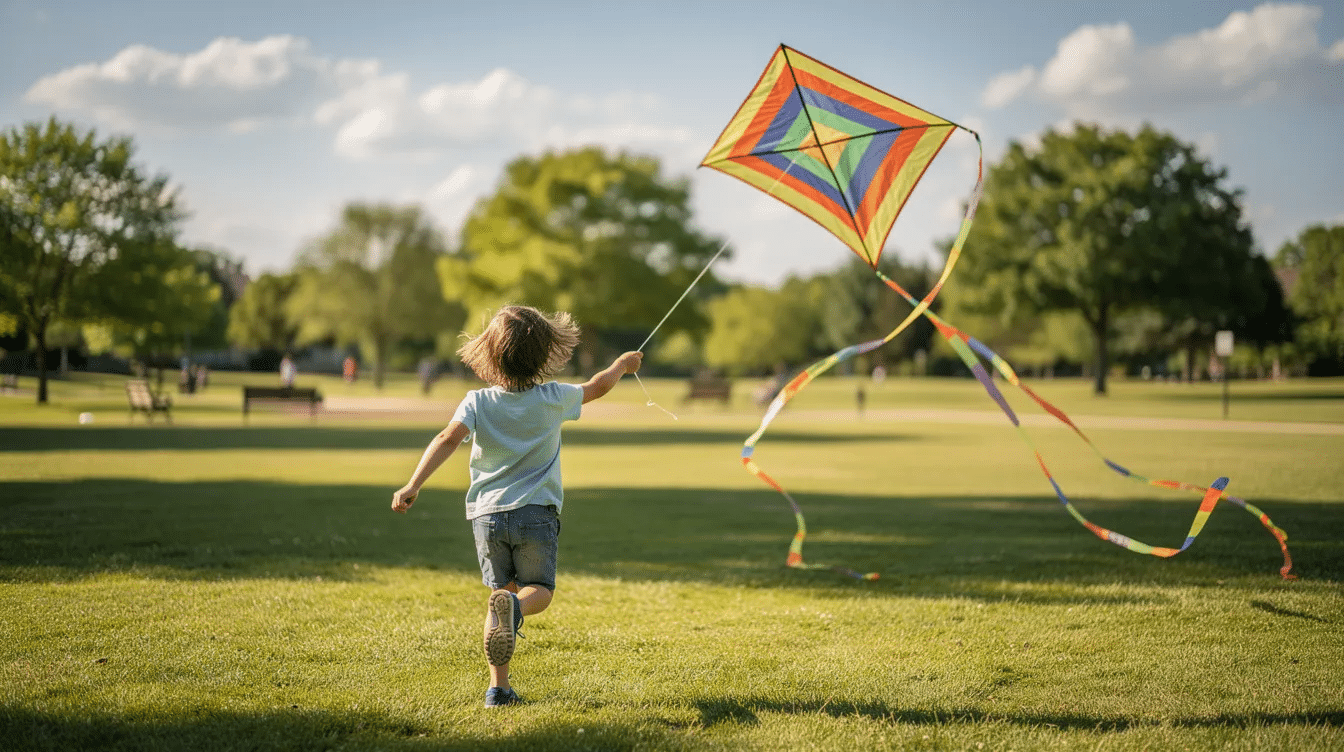
Choosing the Right Fabric and Sail Material
The sail material is the fabric that catches the wind, and its weight, stretch and tear resistance directly affect how well your kite performs. Getting this choice right is half the battle.
Fabric kites are made from high-performance synthetic materials like ripstop nylon or polyester. The ripstop weave helps prevent small tears from spreading thanks to a grid of thicker reinforcement threads woven at regular intervals. Ripstop nylon is a popular kite fabric choice: a typical lightweight grade of ¾ ounce ripstop nylon weighs about 1.4 ounces per square yard, comes in vivid colours and is widely available online. Modern kite materials balance weight, stretch, tear resistance and UV resistance, which is why durable fabric kites are preferred for general sport flying and artistic designs.
For budget-conscious families, kite fabrics can include materials like bed sheets and tarps. Old cotton pillowcases, lightweight polycotton duvet covers, outgrown clothing or polyester scarves all work. Cotton is heavier and will stretch a bit over time, so keep your kite a touch smaller. Thin nylon from an old tent or windbreaker can be surprisingly effective too.
Curious about nylon versus polyester? Nylon is more stretchable than polyester for kite making, which gives it a little “give” in gusts. Polyester holds its shape better than nylon in kites, and ripstop polyester preserves shape better and has greater UV resistance than nylon, meaning it fades more slowly. For a first family project, either works beautifully.
High-end treated fabrics exhibit zero porosity and weather resistance for efficient wind capture, but those are overkill here. Polyethylene film kites are lightweight and waterproof but tear easily and are hard to repair – another reason fabric wins for families. Advanced composite materials provide high rigidity and low weight but are expensive, so save those for when your little one joins the competitive kite-flying world. Fabric sails can handle strong pulls without losing structural integrity yet remain light, which is exactly what you want for a child’s first kite.
Materials and Tools: From Ripstop Nylon to Kite String
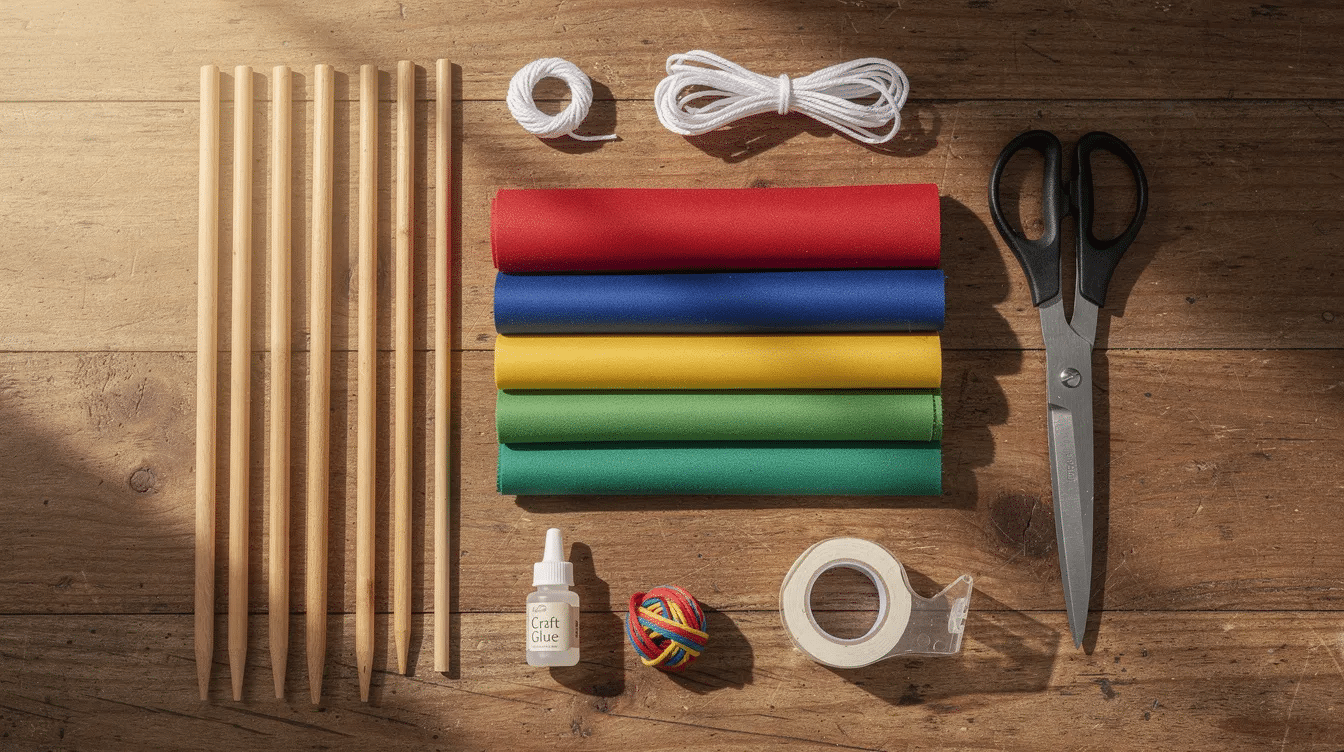
Most of these items can be found in a supermarket, DIY shop or your existing craft box. Here’s your shopping checklist:
Frame:
- You need six 36-inch wooden dowels for the kite frame (6–8 mm diameter). Smooth, knot-free wood is safest for little hands. You’ll use two pieces for one kite, with the rest as spares or for building more DIY activities later.
- A kite frame can be made from wooden dowels and vinyl tubing – short sections of tubing over the joints add strength.
Sail:
- One metre of ripstop nylon, a cotton pillowcase or a section of an old bedsheet. You can make up to five kites from one yard of fabric if you cut carefully, so there’s plenty for a preschool class or a birthday party. Ripstop nylon costs about $7.99 per yard from most online suppliers.
Binding and joining supplies:
- Fabric glue or strong PVA
- Masking tape or clear tape
- A few safety pins or clips to hold hems while glue dries
- Optional: a low-temperature glue gun (adults only)
String and line:
- 50–100 metres of purpose-made kite string or strong braided cotton or polyester line. Kite string typically costs around $5.00 for 500 feet, so it’s genuinely cheap. Avoid thin sewing thread – it can cut small fingers under tension.
Extras that make life easier:
- Vinyl tubing or drinking straws to reinforce corners
- A tape measure for marking dowel lengths
- Permanent markers for measurements on fabric
- A simple plastic or wooden winder for the string
Planning Your Fabric Kite: Shape, Size and Wind Conditions
Before you cut anything, decide on a shape. A classic diamond is the easiest for preschoolers to help with, and it flies reliably in a wide range of conditions.
A good beginner size is a diamond kite roughly 60–70 cm tall (the spine) and 50–60 cm wide (the crosspiece). This is big enough to fly well but small enough for small children to hold and carry. Use your tape measure to mark the dowel lengths before cutting.
Proportions matter: position the crosspiece about one third of the way down from the top of the spine – roughly two-thirds of the way up from the bottom. For the kite tail, plan a length of at least three to four times the height of the sail. A tail that’s 2–3 metres long keeps your kite stable and looking spectacular.
Choosing the right kite involves matching size to wind conditions and material type. Light-to-moderate wind of around 6–15 mph is ideal. Very strong gusts can damage a lightweight sail or scare young children, so save gusty days for other easy craft ideas indoors.
Sketch the kite outline on scrap paper or cardboard first. This template doubles as a reusable pattern if you want to make more own kites with friends or a whole nursery class.
No-Sew Fabric Kite: Step-by-Step Build Guide
This is the heart of the article. Total build time for a fabric kite is 6–8 hours if you include drying time, but the hands-on work fits comfortably into an afternoon.
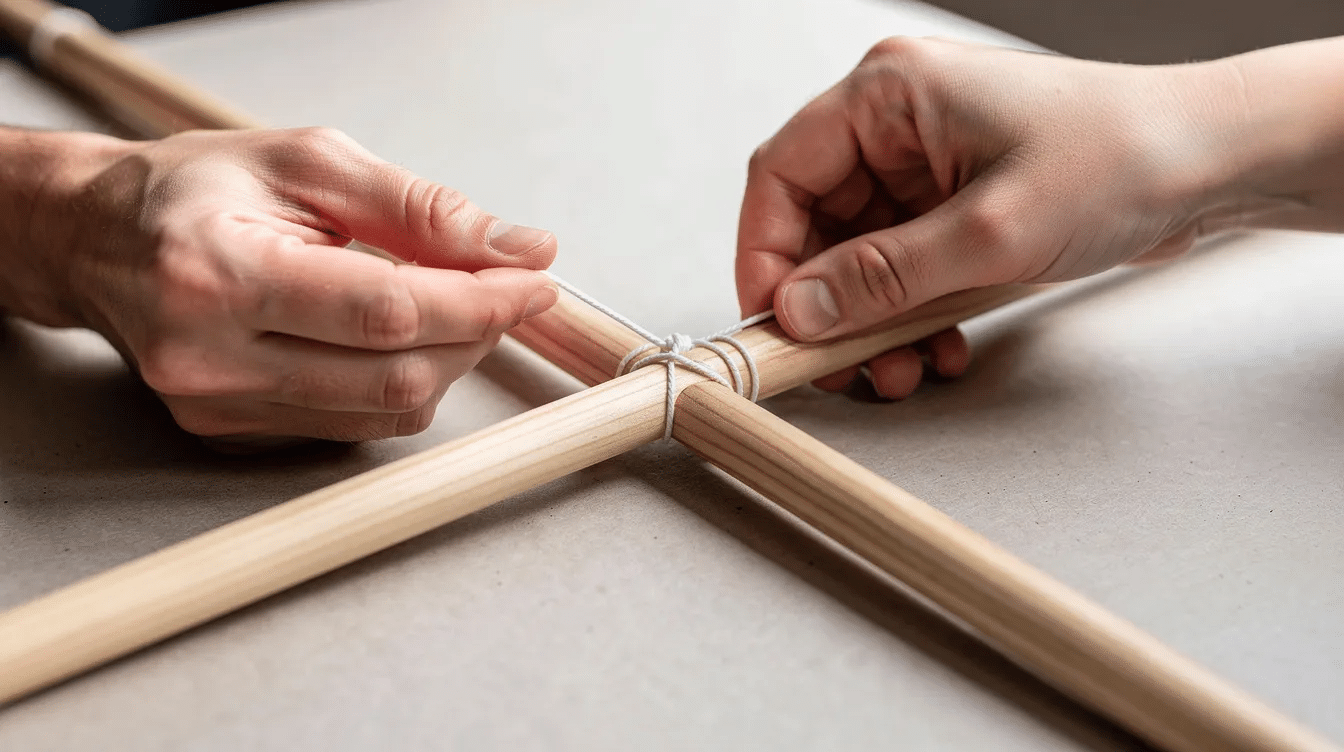
Step 1 – Build the frame. Take two dowels: one longer vertical spine and one shorter crosspiece (or trim a second piece of dowel to your planned width). Cross them at the point you marked earlier. Tie them tightly with string in a criss-cross lash, winding the string around the joint several times and finishing with a secure knot. Add a drop of glue to stop the string sliding.
Step 2 – Create the diamond outline on your frame. Cut a long piece of kite string and run it around the outside of the frame, notching or taping it at each dowel end to form a taut diamond border. This gives the sail its shape.
Step 3 – Cut the sail. Lay the frame onto your chosen sail material and trace around it, leaving an extra inch (about 2–3 cm) on all sides for hemming. Be careful when cutting – let children use safety scissors on cotton, while adults handle ripstop nylon with sharper shears. Trim any ragged edges for a smooth finish.
Step 4 – Attach the sail. Fold the extra margin of fabric over the border string and glue it down firmly. Work one edge at a time, using clips or clothes pegs to hold folds while the glue dries. Make sure the fabric is tight but not pulling the frame out of shape.
Step 5 – Reinforce the corners. Stick small squares of extra fabric or strong tape at each tip of the diamond. Then push a hole through the reinforced fabric at the top and bottom points – these two holes are where you’ll attach the bridle. This prevents the fabric from starting to tear under tension.
Step 6 – Let everything dry. Rest the kite flat on a clean surface for at least an hour (or overnight for PVA). Resist the temptation to pull on anything until the glue is fully set.
Alternative: Simple Sewn Fabric Kite for Confident Crafters
Many Little Button Diaries readers enjoy sewing – if that’s you, this slightly more advanced option uses a basic straight stitch for extra durability. If you’re building your sewing skills, this is a satisfying project to try.
Use the same diamond template to cut two pieces of identical fabric, allowing a 1 cm seam allowance. Place them right sides together and sew along the edges, leaving narrow gaps where the spars will slide in. Turn the “kite pocket” right-side out, press the edges flat and top-stitch around the perimeter.
Sew narrow channels along the spine and crosspiece line, then slide the wooden dowels through. This gives a neater finish and is ideal for “heirloom” kites made from special fabrics – perhaps a favourite pair of outgrown pyjamas or baby clothing you want to preserve as wings of a memory rather than landfill.
All safety guidance remains the same: reinforce corners, leave space for the bridle points and tail loop, and keep seams strong but not so bulky they add unnecessary weight.
Attaching the Bridle, Tail and Kite String
Think of the bridle as the little harness that helps the kite sit at the right angle to the wind. Without it, your kite will just flutter and nosedive.
Making a two-point bridle: Thread a short length of string through the reinforced hole at the top of the spine, then another through the hole at the bottom. Tie each one end securely. Bring the two lengths together and tie them in the middle with a small loop – this is your tow point. The front (top) leg should be roughly half the length of the back leg to set the right angle of attack. Adjust if the kite dives or stalls during test flights.
Attaching the main line: Tie your kite string to the central bridle loop with a secure knot – multiple overhand knots work well. Pull gently to check for slippage. Most people find it helpful to tie the string while the kite is lying flat so you can see the geometry clearly.
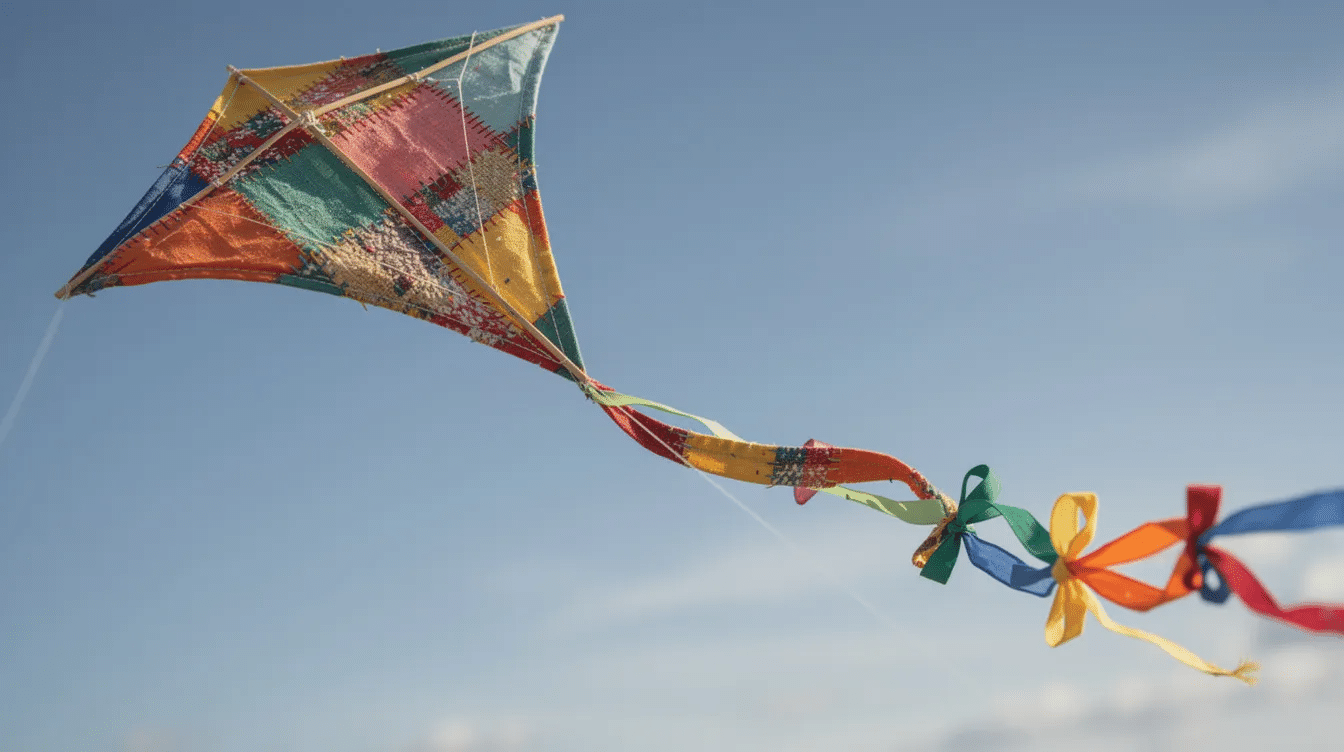
Adding the tail: Cut a 2–3 metre strip of fabric (or knot several shorter strips together). Tie it to the bottom tip of the spine. For the desired effect of extra stability, add small scrap-fabric bows or ribbons every 20–30 cm along the tail. Suitable tail materials include leftover ripstop nylon strips, offcuts from the sail material, or even strips of tissue paper tied between fabric sections for a playful layered look. A longer tail often helps if the kite keeps spinning during test flights.
Decorating Your Fabric Kite With Kids
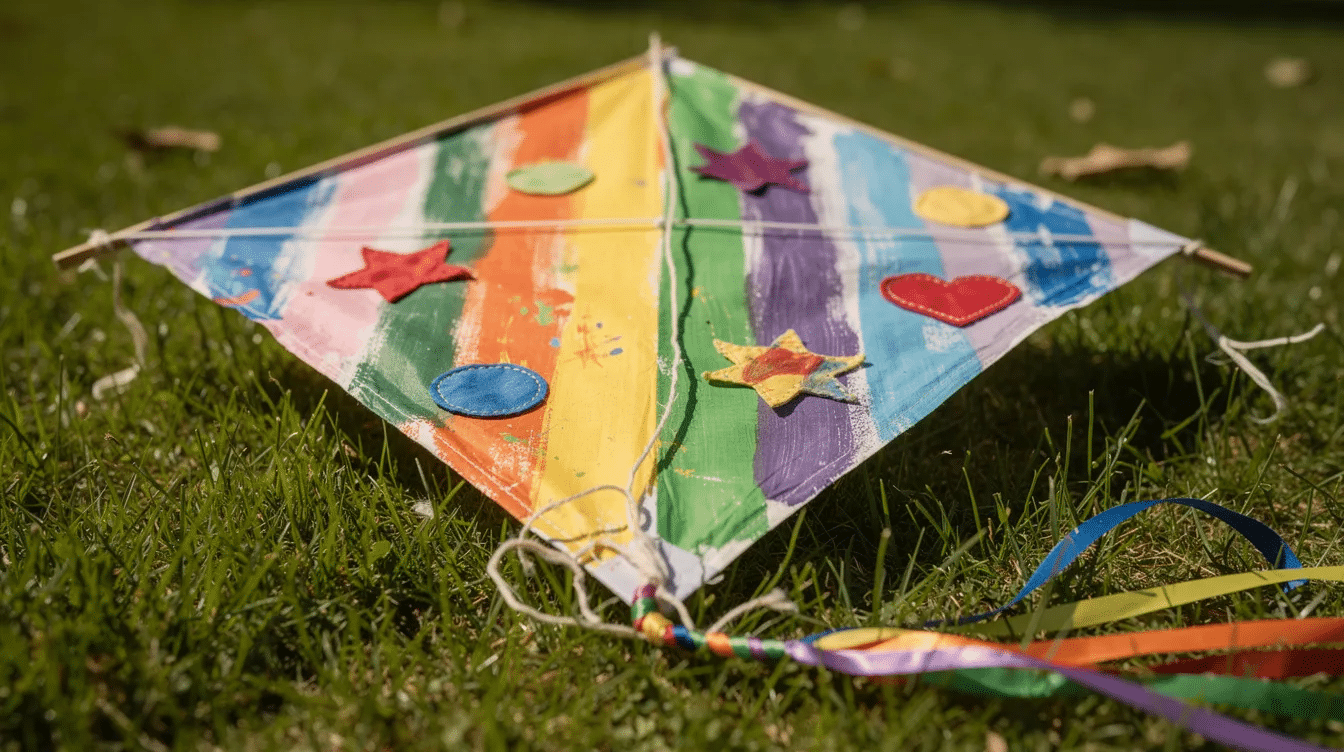
This is where the real fun begins. Turn that plain diamond into dragons, rainbows, superheroes or a simple circle of painted stars – whatever makes your child’s eyes light up.
Safe decoration methods for fabric include:
- Permanent fabric markers for drawing directly onto the sail
- Fabric paint dabbed on with sponges (great for toddlers)
- Iron-on patches applied by an adult
- Hand-sewn buttons for older children, placed well away from the edges
Very thick paint or heavy embellishments near the leading edge can upset the kite’s balance. Keep most decorations light and towards the center of the sail for the best flight performance.
For upcycling ideas that fit the Little Button Diaries spirit: cut stars or hearts from old wrapping paper, laminate them with clear tape and stick them on. Use fabric dye to create a tie-dye effect on cotton sails before assembly. Write children’s names on the sail with a marker, or glue on appliqué shapes from other materials in your scrap box.
Encourage making matching accessories – a decorated kite string handle wrapped in colourful tape, or a simple fabric bag to roll the kite into for storage.
Where and How to Fly a Fabric Kite Safely
Choose a day with a steady breeze, no rain (nylon absorbs moisture and gets wet, making it heavier) and enough energy for children to walk or run comfortably.
Safety rules:
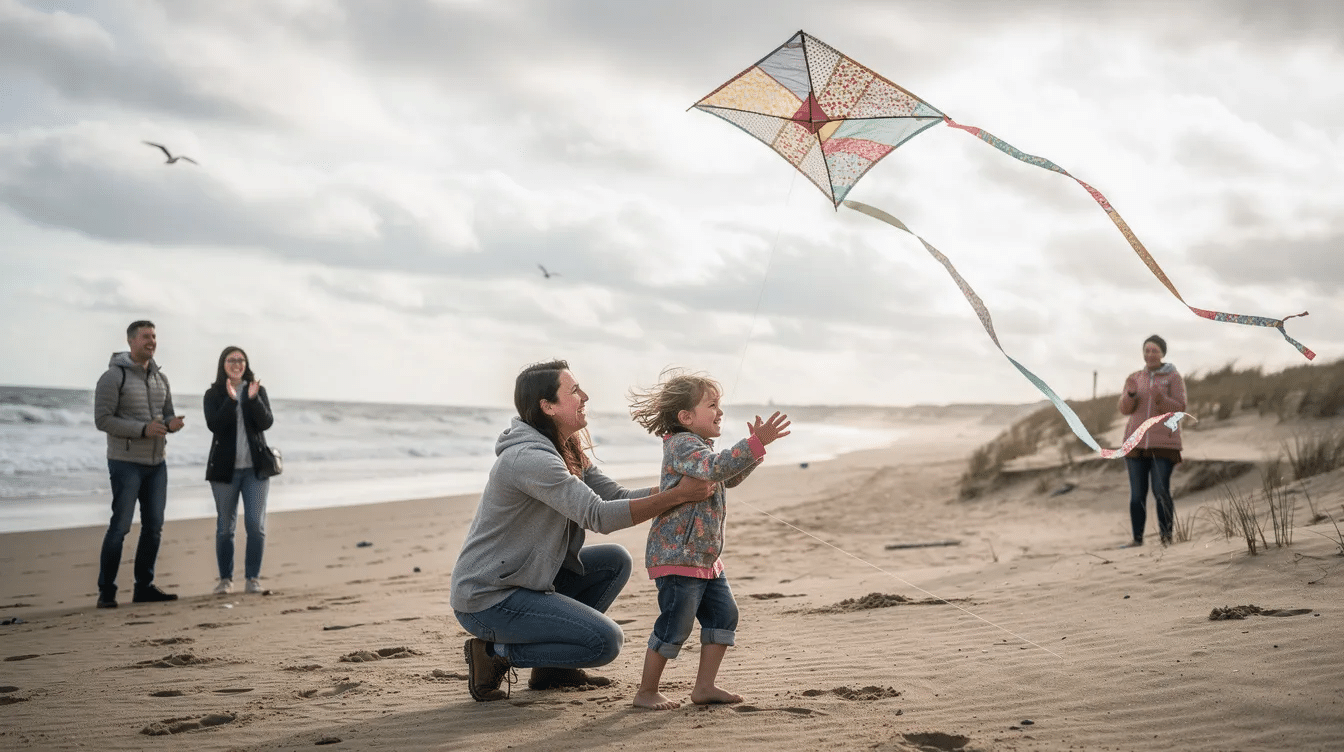
- Fly in wide open spaces: beaches, large parks or school fields
- Stay far from trees, power lines, busy roads and playground equipment
- Keep younger children’s kite string lengths modest – around 30–50 metres – so they stay in control
Launch technique: One person holds the kite upright with the nose pointing into the wind. The child gently takes up tension on the line, takes a small step back and gives a gentle pull to send it up. Don’t throw the kite – let the air do the work. The American Kitefliers Association recommends steady winds of 8–15 mph for the best single-line flying experience.
Troubleshooting in the field: If the kite loops or dives, try extending the tail. If it won’t climb, adjust where the kite string ties onto the bridle by sliding the knot a bit towards the nose. If it pulls too hard, shorten the line or wait for gentler wind.
Always have an adult hold the line when gusts pick up. After flying, store kites dry and wrap the string neatly to avoid tangles.
Learning Moments: Turning Kite Making Into Preschool STEM
Kites are a wonderfully sneaky way to explore science, maths and early design ideas with 3–6-year-olds, and they tie in beautifully with other craft activities for kids.
Science conversations: Talk about wind pushing on the sail and how lift overcomes gravity. NASA’s kite stability page explains that the balance between centre of gravity and centre of pressure determines whether a kite flies steadily or spins – you can simplify this by asking “why does the tail stop it wobbling?”
Maths links: Measure dowels with a tape measure and compare lengths. Count fabric strips for the tail. Notice shapes in the kite design – diamonds, triangles, the half-diamond formed by the spine.
Recording results: Start a “kite diary” where children draw pictures of their kite, stick in photos from different flying days, or note which materials (wrapping paper versus fabric versus plastic bags) lasted longest. This builds early observation and recording skills.
These activities connect to early years learning goals that preschool teachers recognise: fine-motor skills from cutting and gluing, turn-taking during launch, and following multi-step instructions. Many of the same skills pop up in our paper kite tutorial too.
Troubleshooting and Quick Fixes for Fabric Kites
Even well-built kites misbehave sometimes. A few small tweaks often turn a frustrating flight into a success story – don’t give up after one nosedive.
Kite won’t lift: Try stronger wind, let out more kite string to give it room, or switch to a lighter sail material. A heavy cotton sail may need brisker conditions than a nylon one.
Kite spins or loops: Lengthen the tail – add another metre of fabric strip or tie on extra ribbon bows. If spinning continues, move the bridle tow point slightly towards the nose by adjusting the knot.
Kite pulls too hard: Shorten the line or simply wait for gentler winds. This is especially important with young children who can lose their grip.
Small rips or holes: Use ripstop nylon repair tape (available from outdoor shops) or stick strong clear tape over both sides of the tear. Reinforce worn corners with extra fabric squares glued on. Replace frayed kite string before it snaps – better to catch it on the ground than mid-flight.
Keep a tiny “kite first-aid kit” in your bag for day trips: scissors, a bit of tape, spare string and a couple of safety pins. If the frame is badly cracked or the sail material is very stretched beyond repair, retire the fabric into bunting or an art project and build a fresh kite together. Check out more hand crafting ideas for ways to reuse old kite fabric.
Frequently Asked Questions About Fabric Kites
These FAQs cover practical worries parents often have but that may not fit neatly into the step-by-step guide above.
How old should my child be to help make and fly a fabric kite?
Toddlers from around age 3 can help decorate the sail, choose colours and stick on fabric shapes. Children aged 4–6 can assist with measuring dowels, simple cutting with safety scissors and holding the frame during assembly. An adult should always handle sharp tools, manage the main kite string in anything stronger than a very gentle breeze, and supervise launches. Letting children do as much as they safely can is the whole idea – the sense of ownership is what makes that first flight so thrilling.
Can I make a fabric kite indoors for classroom displays only?
Absolutely. Follow the same steps but skip the bridle and long kite string. Use lighter frame materials like drinking straws and soft fabrics so the kite is safe on classroom ceilings and easy to hang from display wires. These display kites work brilliantly as part of a weather topic, a travel theme or a spring window decoration. Several online tutorials show variations on classroom-safe designs.
What if I can’t get ripstop nylon locally?
You can still make a perfectly good starter kite with cotton bedsheets, polycotton lining fabric or strong wrapping paper reinforced with clear tape along the edges. Focus on keeping the sail light and not too stretchy. If your family decides to upgrade later, online suppliers sell small cuts of ripstop nylon for under ten pounds or dollars – enough for multiple kites.
How do I store a fabric kite so it lasts more than one season?
Gently wipe off sand or mud after each flight. Make sure the sail is completely dry before storing – damp nylon can develop mildew. Either roll the kite with the sail facing out or remove the dowels so the fabric can be folded loosely. Keep it in a cotton bag or pillowcase in a dry cupboard, away from direct sunlight. Wrap the kite string neatly on its winder to avoid tangles. Stored well, a fabric kite can last for years of weekend adventures.


