

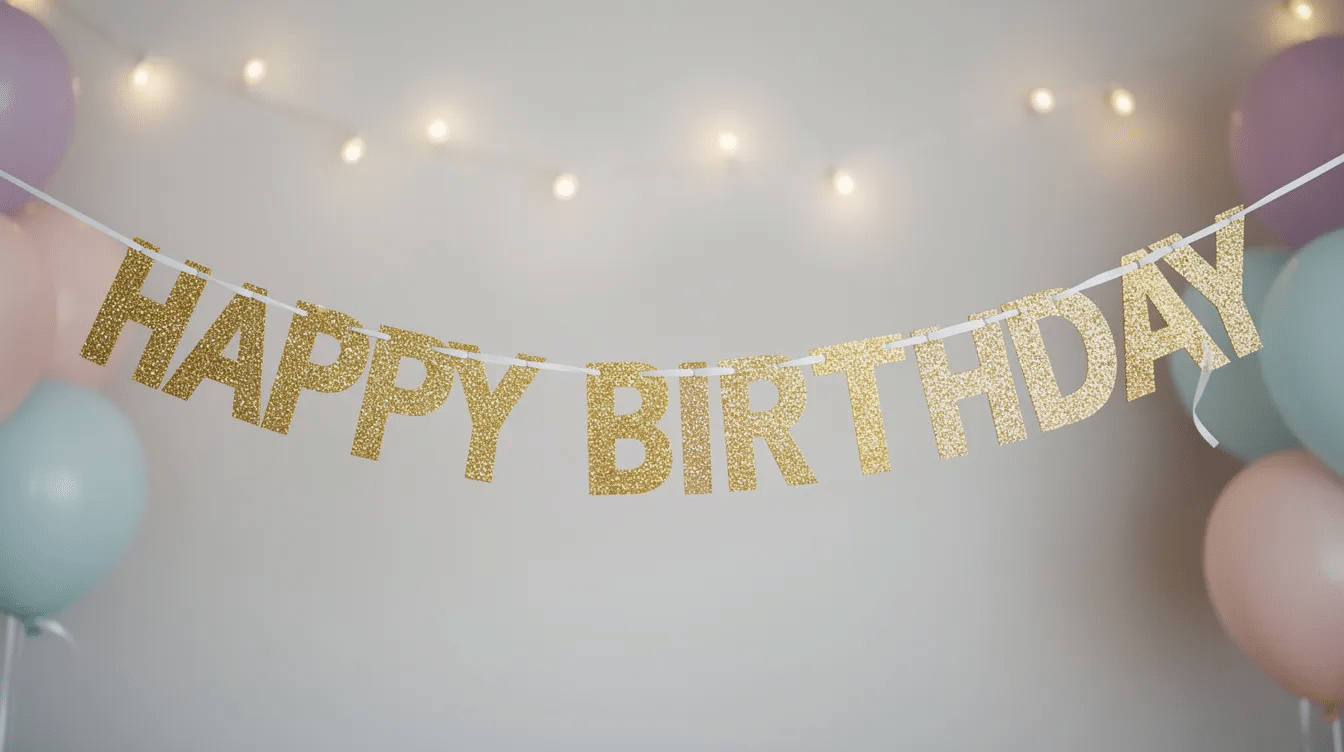
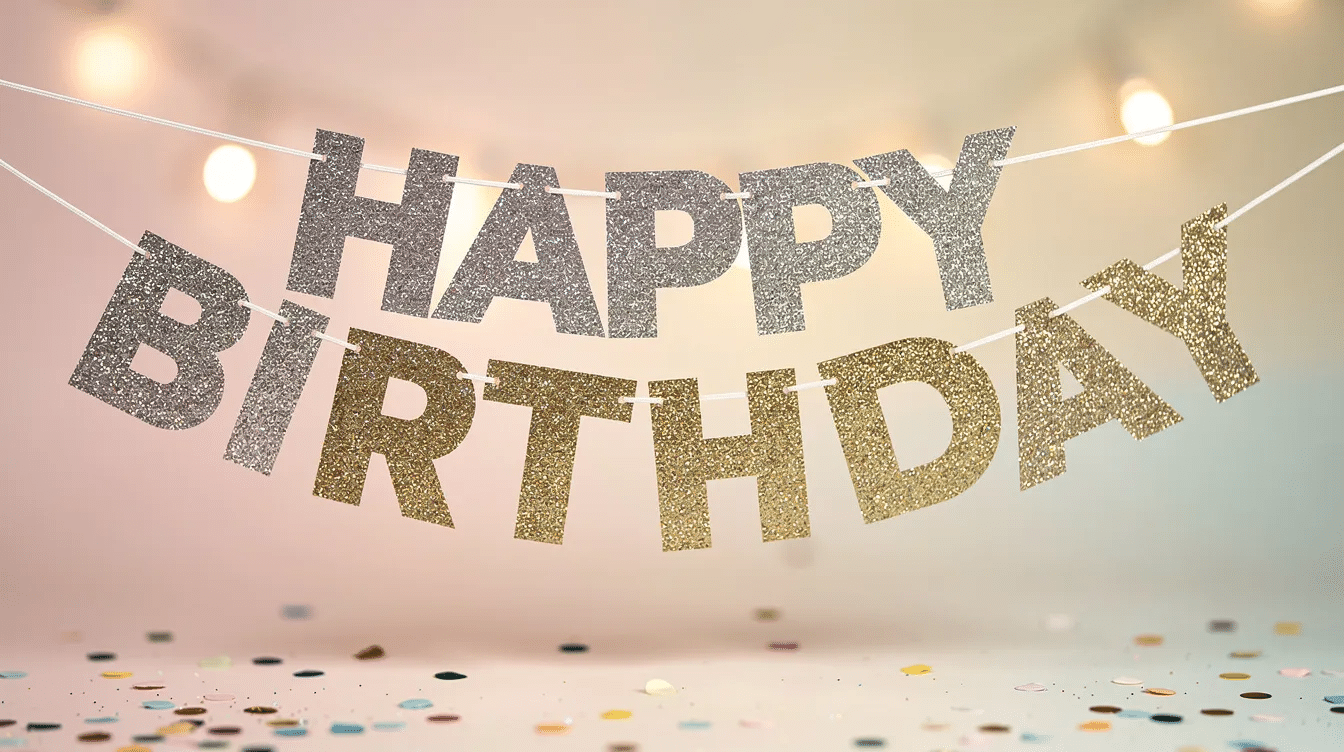
A glitter birthday banner is one of the quickest ways to add glam to any party space, and you really don’t need a big budget or fancy skills to pull it off. In this guide from Little Button Diaries, we walk through everything you need to create a showstopping sparkly banner at home – from picking materials to hanging the finished piece.
Key Takeaways
- A glitter birthday banner is an easy, budget-friendly way to transform a kids’ party with sparkle and colour, costing as little as £5–£15 in materials.
- You can make a happy birthday banner in under an hour using glitter card, ribbon and basic tools like scissors and a hole punch.
- This tutorial covers both cutting machine and simple hand-cut methods, so families can craft together even without equipment like a Cricut.
- The guide includes ideas for reusing the banner every year and adapting it for different ages, themes and party dates – making banners reusable allows for future customization without starting from scratch.
Why a Glitter Birthday Banner Is Perfect for Family Parties
Here at Little Button Diaries, we love a craft that looks impressive but takes less time than a Netflix episode. A sparkly birthday banner instantly dresses up a cake table, living-room wall, or photo backdrop – even if the rest of your décor is just a few balloons. Glitter birthday banners add glam to party spaces without the price tag of shop-bought decorations.
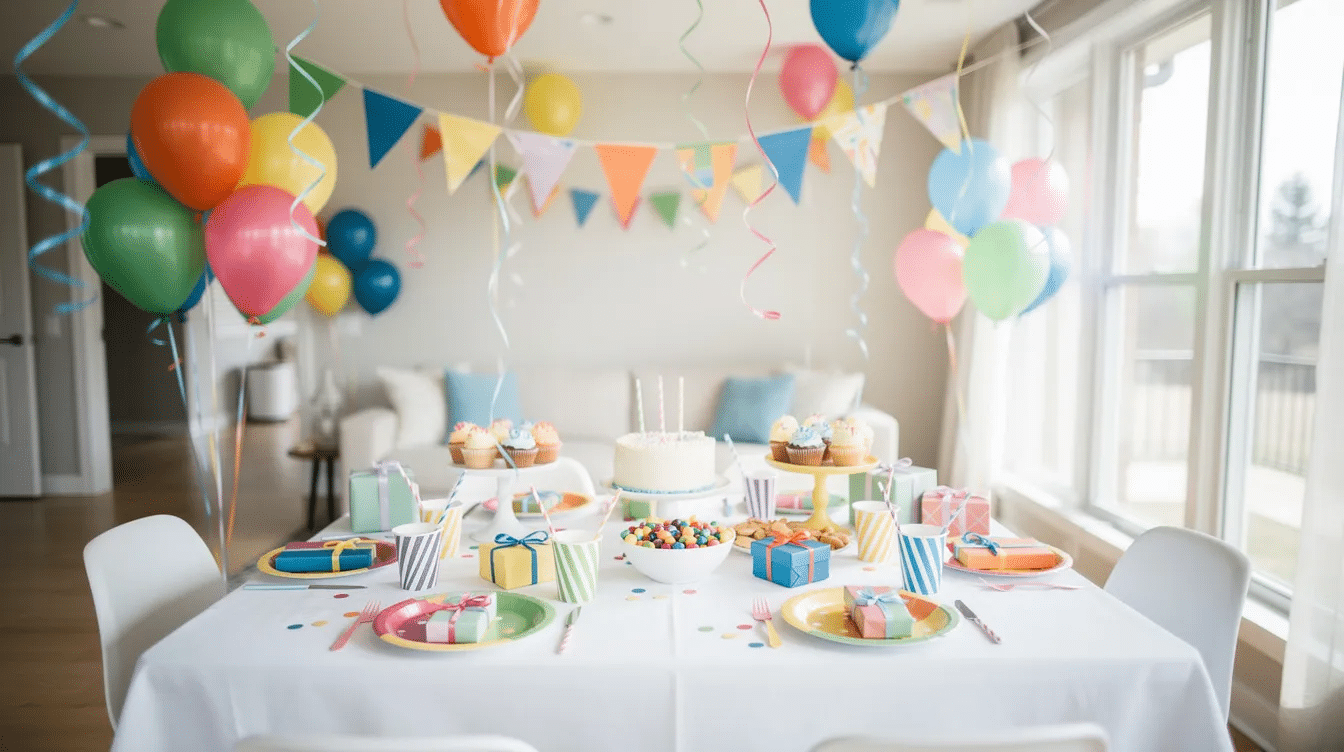
Preschoolers notice shimmering letters and twinkly light reflections straight away, which makes every photo and video from the day feel more special. The whole process is beginner-friendly, forgiving of wobbly edges, and something you can squeeze into an evening after bedtime. Better still, you probably already own half the supplies in your craft drawer – and you can upcycle cereal-box cardboard for the backing.
Supplies You’ll Need for a DIY Glitter Birthday Banner
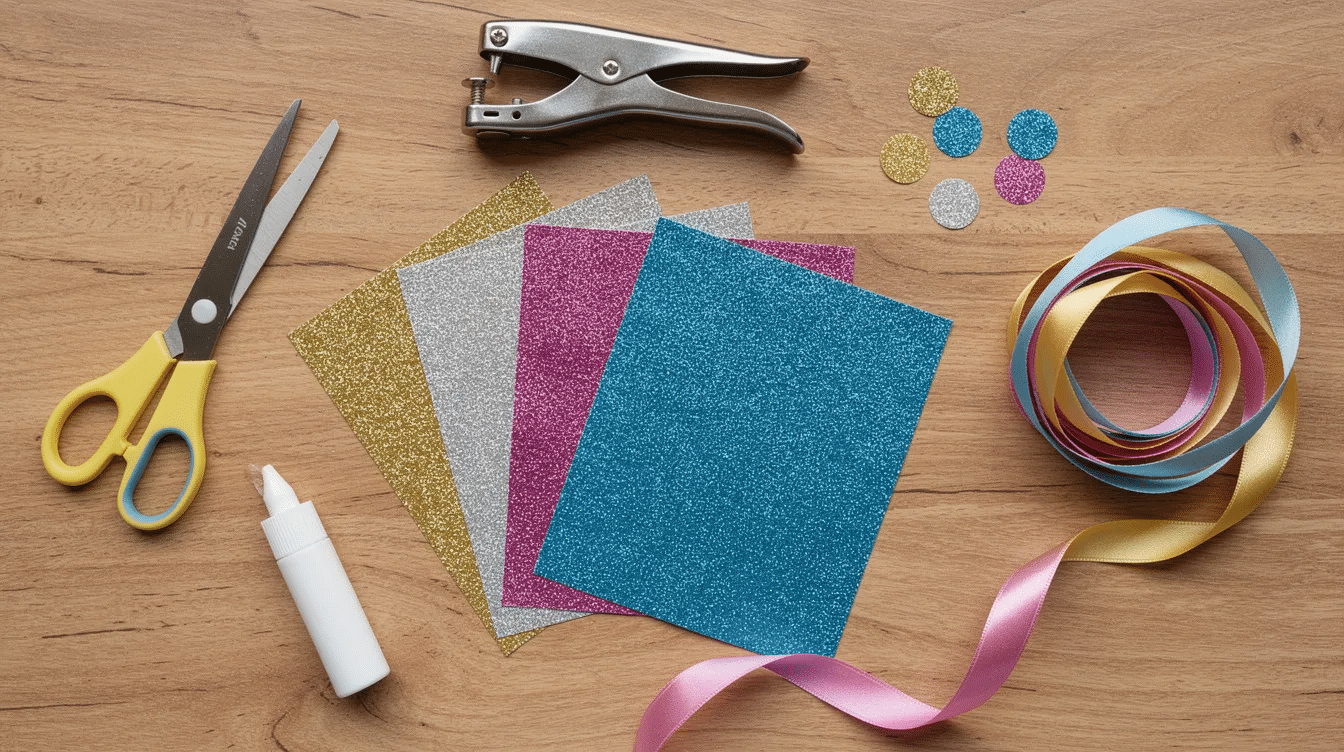
Before you cut a single piece, gather everything in one place. Here’s a practical checklist for a banner sized for a standard UK lounge or kitchen:
Core materials:
- Sheets of glitter card or glitter foam (A4 or 12×12 inch) in your chosen colours – gold, silver, pink or blue work well. Pre-glittered paper can simplify banner creation by eliminating loose glitter entirely. You can find packs of 10 sheets of 300 gsm silver glitter card at The Works for around £1.
- Plain card for backing – use heavy weighted paper like card stock for banners. Using thick cardstock prevents letters from bending or sagging, and using heavy cardstock is recommended for durability.
- Strong ribbon or baker’s twine, roughly 2–3 metres long.
Essential tools:
- Scissors, craft knife, ruler, pencil
- Hole punch
- Glue stick or double-sided tape
- Optional: a cutting machine like a Cricut for intricate letters
Fun extras:
- Embellishments include glitter, sequins, and buttons – plus star stickers, foam shapes or washi tape to match the party theme.
You can purchase most of these at supermarket craft aisles, pound shops, or stores like Michaels, and top up your stash with the best art supplies for young artists if your child is getting into crafting in a bigger way. For eco-conscious choices, try biodegradable glitter card, fabric ribbon instead of plastic, and reuse cardboard from cereal boxes as backing.
Step-by-Step: How to Make a Glitter Happy Birthday Banner
Follow these numbered steps – children can help on the safe parts while adults handle blades and hot glue.
- Choose a message to display on your glitter banner. Decide on your words – “Happy Birthday,” a name, or an age. Sketch out how many flags you need.
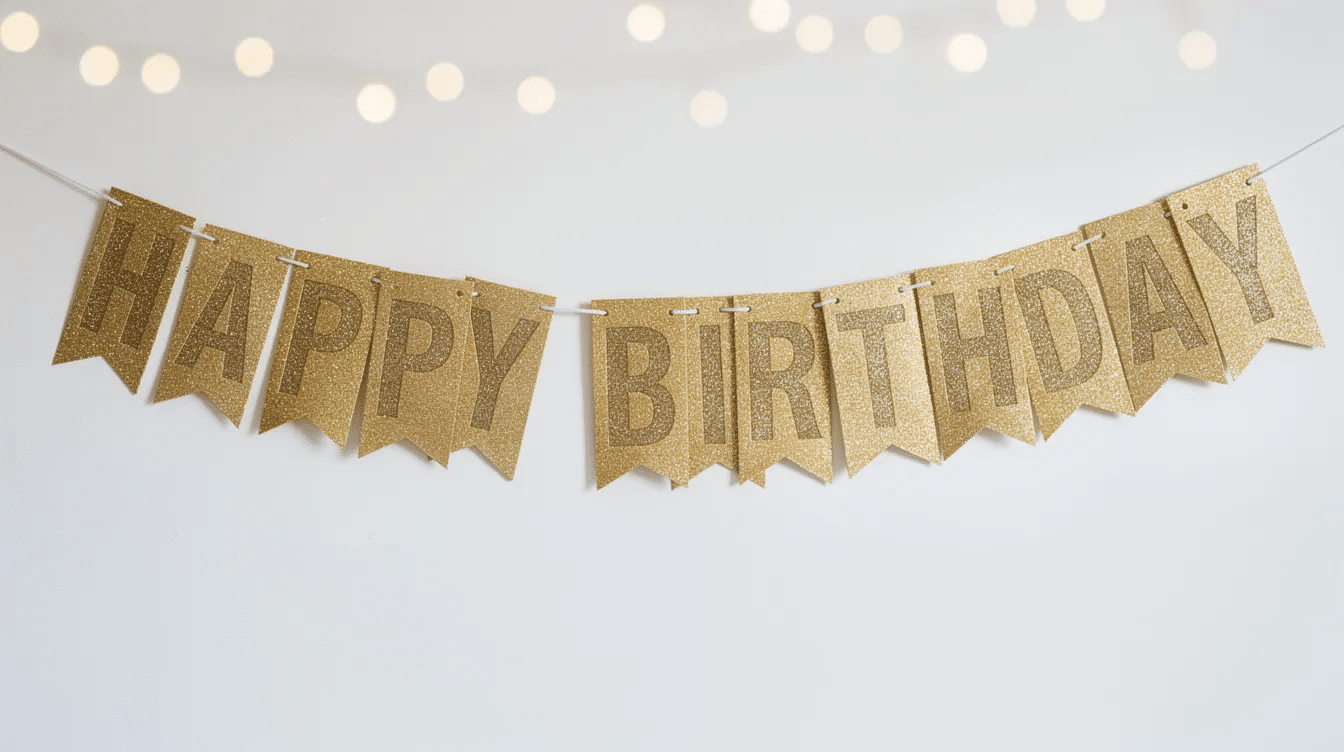
- Cut banner bases. Trace pennant, rectangle or circle shapes onto plain card (or upcycled cereal boxes), aiming for around 12–15 cm tall so letters are readable in party photos. Cut each piece out.
- Cut glitter pieces. Cut slightly smaller shapes from glitter card and layer them on top of each base for a neat framed edge. Use glitter card for a posh-looking banner – the end result looks far more polished than loose glitter. Double-sided tape is preferable for adhering paper because it prevents curling.
- Create the letters. You can use a Cricut template file, print an alphabet to trace, or draw bold block letters by hand. Using bold fonts improves visibility from a distance on banners. Cut letters from glitter card for a posh look.
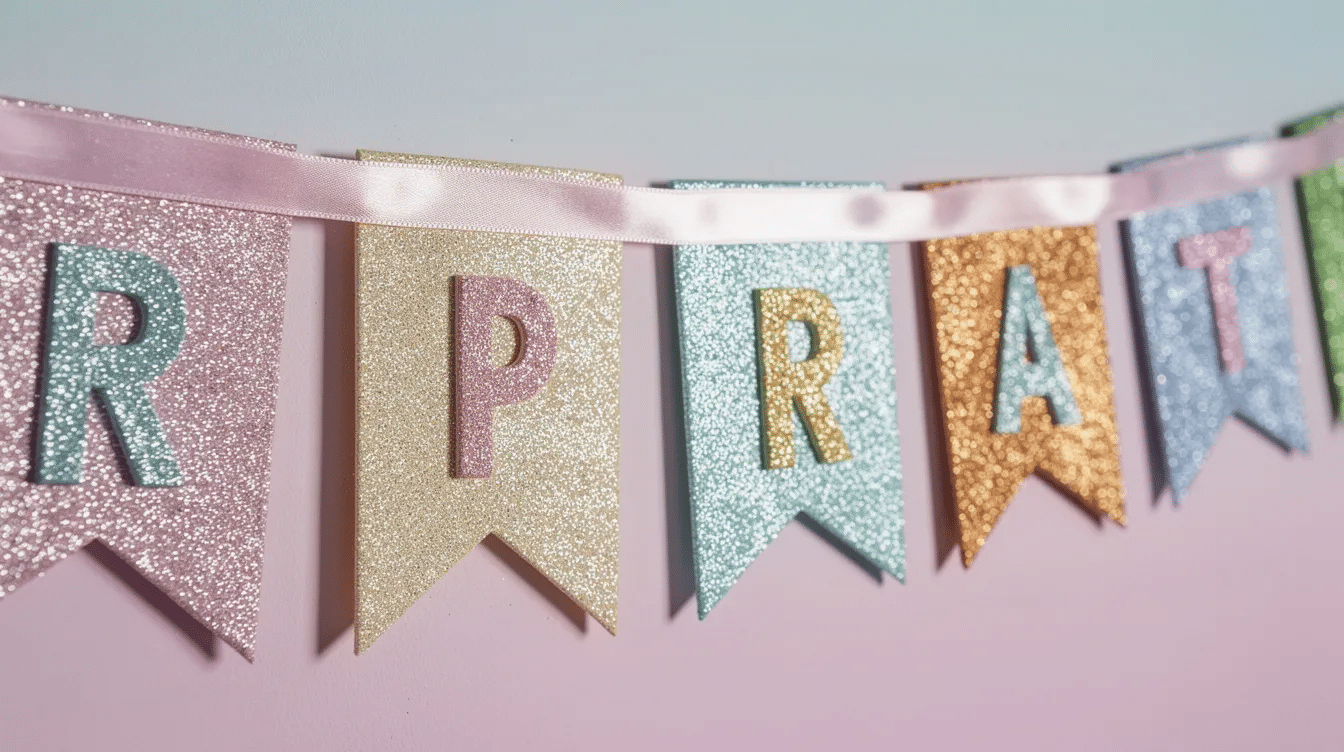
- Assemble each flag. Attach the glitter layer to the base card, then center one letter per flag. You can use foam pads to attach letters to flags for a raised 3D effect, or press firmly with double-sided tape and let everything dry flat to avoid warping.
- Punch and string. Punch two holes near the top of each banner flag, then thread ribbon or twine from the back to the front so the letters sit flat. Cut at least 54 inches of twine for hanging – add extra length if you’re including a child’s name or age. Space flags evenly, roughly 5–6 cm apart.
- Personalise. Add extra flags for a name or age (e.g. “Happy 4th Birthday LUCAS”). Custom name banners create a personal touch for celebrations that shop-bought versions simply can’t match.
Safety note: adults should handle sharp tools and hot glue; children can help by choosing colours, placing stickers and threading wide ribbon. Check the Crayola UK safety guide for more tips on crafting safely with little ones.
Design Ideas: Themes, Colours and Glittery Styles
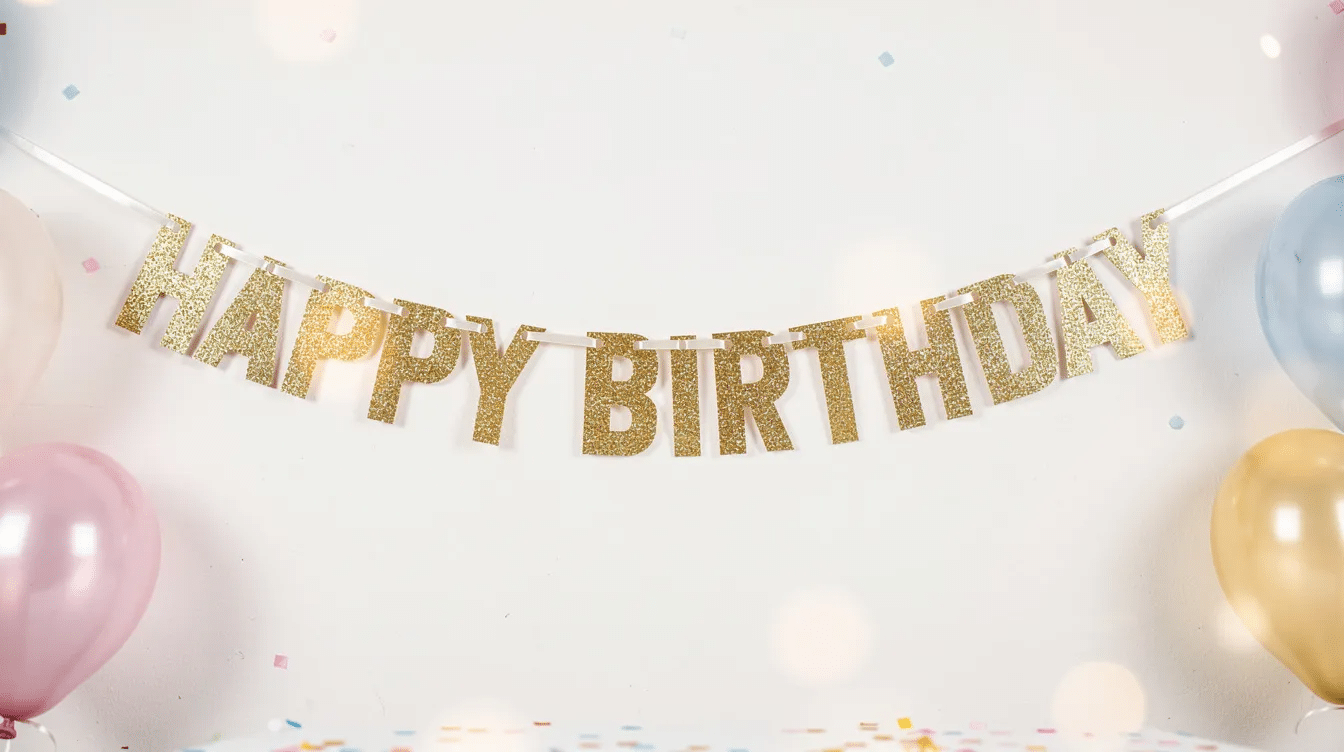
This is where you sort out your colour scheme and let creativity take over. Banners can match party themes for a cohesive look, and the beauty of a simple colour palette is that it makes glitter stand out in decorations.
Colour combinations to try:
Theme | Colours | Vibe |
|---|---|---|
Princess tea party | Gold & blush pink | Elegant – gold and rose gold glitter are timeless choices for birthday banners |
Space adventure | Silver & navy | Cool – silver glitter letters pair well with disco-themed decorations too |
Rainbow party | Pastel rainbow | Soft – pastel colors provide a softer feel for banners |
Classic kids’ birthday | Primary brights | Playful – bright colors give a fun appearance to birthday banners |
Neon disco | Neon pink & green | Bold – neon-colored glitter letters can create a high-contrast banner design |
Warm colors create an elegant look for banners, while different font styles create distinct vibes – chunky bubble letters suit toddlers, script fonts work for older children. For quick embellishments, add glittery stars or heart spacers between words, mini tassels on the ribbon, or a small glitter number beside the word “birthday.” Small embellishments like sequins enhance the banner’s custom feel, and rainbow-themed parties are a great excuse to explore fun rainbow crafts for kids alongside your banner. Encourage your child to choose the colours – it turns the banner into a shared creative project and keepsake they love. |
Hanging, Reusing and Storing Your Glitter Birthday Banner
Once your banner is ready, find the perfect spot to hang it. Good lighting enhances the appearance of a glitter banner in photos, so place it where natural light or a lamp catches the sparkle.
Hanging options: if you’re going big with your decorations, you can pair your banner with creative balloon arch ideas to elevate your celebration for a real wow-factor backdrop.
- Low-tack painter’s tape on walls
- Removable adhesive hooks on shelves
- Tied to curtain poles or balloon arches and surrounded with magical fairy balloons for an extra-sparkly display
Keep ribbon away from cot areas, set pins out of toddlers’ reach, and avoid hanging near candles or hot bulbs. Glitter numbers and photo clips can personalize milestones – clip a photo of each birthday year for a memory wall, or frame the area with a simple balloon castle backdrop if you’re planning a princess or fairy-tale party.
Storage tips: gently stack flags in order, wrap in tissue paper to protect surfaces, and label with the child’s name and age. A clear sealer can prevent glitter from shedding on banners over time. Make universal “Happy Birthday” pieces and separate name or age segments that you can change and swap as children grow – it’s easier on both your time and wallet. Save the whole set in a flat box so it’s ready for next year.
FAQ: Glitter Birthday Banners for Kids
Here are quick answers to the questions parents ask most about making a glitter birthday banner.
How long does it really take to make a glitter birthday banner?
Around 45–60 minutes for a basic happy birthday banner if cutting by hand, and a little less with a Cricut. Add an extra 20–30 minutes for name or themed shapes. If you’re short on time, split the process over two evenings – one for cutting, one for gluing and threading – to keep it manageable, much like you might pace yourself through a few simple projects from a festive craft round-up at Christmas.
Is there a low-mess option if I’m worried about loose glitter?
Absolutely. Use pre-sealed glitter card or glitter foam sheets, which don’t shed. Metallic card, holographic wrapping paper, or foil stickers still give a shiny banner look without vacuuming glitter for days. Ready-made DIY craft kits for kids and adults can also be a brilliant low-mess option. This is a perfect option if you’re also looking for no-mess activities for little ones.
Can my preschooler help, or is this more of an adults-only craft?
Adults should handle blades, hot glue and precise cutting, but children aged 3–6 can choose colours, place stickers, press letters into glue and help thread wide ribbon. If your child is unicorn-obsessed, you could even build the whole craft session around the best unicorn party decoration ideas for a magical celebration. Turn it into a pre-party activity – put on music, let siblings decorate extra flags, and treat minor wonkiness as part of the handmade charm we love here at Little Button Diaries.
What if I don’t have a printer or Cricut for the letters?
No problem at all. Lightly sketch block capitals with a pencil and ruler, trace around alphabet fridge magnets or wooden letters, or cut out letters from old magazines for a collage style. As long as each letter is roughly the same height, the banner will look cohesive once it’s up and sparkling. Read through the step-by-step above to find the method that suits you best, then drop a comment below to tell us how it went – we’d love to add your creations to our favorites!


