

If you’ve ever wished you could shrink your child’s artwork and wear it, shrink plastic jewellery is exactly the project you need. This simple, low-cost craft turns big, bold drawings into tiny wearable accessories that kids and parents absolutely love making together.
Key Takeaways
- Shrink plastic is a specialized polystyrene film sold under brand names like Shrinky Dinks and PolyShrink. When you heat it in an ordinary oven, it magically shrinks to approximately 45% of its original size, becoming thicker and sturdier in the process.
- Families can turn children’s drawings into lightweight earrings, pendants, keychains and backpack charms using simple shrink plastic sheets, basic colouring tools and a home oven – no fancy equipment required.
- This guide from Little Button Diaries walks through choosing plastic sheets, designing, baking and safely finishing jewellery with preschoolers around ages 4–6 helping at every step. The whole project is so much fun for everyone involved.
- The craft is budget-friendly, uses small scraps of plastic efficiently, and makes beautiful handmade gifts for birthdays, Mother’s Day and end-of-term teacher presents.
- You’ll also find troubleshooting tips, ideas for parties and classrooms, plus a short FAQ at the end answering common shrink plastic questions.
What Is Shrink Plastic Jewellery?
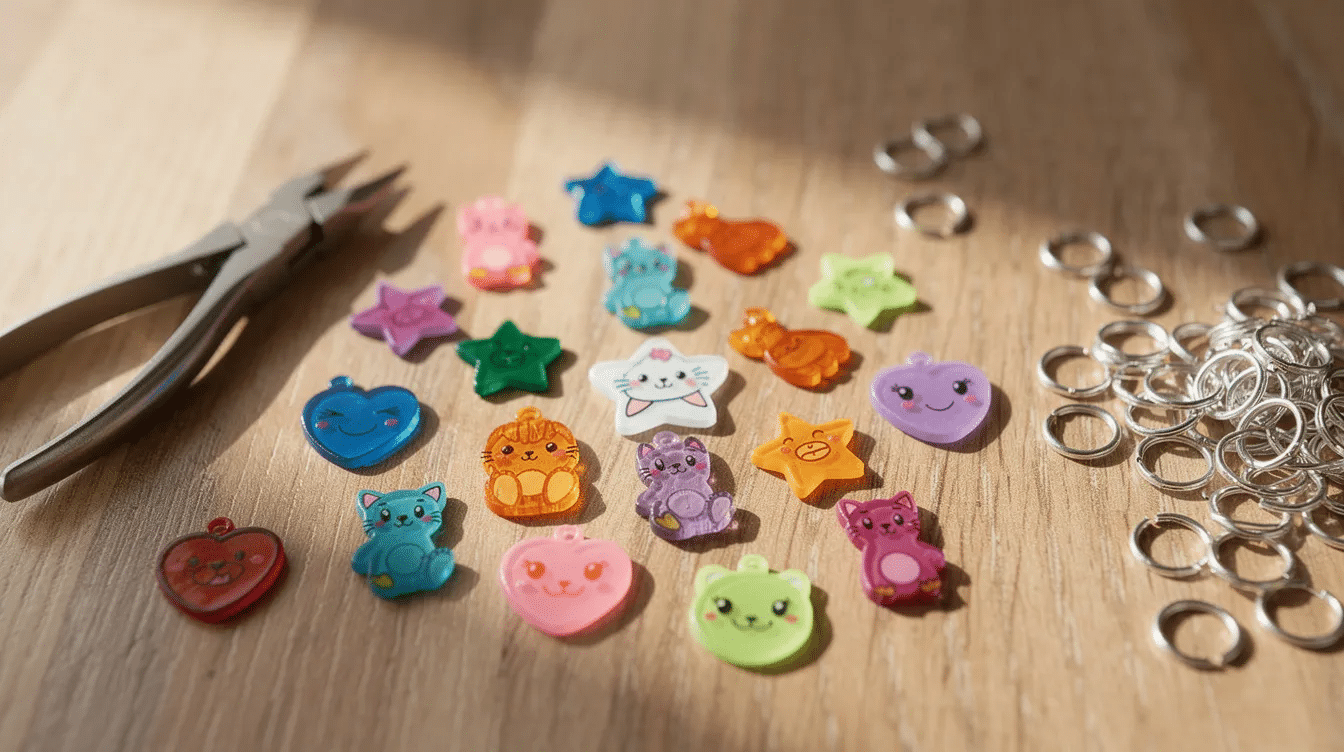
Shrink plastic jewellery starts with thin plastic sheets that you decorate, cut into shapes, and then bake in the oven so they shrink and thicken into sturdy mini charms. Shrink plastic jewellery is made from specialized polystyrene film – the same stuff as plastic type #6 – that has been pre-stretched during manufacturing.
Parents might recognise brand names like Shrinky Dinks (the most common brand of shrink plastic, invented back in 1973), PolyShrink, or generic shrink plastic sheets sold in craft stores and online. Shrink plastic comes in clear, white, and black types, plus frosted finishes.
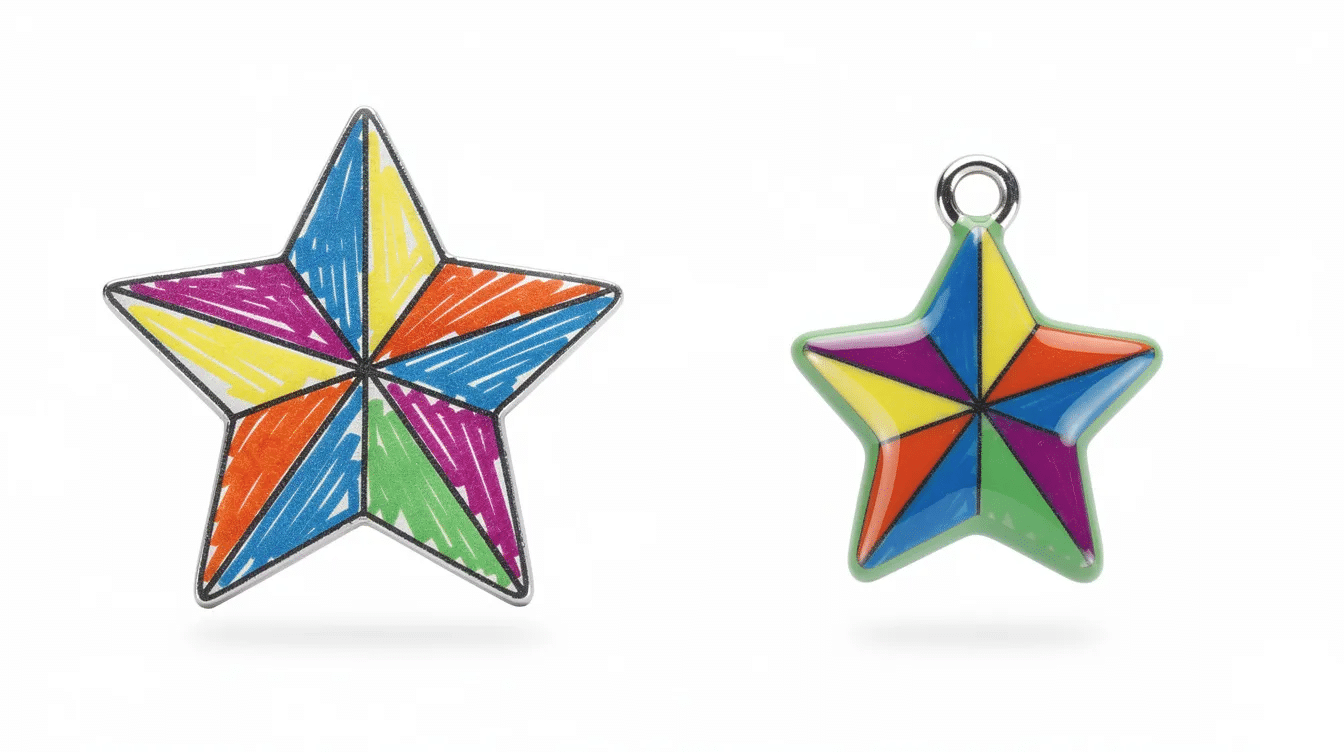
The science is easy enough to explain to kids: the plastic was stretched big during manufacturing, and heat makes it return to its original size, becoming smaller and sturdier. Completed shrink plastic pieces are thicker and sturdier than before heating – rigid, glossy or frosted, and lightweight, which makes them perfect for jewellery.
You can create keychains, earrings, and pendants with shrink plastic, plus zipper pulls, bag tags, bookmarks and party favours. Shrink plastic can be used for jewelry and accessories of all kinds. No special kiln is needed – just an ordinary kitchen oven or toaster oven and a flat baking tray.
Supplies You’ll Need for Shrink Plastic Jewellery
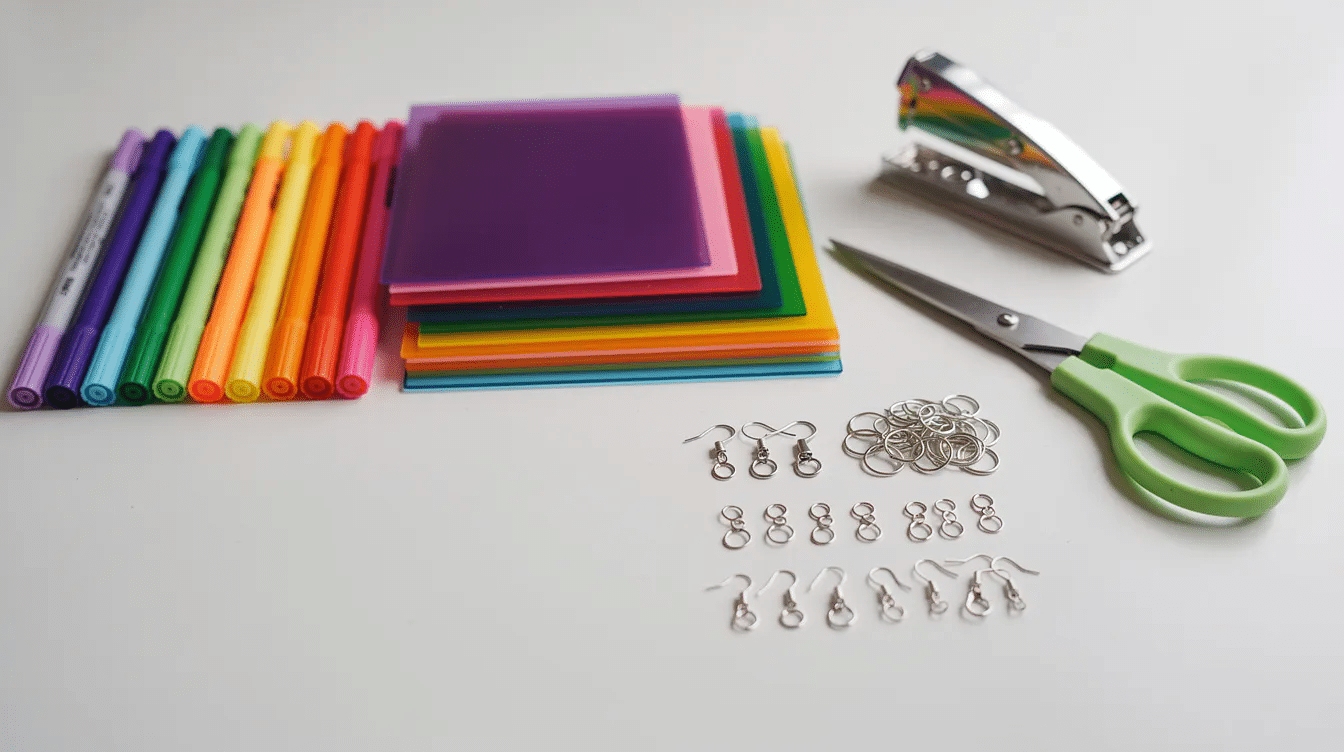
Most materials are inexpensive and easy to store in a small box, ready for repeat diy projects with kids. Here’s what to set aside before you start.
Essential materials:
- Shrink plastic sheets – clear, white and frosted options, A5 or A4 size, around 0.3mm thick
- Permanent markers, coloured pencils or paint pens (permanent markers work best on white shrink plastic)
- Sharp scissors or a craft knife (adults only)
- Standard hole punch for earring and pendant holes
- Baking tray lined with baking parchment or brown paper
- An oven or toaster oven that can reach approximately 150–170°C (300–340°F)
- A heavy flat item – ceramic tile, book or clean white cardboard – for flattening while hot
Jewellery findings:
- Earring hooks and studs (nickel-free or sterling silver for sensitive ears)
- Small jump rings, lobster clasps, keyring loops and cord or chain
- String or elastic for bracelets and necklaces
Optional extras:
- Fine sandpaper (around 400–600 grit) for roughening shiny plastic
- Clear varnish or UV resin for extra gloss and durability (adults only)
- Stencils, rubber stamps and alphabet stamps for easy shapes and lettering
You can find these supplies at local craft shops, big chains, Amazon, or in beginner diy kits that bundle shrink plastic jewellery stuff for first-timers. If you’re interested in exploring what’s available, search online for “shrink plastic jewellery kit” to review current options.
Planning and Designing Your Shrink Plastic Pieces
Before you enter the decorating phase, it helps to plan. Shrink plastic shrinks approximately 45% of its original size, so designs must start much bigger than the final jewellery size. Here’s a simple sizing rule of thumb:
Final piece | Starting size | Approximate final size |
|---|---|---|
Small stud earrings | 4–5 cm wide | ~2 cm |
Dangle earrings / charms | 6–7 cm wide | ~3 cm |
Pendants / keychains | 8–9 cm wide | ~4–5 cm |
The final size of shrink plastic pieces is about 2cm after shrinking for the smallest designs, so keep that in eye when you select your dimensions.
Kid-friendly design ideas:
- Children’s self-portraits as “Little Ladies” or “Little Superheroes” earrings
- Simple shapes like stars, hearts, rainbows, dinosaurs or bumblebees
- Many creative ideas for shrink plastic jewelry involve nature themes and layered designs – think monstera leaves, flowers and butterflies
Suggest that younger children trace around real things like cookie cutters, coins or toy animals to create neat outlines. Mark where holes will go, at least 3–4mm from the edge, before cutting. Pre-draw a template sheet with bold outlines for preschoolers to colour in – it keeps the activity calm and frustration-free. You can even print templates from your computer if you find designs you like on Pinterest or YouTube tutorials.
Step‑by‑Step: How to Make Shrink Plastic Jewellery
Read this section all the way through before you start – it only takes a couple of minutes and will save you from any error along the way.
Preparation:
- Preheat your oven to around 160°C / 320°F, or follow the instructions on your packet. Oven temperature should be set around 150 degrees Celsius for thinner sheets.
- Place a sheet of baking parchment on a flat baking tray.
- If using smooth clear plastic, lightly sand one side so pencils and crayons grip the surface.
Decorating:
- Draw on the roughened side using permanent markers or coloured pencils. Shrink plastic can be colored with permanent markers and colored pencils for vibrant results.
- Choose bright, bold colours – they deepen beautifully when shrunk.
- If using stamps, watch that any text reads correctly on the side that will show.
Cutting and hole punching:
- Cut shapes slowly with small scissors. Round off sharp corners for child-safe jewellery.
- Use a hole punch before shrinking for attaching to jewelry hooks or jump rings. Holes shrink too, so don’t cancel this step.
Baking:
- Lay pieces coloured side up on the parchment, spaced apart.
- Heat application causes shrink plastic to curl and then flatten – this is normal. They’ll wrinkle in the first 30–60 seconds, then flatten as they finish shrinking.
- Oven cooking time for shrink plastic is about 2–3 minutes. Baking time varies, so check instructions for your plastic brand.
- Watch through the oven door until pieces stop moving and look thick and firm.
Flattening and cooling:
- Remove the tray and quickly cover pieces with clean baking paper. Use clean white cardboard to flatten plastic after shrinking by pressing down firmly for a few seconds.
- Allow pieces to cool completely before little hands hold them.
If a piece folds onto itself during baking, re-heat it immediately and press it flat through paper rather than pulling it apart.
Turning Shrink Plastic Charms into Jewellery
This is where your flat charms become wearable plastic jewelry. Older children can help with attaching findings under supervision – it’s a great way to learn fine motor skills.
Tools you’ll need:
- Two pairs of small pliers (or pliers plus strong tweezers)
- A pin or thin knitting needle for clearing any slightly shrunk holes
- A towel or tray to stop tiny findings rolling away
Dangle earrings: Open a small jump ring by twisting (never pulling apart). Thread the shrink plastic charm and the loop of an earring hook onto the ring. Twist closed so there’s no gap.
Stud earrings: Lightly sand the back of a piece. Use strong jewellery glue or epoxy to attach a flat earring pad. Let it cure fully – often overnight – before wearing.
Necklaces, bracelets and bag charms: Add a jump ring through the pre-punched hole. Thread onto chain, cord or elastic, or clip onto a keyring or backpack zip using a lobster clasp.
Finishing touches: Sealing shrink plastic pieces with resin or glaze enhances durability and appearance. A thin coat of clear varnish or UV resin protects keychains and schoolbag accessories from scratches and rain. Shrink plastic is often combined with various materials for a sophisticated look – try pairing with wooden beads or metallic chain. Shrink plastic can also be layered to create dimensional forms in jewelry for truly unique designs.
Kid‑Friendly Project Ideas with Shrink Plastic
Here at Little Button Diaries, we live for rainy-day crafts that the whole family can explore together. These ideas work for school holidays, playdates and parties.
Family Portrait Charm Bracelet: Each family member draws themselves on a separate charm. Attach all the charms to a chain bracelet as a keepsake gift for a parent or grandparent – perfect alongside other preschool crafts about family.
Pet Portrait Pendants: Children draw their cat, dog or hamster and turn the pictures into necklaces or keychains that older kids can clip to school bags.
Seasonal projects:
- Heart and flower earrings for Mother’s Day
- Star and snowflake charms for Christmas parties
- Rainbow and sun charms for summer birthday favours
Alphabet Learning Charms: Draw each letter or number on a blank piece and trace with arrows showing stroke order. Once shrunk, thread onto a cord for letter recognition – a fun content-rich learning activity.
Party and classroom station: Set up a shrink plastic jewellery station at a birthday party where guests colour pre-drawn shapes and an adult handles baking. For class gifts, each child makes one charm to add to a big “thank you” keyring for their teacher.
Shrink plastic can also be used to create faux stained glass effects – simply use clear sheets and permanent markers for translucent, light-catching designs.
Safety Tips, Troubleshooting and Eco‑Conscious Crafting
Adult supervision is essential whenever ovens, sharp scissors or small jewellery findings are involved, especially with children under 6. A heat gun is sometimes mentioned online as an alternative to an oven, but we recommend sticking to a conventional oven for more even, predictable results with kids around.
Safety tips:
- Always have an adult operate the oven and handle hot trays
- Keep small findings away from toddlers who may put them in their mouths
- Use non-toxic markers and glues labelled safe for children
Common problems and solutions:
Problem | Fix |
|---|---|
Pieces curled and stuck together | Re-heat quickly, gently press flat through paper |
Cloudy or yellow finish | Check temperature – avoid overheating |
Colours fading | Use permanent markers on sanded plastic, not washable pens |
Storage: Keep finished shrink plastic jewellery in small boxes or zip bags. Avoid leaving pieces in direct sun to minimise colour fade.
Eco-conscious crafting: Use every corner of your plastic sheets – cut tiny stars, initials or confetti from offcuts. Save scraps for small charms rather than binning them. Compared to buying mass-produced plastic jewellery, handmade pieces are more meaningful and tend to be kept far longer. For more reuse arts and crafts ideas, explore our sustainability content.
When used mindfully and under supervision, shrink plastic crafts are a safe, memorable way to create with kids at any age.
FAQ: Shrink Plastic Jewellery
Here are the extra questions parents often ask after their first shrink plastic session. If you can’t find your answer below, share your question in the comments and we’ll help you out.
Can I Use Any Plastic from Home as Shrink Plastic?
Only specific craft shrink plastic sheets – or plastics clearly marked with recycling code #6 – behave predictably and safely. We recommend against experimenting with random food packaging in the oven with children present. Dedicated shrinky dinks–style sheets are designed to shrink evenly without strong fumes and are inexpensive to buy.
How Old Should My Child Be to Help Make Shrink Plastic Jewellery?
Children aged 4–6 can happily help with drawing, colouring and choosing shapes while adults handle scissors, hole punches, ovens and small findings. Older children around ages 8 and up can gradually learn to do more steps like careful cutting and basic jewellery assembly, always with an adult nearby to account for safety.
Do I Need to Seal My Shrink Plastic Pieces?
For occasional wear – like party earrings or a bracelet worn indoors – sealing isn’t essential if you’ve used permanent markers. We recommend a thin coat of clear acrylic varnish or UV resin for items on keyrings, school bags or coat zips where they’ll rub against metal and get wet.
Can Shrink Plastic Jewellery Get Wet?
Finished shrink plastic is water resistant but not completely waterproof. Frequent soaking may weaken glue on studs or dull marker colours over time. Advise children to remove earrings and necklaces before swimming or bath time, and pat pieces dry if caught in the rain.
What’s the Best Way to Store Leftover Shrink Plastic Sheets?
Keep your plastic sheets flat in a folder or large envelope, away from heat sources and direct sunlight, so they don’t warp before use. We recommend keeping a labelled zip-lock bag or box as a dedicated “shrink plastic kit” with offcuts, markers and findings ready for the next rainy-day craft session. Pin this article so you can find it again when inspiration strikes.


