

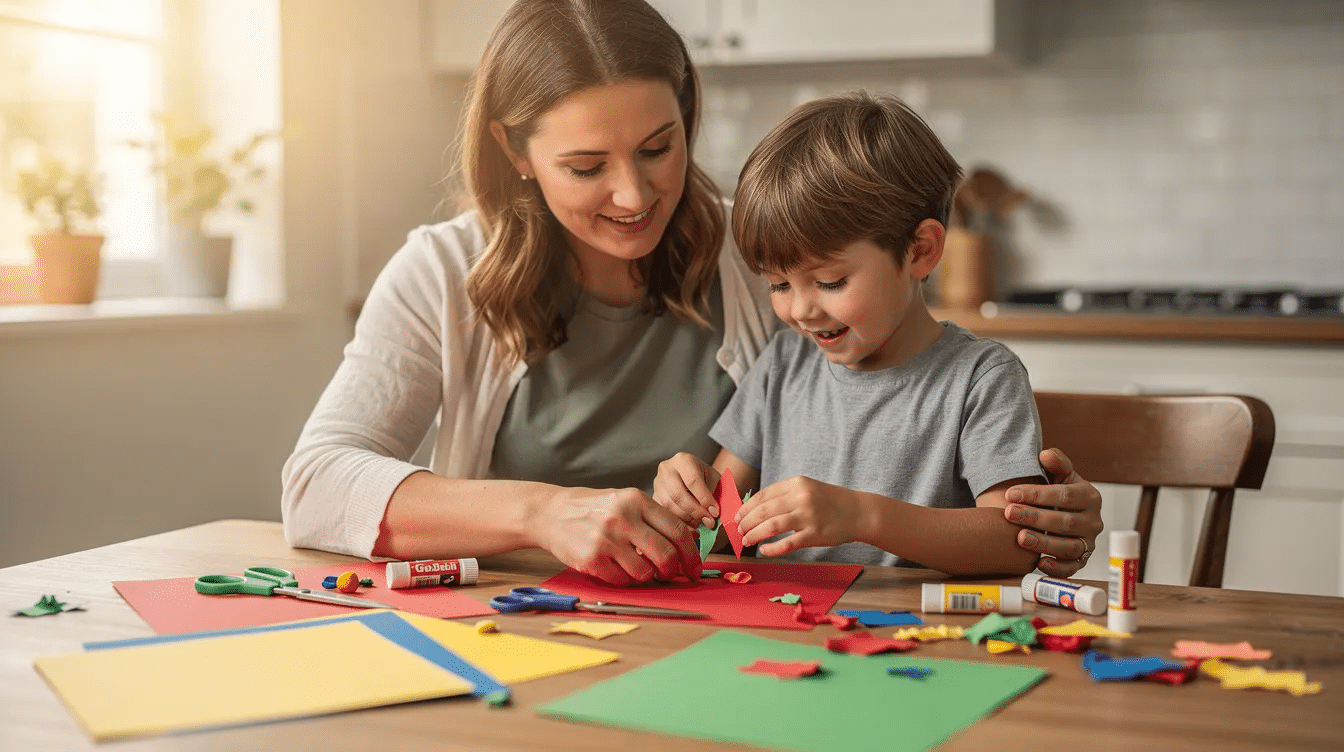
Picture a kitchen table covered in coloured paper, glue sticks, and tiny circles waiting to become train wheels. That’s exactly what this guide is all about. Below, you’ll find everything you need to create a cheerful paper train with your little one – no fancy supplies required.
Key Takeaways
- This paper train craft uses everyday supplies like printer paper or cardstock, glue, scissors, and markers. The craft project typically takes 30 to 60 minutes to complete.
- The project is designed for preschoolers (ages 3–6) with adult help, and it strengthens fine motor skills through cutting, folding, and gluing.
- You’ll learn how to make a simple paper engine plus 2–3 train cars that connect into one long paper train. The completed paper train is about 36 inches long and 12 inches tall.
- Families can adapt the design: keep it flat for wall décor or add fold lines for 3D standing train cars perfect for imaginative play.
- This guide comes from Little Button Diaries and fits perfectly into a train‑themed day at home, nursery, or a birthday party.
Why Make a Paper Train with Kids?
It’s a rainy afternoon in 2026. The telly is off, the kitchen table is clear, and your child is ready to create something colourful. Crafting a paper train is suitable for young children and gives you a calm, screen‑free window to sit together, talk, and build.
Children can create paper trains by folding and cutting paper, and every step doubles as a learning moment. Counting train cars, naming colours, and using new vocabulary like “carriage,” “caboose,” and “locomotive” all build early literacy and numeracy. Paper train crafts help develop children’s fine motor skills – one classroom study found that regular cutting, folding, and pasting activities raised skill levels from 34% to nearly 84% over two short cycles.
Beyond the educational side, there’s real emotional value: focused hands working with paper, quiet concentration, and the pride of holding up a finished engine. Best of all, the cost is almost nothing – most families already have the materials in a drawer or the recycling bin.
Supplies You’ll Need for Your Paper Train
Before anyone starts cutting or gluing, gather everything in one place. Here’s your checklist:
Paper:
- A4 or US Letter printer paper (70–90 gsm) for simple flat trains
- Coloured construction paper for bright details
- Cardstock (around 120–200 gsm) for sturdier engine bodies and standing train cars – use cardstock sized 8.5 by 11 inches for paper trains
Tools:
- Child‑safe scissors
- Glue stick or PVA school glue
- Ruler, pencil, washable black marker for outlines and windows
- Markers and crayons can be used for decorating paper crafts
Fun extras:
- Stickers, washi tape, cotton balls (for puffy smoke)
- A small round object – a 2p coin or bottle lid – for tracing circular wheels
- You can also use plastic bottle caps for train wheels and details on a chunkier build
Upcycling options:
- Cereal box cardboard for bases
- Scrap wrapping paper, old birthday cards for doors and signs
- Toilet paper rolls for alternative 3D carriages
Common materials for making paper crafts include construction paper, scissors, and glue – so you likely won’t need to send anyone to the shop. One safety reminder: supervise young children with scissors and keep sharper craft knives strictly for adults. At Little Button Diaries we store small pieces in labelled envelopes or zip‑top bags so tiny wheels don’t vanish under the sofa.
Simple Paper Train Template: Planning Your Engine and Train Cars
You don’t need to print anything fancy. This section helps you sketch your own basic template on scrap paper first.
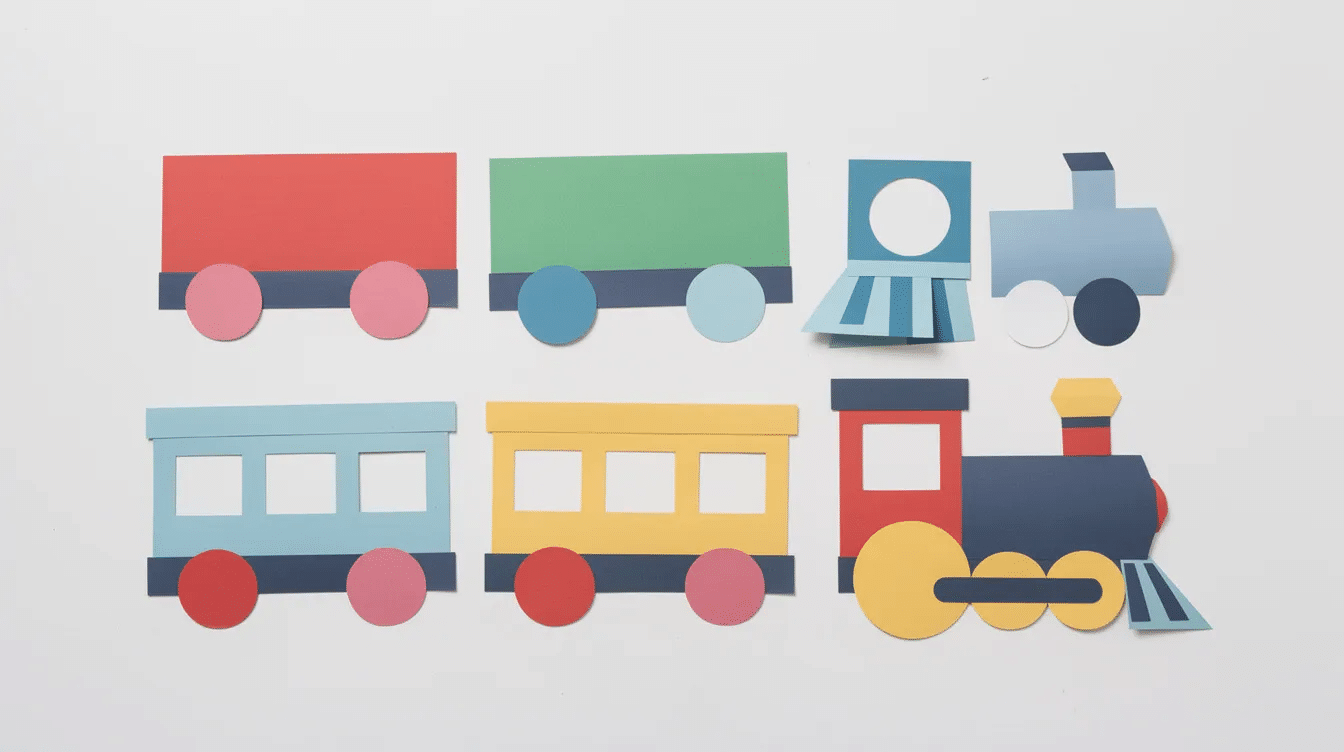
- Draw a rectangle about 18–20 cm long for the engine body, plus a shorter rectangle on top for the driver’s cab. Add a tall, narrow rectangle for the chimney.
- For each train car, sketch a long rectangle (slightly shorter than the engine), mark small rectangles for windows, and trace circles underneath for wheels.
- Lightly draw shapes in pencil on the back of the paper so guidelines stay hidden on the finished side.
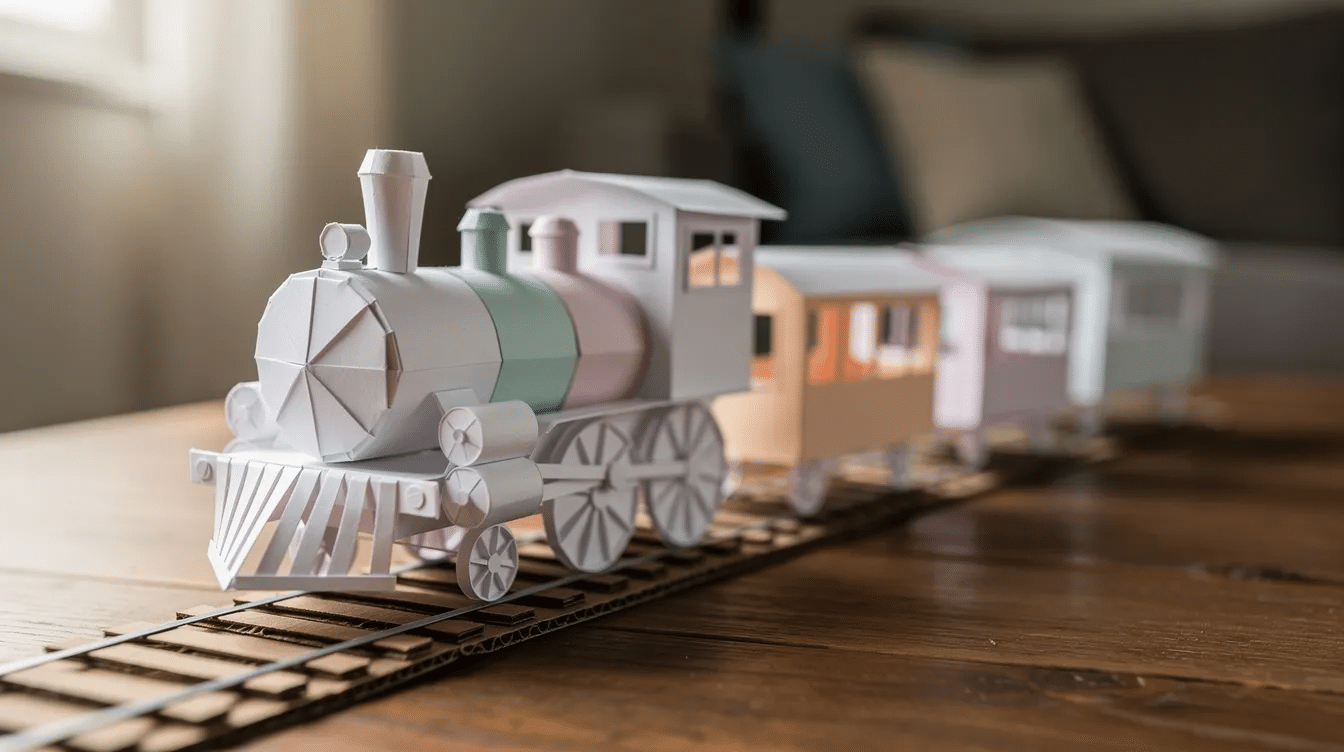
A paper train can be made from 8.5 by 11 inch paper, and templates for paper trains can be printed on A4 sized paper if you prefer a ready‑made version. Once you have a master shape, simply cut it out and trace around it for each extra car so they all match. Basic paper trains often follow similar construction steps, so one good template saves a lot of time.
Want to go big? A paper train can be 36 inches long and 12 inches tall when you line up an engine and three or four cars. You can keep the train 2D for wall displays or add simple fold lines to form 3D standing cars. Unlike robotics‑style projects (where you might use a geared motor for train movement), this version focuses purely on paper, imagination, and a good glue stick.
Step‑by‑Step: How to Make the Paper Engine
This section walks through a single, child‑friendly engine build from flat paper to finished train front.
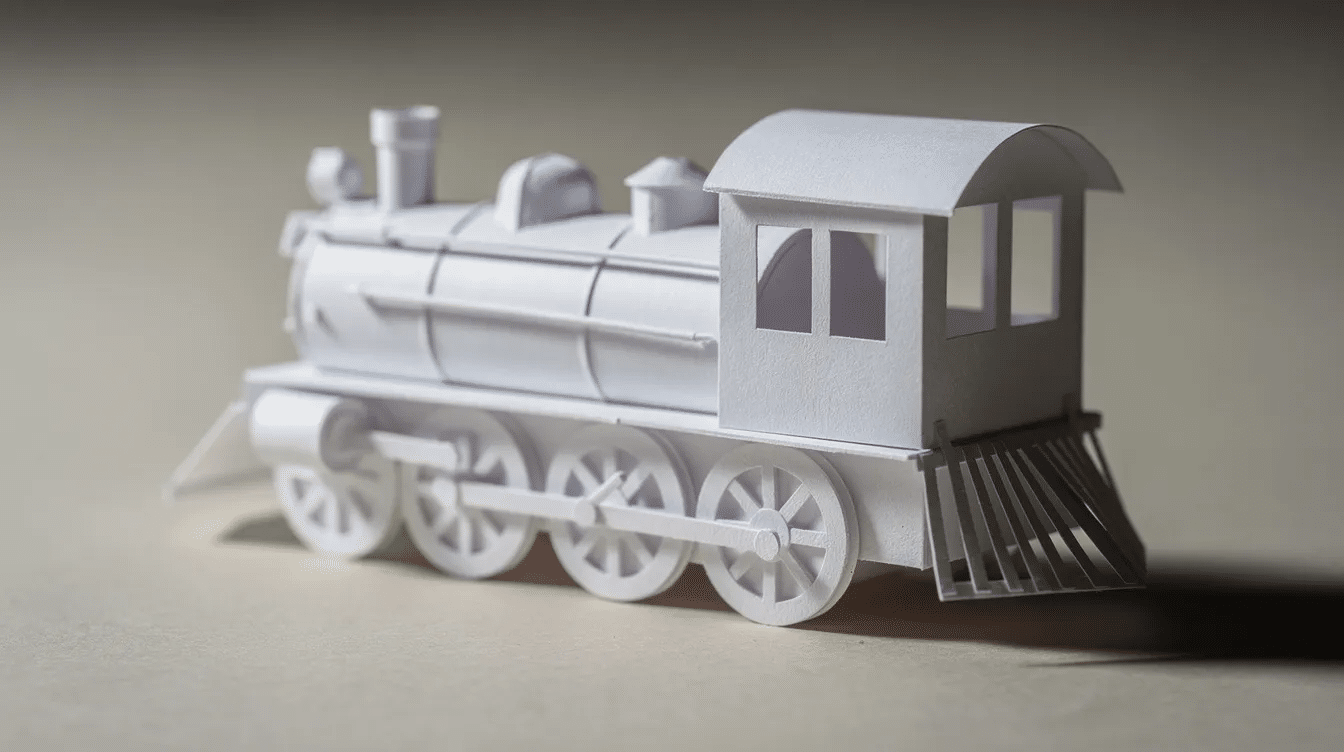
- Cut the body. Cut out the large engine body rectangle and cab rectangle. Adults can help younger children hold the scissors correctly.
- Shape the front. Round the front corner of the engine if you like, and cut a small strip of paper for the chimney or smokestack.
- Add wheels. To add wheels, cut circles from contrasting cardstock – use a coin or lid to trace 2–4 circles. Dark grey or black paper looks realistic. Children can practice fine motor skills by gluing train wheels along a straight pencil line so the train looks level.
- Glue it together. Attach the cab to the top of the engine body, place the chimney, and stick on wheels. Use cardstock for a sturdy paper train model that holds its shape.
- Decorate. Kids can draw a smiling driver in the window, add stripes, a number (like “No. 1” or the child’s age), and cotton balls can be used to represent steam above the chimney.
Quick tip: let each glued layer dry flat for a few minutes before moving the engine. This keeps pieces from slipping and paper from wrinkling.
Step‑by‑Step: Making and Connecting the Train Cars
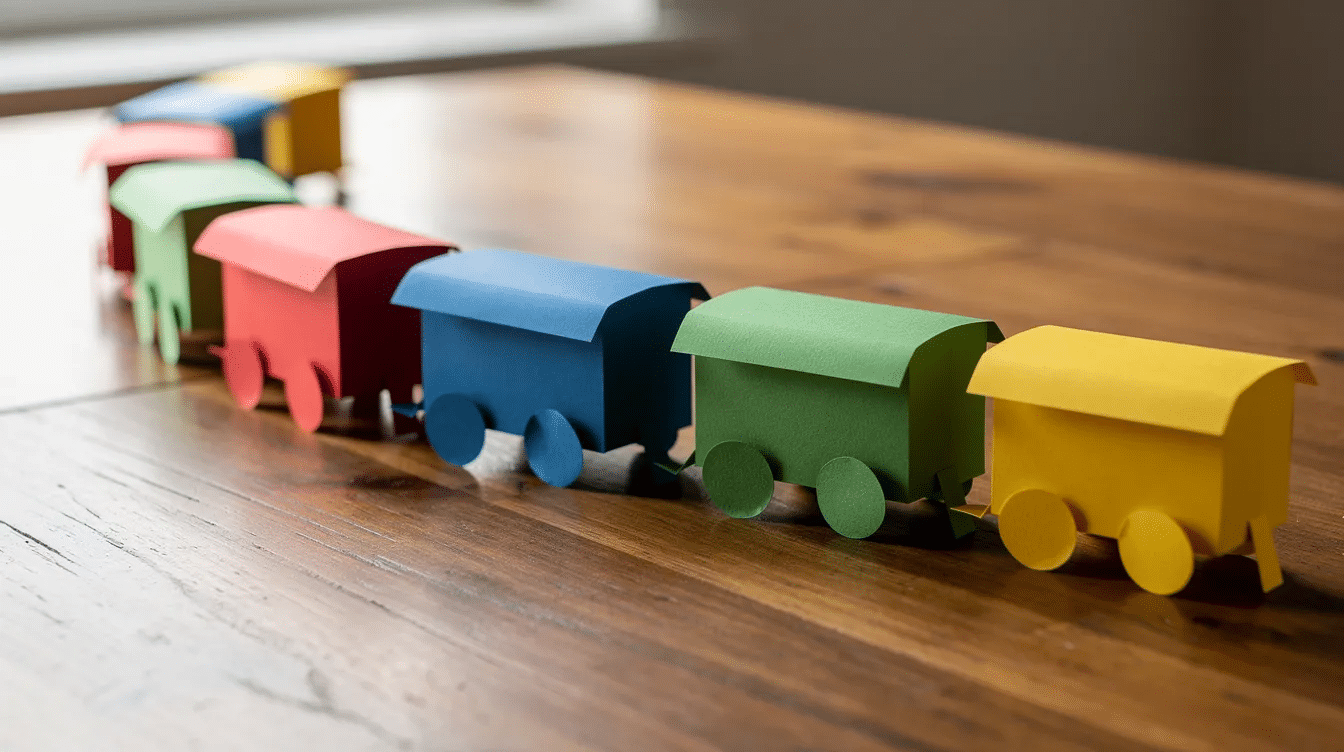
Families can make as many matching train cars as they like to create a long paper train. Here’s how:
- Cut out 2–4 identical rectangles from coloured paper or lightweight card, each slightly shorter than the engine.
- Draw 2–3 evenly spaced windows on each car, add a door at one end, and glue on two wheels near the bottom corners. Cut 16 wheels from cardboard if you’re building a four‑car train – that’s four per car.
- Younger children can simply glue pre‑cut squares and circles for windows and wheels without worrying about perfect placement.
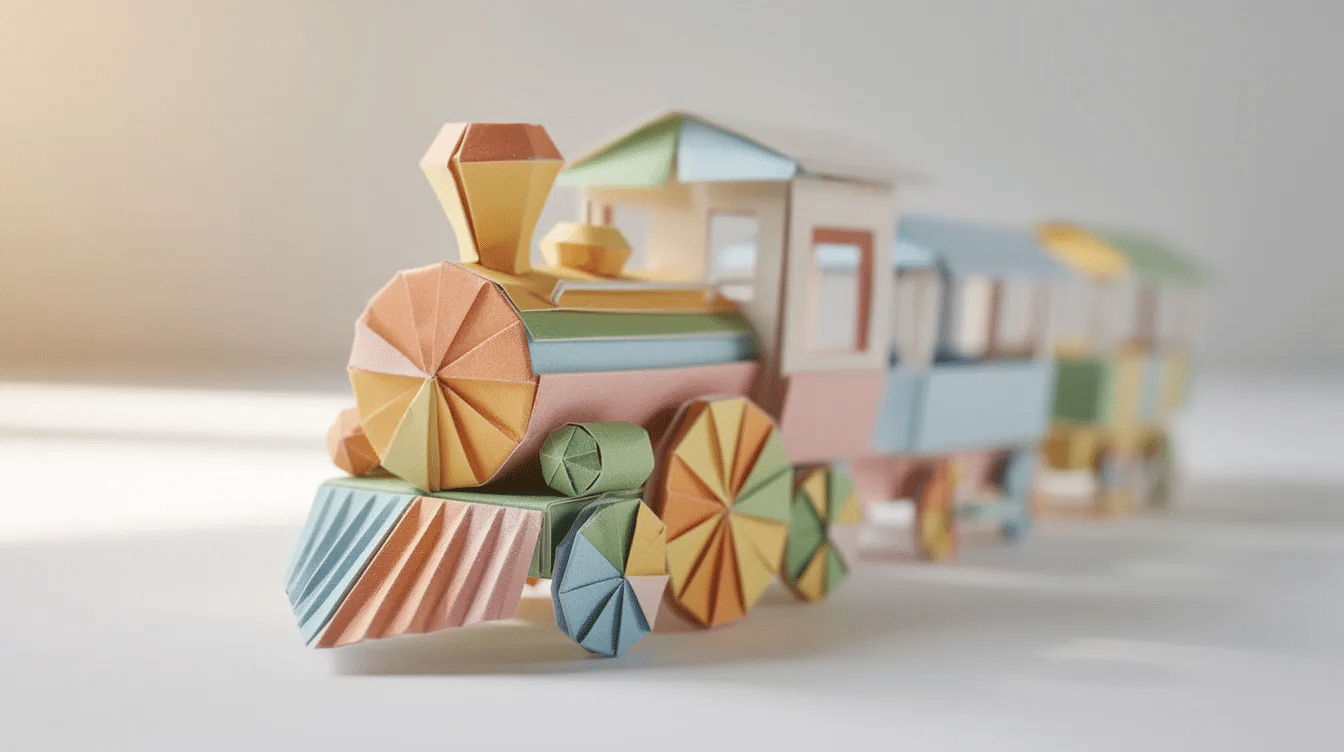
Connecting the cars: Connecting train cars can be done with strips of paper or string. Fold a small strip of paper in half, glue one side to the back of one car and the overlap to the next – repeat until all cars form a line.
3D option: Fold a 1–2 cm strip along the bottom of each car and attach it to a thin cereal box base so the cars stand on a table. You can also paint toilet paper rolls for colorful train cars, or use unpainted toilet paper rolls as quick cylindrical carriages.
Try using different colors or themes for each car – an animal car, a number car, a letter car – to build in extra learning and storytelling. For more ideas on creative activities, check our craft roundup.
Play Ideas and Learning Activities with Your Paper Train
Once the paper train is built, the real fun begins. Here are a few ways to ride the learning further:
- Literacy: Label each car with a letter, your child’s name, or sight words. Ask them to “read” the train aloud.
- Maths: Number each car, practise putting them in order, or roll a dice to decide how many cars to attach.
- Pretend play: Build paper tracks from strips of card, load small toys or pom‑poms into open‑top wagons, and invent journeys. All aboard!
- Sensory play: Use textured papers, foil, or felt stickers so children can discover new textures with their fingertips. See our guide to sensory art activities for a wider variety of tactile ideas.
- Display: Tape the finished train along a bedroom wall, across a classroom noticeboard, or along the front of a birthday table.
Pair the craft with a favourite train storybook in the evening to turn it into a full themed day your friends and family will love hearing about.
Tips for Crafting with Preschoolers (Without the Stress)
Keeping things relaxed makes the whole process more enjoyable. Here are a few ideas that work in our house:
- Pre‑cut tricky shapes (tiny wheels, narrow chimneys) for 2‑ and 3‑year‑olds. Older kids can cut their own pieces with confidence.
- Set up a simple sorting station: engine pieces in one pile, car bodies in another, wheels in a third. It keeps the table from turning into chaos.
- Lay down a craft mat or opened cardboard box lid so glue and pen marks stay contained.
- Use glue sticks rather than runny glue for small hands – they dry flatter and are less likely to wrinkle lightweight paper.
- Don’t worry about finishing everything in one sitting. Make the engine on one day and continue adding cars another day.
- Once dry, store the train in a large envelope or zip‑top bag labelled with the child’s name. That way it survives more than one play session.
Remember, the goal isn’t a perfect museum piece – it’s time spent together, hands busy, and imaginations running. Don’t forget to pin your finished photo to Pinterest so you can find it again later. If you want to discover even more easy craft ideas for rainy days, we have plenty waiting for you.
FAQ: Paper Train Craft Questions Parents Ask
Below are quick answers to the questions we hear most often from parents and teachers.
How long does a paper train craft usually take with young kids?
A simple flat paper engine and 2–3 train cars typically takes about 30–45 minutes with a preschooler, including cutting, gluing, and basic decoration. This step‑by‑step process can be split into shorter bursts – for example, cutting one day and decorating the next – to fit shorter attention spans.
What age is this paper train activity best for?
The craft is ideal for ages 3–6 with adult help. Research shows children begin attempting simple folds around 27 months, with accuracy improving by age 4–5. Older siblings can join in by designing more detailed cars. Toddlers can still participate by sticking pre‑cut wheels and windows while an adult handles scissors and any tricky folds.
How can I make the paper train strong enough to play with?
Print or draw the pieces on light cardstock instead of thin printer paper. Reinforce the back with cereal box cardboard for standing train cars. Press glued pieces under a heavy book for 10–15 minutes so they hold flat and sturdy before children drive their paper train around the floor.
Can I turn this into a classroom or party activity?
Absolutely. Teachers or party hosts can pre‑cut basic shapes and place them in trays so each child only needs to glue and decorate their own car. Every child adds their name to a single train car, then all cars connect into one long “class train” displayed on the wall or party backdrop – a creative image everyone will want to read about and take home.


