

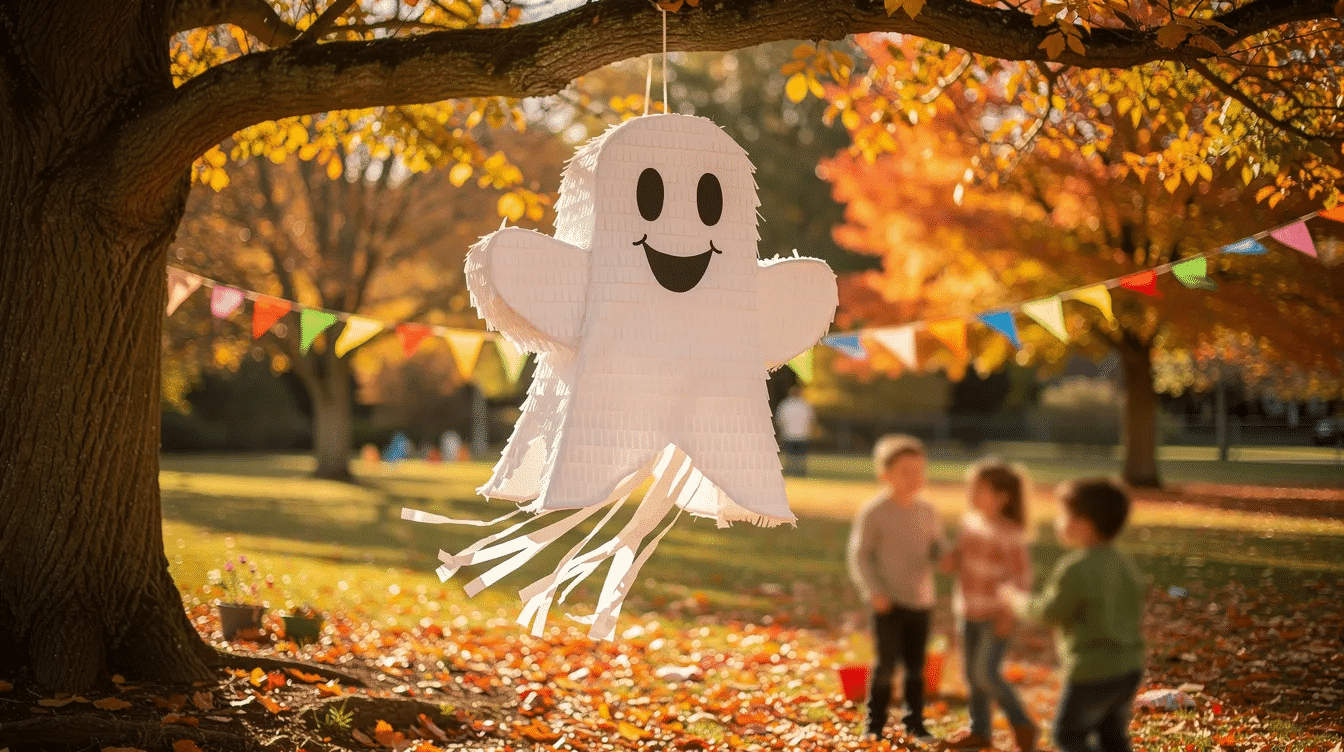
A friendly ghost piñata is one of those halloween party ideas that gets everyone excited – kids and adults alike. Whether you have a whole crafty afternoon planned or just a quick hour before guests arrive, this guide walks you through two simple methods to create your own Casper-style ghost piñata at home.
Quick Overview: What Is a “Casper the Ghost Piñata”?
A Casper the Ghost piñata is a cute, friendly white ghost piñata inspired by classic cartoon ghosts rather than a specific licensed character. Casper the Ghost first appeared in the 1945 animated short The Friendly Ghost, and that sweet, non-scary spirit is exactly the vibe we’re going for here. These nostalgic party accessories focus on fun rather than frights, making them perfect for preschoolers who might worry about spooky decor. Ghost piñatas are popular for halloween celebrations, and Casper-themed parties are equally popular for children’s birthdays.
You can make one two ways: a no-mess paper lantern version (no paper mache needed) or a traditional balloon-and-paper-mache ghost piñata. Both can double as a decorative centerpiece at your party until it’s time to open them up. A ghost piñata can be filled with candy or toys – wrapped sweets, tiny dinosaurs, stickers, or non-candy fillers for toddlers.
Why go DIY?
- Cost: A bought ready-made ghost pinata often runs $20–$40 (the popular APINATA4U ghost piñata measures 18 inches tall and sells in that range). DIY material cost sits closer to $6–$12.
- Customisation: Select the exact face, size, and fillers you want.
- Family activity value: Kids learn, create, and enjoy the magic of making something together.
- Versatility: Ghost piñatas also work as fun centerpieces during movie screenings of the Casper film, and they’re a delight at retro 90s-themed events too.
Supplies You’ll Need for a Casper the Ghost Piñata
Most of these items are inexpensive and easy to find at supermarkets, pound shops, or craft stores – ideal if you’re crafting last-minute in October. White and light blue are common colors for Casper-themed decorations, so stock up accordingly.
Paper lantern version (core supplies):
- White paper lantern – around 20–25 cm (8–10 in) diameter
- White crepe paper or streamers – 1–2 rolls
- Double-sided tape – one roll
- Scissors – child-safe pair plus adult pair
- Card circle – cut to match the lantern base for sealing
- String, ribbon, or twine – for hanging
Optional decoration detail:
- Black card or craft foam for eyes and mouth
- Pink card for cheeks or a small bow
- Googly eyes, silver gel pen, kid-safe glue sticks
Extra materials for the paper mache version:
- Large punch balloon
- Newspaper strips
- Flour and water for paste, masking tape
- Old tablecloth to protect the table
Treats and fillers (30–40 small items for a medium piñata):
- Wrapped sweets, mini chocolate bars, lollipops
- Halloween stickers, small dinosaurs, bouncy balls
- Non-candy options: temporary tattoos, mini crayons, glow sticks
Friendly ghost piñatas are commonly made of cardstock and tissue paper, so you likely already have half the material at home. For more cute easy crafts using everyday materials, browse our wider collection.
Method 1: Easy Paper Lantern Casper Ghost Piñata (No Paper Mache)
This is the fastest, least-mess option – complete in under an hour. It’s ideal if you’re crafting the weekend before halloween or need a quick activity before a preschool party. Ghost piñatas can be made from paper lanterns and crepe paper with almost no drying time.
Here’s how to do it, step by step:
- Assemble the lantern according to its packet instructions. Expand the wire frame fully.
- Seal the base. Trace the bottom opening onto stiff card, cut the circle out, and tape it securely with double-sided tape so it can hold treats without sagging.
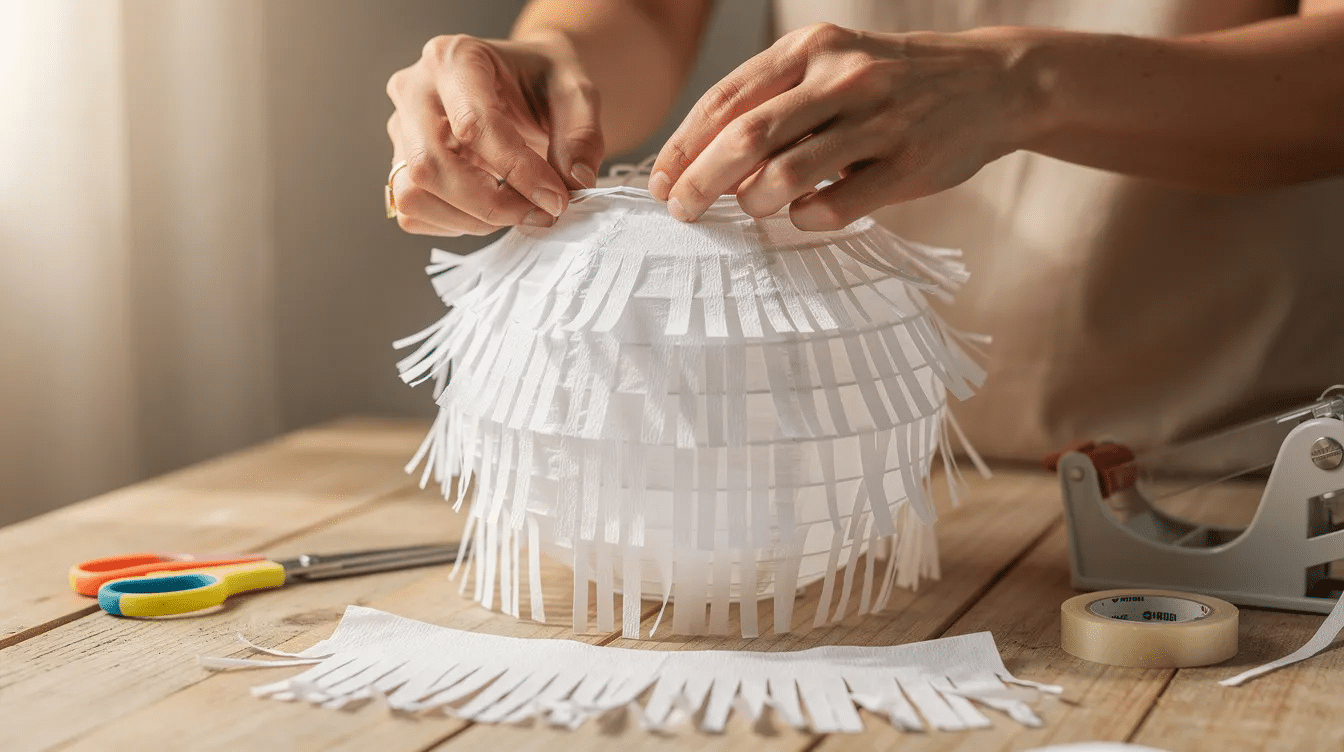
- Create the skirt. Cut a sheet of white crepe paper slightly shorter than the lantern and wide enough to wrap all the way around with a bit of overlap. Use crepe paper to create a ghostly skirt for the lantern.
- Fringe it. Cut long strips of crepe paper about 2–3 cm (1 in) in width, then snip along one edge to make soft, floaty fringe. If you’re short on time, shop-bought crepe streamers work too.
- Layer the strips. Starting from the bottom, apply fringed strips onto the skirt with double-sided tape, overlapping rows so no lantern surface is left visible. The layers build that classic ghostly texture.
- Shape the tails. Trim the bottom edge of the skirt into wavy ghost “tails,” then tape the top of the skirt around the lantern’s middle so it hangs slightly loose.
- Cover the top. Add fringed strips up to the top, leaving the hanging hook uncovered so you can hang it from a broom handle, tree branch, or ceiling hook.
Adding Casper’s Friendly Ghost Face
This is where the ghost becomes “Casper-style” – friendly, pretty, and not the least bit scary. It’s the perfect step for little ones to help with.
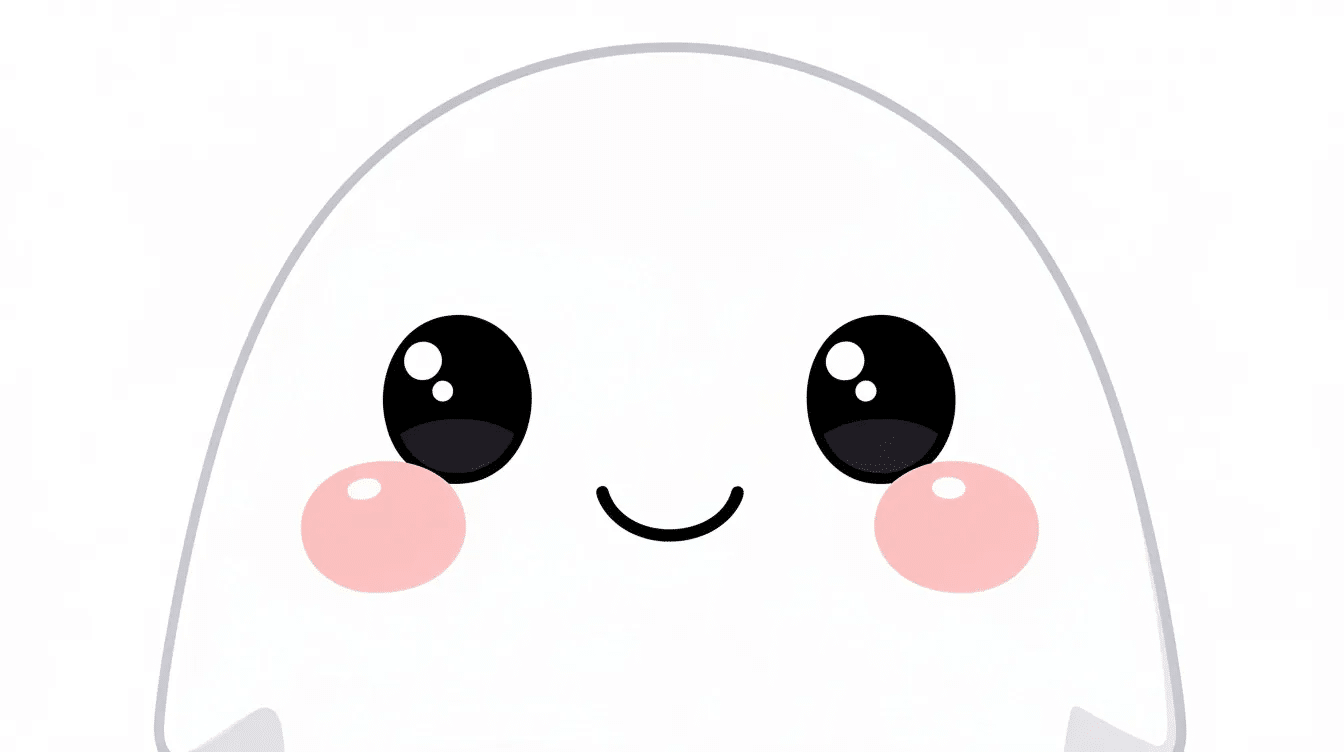
- Trace and cut two large black ovals for eyes and a bean-shaped mouth from black card or craft foam. Use a jam jar lid as a template to keep both eyes even.
- Add pink card circles for rosy cheeks, positioned just below the eyes. Ghost piñatas are often decorated with black and pink paper – this combination gives that sweet, kawaii touch younger children love.
- Stick the face pieces using a glue stick or double-sided tape. Position them in the upper third of the lantern so the face photographs well and sits above the skirt.
Face-style variations to discover:
- Classic Casper-style – simple smile, large oval eyes
- Kawaii – add a tiny bow, extra-round cheeks
- Sparkly – use glitter card or a silver gel pen for detail
- Glow-in-the-dark – use glow paint or glow stickers for eyes
Let children design their own expression – sleepy ghost, surprised ghost, winky ghost – turning this into a simple preschool drawing activity. Decorate the piñata with black paper for eyes and mouth, and every ghost will have its own personality.
Filling and Hanging Your Ghost Piñata Safely
Safety and age-appropriate filling are crucial when your guests include preschoolers and mixed-age siblings. Fill the piñata with candy before sealing it shut – or choose non-candy alternatives.
- How to fill: Open the base flap or leave a small gap at the top. Add 30–40 small items, keeping total weight under 400 g (about 1 lb) so the structure doesn’t tear.
- Non-candy filler ideas: Temporary tattoos, halloween stickers, mini crayons, erasers, glow sticks, large beads (for ages 3+).
- Choking hazard check: For children under 3, avoid items that fit inside a small-parts test cylinder per CPSC guidelines. When in doubt, go bigger.
- Hanging: Thread sturdy twine or ribbon through the lantern’s hook. Test it on an adult’s wrist before the party – if it holds your handle easily, it’ll hold the piñata.
- The traditional use of piñatas involves having guests hit it to release the candy inside. Use a lightweight cardboard tube or soft bat rather than a heavy stick, and keep children at a safe distance during turns.
- Pull-string piñatas are safer for very young children than traditional hit-and-break designs. Simply attach several ribbon “pull strings” to the base flap – one is the magic string that opens it.
- Adult supervision is essential. Have adults manage turn-taking and set clear boundaries.
Method 2: Classic Paper Mache Ghost Piñata (Balloon Base)
This sturdier option is ideal for bigger groups or families who enjoy messier sensory play. It takes a bit longer but can handle more enthusiastic hitting. If you’ve tried our paper mache hot air balloon craft before, you already know the basics.
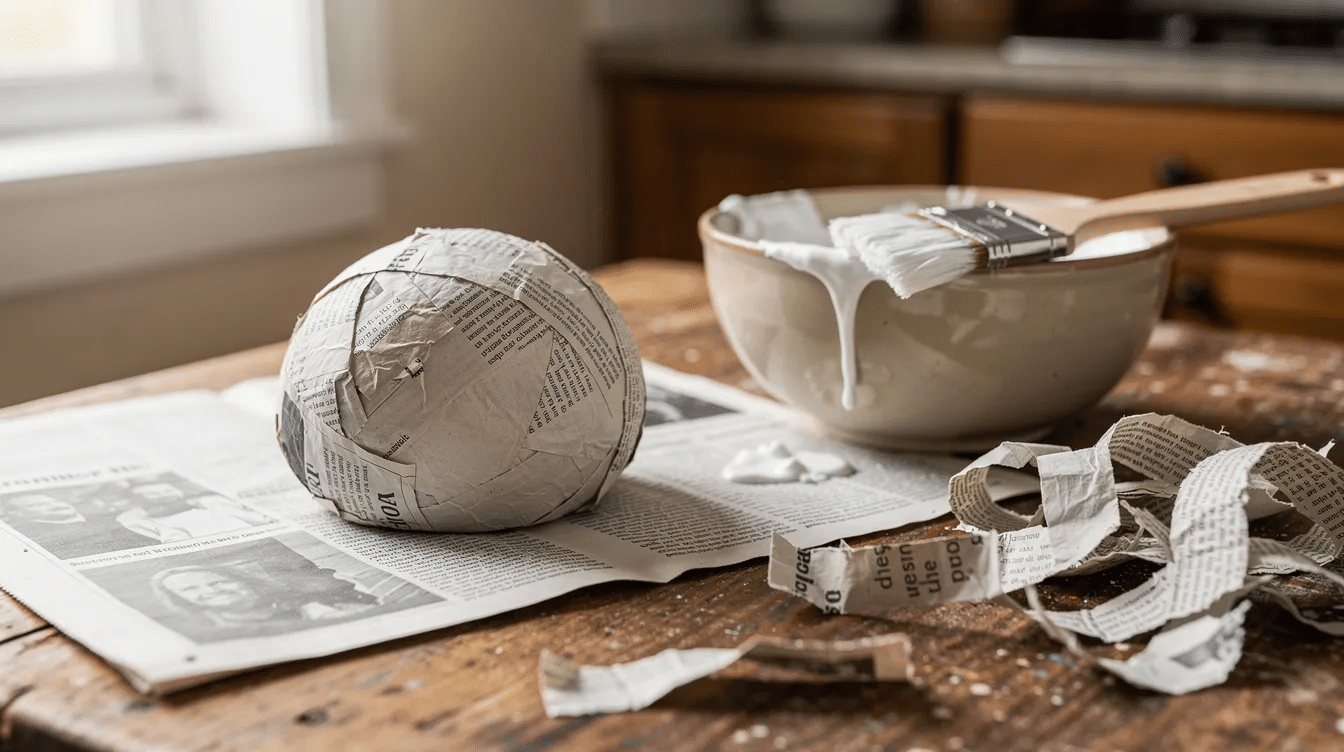
- Inflate a large punch balloon to your desired piñata size. Use a large punch balloon for the piñata base – they’re tougher than regular balloons. Tie it firmly and set it in a bowl to stop it rolling.
- Prepare paste and strips. Mix flour and water at roughly a 1:1 ratio into a smooth paste. Cut newspaper strips about one inch wide and three inches long.
- Apply layers. Lay strips over the balloon in alternating directions (horizontal, then vertical), avoiding the knot area. Apply three layers of paper mache for strength, then leave to dry overnight – at least 12–24 hours in a dry room.
- Remove the balloon. Once the shell is complete and fully dry, pop the balloon and pull it out through the hole at the top.
- Add a hanger. Cut two small slits near the top, thread twine through, and knot it inside to distribute tension.
- Cover in white. The newspaper print shouldn’t show, so add a final layer of white tissue or crepe paper. Then fringe extra crepe paper for a ghostly skirt, just as in the lantern method.
- Add the face exactly as described above – black card eyes, mouth, pink cheeks.
Mess-management tips: Wear old shirts or aprons, protect the table with newspaper, and keep paste in a sealed container between sessions. For a different shape altogether, you can also try our homemade piñata from a cardboard box method.
Turning Your Casper Ghost Piñata into a Whole Halloween Activity
This craft is more than decor – it’s a full preschool-friendly activity for a half-term afternoon or a halloween playdate. Casper the Ghost piñatas are suitable for halloween parties and kids’ birthday parties alike, so you can bring this out for any autumn festivities.
- Break it into two sessions. Decorate one day, then fill and play the next. This matches shorter attention spans and allows drying time.
- Integrate early learning. Count strips of crepe paper together (numeracy), talk about shapes when cutting eyes and mouth (geometry), and practise scissor skills with close supervision.
- Set up a mini piñata parade. Make multiple small diy ghost piñatas – each child personalises one with different faces and a touch of colour. Parade them around the garden before the big break.
- Add themed games. Read a friendly ghost story while the paste dries, play spooky-but-gentle background music, or have kids guess what items are hidden inside before the piñata is opened.
- Coordinate with other crafts. Here at Little Button Diaries we have plenty of halloween ideas to match, from halloween hand puppets to a halloween pumpkin piñata party cake. Mix and match for a complete party without spending life savings on a seller’s fast delivery fees or items sold out in the netherlands or anywhere else.
Remember: imperfect, child-made ghosts are always the most charming ones at the party. Don’t worry about wonky eyes or uneven tails – that’s where the real magic lives. Grab a lantern or balloon, add your cart of craft supplies to the kitchen table, and let your little ones learn, create, and enjoy every step of this diy ghost project. Happy halloween from all of us at Little Button Diaries!


