

Why Make a Felt Alphabet?
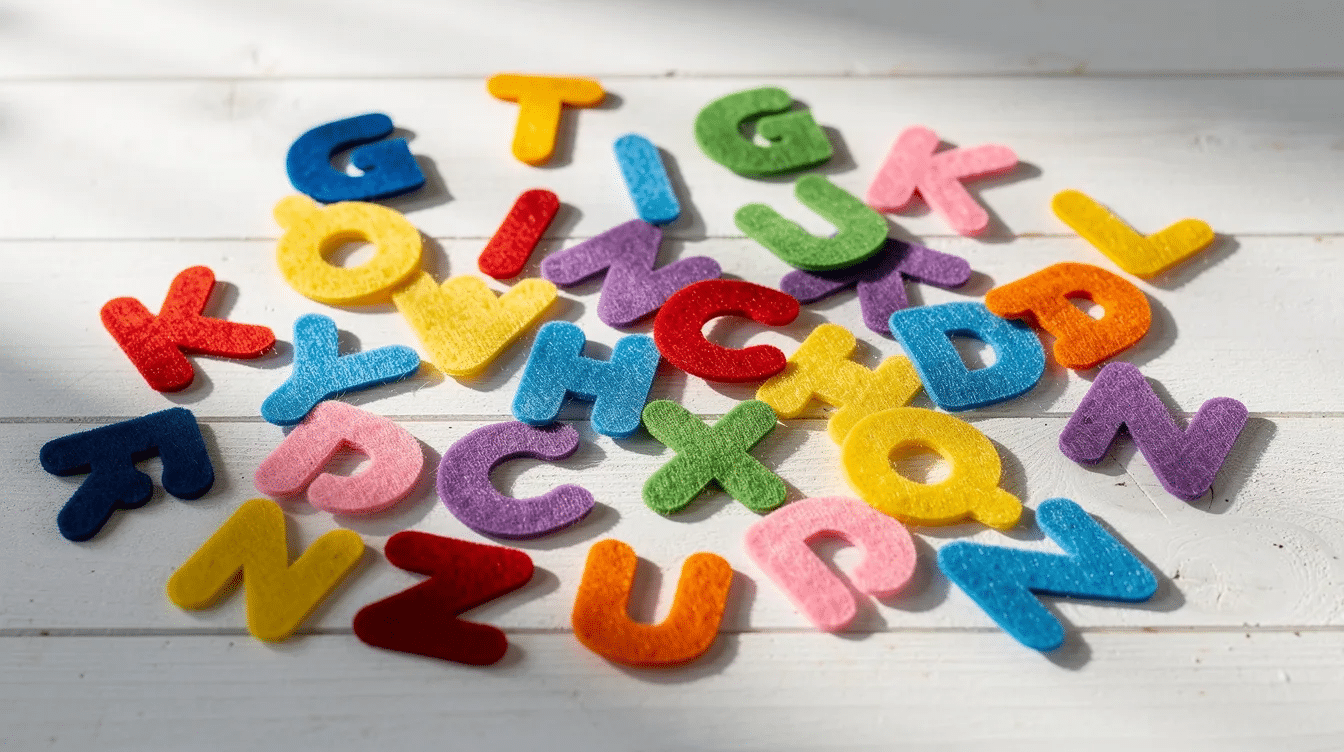
A felt alphabet consists of individual letters cut from colorful sheets of craft felt – soft, tactile, durable, and lightweight pieces that little hands can grab, arrange, and explore freely. Felt alphabets are commonly used with preschool and kindergarten children because they provide a hands-on learning experience rather than a worksheet-based activity. A felt alphabet encourages children to explore letters through touch, movement, and play, and handling physical letters engages multiple senses at once.
We love this felt project at Little Button Diaries because it ticks every box: it’s reusable, quiet, screen-free, and easy to stuff into a bag for trips. Felt alphabets support multisensory learning by combining visual, tactile, and kinesthetic learning – perfect for ages 2–6. This guide covers how to make felt alphabet letters, fun ways to use them to learn all the letters, and simple storage tips. Best of all, felt letters can be made without a glue gun or sewing machine – just basic hand-sewing and a needle and thread.
Supplies and Templates for Your Felt Alphabet Letters
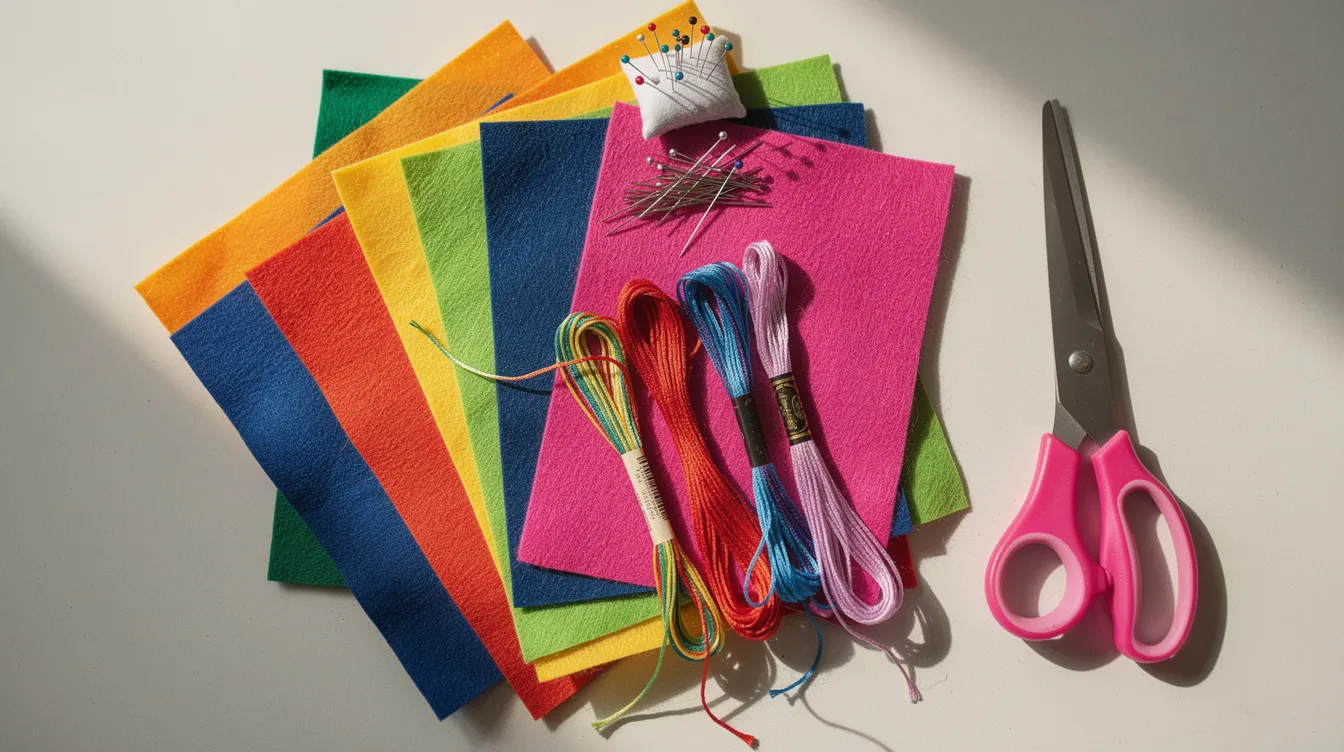
Before you start making your set, gather these materials:
- Felt sheets (wool blend, 1–2 mm thick) in at least 5–7 colors – this thickness holds its shape well and stays soft for small hands
- Embroidery thread in matching or contrasting colors
- Hand-sewing needles (sharp, medium length)
- Fabric scissors – small and sharp for precision
- Pins or clips to hold templates in place
- Fabric chalk or disappearing ink pen for tracing
- Toy stuffing (polyfill) or felt offcuts – you’ll stuff letters with craft fill or felt offcuts for a squishy finish
- Paper or card for templates
Use a template to create letters about 3.5 inches tall – large enough to handle, small enough that a full A–Z set stays manageable. You can print block letters at actual size on A4, draw your own, or search for a downloadable pattern. For context, commercially available felt letters are available in sets of 118 pieces where the largest felt letter piece measures 4 inches in length, so this size range is well proven.
Plan extras of commonly used alphabet letters: cut two of each vowel and three of S, T, R, N, and L so children can spell more words. Try colour-coding – red for vowels, blue for consonants – a technique widely used in classrooms to support early reading. For safety, avoid tiny embellishments like beads or buttons for children under 3, as these pose choking hazards under small-parts regulations. Sew seams firmly so no stuffing escapes.
Step-by-Step: How to Cut and Sew Felt Alphabet Letters
Here’s how to cut, sew, and stuff one letter – then simply repeat for the whole alphabet.
Prepare templates. Print or draw uppercase letters about 3½ inches (9 cm) high on card stock, then cut them out neatly with scissors.
Trace and cut. Place each template on your felt and trace twice with fabric chalk so you have two matching sides. Keep the direction consistent. When cutting, turn the felt rather than the scissors, and cut just inside the chalk line for a crisp shape. For letters with inner holes – A, B, D, O, P, Q, R – gently fold the felt, snip a small opening, then carefully cut out the inner piece.
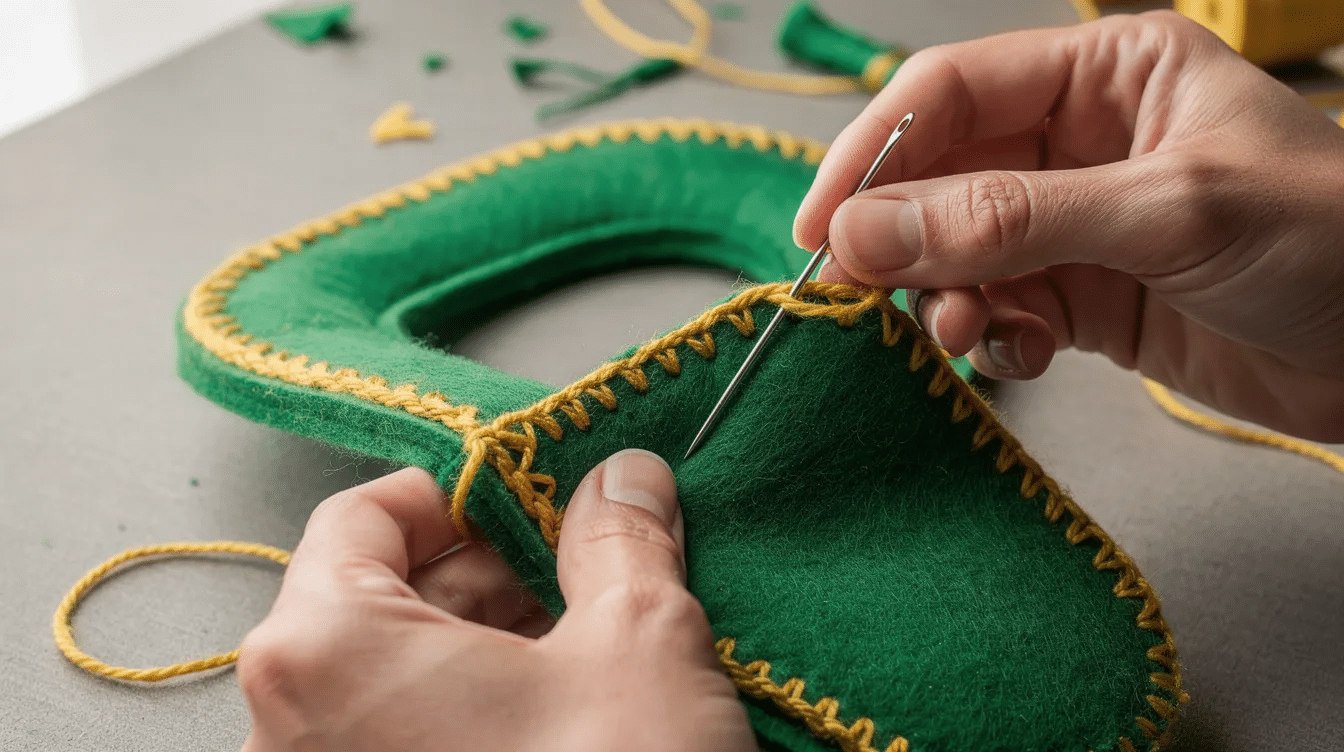
Stitch. Use a blanket stitch or whip stitch around the edges with all strands of embroidery thread. Stitching should be around 5mm apart and 4mm deep for visible, sturdy seams. Sew inner holes closed first (the inside of O or A), then work most of the outer edge before pausing to stuff. When you run out of thread, change thread by tying off and re-threading the needle – hide knots between the two layers so they’re invisible.
Stuff. Add small pieces of polyfill at a time. Push filling carefully into narrow corners of letters like M, N, and W to keep the shape clear but still squishy. Close the remaining gap with a few final stitches.
Don’t wait for perfect results – wobbly stitches look charming and work beautifully in this kind of DIY project.
Fun Ways to Play and Learn with Felt Alphabet Letters
Your finished felt letters open up dozens of easy, interactive learning activities.
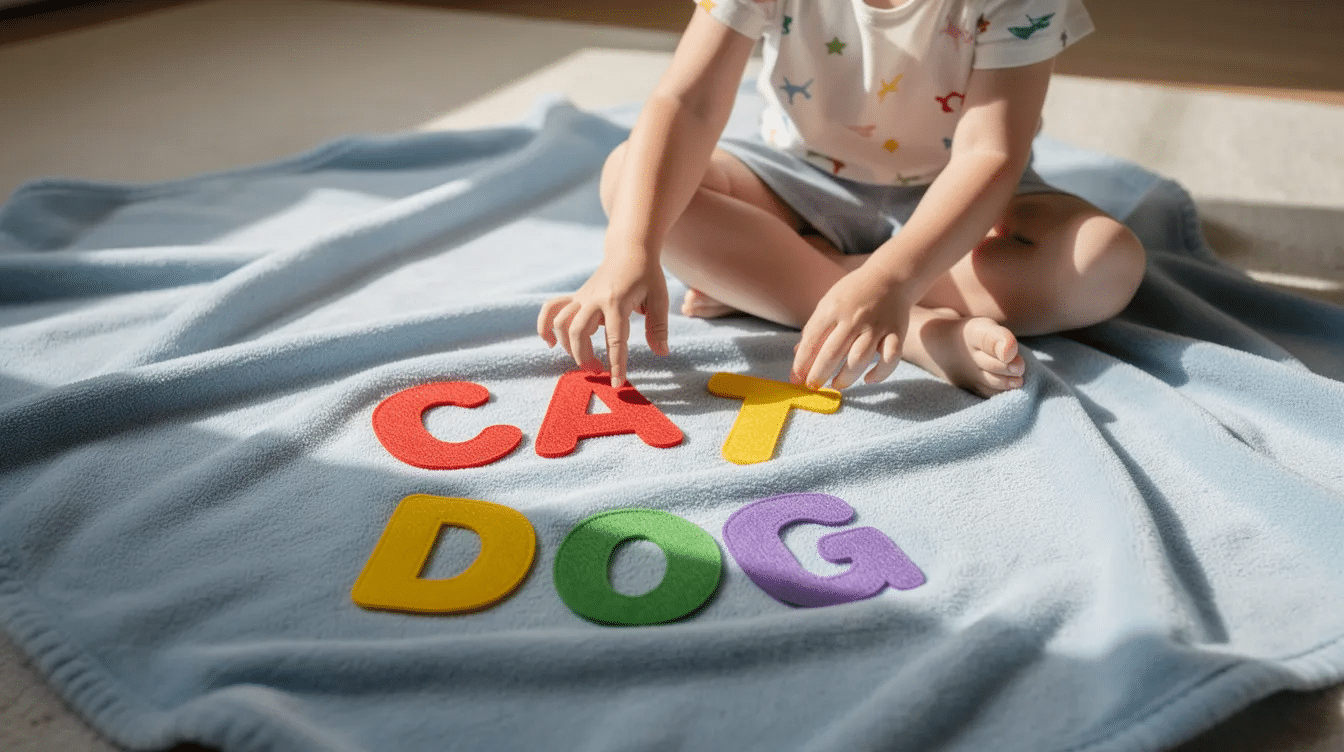
Lay them on a fuzzy felt board or plain fleece blanket – felt sticks naturally to these surfaces, so little hands can move pieces freely. Picking up, placing, and repositioning felt pieces helps refine motor skills, and felt pieces improve finger strength and hand control through manipulation.
For ages 2–3: Name letters together, match them to printed flashcards, sort by color, or find the first letter of their names. Children can practice identifying upper and lowercase letters this way, building early recognition.
For ages 4–6: Play phonics games – match letters to picture cards (C for cat), or let kids physically move and combine letters to build simple C-V-C words like “cat,” “dog,” or “sun.” Activities like sorting letters by features or matching sounds support phonics learning. Felt alphabets can be used for many literacy activities including letter recognition and alphabet sequencing.
Playful challenges: Hide letters around the room for an alphabet treasure hunt, or time how fast children can discover all the vowels. Felt letters can be used to create interactive stories combining language development with play, and they help bridge letter sounds and early narrative comprehension. Using a felt alphabet can help develop letter recognition and early spelling skills – educators can use colour-coded vowels and consonants to visually show how words are built. Try combining your felt letters with other craft projects like felt animals to build simple labels or sentences.
Design Ideas, Colour Palettes, and Variations
Once you’ve mastered the basic set, you can create versatile variations for different rooms, seasons, and occasions. Felt letters are suitable for children aged 3 to 7 years and can be used for craft projects and decorations beyond pure learning.
- Rainbow set for playrooms; soft pastels for nurseries; monochrome black and white for high-contrast baby play
- Christmas garland in red, green, and white to spell festive words; autumn set in mustard, rust, and forest green
- Size options: enlarge templates to 5–6 inches for a bedroom garland or bunting; shrink to 2 inches for fridge magnets (add magnet tape and extra stitching for added strength)
- Simple details for children over 3: stitched stars or tiny felt hearts on each letter – keep quality high but skip beads for peace of mind on safety
- Uppercase and lowercase letters together for matching games: capital first letter with lowercase letters after for name labels
You can also make duplicate sets so siblings or an entire classroom can spell words at the same time. Browse more hand crafting ideas for fresh inspiration.
Storage, Gifting, and Simple Care Tips
Keep your felt alphabet letters ordered and ready for quick play. Store them in labelled fabric pouches, a small cart or drawer organiser with sections, or a hanging pocket organiser on the back of a door. Save themed sets – like a child’s name or a birthday phrase – in separate bags for parties and photo backdrops.
For care, gently hand-wash with mild detergent if letters pick up sticky fingerprints, then air-dry flat to keep shapes crisp. Felt alphabet letters make a great gift: a first-birthday present, a new-baby item personalised with baby’s name, or a teacher gift to stock a new classroom. This project fits Little Button Diaries’ ethos of frugal, homemade, keepsake-quality crafts that grow with children.
If a full A–Z feels like too much to take on at once, start with your child’s name or a favourite word – you’ll discover how quickly the rest follows. Subscribe to our email list at www.littlebuttondiaries.com for more tutorials, and review our other preschool craft ideas for your next creative session.


