

Glitter thank you cards are one of the simplest ways to turn a blank piece of card into something a grandparent will pin to their fridge for months. In this guide from Little Button Diaries, you will find low-mess projects, themed ideas, and practical tips that make crafting with preschoolers genuinely enjoyable rather than a glittery disaster.
Key Takeaways
- Glitter thank you cards are an easy, affordable way for families to transform simple greeting cards into personalised keepsakes using materials most homes already have, such as PVA glue, stickers, and a handful of sparkle.
- This article focuses on kid-friendly, low-mess glitter techniques and step-by-step projects designed for preschoolers (around ages 3–6) with adult guidance.
- You will find specific themed ideas for birthdays, baby showers, Christmas, Quinceañera-inspired sparkle, and more, plus printable templates to save time.
- Safety tips, clean-up tricks, and storage solutions are included so parents can enter the world of glitter fun without dreading the aftermath.
Why Glitter Thank You Cards Are Perfect for Families
Sending physical thank you cards still matters in 2026. Research in positive psychology consistently links expressing gratitude with greater life satisfaction and emotional well-being in children, particularly when parents model the behaviour themselves (source). A handmade card anchors that abstract “thank you” in something a child can touch, decorate, and remember.
Glitter thank you cards come in various designs and styles, but the magic of a DIY version is personal. Imagine your child thanking grandparents for a 5th birthday scooter by drawing wobbly wheels accented with gold sparkle, or adding a glittery heart for Nana’s handmade jumper. Creating professional-looking glitter thank you cards requires balancing striking sparkle with practical structural choices, yet even a wonky handprint covered in glitter beats a generic shop-bought card because it captures that moment in time.
Making you cards together helps preschoolers practise early writing, fine motor skills, and conversation about why we are grateful. Between ages three and six, children gain increasing control over fingers and hand movements, enabling them to manipulate tools like scissors, glue, and crayons more precisely (healthychildren.org). Glitter can add a festive touch to handmade thank you cards when used thoughtfully, and the celebrations where these cards shine range from Quinceañera-inspired sparkle for older cousins to baby showers, first-day-of-school gifts for teachers, and Christmas party notes.
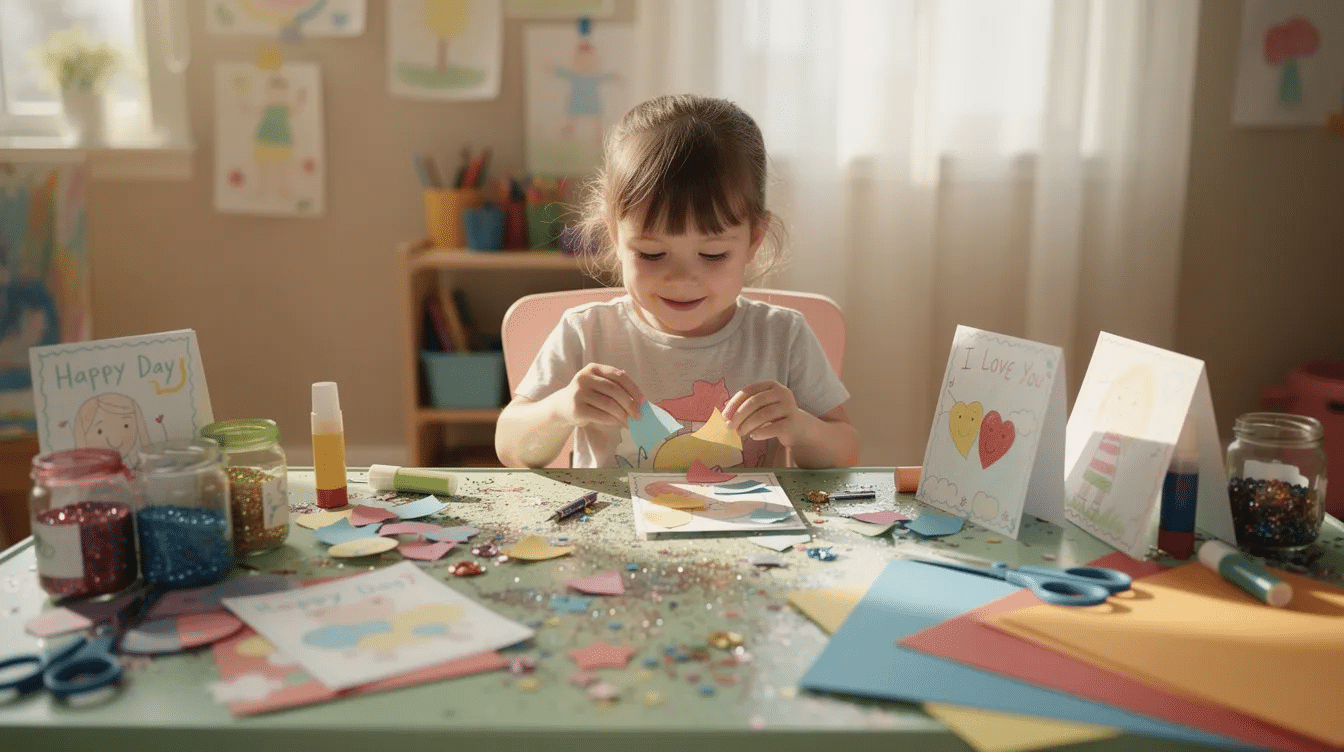
Essential Supplies and Low-Mess Glitter Tips
This section is your practical shopping and prep guide. Everything listed below is available from supermarkets, pound shops, or online, and the whole set costs only a few pounds.
Basic supplies:
- Blank cards or A4 card folded to standard size A6
- PVA glue, fine-tip glue pens (useful for attaching small decorative elements), and double-sided adhesive which creates clean bonds for crafting
- Kids’ safety scissors, crayons, felt-tips, stickers, washi tape
- Heavy cardstock to maintain card structure when applying glue and embellishments – heavy paper is recommended for greeting cards to prevent bending
Kid-safe glitter options:
- Biodegradable glitter (the global market grew to roughly USD 106 million in 2024 and is projected to reach USD 295 million by 2035, so options are expanding fast – source)
- Glitter glue pens, glitter tape, and no-shed glitter cardstock that prevents glitter fallout when used for designs
- Fine craft glitter or extra-fine glitter provides a smoother look for cards; fine glitter usually looks more elegant than chunky glitter
- Use clear craft spray or glitter cardstock to reduce mess from glitter, and clear acrylic spray can seal glitter to prevent shedding
Prep and safety:
- Cover the table with an old wipe-clean tablecloth or opened cereal boxes; use shallow baking trays as glitter “trays”
- Keep baby wipes nearby and dedicate a small clear box labelled “Glitter Station” with separate jam jars for each colour
- Supervise under-6s with scissors and loose glitter, avoid glitter near food, and tie back long hair before starting
Simple Glitter Thank You Card Projects for Preschoolers
Here is the heart of the article: four concrete projects for children aged roughly 3–6. Many popular card-making tutorials pair glitter with layered paper, and these ideas follow that approach while keeping things achievable.
Project 1 – Glitter Handprint Card. Trace your child’s hand onto folded card. Fill the palm with PVA glue, sprinkle gold glitter, shake excess into a tray, and let dry. Write “A little hand to say THANK YOU!” beneath in chunky marker. Limit glitter to one or two focal areas to avoid overwhelming the design.
Project 2 – Sparkly Confetti Heart Card. Cut or punch small shapes from scrap coloured paper. Draw a big heart outline on the card front, glue the confetti shapes inside, then edge the heart with silver glitter glue. Inside, write a message like “Thank you for making my 4th birthday sparkle!”
Project 3 – Rainbow Glitter Banner. Draw a row of small triangle bunting flags across the front. Colour each flag a different shade, then trace the bunting string with glitter glue. Help children write “A big glittery thank you!” inside and sign their name. Heat embossing with glitter powder creates a glossy raised effect on cards if you want to add polish for older siblings.
Project 4 – Sticker-First, Glitter-Later Cards. Younger toddlers select and place large stickers (stars, balloons, dinosaurs), then adults add fine lines of glitter glue around them for a polished finish. This is a great entry point if you search for easy craft ideas that suit very small hands.
Assembly-line production can save time when making multiple greeting cards, so set out all supplies and do cards in small batches of 3–4 per session. Keep sessions to 20–30 minutes so preschoolers stay engaged without getting overwhelmed.
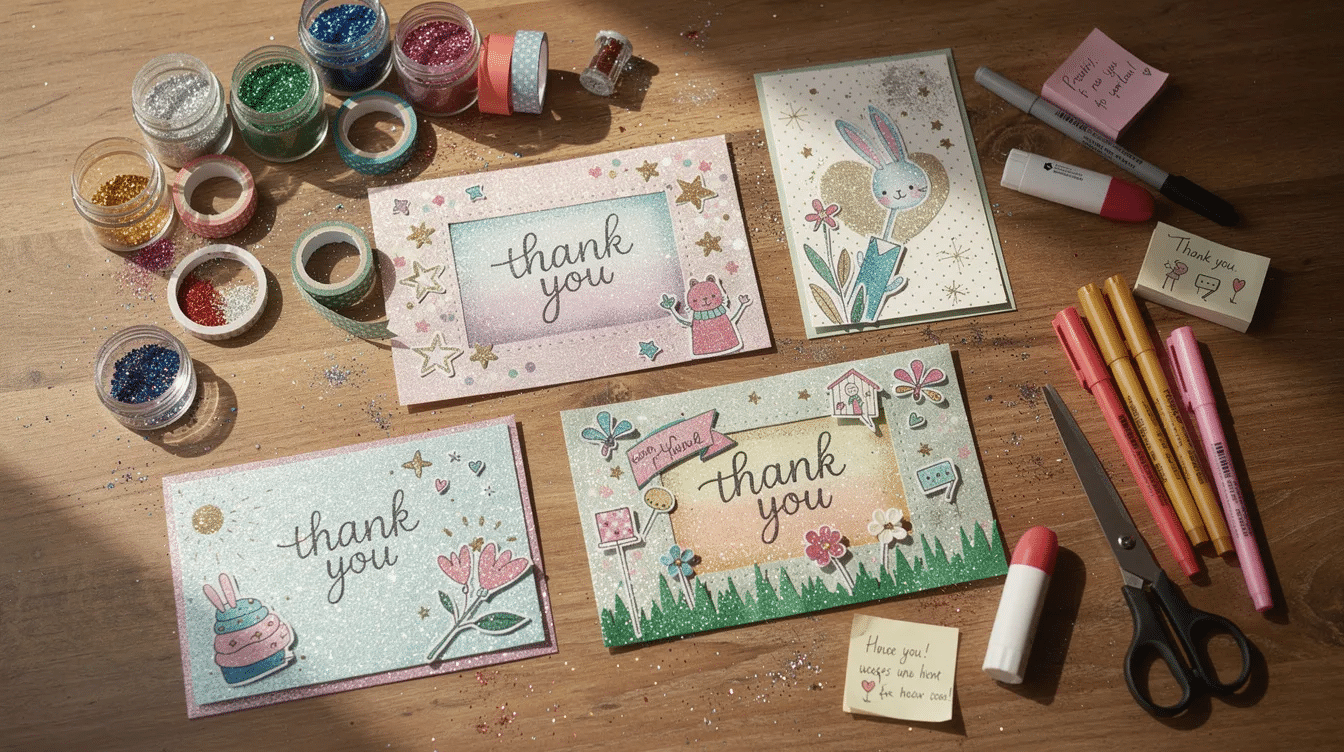
Theme Ideas: Glitter Thank You Cards for Special Occasions
Matching your card style to the event makes each one feel intentional, and you do not need to be an expert crafter to pull it off. Here are things to try for common celebrations.
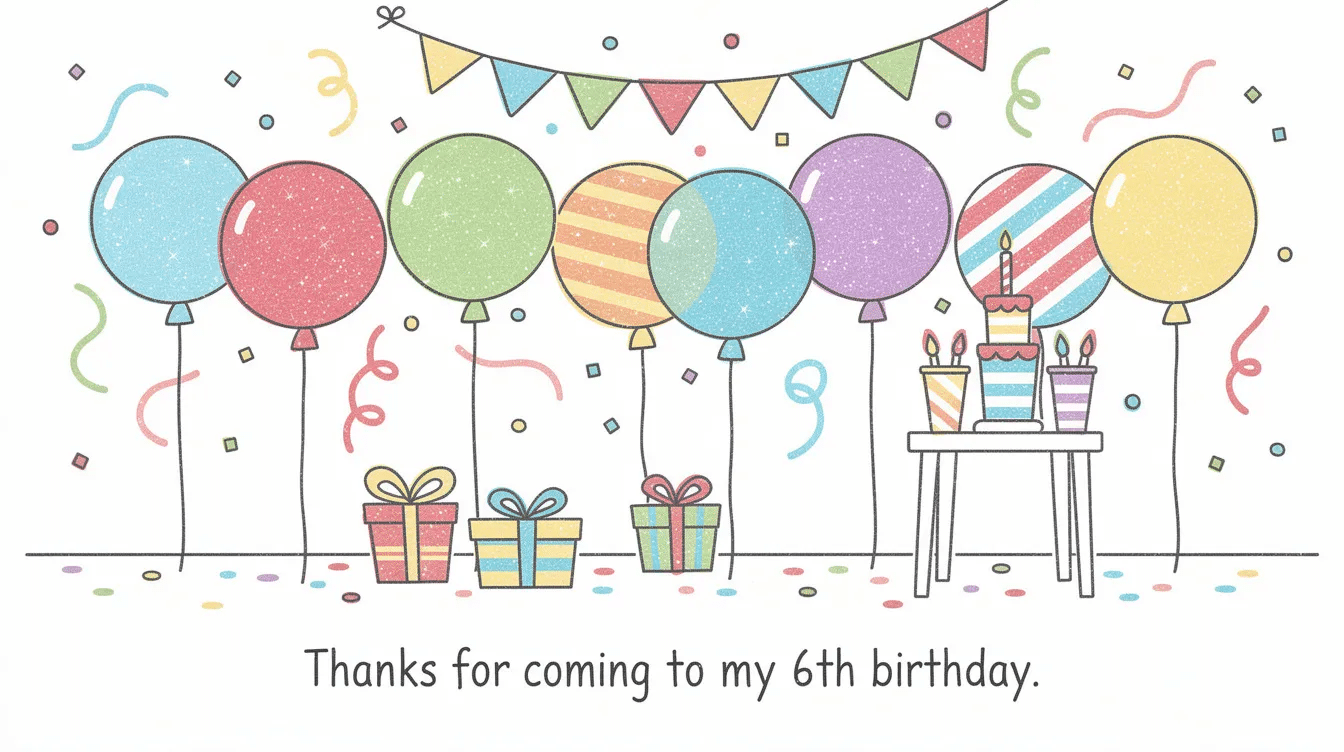
Birthday parties: Draw simple balloon circles with strings, add bright multi-colour glitter, and write “Thanks for coming to my 6th birthday.” Explore more birthday decorations with balloons at home for party inspiration.
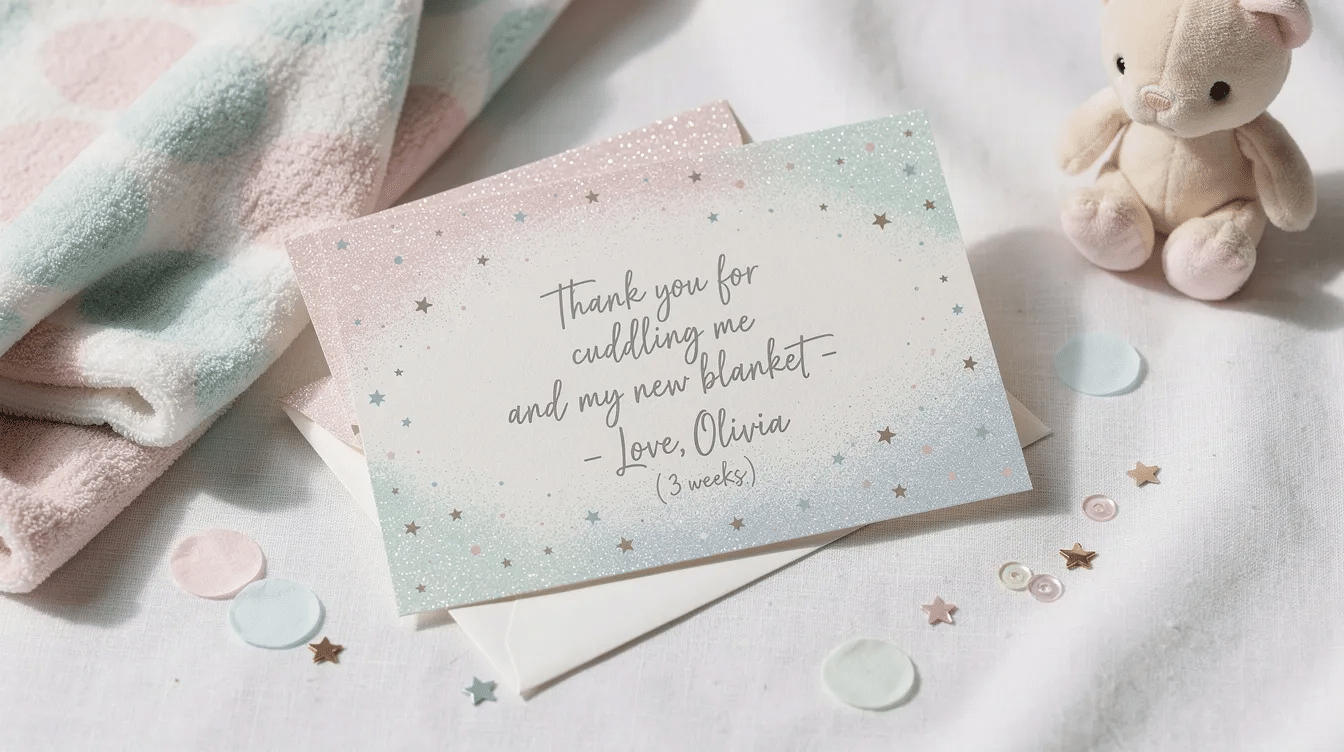
Baby showers and new baby gifts: Use soft pastel glitter (baby pink, mint, baby blue) with tiny stars. Parents can write on behalf of the baby: “Thank you for cuddling me and my new blanket – Love, Olivia (3 weeks).”
Christmas and seasonal holidays: Red and green glitter for Christmas notes, gold stars around a menorah drawing, or frosty blue snowflakes after a winter party all work beautifully. Elegant gold glitter thank you cards are even sold in sets of 8 if you need a quick shop-bought backup.
Teacher and nursery cards: Apple shapes edged in red glitter or a glittery gold star with “Best Teacher” are perfect at end of term. Try a simple rainbow using glue paint techniques for extra texture.
Quinceañera and milestone events: Older siblings can attempt a more grown-up style with gold on grey card, lace-like patterns, or palm tree silhouettes. Rose gold glitter thank you cards are also available for instant download on sites like Etsy if you prefer a printable option. Avoid using loose glitter for cards that will be mailed to organisations, as shedding can be a problem. Glitter bomb thank you cards create a surprising effect when open, but save those for close friends who will not mind the cleanup.

Making the Message Meaningful (Even for Pre-Writers)
Helping young children decide what to write inside their card does not need to be stressful. Use a simple three-part structure: say thank you, name the gift or kindness, and share one thing the child enjoyed.
Example messages to copy or adapt:
- “Thank you for the toy car. I love making it zoom!” (birthday gift)
- “Thank you for the money you gave me. I cannot wait to buy art supplies!” (money received in a card)
- “Thank you for coming to my party. Playing games with you was the best!” (attending a party)
- “Thank you for sending me the book by post. I read it already!” (gift from abroad)
For pre-writers, let children dictate the message while you write it, then have them add their name in big letters, a doodle, or a glittery “X” for a kiss. Turn the process into a mini learning moment: count how many cards you have finished, spot letters in the recipient’s name, or talk about the date and write “July 2026” at the top. Little Button Diaries offers printable thank you prompts and lined inserts that can be glued inside handmade greeting cards – knowing where to start is half the battle for reluctant writers.
Storing, Sending, and Displaying Glitter Thank You Cards
Once the crafting is done, a few practical steps keep everything tidy and post-ready.
Drying: Leave cards open on a flat surface for at least an hour, or overnight if you have used thick glitter glue. Peg them to a string with clothes pegs to stop designs smearing when stacked.
Envelopes and posting: Select slightly larger envelopes to protect raised designs. Slip tissue paper between the card and the flap. Check postage – raised embellishments can add thickness and may require extra stamps, so review postal guidelines before you order stamps.
Organising batches: Keep a simple checklist of names (or send yourself a quick email list) so nobody is missed after big events like a birthday party or Christmas. Store finished cards in a labelled shoebox until posting day, and aim to post within two weeks of the event.
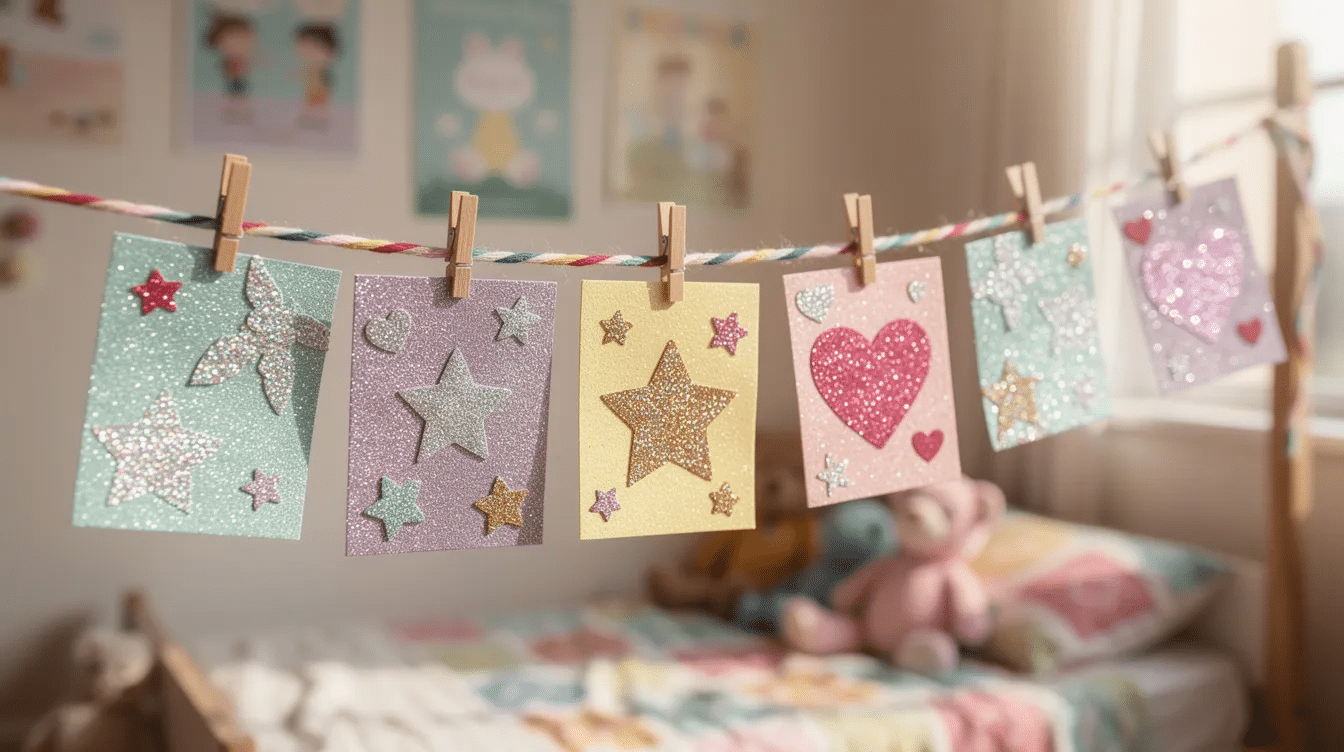
Displaying favourites: Hang the most special cards on a string across the child’s bedroom, pin them to a cork board, or slip them into a scrapbook with the date and a photo from the celebration. Snap photos of each glitter thank you card before sending so children can look back at their creations year by year.
FAQ: Glitter Thank You Cards for Kids and Parents
Below are common questions from readers about mess, age-appropriateness, card etiquette, and digital templates that are not fully covered above.
What’s the best age for kids to start making glitter thank you cards?
Toddlers from about 2½–3 years can help sprinkle glitter with close supervision, while children aged 4–6 can manage simple cutting, gluing, and even writing parts of the message. There is no hard rule – just adjust the complexity to your child’s confidence with craft activities for kids.
How do I stop glitter from getting everywhere?
Use glitter glue or glitter tape instead of loose glitter, work over a tray, and shake excess back into a folded paper funnel. A quick vacuum or lint-roller sweep afterwards handles the rest. The real trick is to add glitter as the final step so it does not spread during other stages of the project.
Can we make eco-friendly glitter thank you cards?
Yes. Traditional plastic glitter is a microplastic, but biodegradable versions made from plant-based cellulose break down far more quickly. Pair eco glitter with recycled card or cardboard from packaging for a greener project. Check labels carefully – some products marketed as biodegradable are only partially so.
Is it okay to send glitter greeting cards to older relatives?
Absolutely, but keep designs neat and well-sealed. Choose glitter glue accents rather than loose, shed-prone sparkle, and use clear acrylic spray to lock everything in place. That way, no one has a glitter-related problem on their carpet.
Where can I find printable glitter thank you card templates?
Many creators on Etsy sell digital files that typically include 1 JPG and 1 PDF. Files are usually available for download after payment confirmation, and Etsy offers purchase protection for eligible orders. Note that instant download items generally do not accept returns or exchanges, so review the listing carefully at checkout before you add it to your cart and complete your order. A quick search on the site will turn up everything from rose gold designs to cute easy crafts bundles, giving you plenty to select from with just a few hours of browsing and the rights to print as many copies as you need for personal use.


