

There is nothing quite like watching a group of preschoolers gasp as candy tumbles out of a giant homemade cupcake piñata. This step-by-step guide walks you through the entire build using cardboard, tissue paper, and glue you probably already have at home. Let’s get crafting.
Key Takeaways
- This tutorial shows you how to make a cupcake piñata from scratch – one large, hangable party game piñata, not edible piñata cupcakes (though we cover those too in the variations section below).
- It is a beginner-friendly Little Button Diaries craft built from upcycled cardboard, tissue paper, and PVA glue, keeping costs low and creativity high.
- You can customise colours to match birthday themes, baby showers, or seasonal parties – think pastel pink for a spring celebration or chocolate brown for a candy-shop party.
- The finished piñata is sturdy enough to fill with wrapped sweets and small toys, but light enough for preschoolers to enjoy safely.
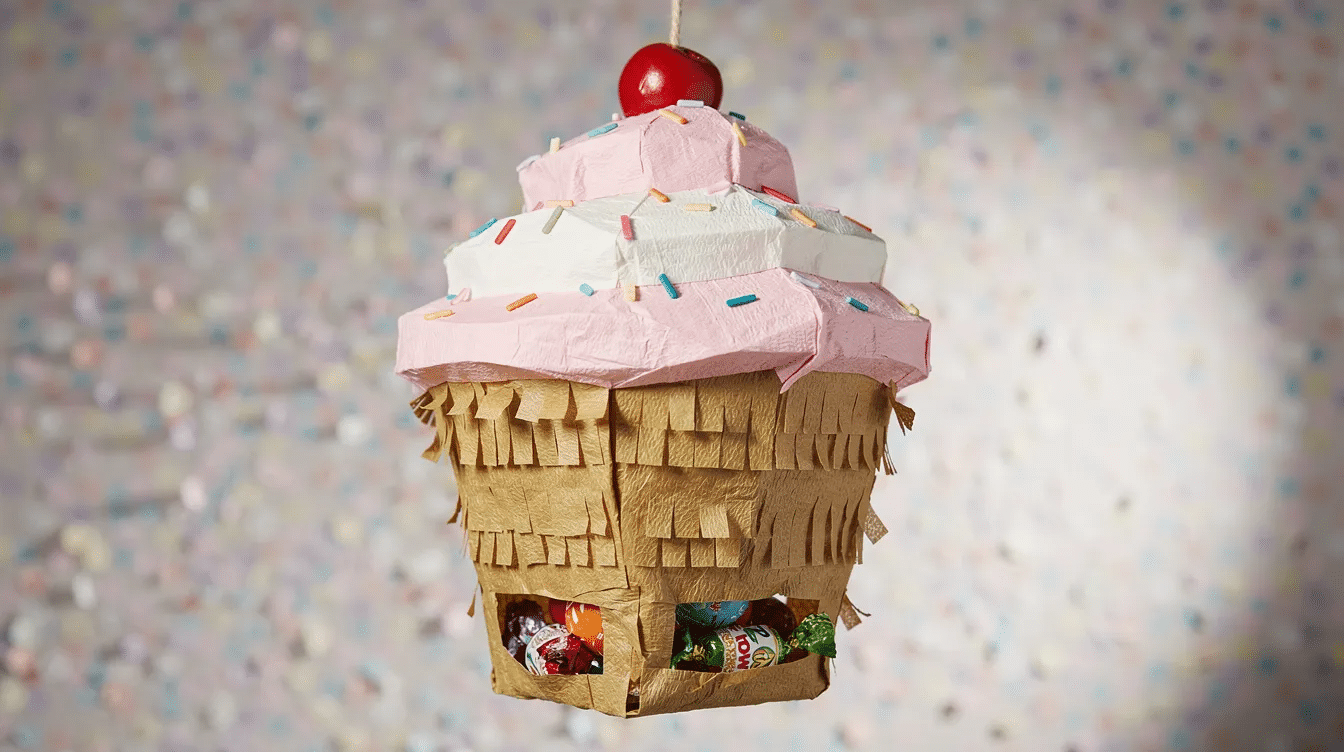
What Is a Cupcake Piñata? (And How It Differs From Piñata Cupcakes)
A cupcake piñata is a large, cupcake-shaped container made from cardboard and paper that you hang up at a party so children can hit or pull it open to release sweets, confetti, and tiny toys. The tradition of breaking piñatas dates back centuries, blending European and Indigenous Mexican customs into the colourful game we know today.
It is completely different from pinata cupcakes (also written piñata cupcakes), which are real vanilla cupcakes or chocolate cupcakes with a hidden centre of sprinkles or candy inside the crumb. The good news? Families can make both – craft the big piñata as the party game and bake mini piñata cupcakes in colourful cupcake liners as the dessert. This tutorial is aimed at parents of children aged 2–6, with simple steps anyone can follow.
Supplies You’ll Need for a Giant Cupcake Piñata
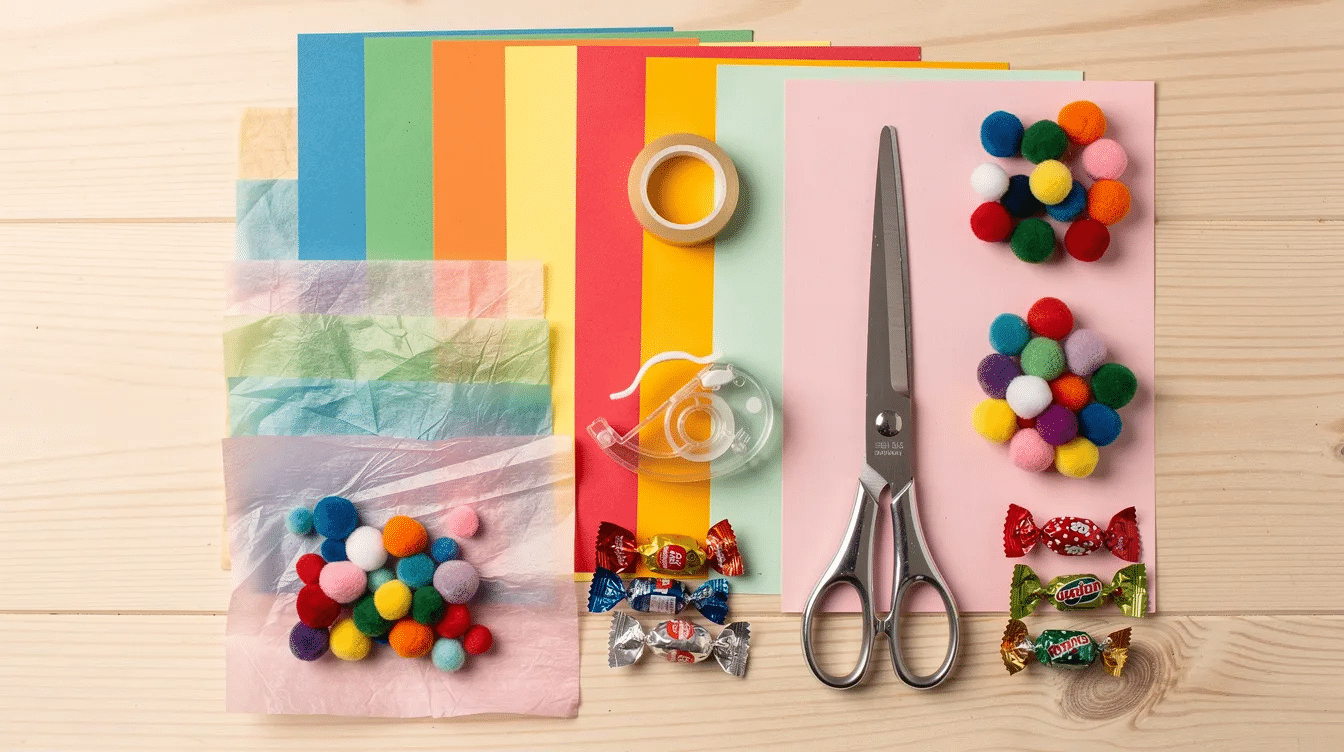
A cupcake piñata involves gathering supplies and building a cardboard base. Materials needed include sturdy cardboard and crepe paper streamers, plus a handful of other bits:
Structure:
- Old delivery cardboard boxes (two medium-sized boxes work well)
- Masking tape and packing tape
- PVA or white school glue
- Child-safe scissors, plus a craft knife for adults only
Decoration:
- Pastel or rainbow tissue paper sheets
- Crepe paper streamers in your chosen colours
- White or coloured card for the icing dome
- Mini pom-poms, hole-punched confetti, or cut paper for sprinkles
Hanging & filling:
- Strong string, ribbon, or twine
- Wrapped sweets, mini chocolate bars, stickers, bouncy balls, nerd candies, or other small candies
- Paper confetti
A common paste recipe for papier-mâché (if you want extra strength on curves) includes one cup of flour to one and a half cups of water, whisked until smooth. Keep a sharp knife away from children – adults handle all cutting.
Designing Your Cupcake Shape (Planning the Base & Icing)
A cupcake piñata can be made from two simple forms: a trapezoid base for the wrapper and a cloud-like dome for the icing. Sketch both on scrap paper first, then transfer each shape onto cardboard. Cut two identical cupcake silhouettes from cardboard – one for the front, one for the back.
Aim for a total height of around 45–50 cm, which is big enough for plenty of treats but still manageable to hang indoors. Let children choose the colour scheme: a rainbow wrapper, a vanilla icing dome, or a bold chocolate flavor. Lightly mark where the cupcake liners ridges will go so the base looks like a real paper wrapper once decorated.
If freehand drawing feels tricky, trace around a mixing bowl for the dome curve and use a ruler for the straight wrapper edges. Simple shapes make the rest of the build much easier.
Constructing the Piñata Body (Cardboard & Taping)
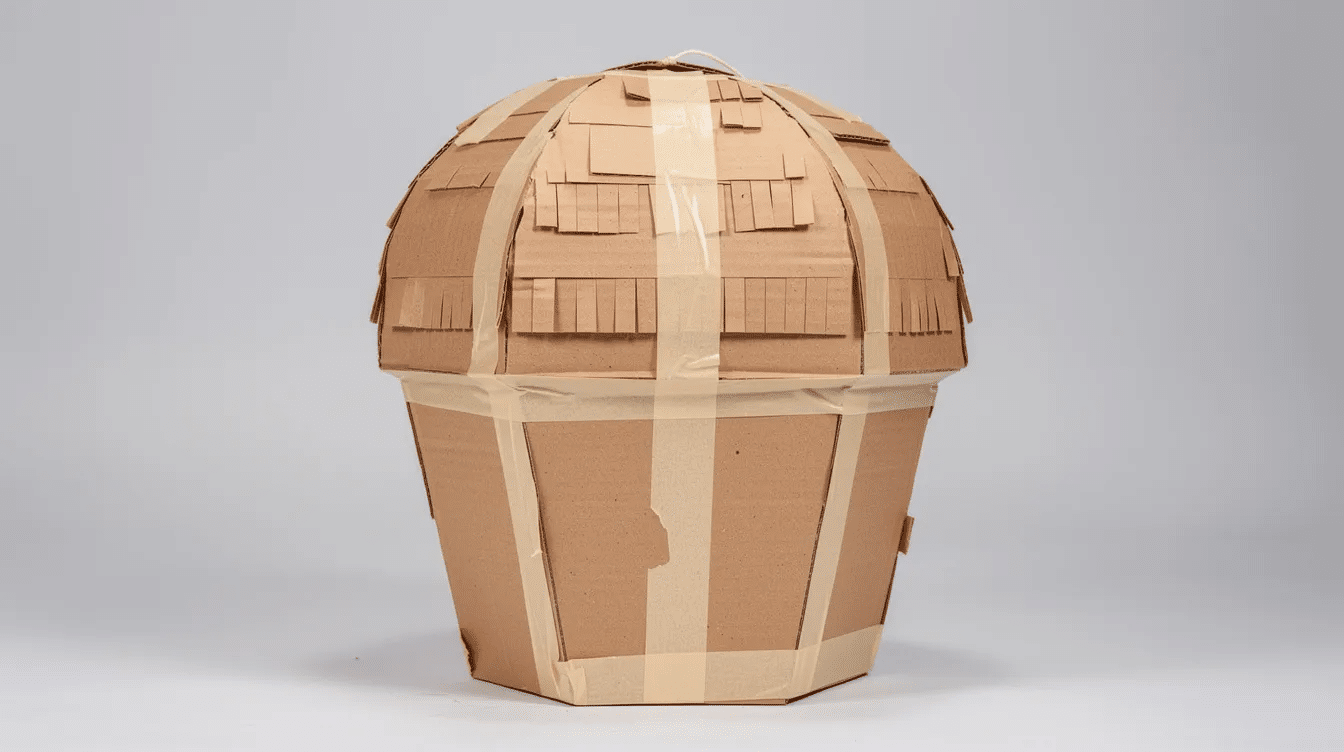
Cut two matching cardboard pieces into a large cupcake shape – adults handle the cutting while children help trace. Next, cut long strips of cardboard to form the thickness of the cupcake piñata; each strip should be roughly 10–12 cm wide.
Start with the wrapper base. Tape one side strip all the way around the edge of one cupcake base piece using masking tape, bending gently around curves. Attach the second base piece on top to create a shallow box. Secure the outer walls of the piñata with packing tape for extra hold.
Repeat this for the icing section, leaving a larger opening at the top or back so you can pour in sweets later. Double-layer cardboard increases the durability of the piñata at stress points – reinforce corners and joints from the inside with extra strips. Join the base and icing sections by overlapping the cardboard edges, taping inside and outside, and testing for wobble.
For more detail on the basic cardboard-box piñata technique, see our Homemade Piñata From Cardboard Box guide.
Adding the Hanging Loop & Fill Opening (Safety First)
Test-balance the empty piñata by resting it on your palm. Mark a point near the top center of the icing dome for the hanging holes. Punch two small holes about 3–4 cm apart and thread through a doubled length of strong ribbon or rope, tying secure knots inside.
A hanging loop for the piñata should be securely fastened and reinforced – press an extra square of cardboard over the holes from the inside and tape it down firmly. This spot carries the full weight once filled.
For the fill opening, keep a flap in the back of the icing dome. You will tape it closed with masking tape after loading the piñata, then cover the seam with matching tissue paper. Hang the finished piñata high enough that children cannot grab it, and use a lightweight cardboard bat or rolled-up newspaper for tiny party guests.
Decorating the Cupcake Wrapper & Icing
This is where the fun really starts. Cover the wrapper base with horizontal bands of coloured tissue or crepe paper, gluing them in overlapping rows to mimic the ridges of real cupcake liners. Add vertical marker lines or thin paper strips for texture.
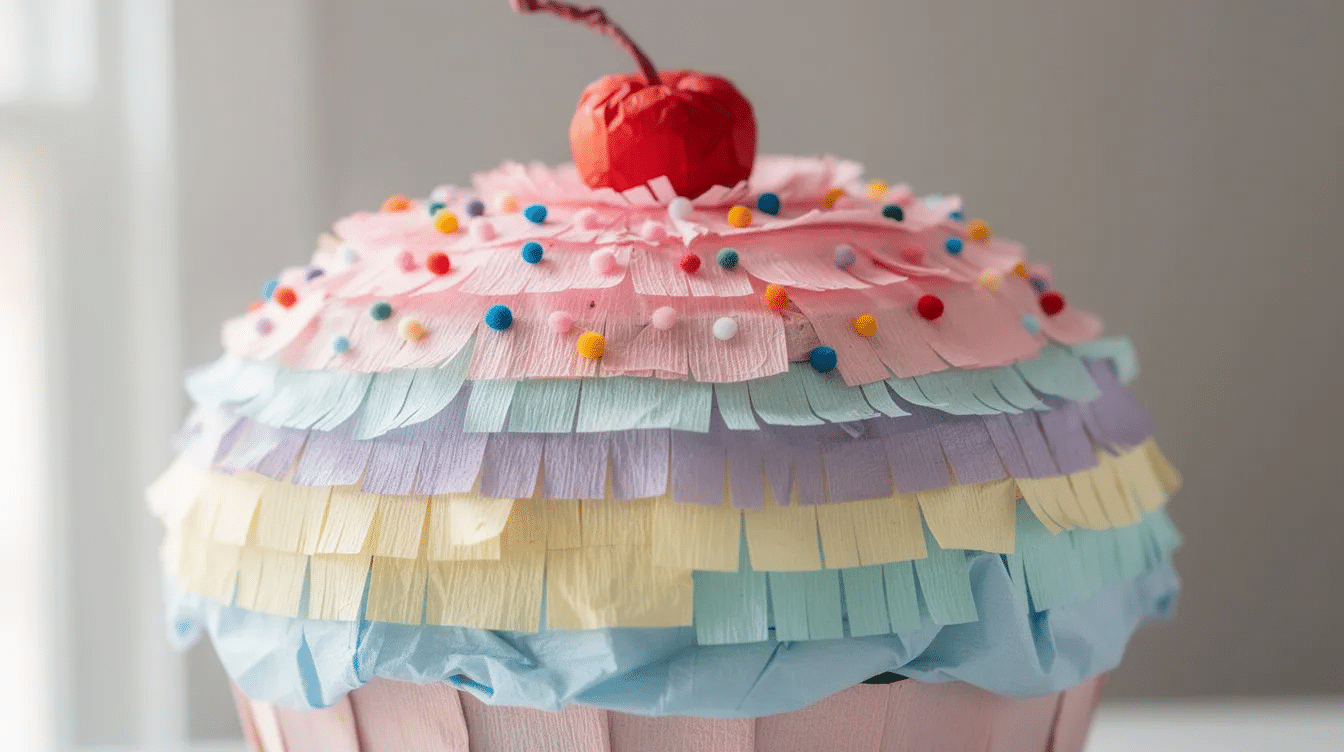
For the icing dome, fringe long strips of colourful crepe paper and layer scalloped pieces from the bottom upward so they overlap like soft frosting swirls. Tissue paper can be used to create realistic frosting textures on a piñata – try layering white, pastel pink, or cream shades for a thick, fluffy look.
Stick on colorful sprinkles made from tiny rectangles of card, hole-punched confetti, or mini pom-poms. Add more sprinkles until the dome looks irresistible. Adding a cherry made from tissue paper – a scrunched red ball on a short green paper stalk – can enhance the appearance of a cupcake piñata beautifully.
Encourage children to choose colours, stick decorations randomly, and count out patterns. It ties into colour names, counting, and fine motor skills – all while they decorate their own party centrepiece. For more tissue paper craft inspiration, try our Tissue Paper Stained Glass Crafts tutorial.
Filling & Using Your Cupcake Piñata at a Party
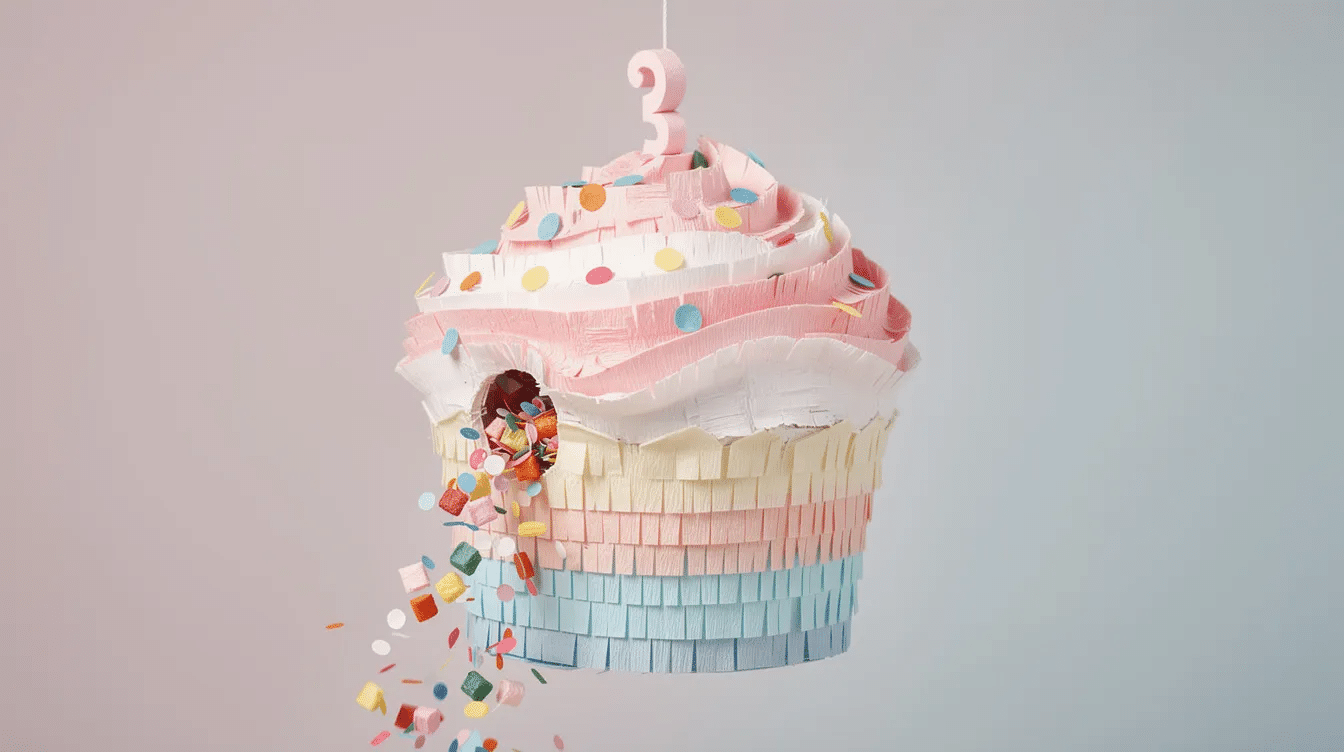
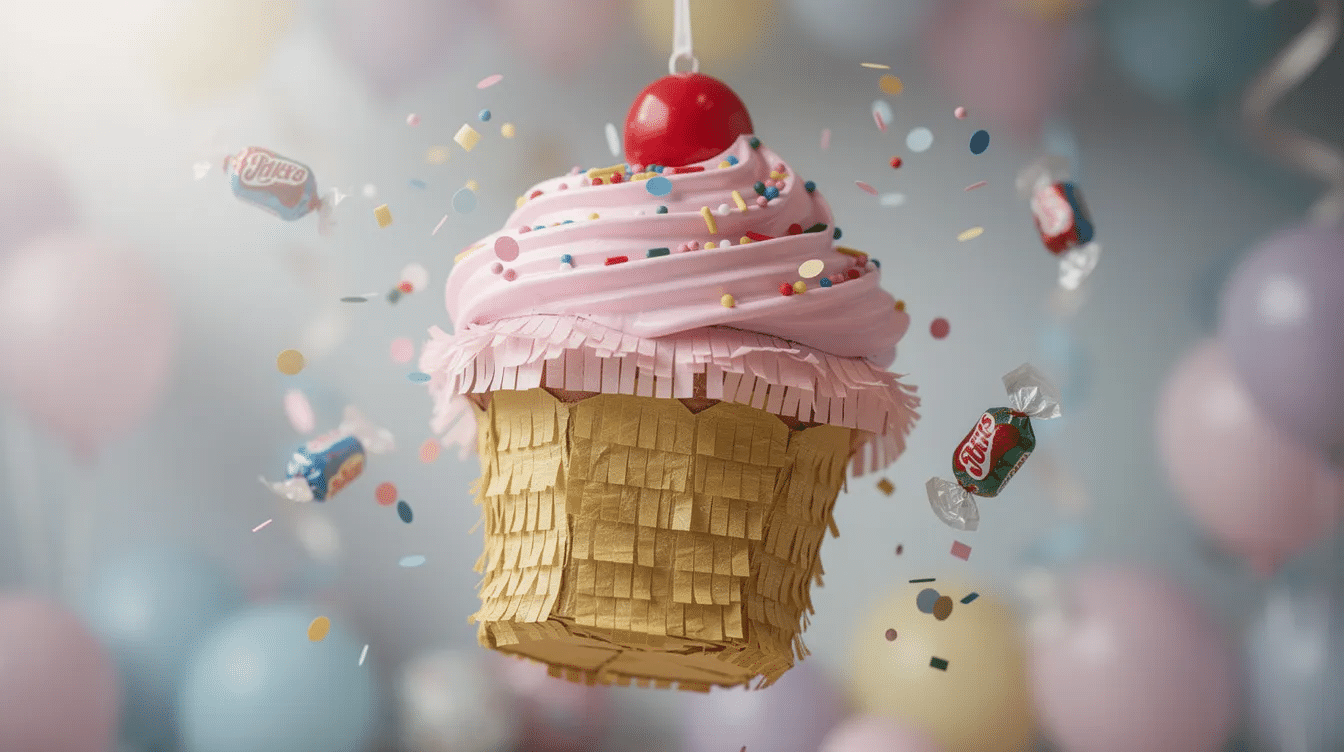
Open the fill flap, then fill the piñata with lightweight candy or small toys – wrapped fruit snacks, mini chocolate bars, bouncy balls, stickers, or other small candies. Use lightweight fillers for a piñata to ensure it is not too heavy for the hanging loop. Paper confetti adds to the surprise when everything tumbles out.
Hang the piñata safely outdoors from a tree branch or indoors from a sturdy ceiling hook, always supervised by adults. For toddlers, attach several ribbons to the base flap so they can gently pull them open. Older preschoolers can take turns with a soft bat – count three swings each.
Pair the game with matching paper party hats and watch the cupcake piñata become a huge hit. Stand slightly to the side when photographing to catch children’s faces the moment candy spills out – pure magic every time.
Variations: Mini Cupcake Piñatas & Matching Piñata Cupcakes
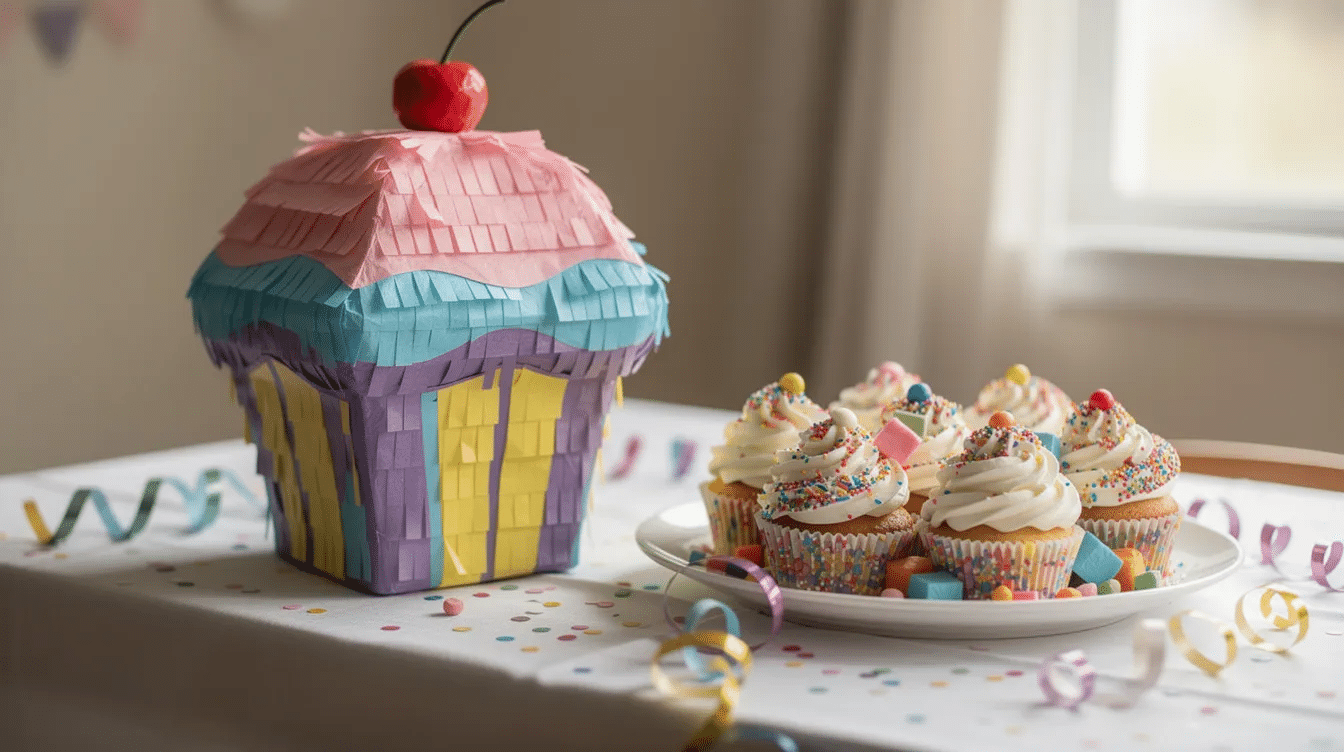
Scale the design down to make several mini cupcake piñatas using cereal-box card for table centrepieces or party favours. A “cupcake bakery” themed party works brilliantly: the giant piñata is the showstopper, while children decorate real iced cupcakes at a separate table.
To bake edible piñata cupcakes alongside the craft, here is a quick recipe overview. Piñata cupcakes are popular for parties and celebrations – and they are so much fun to bite into. In a large bowl, whisk together flour, baking powder, baking soda, and a teaspoon of salt. In a separate bowl, use an electric mixer on low speed to cream unsalted butter with sugar until light and fluffy. Add eggs (or just egg whites for a paler crumb), then mix in vanilla extract and a small amount of heavy cream or milk until the batter is smooth. Pour into cupcake liners and bake in the oven until a toothpick inserted in the center comes out clean. Let them cool completely on a rack before filling.
Cut a hole about 1 inch deep using an apple corer or a sharp knife to create a little pocket in each cupcake. Each piñata cupcake holds about 1 tablespoon of filling. Fill each cupcake cavity with about 1 tablespoon of sprinkles – rainbow-colored sprinkles are popular, or try mini M&Ms, nerd candies, or various other small candies for a sprinkle filling surprise. Replace the cupcake plug, press gently, and ice with a generous swirl of frosting.
Use a large piping bag fitted with an open star piping tip to pipe frosting on top. Color frosting by adding gel food colors to the bag for a pastel effect. You can also use melted chocolate to create thin designs on cupcakes, top with edible pearls or glitter, or scatter a slice of strawberry on each one. The result is filled cupcakes that match the colours of your craft piñata – add powdered sugar dusted on the plate and the dessert table looks cohesive. These are not a silly question to pair with cake at a party; the rest of the spread ties everything together. For our favourite easy bake, see Easy Miniature Cupcakes.
Tips for Crafting With Preschoolers (Little Button Diaries Style)
A cupcake piñata should be constructed over 2–4 days due to drying time, so build the cardboard structure one evening and let children help decorate the next morning. Pre-cut tissue strips for younger children, use glue sticks instead of liquid glue, and keep crafting sessions short and playful.
Weave in simple learning prompts: count sprinkles, name colours, compare the big piñata to their real-life cupcakes at snack time. Lay down an old sheet, keep a damp cloth nearby for gluey fingers, and provide a shallow bowl or tray for scraps.
The aim is playful, perfectly-imperfect crafting – not gallery-quality perfection. For more ideas that embrace this spirit, browse our Reuse Arts & Crafts collection and our roundup of cute easy crafts the whole family can enjoy.
FAQ
Here are quick answers to extra practical questions about making, storing, and reusing your cupcake piñata.
How far in advance can I make a cupcake piñata?
The cardboard structure and decorations can be completed 1–2 weeks before a birthday as long as you store the piñata indoors, away from damp and direct sunlight. Fill it with sweets and chocolate only a day or two before the party so everything stays fresh and colours do not fade.
Can I reuse the same piñata for more than one party?
If children only gently pull ribbons or tap lightly, you can sometimes refill and patch the piñata with extra tape and tissue paper for another small celebration. Once the structure has torn badly or gone soft, recycle the cardboard and tissue and make a fresh one next time.
What if I don’t have tissue paper at home?
Substitute newspaper painted with poster paint, brown packing paper decorated with felt pens, or coloured pages from old magazines cut into strips. Using upcycled materials fits perfectly with Little Button Diaries’ love of frugal, eco-friendly crafts for families – no nuts-and-bolts craft shop trip required.
How do I make this safer for toddlers under 3?
Turn the cupcake piñata into a pull piñata by attaching several ribbons to a trap-door flap at the base. Toddlers tug the ribbons instead of swinging a bat. Fill it with lightweight, toddler-safe items like chunky crayons, small soft toys, or sealed snack bags rather than hard sweets, and always supervise closely.


