

Key Takeaways
- Parents can turn kids artwork from preschool and early school into simple DIY scrapbooks using a binder, page protectors, washi tape, and a phone camera.
- Art books keep school projects and drawings together in one place, acting as a personal museum of the child’s imagination.
- Families can choose between keeping original pieces in a physical scrapbook, photographing them into compact art portfolios, or creating printed photo albums.
- This post walks through sorting artwork, choosing a scrapbook style, and setting up an easy routine so new creations from the 2024-2025 school year don’t become clutter.
- Every section includes tips for involving children and using materials you already have at home.
Introduction: Why Make a DIY Kids Art Scrapbook?
Every week, new paintings, glitter collages, and cardboard creatures come home from nursery and school. Parents love these pieces but rarely have space for every single one. A kids art scrapbook solves this: it’s a curated book or binder that gathers your child’s best drawings, crafts, and projects from ages 2-6. Creating an art scrapbook for children preserves their creativity and growth, turning a pile of loose paper into a record that shows how stick figures in 2022 became detailed scenes by 2026. The rest of this article covers several approaches, all simple enough for busy parents.
Step 1: Gather and Sort Your Child’s Artwork
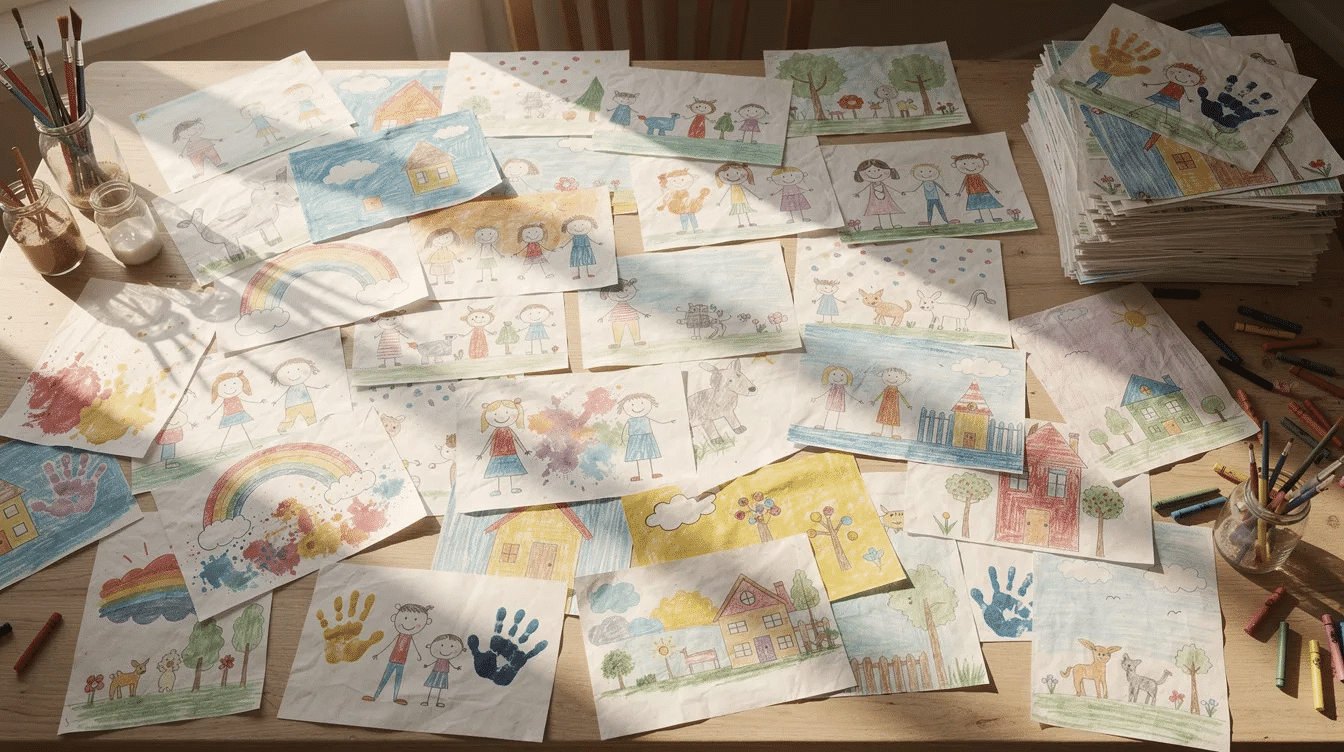
Start with one clear time frame, such as “Preschool Year 2024-2025,” to avoid feeling overwhelmed.
- Collect artwork from common hiding spots: kitchen counters, fridge doors, school bags, bedroom floors, and storage totes under the bed.
- On a large table, create three piles labeled “Must Keep,” “Maybe,” and “Recycle” using sticky notes.
- “Must Keep” criteria: first recognizable self-portrait, first time writing their name, holiday handprint projects, any piece with a special story.
- Curate selectively instead of saving every piece. Children can curate their own scrapbook by selecting favorites; from age 4+, ask them to pick 10 pieces per school year.
- Snap quick pictures of “Maybe” items on your phone so you can let go of originals while keeping a digital copy.
Research from the University of Dundee found that joint parent-child art activity improves emotional well-being and interaction quality in children ages 0-5, so this sorting session doubles as bonding time.
Step 2: Choose Your Kids Art Scrapbook Style
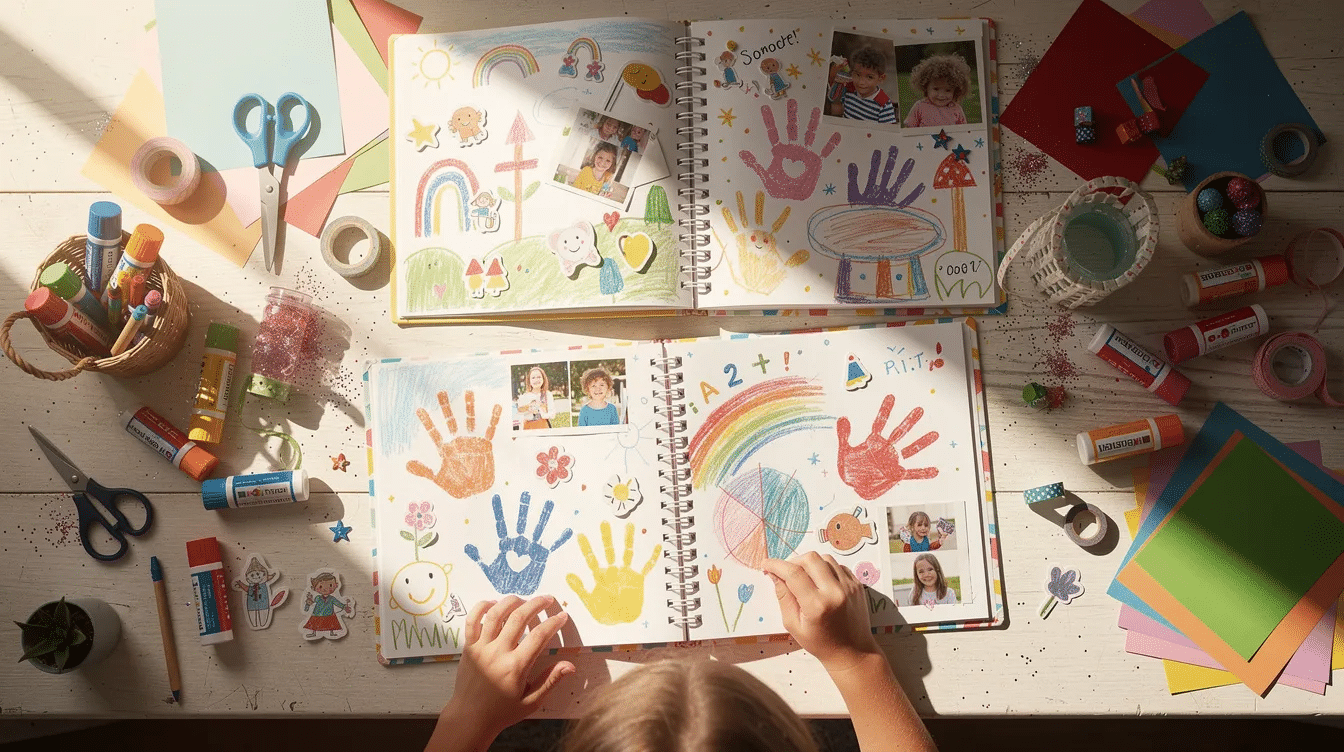
Three main styles work for most families. Pick one based on your space, time, and how three-dimensional your child’s artwork tends to be.
Style | How It Works | Best For |
|---|---|---|
Original Art Binder | A sturdy 3-ring binder with clear page protectors holds flat paintings and drawings. A quality binder plus protectors costs under $25. | Families who want to keep physical pieces. |
Photo Album Scrapbook | Photograph bulky crafts and sculptures, print 4×6 pictures, and arrange them in a classic album with handwritten captions. | Parents short on space who still want a physical book. |
Hybrid Art Portfolio | Mix slim originals with photo prints on cardstock pages, creating art portfolios that show process and finished artwork together. | Those who want the best of both. Mix media and photos to capture the full creative process. |
An inexpensive spiral sketchbook from a craft shop works too; just glue artwork directly onto the pages. Hardcover kid’s art books from online services start at $49.99 for 24 pages if you want a polished option. Decide whether each book covers one school year or all preschool years together; that choice sets the page count.
Step 3: Photograph and Print Your Child’s Artwork
Photographing artwork saves space, captures 3D projects, and makes it easy to share a digital gallery with grandparents or to order printed photo albums later. Parents can create art books using just their smartphone camera.
- Photograph artwork using natural lighting for best results. Place the piece on a plain white or kraft paper background near a bright window around midday.
- Use rolled painter’s tape or masking tape to hold curled paper flat on foam board, then peel off without damage.
- Fill the frame with the artwork. Take one straight-on shot and a close-up of details like handprints or early handwriting.
- Date and contextualize each piece by noting the child’s age and relevant details in the file name, such as “Art Age 3 – 2024.”
- Create a dedicated album on your phone named “Kids Artwork” so all the photos stay organized.
For printing: photo prints of kids’ artwork can cost as low as $0.19 each at pharmacy kiosks or online services. Print 4×6″ photos of artwork for the scrapbook. Write the month and year on the back of each print with a soft pencil or archival pen to document the timeline.
Step 4: Assemble a Simple, Kid-Friendly Art Scrapbook
This is the fun, creative part where kids can help. Involve the child in the scrapbook’s design and layout so it feels like their own published art book.
Supplies: binder or album, cardstock, glue stick, double-sided tape or washi tape, child-safe scissors, markers, alphabet stickers, and plastic page protectors for sticky or glittery pages.
- Start each book with a title page: “Sophia’s Preschool Art, 2024-2025,” with a small photo of the child and a border they can color.
- The scrapbook can follow a theme instead of chronological order. Group pages by season (autumn leaves, winter holiday crafts) or subject (animals, family, imaginary creatures).
- Mount original artwork by trimming edges, gluing onto slightly larger colored cardstock to create a frame, then attaching that framed piece to the page. Use the child’s artwork for decoration within the scrapbook itself.
- Use washi tape to attach photos to cardstock. Add short notes like “Paper plate spaceship, March 2025. Adding dates and titles helps document the child’s artistic journey.
- Include interactive elements like fold-out flaps and pocket sleeves for small keepsakes: a favorite sticker sheet, a fabric swatch, or a photocopy of a teacher comment.
- Create scrapbook inserts using printed templates on cardstock for consistent section dividers.
Use acid-free adhesives and protective sleeves to prevent degradation over time. Acid-free materials help preserve children’s artwork for the long term. Store finished books upright, away from direct sunlight.
Step 5: Make It a Tradition and Keep Up with New Artwork
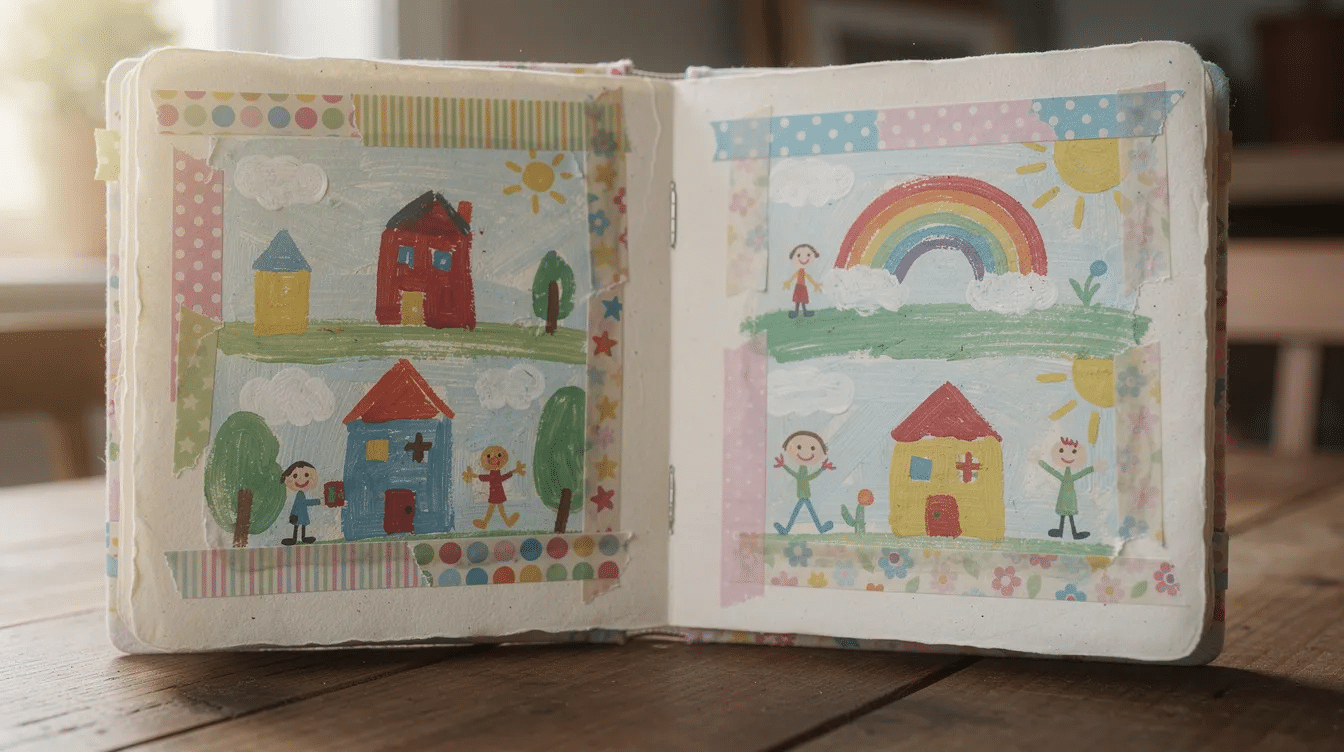
The easiest way to avoid future clutter is a simple routine. Add new artwork photos every couple of weeks; create a scrapbook by adding photos every few weeks to stay current.
- Set a weekly or fortnightly “art review” time, perhaps Sunday afternoon, where the family looks through new school projects and picks one or two favorites.
- Keep a labeled “Art Inbox” tray in the kitchen. Once it’s full, sort and either scrapbook, photograph, or recycle the extras. If you need ideas for displaying children’s art before they go into the book, hang a few on a string with mini clips.
- Create one binder per school year (“Kindergarten Art 2025-2026″) so children can discover their artistic growth year by year on the shelf.
- Celebrate a finished book with an end-of-year “gallery night” at home. Kids flip through their pages and share favorites with grandparents via video call to read through all the photos together.
By the time your child finishes early elementary school, you’ll have a small row of slim scrapbooks instead of overflowing crates.
Creative Ideas to Personalize Your Kids Art Scrapbooks
Once the basics are in place, small touches turn each scrapbook into a storybook about your child.
- Artist Statements: Including the child’s words next to their artwork enhances meaning. Ask them to dictate a sentence (“This is a dragon who lives on Mars”) and write it beside the piece.
- Timeline strips: Add a strip at the bottom of some pages noting age, school year, and life events (starting nursery in 2023, moving house in 2024). Including memories around the artwork enriches the scrapbook.
- Process photos: Mix photographs of the child creating art with the finished pieces. Paint-covered hands at the table or a crafty afternoon scene add context.
- Gift albums: Turn one book into a gift for a grandparent’s birthday by compiling scanned artwork and family pictures into a printed album you can order from a photo book website.
- Showcasing growth: Place before-and-after examples side by side to show how drawing skills developed across a year.
- Celebrate experimentation: Include less polished creations too. Imperfections in the scrapbook enhance its personal and authentic feel; not every page needs to look perfect.
Older children (ages 7-9) can begin curating their own mini art portfolios, choosing only their strongest pieces and designing gallery-style pages with clean white space. For more easy craft ideas to fill those pages, search our archives.
FAQ
Here are answers to common questions about making diy kids art scrapbooks.
How do I store large or 3D kids artwork that won’t fit in a scrapbook?
Photograph large canvases, cardboard castles, and clay models from several angles using your smartphone, then feature the best images in the scrapbook. Keep only a tiny selection of the most meaningful 3D originals in a separate labeled box. This way you save space while still preserving the memorabilia.
What should I do if my child wants to keep every single piece?
Set a clear limit together, for example, “We can keep 20 originals from this school year in your special art book.” Reassure them that all the photos will still live on in albums and digital folders even if some papers are recycled. Letting them pick which pieces to toss and which to save gives them ownership over the process.
Is it better to use original artwork or just photos in a kids art scrapbook?
Original pieces feel special but take up more space. Photo-based albums and art portfolios are slimmer and easier to store. A hybrid approach works well: keep the flattest, most meaningful originals and use photos for everything bulky. Either way, the book continues to grow into a record they will love as an adult.
How can I protect artwork in scrapbooks so it lasts for years?
Use archival-safe materials: acid-free glue sticks, archival pens for writing dates, and plastic page protectors made of polypropylene (not PVC). Store finished scrapbooks upright on a shelf away from direct sunlight and damp areas.
Can I create a digital kids artwork book instead of a physical scrapbook?
Yes. Photograph or scan each piece, sort by year in a dedicated folder, and use a photo book website or app to design a printed hardcover album. Services like EasyArtBook offer a 25-page book for $9.99. Art books can ship within 3-5 days after ordering, making them a quick way to turn a phone full of pictures into a book you can hold.


