

There is nothing quite like sinking into a sofa surrounded by handmade festive decorations you and your little ones created together. This quilted christmas cushion tutorial walks you through a simple patchwork project that even sewing beginners can tackle – with tiny helpers by your side.
Key Takeaways
- This article shows parents how to sew a simple quilted christmas cushion using basic patchwork techniques, with preschoolers helping at every stage they safely can.
- You can upcycle old christmas fabrics or children’s outgrown pyjamas to create sentimental patchwork christmas pillows that come out year after year.
- The tutorial focuses on an 18″ (about 45 cm) square christmas pillow with an envelope back, plus ideas to adapt the design with different block layouts and trims like piping.
- You will find tips for sewing safely with kids aged 2–6, care instructions, and notes on where to search for free patterns for alternative patchwork christmas layouts.
- Seasonal patchwork cushions can create a cozy holiday atmosphere without the time commitment of a full quilt.

Why Make a Quilted Christmas Cushion with Kids?
Picture it: December 2026, fairy lights twinkling, your family snuggled under a blanket with a mug of cocoa and a stack of homemade christmas pillows propping everyone up for a holiday film marathon. That is the kind of scene a simple afternoon sewing project can create – and it is far more achievable than you might think.
Here at Little Button Diaries, we decided long ago that a quilted christmas cushion is the perfect first “real” sewing project for parents who live with a basic machine and straight-stitch confidence. You do not need fancy feet or years of experience. Quilted cushions can feature holiday prints or solid colors, so you have lots of creative freedom. Quilted blocks can enhance the texture of cushions, giving even a beginner piece a polished, professional look.
The emotional value is what we love most. Cutting squares from a toddler’s outgrown reindeer pyjamas or last year’s christmas tablecloth turns fabric scraps into a memory you can hold. Quilted Christmas cushions combine festive fabrics with sturdy materials, so they stand up to real family life – spilled hot chocolate and all.
Compared to a full quilt, a cushion needs far less fabric, far less batting, and far less time. You can finish one in a week (or even a long afternoon). The entire project uses only rectangles and squares with 1/4″ seam allowances and very simple quilting – nothing to be nervous about. If you enjoy reuse arts and crafts with your children, this is a natural next step.
Supplies & Prep: Choosing Fabrics and Inserts
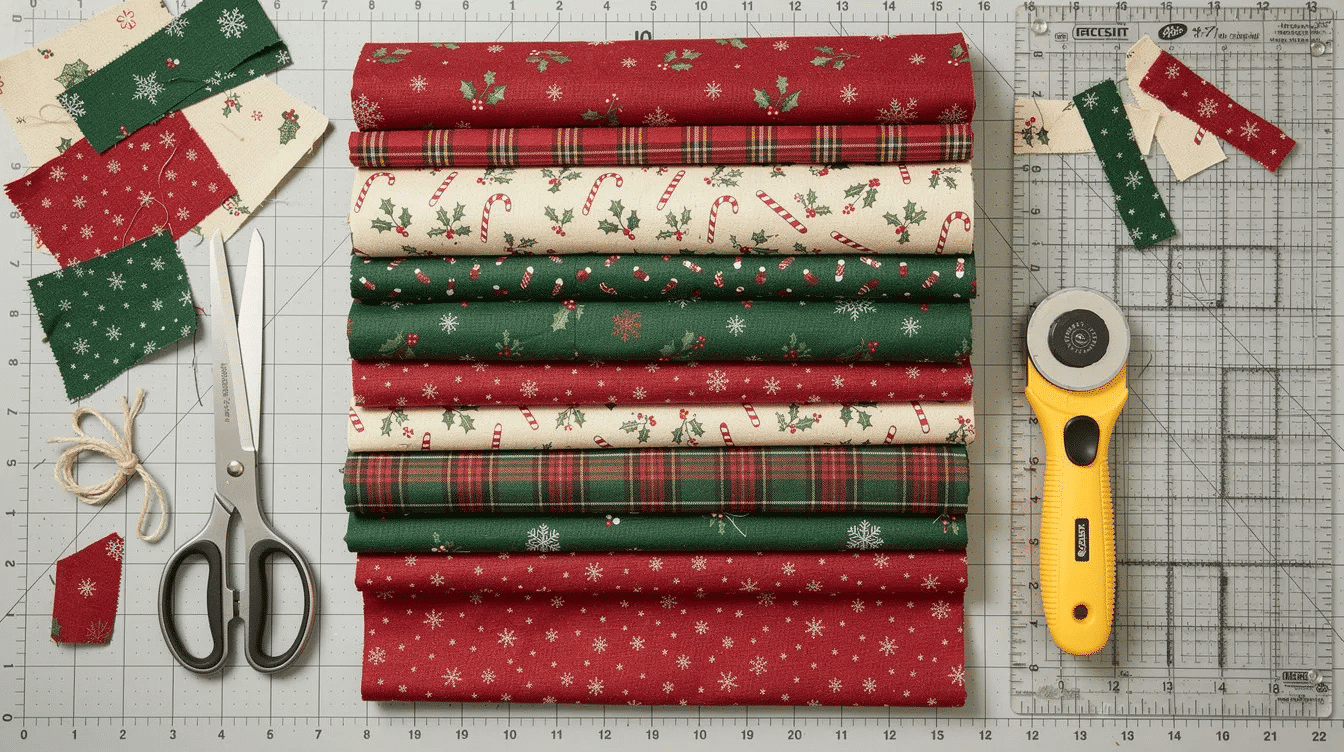
Below is a checklist of everything you need. Gather items before you start so the project flows without interruptions – especially important when small helpers have a limited attention span.
Materials List
Item | Details |
|---|---|
Quilting cotton | Reds, greens, creams; a novelty reindeer print; a candy-cane stripe; a gold star blender. 100% quilting cotton is the most popular choice for cushion covers. |
Patchwork squares | 16 squares at 4½” each (finishing at 4″ after seaming) for the front panel |
Backing fabric | One piece of plain cotton or ticking stripe for the pillow cover back |
Batting/wadding | Low-loft cotton batting, cut about 1″ bigger than the finished front – ideal for quilted cushions for a soft appearance |
Lining fabric | An 18″ square patchwork pillow requires 20″ square lining fabric |
Thread | Cotton thread to match or contrast your prints |
Closure | Envelope back (easiest), zipper, or hand-sewn close |
Tools | Fabric scissors or rotary cutter and mat, quilting ruler, pins or clips, hand-sewing needle |
Optional trim | Piping cord or pom-pom trim for the edge |
Pillow insert | 18″ x 18″ or 40 x 40 cm from any home shop |
Combining coordinating and solid fabrics creates a balanced design in cushions, so try to set a mix of busy prints and quieter solids or low-volume backgrounds. If you already have leftover charm squares or a jelly roll from a past project, those pieces work beautifully here.
Choosing a Back Closure
Envelope closures make it easy to remove and wash cushions – and they are the simplest option when kids are around. Zippered backs allow easy removal of cushion covers too, but they require a bit more skill. A hand-sewn close is fine if you purchase a cheap insert you plan to leave inside.
Picking an Insert
A cushion insert should be 1–2 inches larger than the finished cover for a plump, well-filled look. For an 18″ cover, an 18″ or slightly oversized 20″ insert works well. In the UK, a standard 45 x 45 cm pad is easy to find at most home stores.
Pre-Washing Fabrics
Before you cut a single square, check your stash for color bleed. Deep reds and dark greens are notorious. Soak a small swatch with a scrap of light fabric; if the water changes color, pre-wash those fabrics before sewing. Cotton can shrink 1–3%, so pressing after washing keeps your measurements accurate. While you can find free patterns and block diagrams on popular quilting websites, this tutorial covers everything you need to know to complete the project from start to finish.
Step‑by‑Step: Sewing a Simple Patchwork Christmas Pillow
This is the main how-to section. Each step is written for straight-stitch sewing with a basic machine – no special equipment needed. If you have ever sewn a simple sewing machine cover, you already have the skills.
1. Cut Your Pieces
Cut sixteen 4½” squares from your assorted christmas prints for the patchwork front. For the envelope back, cut two rectangles: one at 18½” x 13″ and one at 18½” x 9½” (the overlap allows a snug closure plus seam allowances). Use a quilting ruler and rotary cutter for accurate pieces, keeping little fingers well away from the blade.
2. Layout the Design
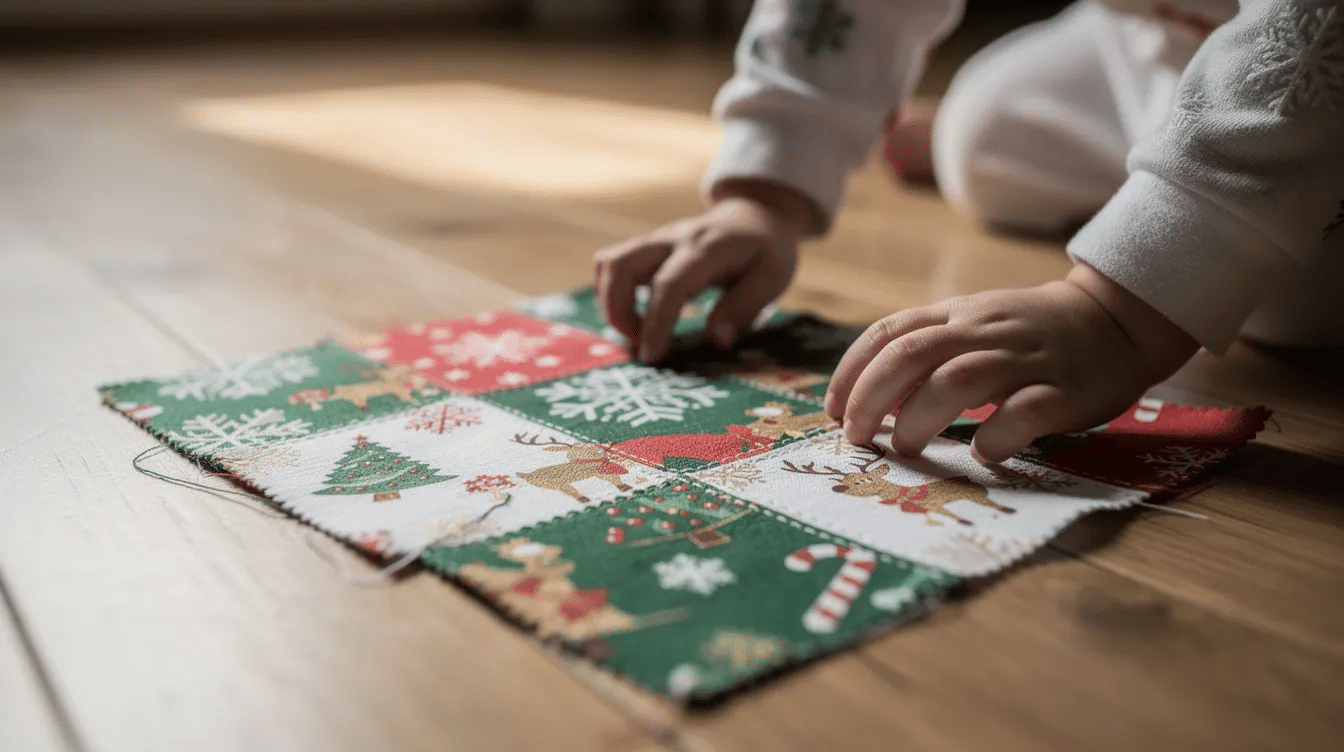
Arrange the squares in a 4 x 4 grid on the table or floor. This is where children can join in – let them select which squares go where, spreading stripes, reindeer, snowflakes, and solid colours evenly. Encourage them to check the pattern looks balanced by stepping back and looking from above, like arrows pointing their eyes across the whole grid.
3. Sew the Rows
Use 1/4″ seam allowances when making patchwork cushions – this keeps your block sizes accurate. Sew the squares into four rows of four. Press seams in alternating directions (Row 1 seams to the left, Row 2 seams to the right) so they nest neatly when you join the rows. Then stitch the rows together to create a single 18½” x 18½” patchwork christmas panel. Use 1/4″ seam allowances for sewing cushion pieces together throughout.
4. Quilt the Front
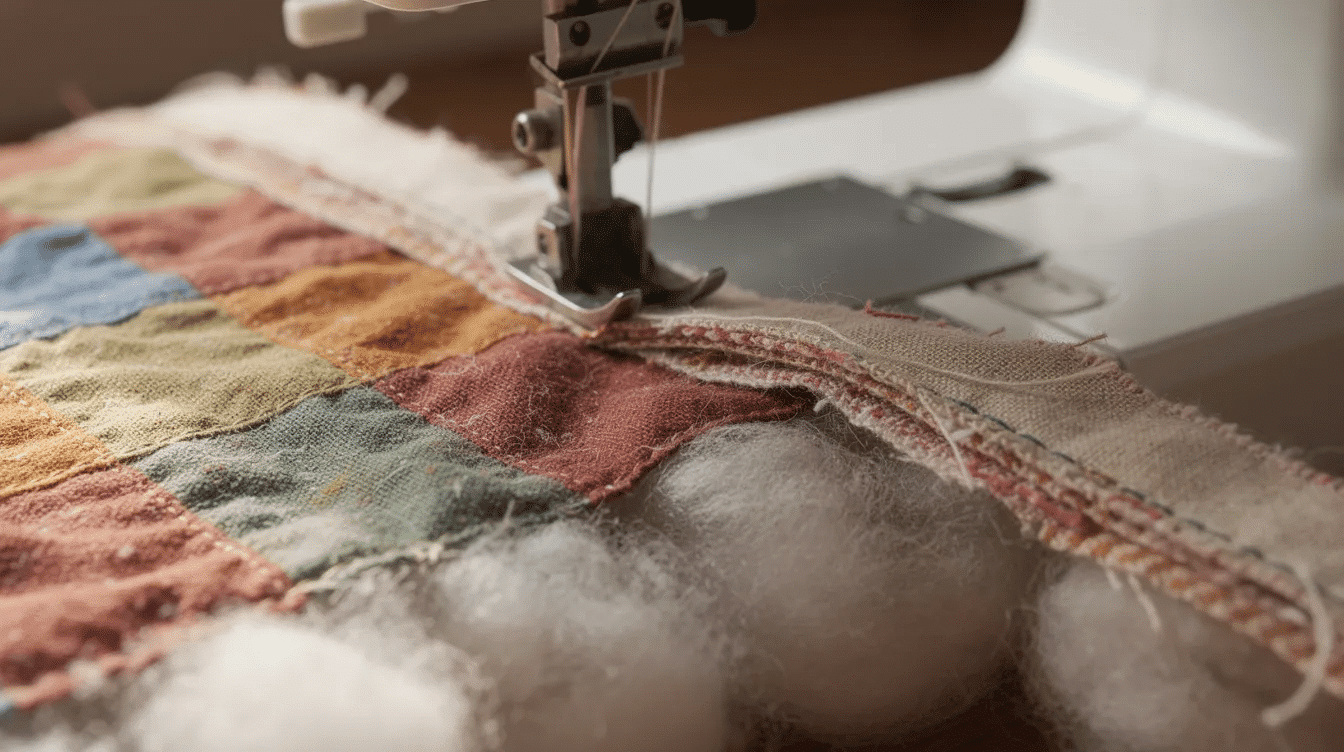
Layer your lining fabric (right side down), batting, and patchwork front (right side up) to form a mini quilt sandwich. Smooth everything flat. Basting spray can be used to secure quilt layers quickly, or pin every few inches. Quilt simple straight lines – either stitch in the ditch along the seam lines or a diagonal cross-hatch – using your machine’s straight stitch at about 2.5 mm stitch length.
5. Prepare the Back
Hem one long edge of each back rectangle by folding ½” twice and stitching a neat line. This creates the finished opening for your pillow cover.
6. Assemble the Cushion
Place your quilted front right side up. Layer the two back pieces right side down on top, hems overlapping in the centre to form the envelope. Pin around the entire border and stitch all the way round with a ½” seam. This is an easy, reliable method that even a beginner can manage.
7. Finish and Turn
Trim the corners at a diagonal (do not cut through the stitching) to reduce bulk. Turn the christmas pillow cover right side out through the envelope opening, then poke out the corners with a blunt knitting needle or chopstick. Give everything a good press, enter your pillow form, and admire your work.
8. Optional Additions
Pillows can feature quilted blocks and striped piping edges for a more polished finish. Piping adds a professional finish to cushions – simply sandwich piping cord between the front and back layers before your final seam. We have shared piping tips in other sewing posts on the blog, so click through if you want more information on that technique. Pom-pom trim sewn into the seam is another fun option.
Kid‑Friendly Variations, Learning Ideas & Care Tips
One quilted christmas cushion tutorial can turn into multiple patchwork christmas projects over the years. Here are some ways to change things up and keep the holiday tradition fresh.
Design Variations
- Christmas tree cushion: Stitch green triangles into a tree shape on a low-volume background. A patchwork Christmas tree cushion can be 18 inches square, matching the same pattern layout above.
- Present block: Use a bright square with a contrasting “ribbon” strip across the centre and a bow at the top – a playful, easy twist.
- Sampler block front: Patchwork Christmas pillows can be made using 12″ blocks. Add a simple border to bring the panel up to 18½”, then follow the same quilting and envelope-back steps.
Memory Pillows
Create a memory pillow from outgrown festive jumpers, school nativity costumes, or a favourite christmas tablecloth. These items might otherwise sit forgotten at the back of a drawer. Stitching them into a cushion preserves stories children can touch and remember every December. The art and craft benefits for child development extend far beyond the finished product – they build confidence and emotional connection.
Learning Tie-Ins for Preschoolers
Sewing projects are packed with learning opportunities. Ask your child to:
- Sort squares by color or print before layout
- Count how many blocks fit in each row
- Name the shapes – square vs rectangle
- Follow a left-to-right reading order when placing blocks, reinforcing early literacy patterns
Safety and Involvement (Ages 2–6)
Let children help by choosing fabrics, passing clips, and drawing quilting lines with a washable pen. They can press seams with a wooden block while an adult handles the hot iron. Adults must always use the rotary cutter and operate the sewing machine. Keep pins in a magnetic dish out of reach – this is a non-negotiable security measure. For more festive making with little ones, try our christmas hand puppets project too.
Care Instructions
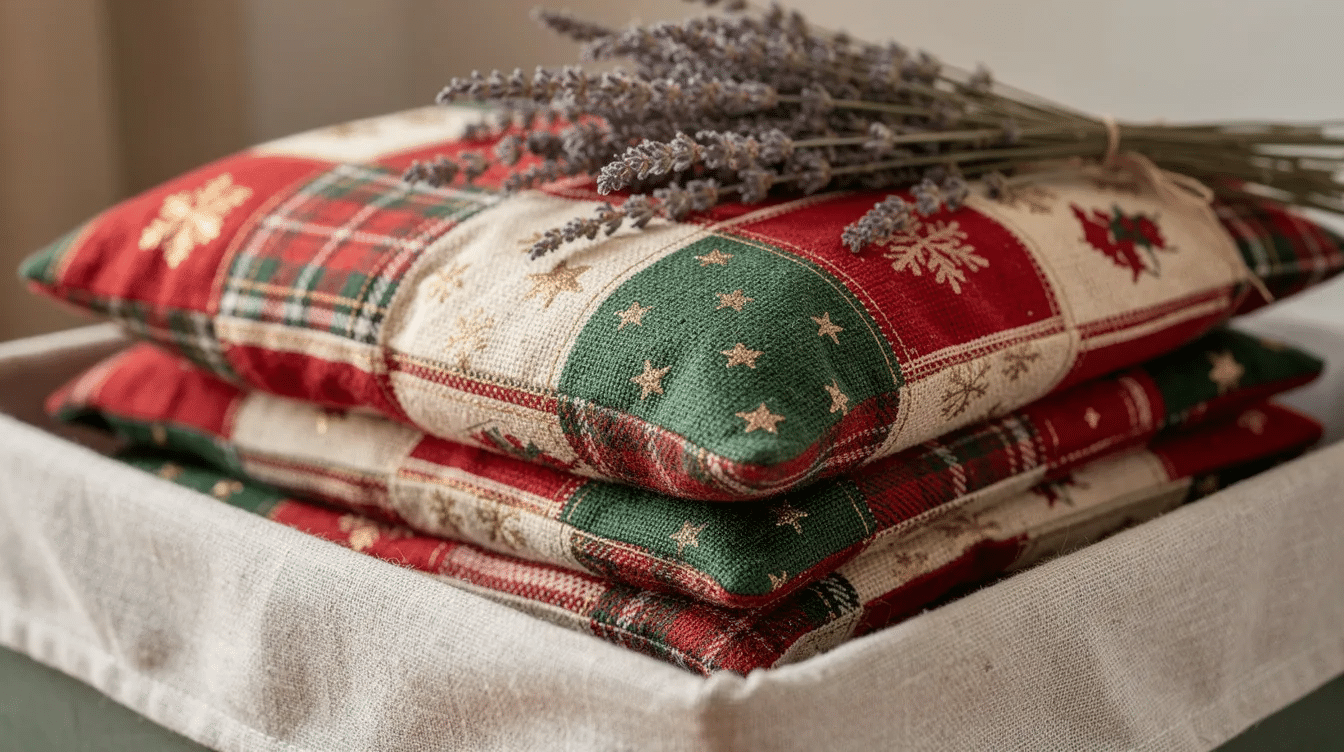
Wash your finished pillow cover on a gentle, cool cycle. Tumble dry on low or air-dry flat. Once the holiday season winds down in early January, remove the inserts, fold the covers, and store them in a breathable fabric bag or lidded box. Tuck in a lavender sachet to protect against moths and keep everything smelling fresh until next year.
We would love to see your finished quilted christmas cushions. Share photos on social media and tag Little Button Diaries so your projects can inspire other families. You can also find us via email – just visit the website for our address and account details.
FAQ
What size pillow insert works best for this quilted Christmas cushion?
An 18″ x 18″ insert fits an 18″ cover snugly. For a plumper, more cozy look, select a 20″ insert – stuffing it in takes a bit of effort but gives beautifully full corners. If you live in the UK or Europe and shop in metric sizes, a 40 x 40 cm or 45 x 45 cm pad is the standard to look for. Remember, a cushion insert should be 1–2 inches larger than the finished cover for the best result.
Can I sew this patchwork christmas pillow by hand if I don’t have a sewing machine?
Yes, you absolutely can. Use a small running stitch or backstitch with a strong cotton thread. It will take longer, so you may want to work on it over a month rather than a single week. Consider making a slightly smaller 16″ cushion to keep the hand-sewn workload manageable. Quilt fewer lines – perhaps just along the main seams – to save time.
How do I turn a single quilt block into a Christmas pillow?
Start with a 12″ finished block (a sampler block or a Riley Blake–style holiday design, for example). Add simple borders – strips of coordinating fabric sewn around the block – until the panel reaches about 18½” square. Then follow the same quilting and envelope-back steps from this tutorial. It is a perfect way to showcase one statement block as the centrepiece of your cushion.
What fabrics should I avoid when sewing with young children helping?
Steer clear of slippery satins, very thick upholstery canvas, and glitter-shedding fabrics. These are difficult to cut accurately and can fray or shed in ways that frustrate small hands (and create a mess). Stable quilting cottons in mid-weight are your best friend – they hold their edge well, press crisply, and are easy for both adults and children to handle.
How can I store my christmas pillows so they stay fresh for next year?
Remove the inserts, give each pillow cover a gentle cool wash, and let them dry completely. Fold them flat and place them in a breathable cotton bag or a lidded storage box – never in a sealed plastic bag, which can trap moisture. Add a lavender sachet or cedar block to protect against moths. Label the box so you can find your gifts to yourself as soon as December rolls around again.


